MLEEDA KC-KVM1001A
MLEEDA 10-Port HDMI 4K@60Hz KVM Switch User Manual
Model: KC-KVM1001A
1. Introduction
Thank you for choosing the MLEEDA 10-Port HDMI 4K@60Hz KVM Switch. This device is designed to streamline your workspace by allowing you to control up to ten computers using a single set of keyboard, mouse, and monitor. It supports high-resolution video output, fast USB 3.0 data transfer, and offers multiple switching methods for convenience. Please read this manual carefully to ensure proper installation and operation.
2. Product Overview
The MLEEDA KC-KVM1001A is a high-performance KVM switch that enables seamless switching between multiple computers. It is ideal for environments requiring control over numerous systems, such as data centers, testing facilities, or multi-PC workstations. Key features include:
- Control up to 10 PCs from a single HDMI monitor, keyboard, and mouse.
- Share 4 USB 3.0 peripheral devices among connected computers.
- Supports HDMI 2.0 with resolutions up to 4K@60Hz.
- Features EDID simulation for stable display output.
- Multiple switching options: front panel buttons, wired remote control, and RS232 commands.
- LED indicators for active PC selection.

Figure 2.1: Front and Rear View of the KVM Switch. This image displays the compact design of the KVM switch, highlighting its front panel with input selection buttons, USB 3.0 ports, and LED indicators, as well as the rear panel with 10 HDMI and USB 3.0 input ports for PCs, a monitor output, and power input.
3. Package Contents
Please check the package contents upon opening. If any items are missing or damaged, contact your vendor immediately.
- 1 x MLEEDA 10-Port HDMI KVM Switch (Model: KC-KVM1001A)
- 10 x USB 3.0 A-to-B Cables
- 1 x 12V DC Power Adapter
- 1 x Wired Remote Control (1.5m)
- 1 x User Manual

Figure 3.1: Included Accessories and Product Dimensions. This image illustrates the KVM switch along with its accessories: ten USB 3.0 cables, a 12V power adapter, a wired remote, and the user manual. It also shows the physical dimensions of the KVM switch.
4. Setup Instructions
Follow these steps to set up your MLEEDA KVM Switch:
- Power Off All Devices: Ensure all computers, the monitor, and the KVM switch are powered off before making any connections.
- Connect Monitor: Connect your HDMI monitor to the "Monitor" HDMI output port on the KVM switch.
- Connect Keyboard and Mouse: Connect your USB keyboard and mouse to the dedicated USB ports on the front panel of the KVM switch.
- Connect USB Peripherals: Connect any additional USB 3.0 devices (e.g., printer, USB drive, headset) to the remaining USB 3.0 ports on the front panel.
- Connect PCs: For each PC (up to 10), connect one HDMI cable from the PC's HDMI output to a corresponding "PC-X" HDMI input on the KVM switch. Then, connect one USB 3.0 A-to-B cable from a USB 3.0 port on the PC to the corresponding "PC-X" USB 3.0 input on the KVM switch.
- Connect Wired Remote (Optional): Plug the wired remote control into the "Wired Remote" port on the front panel if you wish to use it for switching.
- Connect Power: Plug the 12V DC power adapter into the "DC/12V" port on the KVM switch and then into a power outlet.
- Power On: Power on the KVM switch, then power on your monitor, and finally power on your connected computers.

Figure 4.1: Detailed Connection Diagram. This diagram illustrates how to connect multiple PCs, a monitor, keyboard, mouse, and other USB peripherals to the KVM switch, emphasizing that each PC requires both an HDMI and a USB 3.0 cable connection.

Figure 4.2: Typical 10 PC Setup. This image shows a typical setup where ten computer towers are connected to the KVM switch, allowing a single monitor, keyboard, and mouse to control all of them, demonstrating the space-saving benefit.
5. Operating Instructions
5.1 Switching Between Computers
The MLEEDA KVM switch offers three methods for switching between connected computers:
- Front Panel Buttons: Press the numbered buttons (1-10) on the front panel corresponding to the PC you wish to switch to. The LED indicator above the button will illuminate to show the active PC.
- Wired Remote Control: Use the included wired remote control to switch between PCs. The remote typically has numbered buttons or up/down arrows for selection.
- RS232 Commands: For advanced control, the KVM switch supports RS232 commands. Refer to the detailed RS232 protocol in the full technical manual (if available) for command syntax.

Figure 5.1: Switching Options. This image demonstrates the two primary methods of switching between computers: using the front panel buttons directly on the KVM switch and using the external wired remote control for convenience.
5.2 EDID Emulation
The KVM switch features EDID (Extended Display Identification Data) emulation to ensure stable and consistent display output when switching between computers. This prevents display resolution or icon rearrangement issues.
- To turn on/off the EDID emulation function, press and hold button 1 on the front panel for 3 seconds.
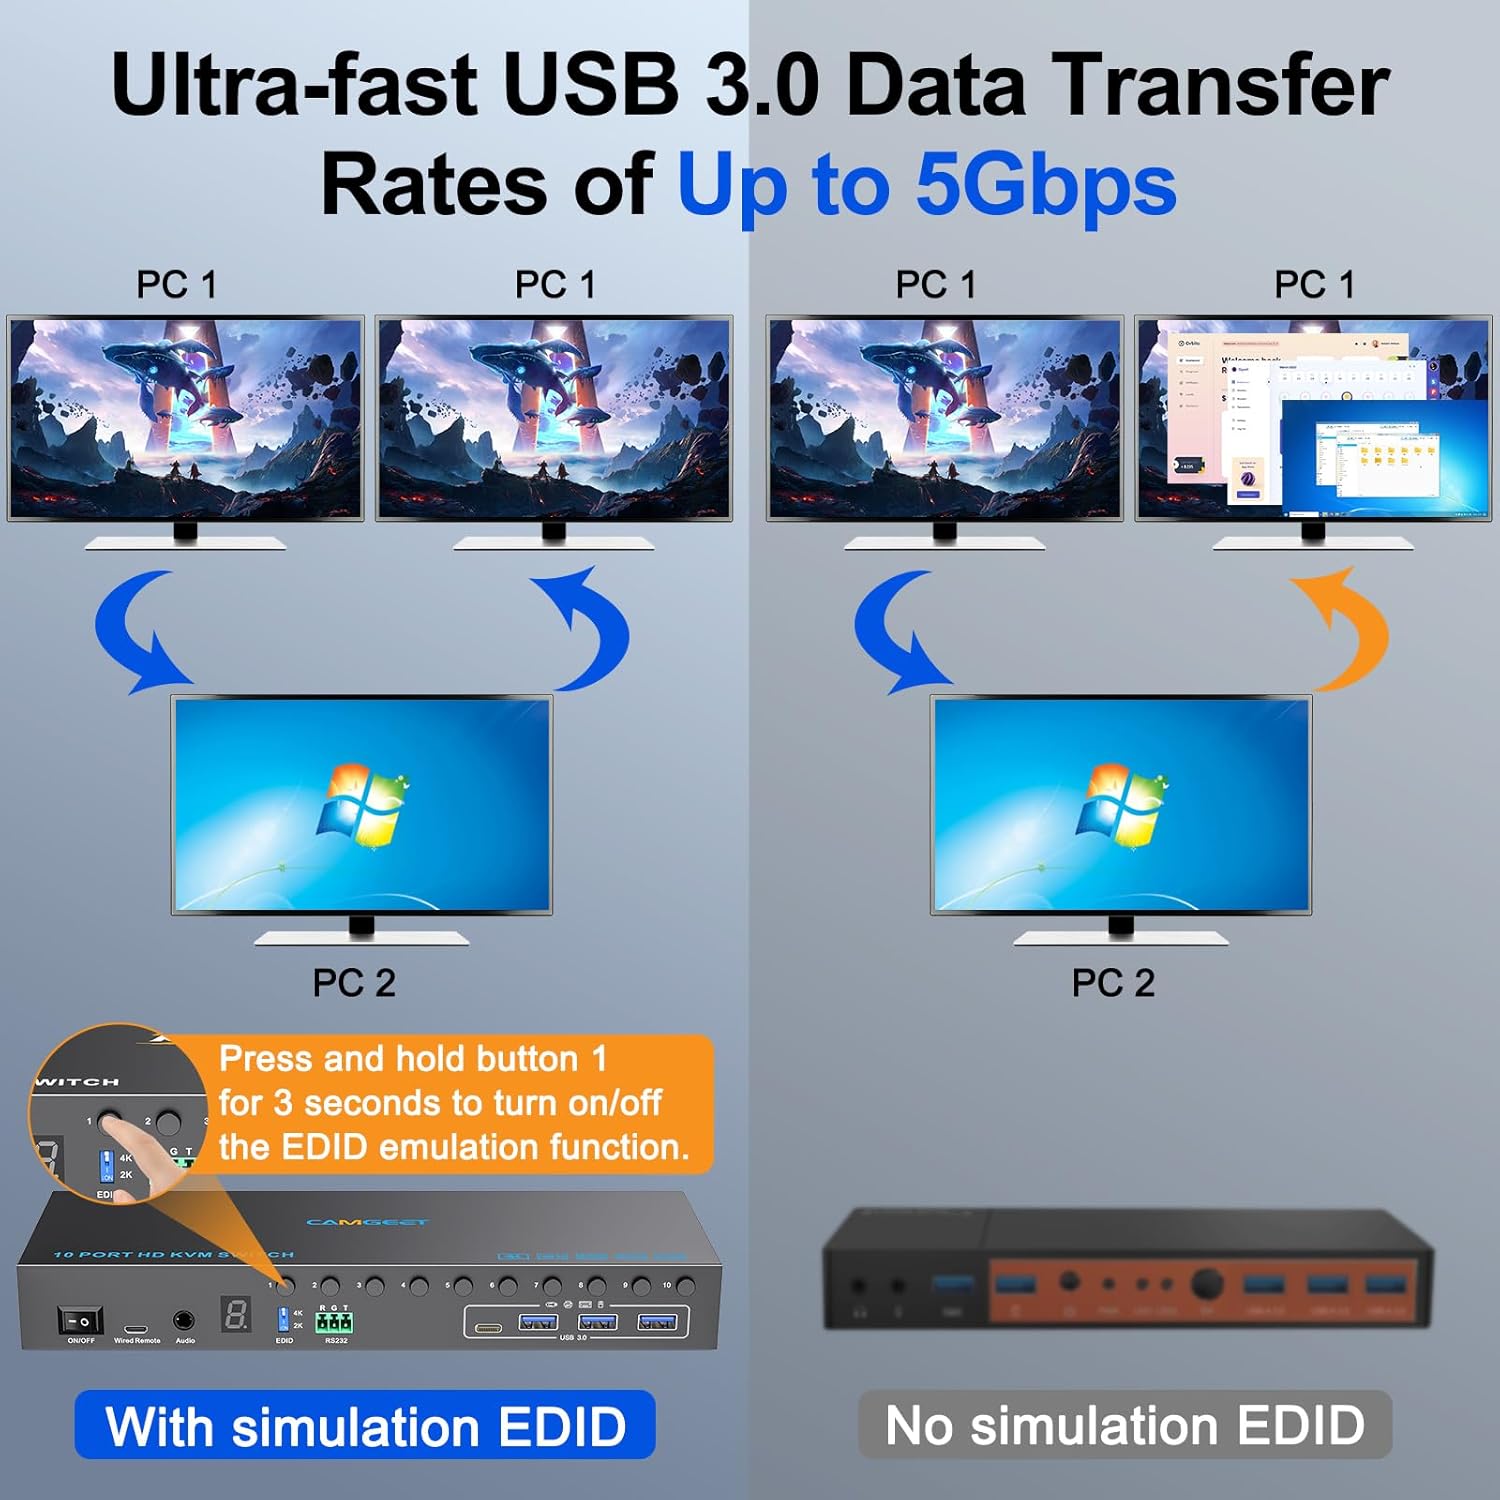
Figure 5.2: EDID Emulation Functionality. This image illustrates the benefit of EDID emulation, showing how it maintains stable display settings and prevents screen flickering or resolution changes when switching between different PCs, compared to a device without this feature.
5.3 USB 3.0 Data Transfer
The KVM switch supports ultra-fast USB 3.0 data transfer rates of up to 5Gbps, allowing for quick access to shared USB devices.

Figure 5.3: USB 3.0 Speed Comparison. This image visually compares the data transfer speed of USB 3.0 (5Gbps) to USB 2.0 (480Mbps), highlighting the superior performance of USB 3.0 for connected peripherals.
6. Troubleshooting
If you encounter issues with your KVM switch, please refer to the following common troubleshooting steps:
| Problem | Possible Cause | Solution |
|---|---|---|
| No display on monitor | Loose HDMI cable connection; Incorrect input selected; EDID issue; Power issue. | Check all HDMI cable connections. Ensure the correct PC input is selected on the KVM. Try toggling EDID emulation (press and hold button 1 for 3 seconds). Verify KVM power supply. Try a different HDMI cable. |
| Keyboard/Mouse not working | Loose USB cable connection; Incorrect USB port used; KVM not powered. | Ensure USB cables from PCs to KVM are securely connected. Connect keyboard/mouse to the dedicated USB ports on the KVM front panel. Check KVM power. Try reconnecting the keyboard/mouse. |
| USB peripherals not detected | Loose USB cable connection; Driver issue on PC; Power issue. | Check USB 3.0 cable connections. Ensure the KVM is powered. Try connecting the peripheral directly to the PC to rule out driver issues. Some high-power USB devices may require external power. |
| Switching is slow or unresponsive | Temporary glitch; Overheating. | Restart the KVM switch by unplugging and replugging the power adapter. Ensure adequate ventilation around the KVM switch. |
7. Specifications
| Feature | Detail |
|---|---|
| Model Number | KC-KVM1001A |
| Brand | MLEEDA |
| Input Ports | 10 x HDMI, 10 x USB 3.0 (Type B) |
| Output Ports | 1 x HDMI, 4 x USB 3.0 (Type A) |
| Video Resolution | Up to 4K@60Hz |
| USB Data Rate | Up to 5Gbps (USB 3.0) |
| Switching Methods | Front Panel Buttons, Wired Remote, RS232 |
| Operating Voltage | 5 Volts (DC 12V Power Adapter included) |
| Operating Current | 2 A |
| Material | Metal Casing |
| Dimensions (L x W x H) | 24 x 8 x 3 cm (9.45 x 3.15 x 1.26 inches) |
| Weight | 580 grams |
| Host Compatibility | STB, Laptop, PS4, PC |
| System Compatibility | Windows, Mac OS, Linux, Chrome OS, Vista |
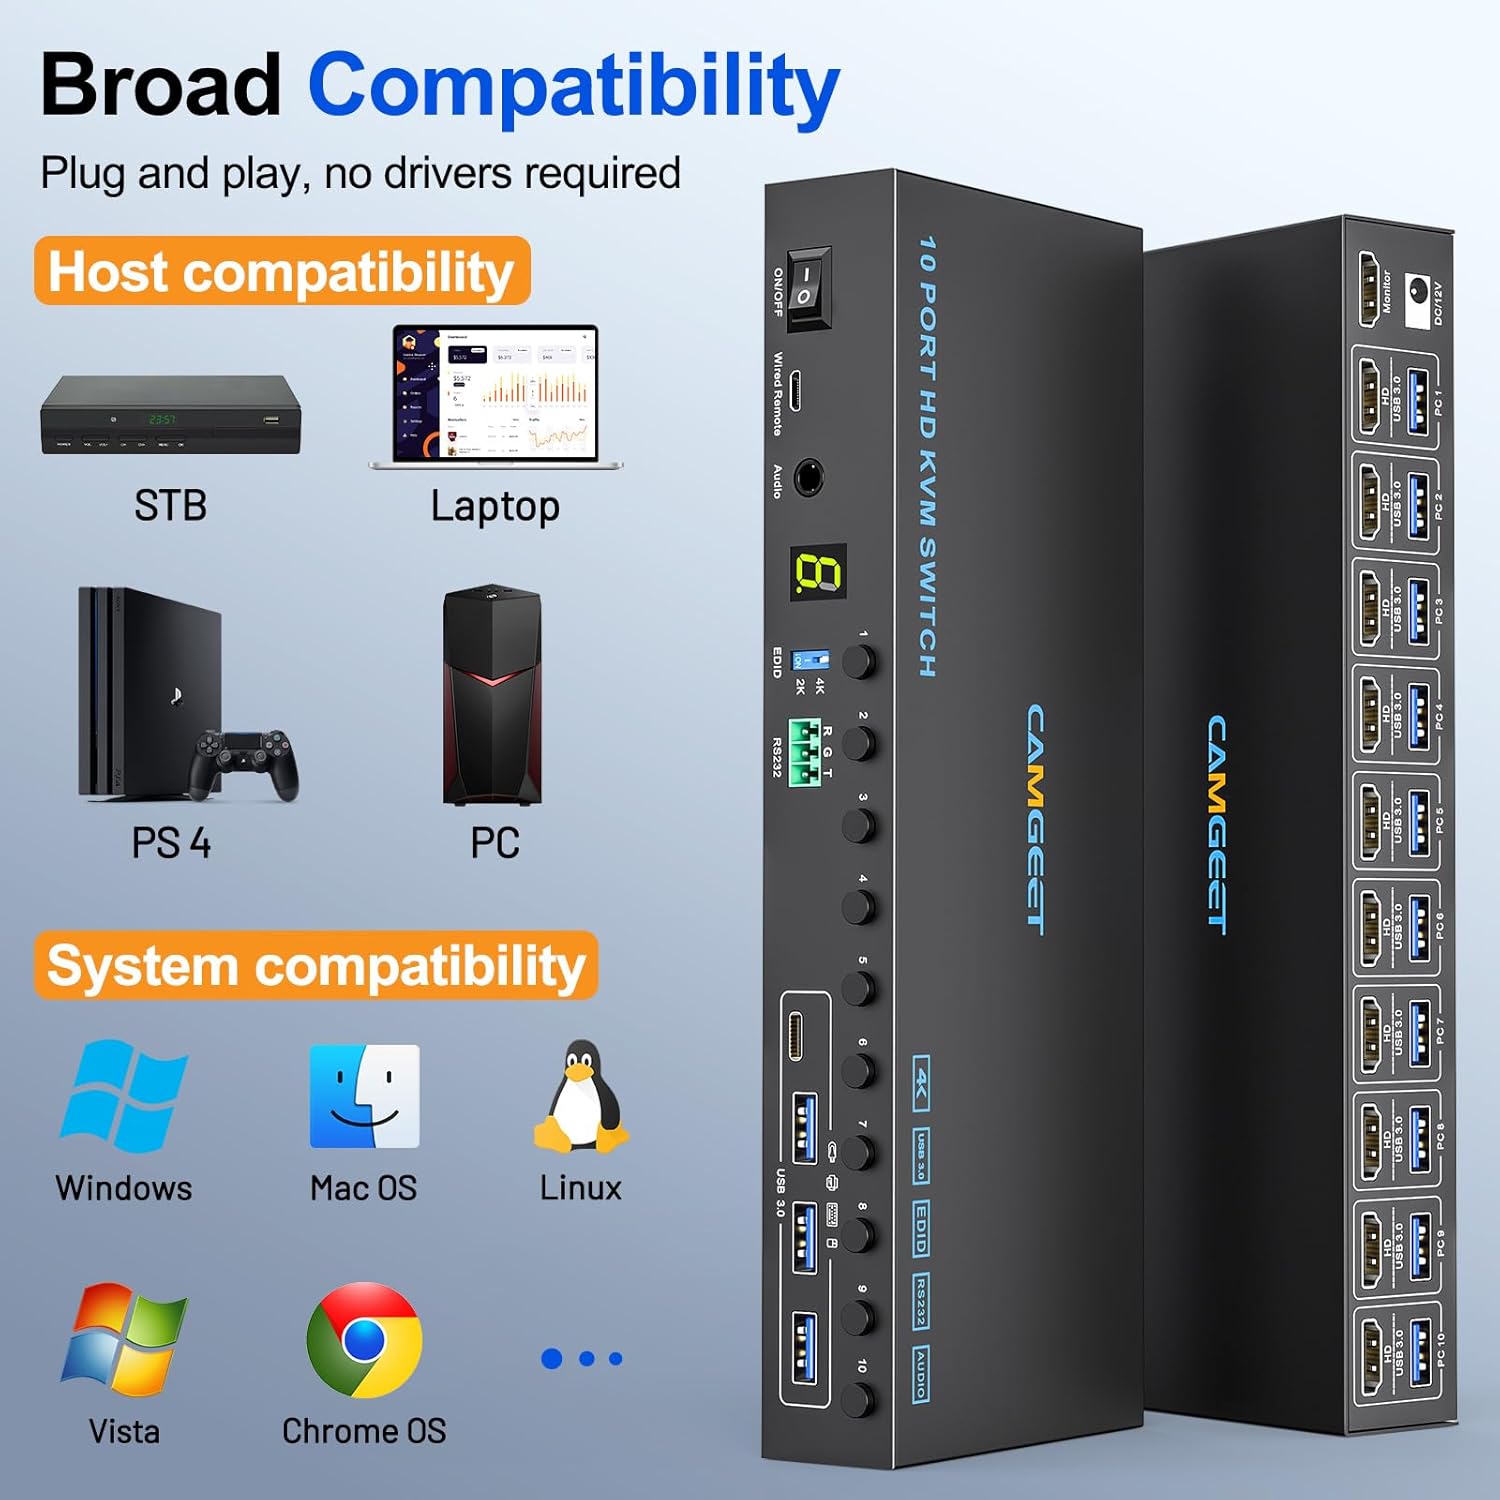
Figure 7.1: Broad Compatibility. This image highlights the wide range of host devices (STB, Laptop, PS4, PC) and operating systems (Windows, Mac OS, Linux, Chrome OS, Vista) that are compatible with the KVM switch, indicating its versatility.
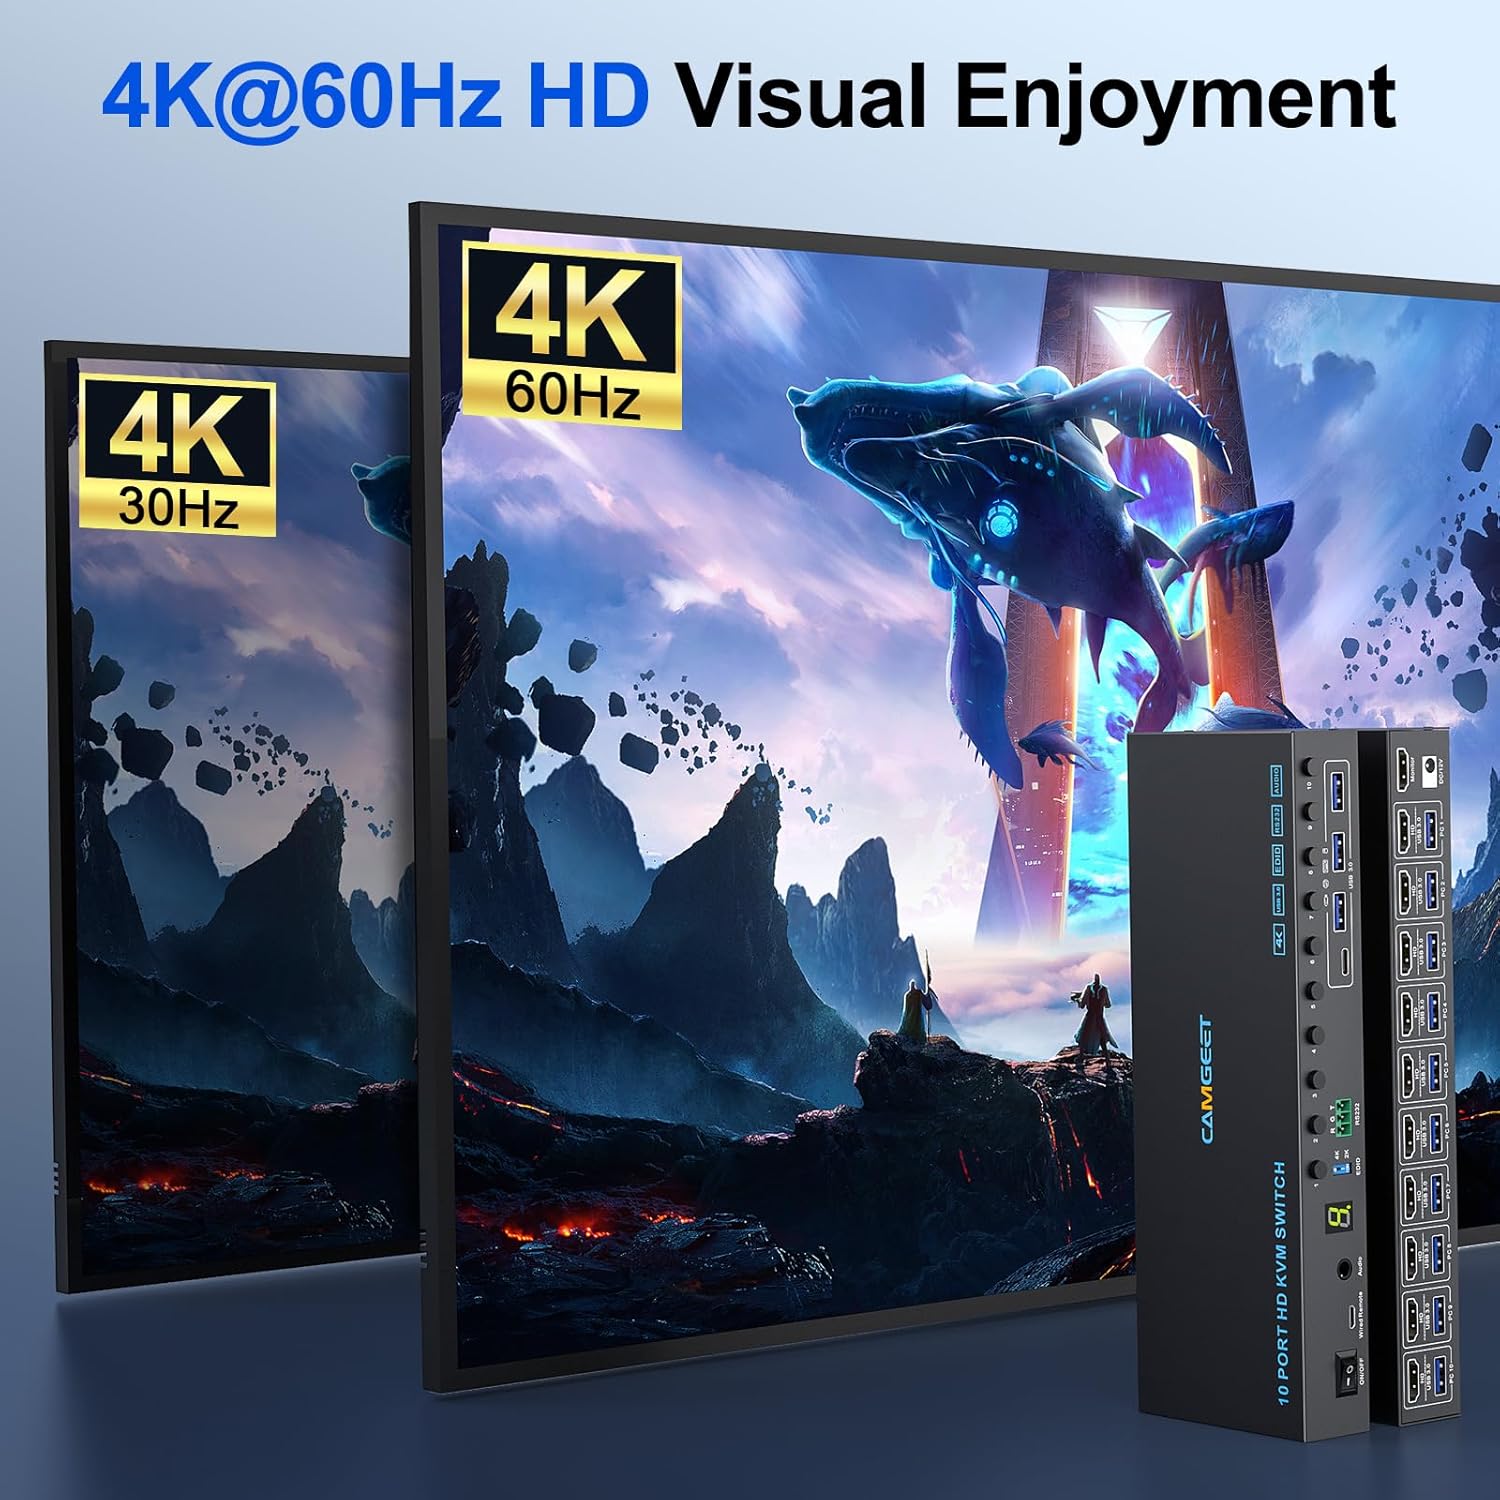
Figure 7.2: High-Definition Visual Experience. This image emphasizes the KVM switch's support for 4K@60Hz resolution, promising a superior visual experience compared to lower resolutions like 4K@30Hz.
8. Maintenance
To ensure the longevity and optimal performance of your KVM switch, follow these maintenance guidelines:
- Keep the device in a cool, dry place away from direct sunlight and heat sources.
- Avoid exposing the device to moisture or extreme temperatures.
- Clean the device with a soft, dry cloth. Do not use liquid or aerosol cleaners.
- Ensure proper ventilation around the unit to prevent overheating.
- Do not attempt to open or repair the device yourself. Refer all servicing to qualified personnel.
9. Warranty and Support
MLEEDA products are designed and manufactured to the highest quality standards. For warranty information and technical support, please refer to the warranty card included with your product or visit the official MLEEDA website. Our core value is to make users' work more comfortable and efficient.
For further assistance, please contact MLEEDA customer support.
Related Documents - KC-KVM1001A
 |
MLEEDA KVM Switch: Frequently Asked Questions and Troubleshooting Guide Find answers to common questions about the MLEEDA DP Dual Monitor KVM Switch. This FAQ covers video output issues, connectivity, compatibility with HDMI and USB-C, EDID emulation, and performance troubleshooting for 8K and 4K resolutions. |
 |
MLEEDA USB 3.0 4-Port Switcher FAQ and Troubleshooting Guide Frequently asked questions and troubleshooting guide for the MLEEDA USB 3.0 4-Port Switcher. Learn about compatibility, power requirements, and solutions for wireless interference. |
 |
Camgeet KVM Switch FAQ and Troubleshooting Guide Comprehensive FAQ and troubleshooting guide for the Camgeet 8K USB 3.0 KVM Switch (model KC-KVM8201). Covers connectivity, resolution support (8K@60Hz, 4K@120Hz), HDMI 2.1 features, USB 3.0 sharing, and solutions for common issues like monitor flickering and wireless device interference. |
 |
How to Change Front Ball Joint on Renault Kangoo I (KC) - AUTODOC Replacement Guide A comprehensive step-by-step guide from AUTODOC on how to replace the front ball joint for a Renault Kangoo I (KC). Includes tools needed and detailed instructions for various engine types. |
 |
Kramer KC-Virtual Brain 1 User Manual with KC-Brain Manager Comprehensive user manual for the Kramer KC-Virtual Brain 1 hardware platform and KC-Brain Manager software, covering installation, configuration, management, and technical specifications for AV control systems. |
 |
Renault Megane Scenic Serpentine Belt Replacement Guide Detailed step-by-step instructions for replacing the serpentine belt on a Renault Megane Scenic. Includes a list of required tools, safety tips, and compatibility information for various Renault models. Provided by AUTODOC. |
Ask a question about this manual
Ask about setup, troubleshooting, compatibility, parts, safety, or missing instructions. Manuals+ will review the question and use this page’s manual context to help answer it.