
1. Important Safety Instructions
Please read all instructions carefully before using the Sundu 1500W Steam Iron. Keep this manual for future reference.
- Always ensure the iron is unplugged before filling with water or cleaning.
- Do not leave the iron unattended while it is switched on or connected to the power outlet.
- Keep the iron and its cord out of reach of children.
- Do not immerse the iron, cord, or plug in water or other liquids.
- Use the iron only for its intended purpose.
- Avoid touching hot surfaces. Use handles or knobs.
- Always place the iron on a stable, heat-resistant surface when not in use.
- If the supply cord is damaged, it must be replaced by the manufacturer, its service agent, or similarly qualified persons to avoid a hazard.
2. Product Overview
Familiarize yourself with the components of your Sundu 1500W Steam Iron.

Figure 2.1: Sundu 1500W Steam Iron, highlighting its design and features.
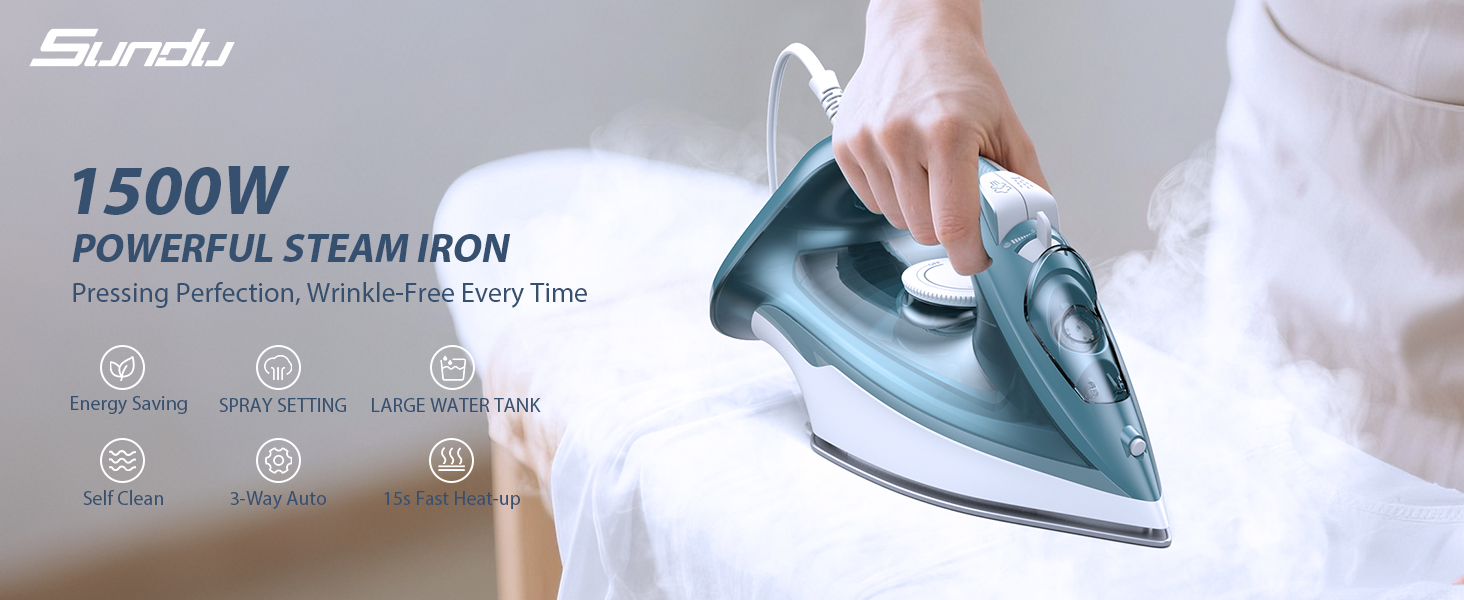
Figure 2.2: Key features of the Sundu 1500W Steam Iron.
3. Setup and First Use
Follow these steps to prepare your iron for use.
- Unpack the Iron: Remove all packaging materials and labels from the iron.
- Initial Cleaning: Wipe the soleplate with a soft, damp cloth to remove any residue from manufacturing.
- Fill Water Tank:
- Ensure the iron is unplugged.
- Set the steam control level to 'OFF'.
- Open the water tank cover.
- Using the provided measuring cup, fill the 11.84oz (350ml) water tank with tap water up to the MAX fill line. Do not overfill.
- Close the water tank cover securely.
- Plug In: Insert the power cord into a suitable electrical outlet.

Figure 3.1: Visual guide for initial setup and ironing steps.
4. Operating Instructions
4.1. Setting Temperature
The iron features a precise thermostat. Rotate the temperature dial to select the appropriate heat setting for your fabric type. The iron heats up in approximately 15 seconds.
- Low Heat: Synthetics, Silk
- Medium Heat: Wool, Cotton
- High Heat: Linen, Denim
The green indicator light will illuminate when the iron is heating and turn off when the selected temperature is reached.

Figure 4.1: The iron is suitable for a variety of fabrics.
4.2. Steam Ironing
For steam ironing, ensure the water tank is filled and the temperature is set to a steam-compatible setting (usually medium to high, indicated on the dial). Once the iron reaches the desired temperature, adjust the steam control to the desired steam level.
- Continuous Steam: Provides 25g/min of steam for consistent wrinkle removal.
- Steam Burst: Press the steam burst button for an extra shot of 0.3g steam to tackle stubborn creases.
- Water Spray: Use the spray button to lightly moisten fabric before ironing.
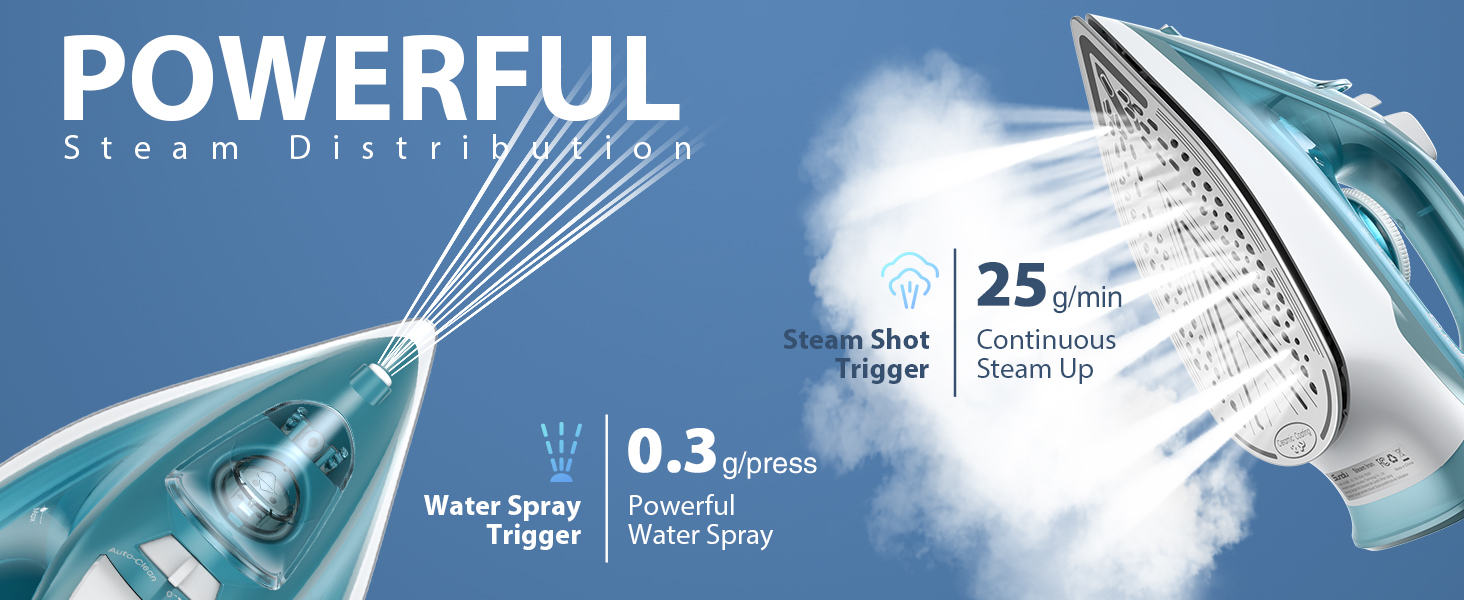
Figure 4.2: Steam and spray functions of the iron.
4.3. Dry Ironing
For dry ironing, ensure the water tank is empty or the steam control is set to 'OFF'. Select the appropriate temperature for your fabric and wait for the indicator light to signal readiness.
4.4. Vertical Steaming
The iron can also be used for vertical steaming. Hold the iron upright, close to the fabric (curtains, hanging garments), and press the steam burst button to release steam. This is ideal for quick touch-ups.

Figure 4.3: Vertical steaming application.
4.5. 3-Way Auto Shut-off
For safety and energy saving, the iron features a 3-way auto shut-off system:
- Horizontal/Sideways: Shuts off after 30 seconds of inactivity.
- Vertical: Shuts off after 8 minutes of inactivity.
To reactivate the iron, simply move it. The iron will quickly reheat to the set temperature.
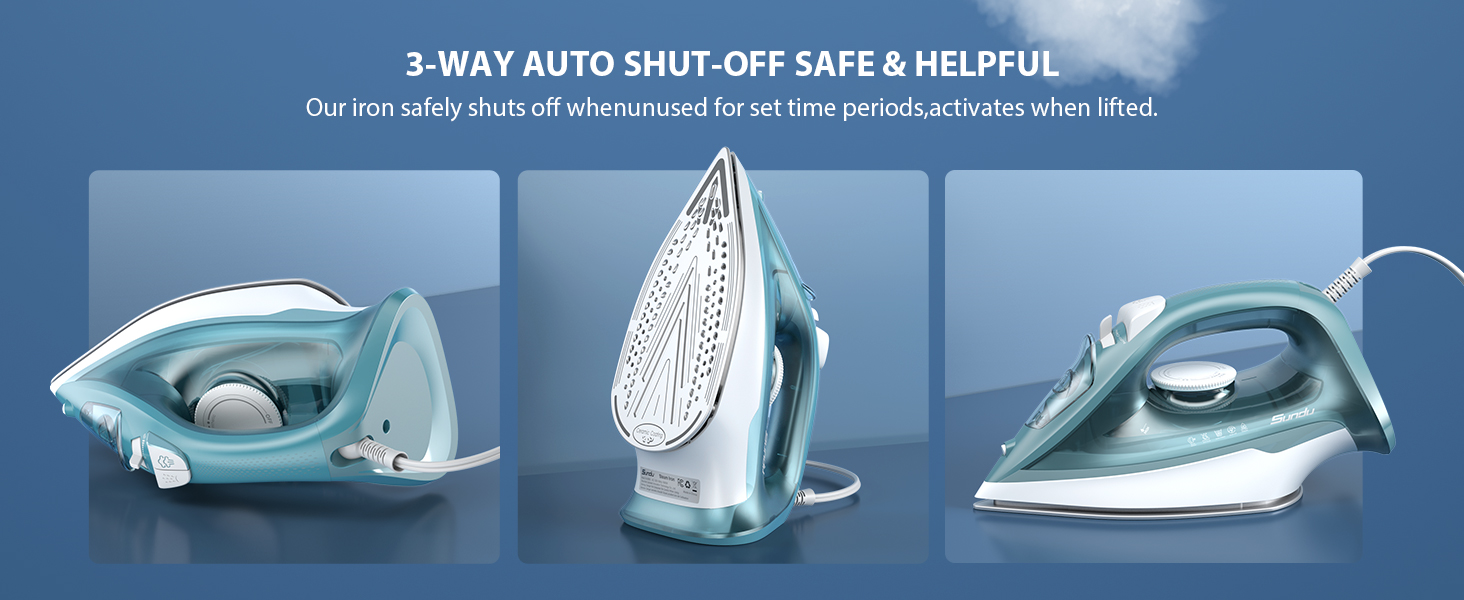
Figure 4.4: The 3-way auto shut-off mechanism.
5. Maintenance
Proper maintenance ensures the longevity and performance of your iron.
5.1. Self-Cleaning Function
The self-clean feature helps prevent limescale buildup and maintains optimal steam performance. It is recommended to use this function monthly or as needed.
- Fill the water tank to the MAX line.
- Plug in the iron and set the temperature dial to the highest setting.
- Once the iron reaches maximum temperature (indicator light turns off), unplug it.
- Hold the iron horizontally over a sink.
- Press and hold the self-clean button. Hot water and steam will be expelled from the soleplate, flushing out mineral deposits.
- Gently shake the iron back and forth until the water tank is empty.
- Release the self-clean button and stand the iron on its heel to cool down.
- Once cool, wipe the soleplate with a damp cloth.
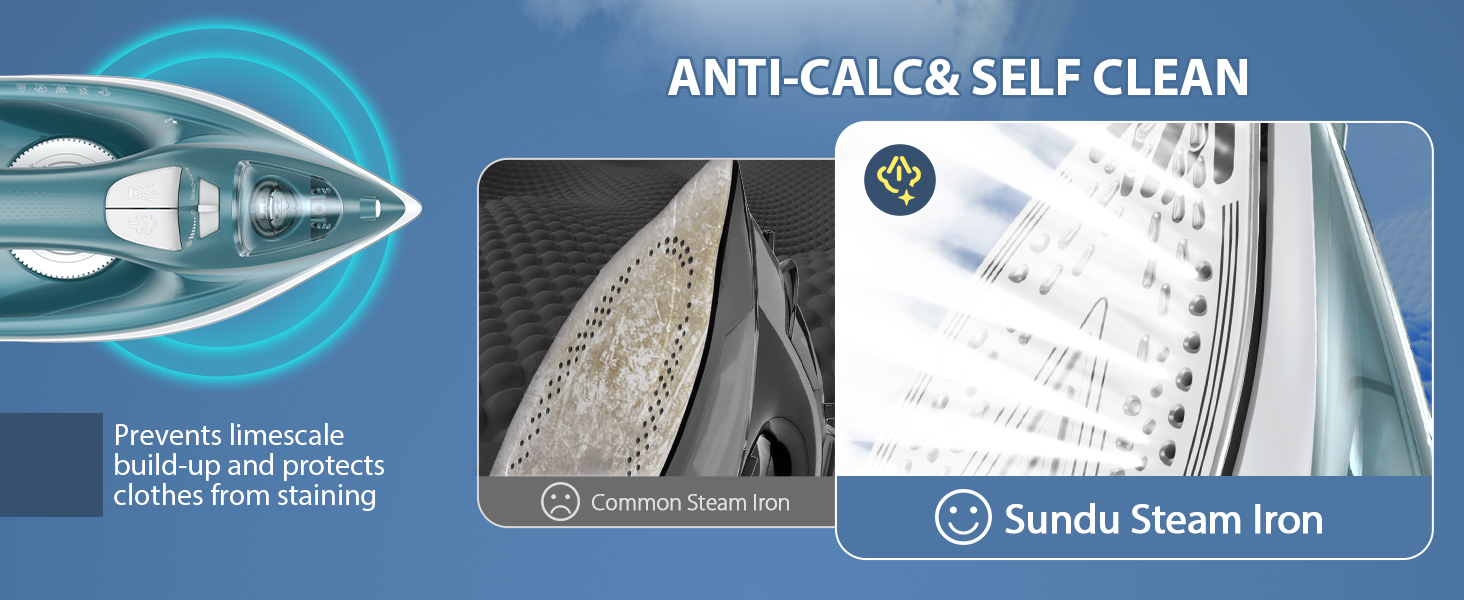
Figure 5.1: The Anti-Calc and Self-Clean system prevents limescale.
5.2. Draining and Storage
- After each use, unplug the iron and allow it to cool completely.
- Empty any remaining water from the tank to prevent mineral buildup and leakage.
- Store the iron upright on its heel in a safe, dry place.
6. Troubleshooting
If you encounter issues with your iron, refer to the following common problems and solutions.
| Problem | Possible Cause | Solution |
|---|---|---|
| Iron does not heat up. | Not plugged in; power outlet fault; auto shut-off activated. | Check power connection; try another outlet; move the iron to reactivate. |
| No steam or insufficient steam. | Water tank empty; temperature too low; steam control set to 'OFF'; mineral buildup. | Fill water tank; increase temperature; adjust steam control; perform self-clean cycle. |
| Water leakage from soleplate. | Temperature too low for steam; overfilled water tank; iron stored with water. | Ensure iron is hot enough for steam; do not overfill; empty tank after use. |
| Brown stains on fabric. | Mineral deposits in water tank/steam vents. | Perform self-clean cycle. |
7. Specifications
- Model: HJ-8065
- Brand: Sundu
- Wattage: 1500W
- Water Tank Capacity: 11.84oz (350ml)
- Soleplate Material: Ceramic Coated (Stainless Steel base)
- Continuous Steam Output: 25g/min
- Steam Burst: 0.3g/press
- Heat-up Time: Approximately 15 seconds
- Safety Features: 3-Way Auto Shut-off, Self-Clean, Anti-Calc
8. Warranty and Support
Sundu products are manufactured to high-quality standards. For warranty information or technical support, please refer to the contact details provided with your purchase or visit the official Sundu website.
Official Product Videos:
Video 8.1: An honest review of the Sundu Iron, demonstrating its features and performance.
Video 8.2: Another honest review showcasing the Sundu iron's capabilities.
