1. Important Safety Information
Please read this entire manual before assembly, installation, or operation of this grill. Failure to follow these instructions could result in property damage, bodily injury, or death.
- Outdoor Use Only: This grill is for outdoor use only. Do not operate in an enclosed area.
- Propane Gas Only: Use only propane gas. Do not connect to a natural gas supply.
- Clearance: Maintain minimum clearances from sides and back of unit to combustible construction.
- Leak Test: Perform a leak test on all gas connections before initial use and after any tank change.
- Children and Pets: Keep children and pets away from the grill at all times.
- Hot Surfaces: Always use heat-resistant gloves when handling hot components.
2. Setup and Assembly
Before beginning assembly, ensure all parts are present and undamaged. A screwdriver is required for assembly.
2.1 Unpacking and Part Identification
Carefully remove all components from the packaging. Verify all hardware is included using the provided parts list.
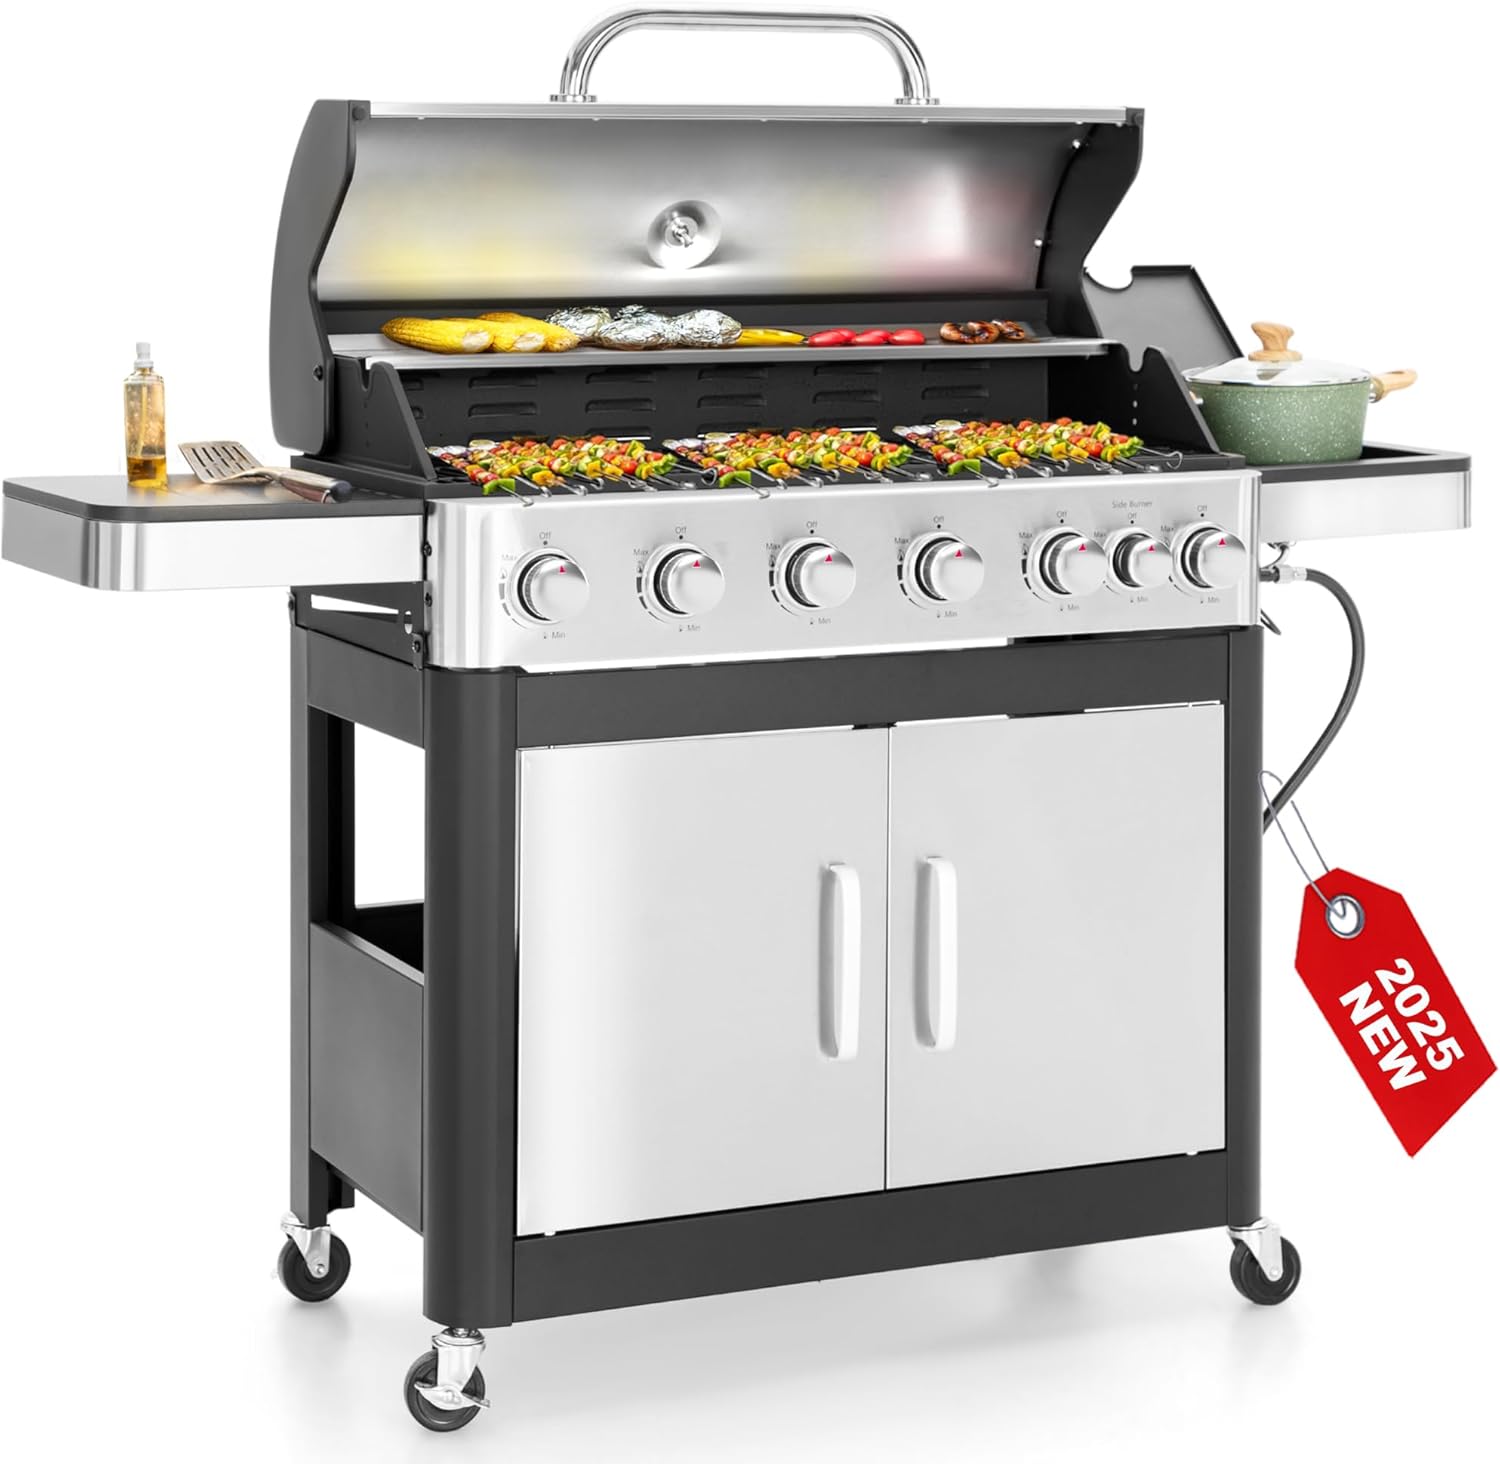
Figure 1: Main view of the GREEN PARTY 6 Burner Propane Gas BBQ Grill.
2.2 Base Assembly
- Assemble the side and back panels of the base frame.
- Attach the caster wheels to the bottom of the base frame. Ensure two casters are lockable for stability.
2.3 Door and Lid Assembly
- Attach the handles to the stainless steel doors.
- Secure the doors to the base frame using the provided rods and screws.
- Attach the main lid handle to the grill hood.
- Install the temperature gauge into the designated opening on the grill lid.
2.4 Grill Body and Side Shelf Attachment
- Remove any support pieces from the grill body before attaching it to the base.
- Carefully lift and secure the main grill body onto the assembled base frame using the provided screws.
- Attach the side shelves to the main grill body. Partially install screws, then slide the shelf into place, and fully tighten.
- Install the bottle opener onto the left side shelf.

Figure 2: The grill features side shelves and a large bottom storage space for propane tank and accessories.
2.5 Side Burner and Igniter Installation
- Connect the gas line for the side burner to the main gas manifold.
- Install the side burner assembly into the right side shelf.
- Insert one AA battery into the igniter switch located on the front control panel.
2.6 Internal Components
- Place the burner covers (flame tamers) over the main burners.
- Carefully place the porcelain-enameled cast iron grill grates onto the main cooking area.
- Install the warming rack above the main grates.
- Ensure the pull-out grease tray is correctly installed at the bottom of the grill body.

Figure 3: Illustration of the grill's BTU output, stainless steel burners, and enamel flame tamers.
2.7 Propane Tank Connection
Place the propane tank in the designated storage area within the base cabinet. Connect the regulator hose to the propane tank valve, ensuring a tight seal. Perform a leak test before first use.
Video 1: Assembly overview for a similar 4-burner propane gas grill, demonstrating general setup steps. (Note: This video features a 4-burner model, but many assembly steps are applicable to the 6-burner model.)
3. Operation
3.1 Pre-Use Check
- Ensure the grill is on a level, stable surface.
- Check that all gas connections are secure and free of leaks.
- Confirm the grease tray is properly installed.
3.2 Lighting the Main Burners
- Open the grill lid.
- Turn on the gas supply at the propane tank.
- Push and turn one main burner control knob to the HIGH position.
- Immediately press and hold the electronic igniter button until the burner lights.
- If the burner does not light within 5 seconds, turn the knob to OFF, wait 5 minutes, and repeat the process.
- Once lit, adjust the flame to the desired cooking temperature. Repeat for other main burners as needed.
3.3 Lighting the Side Burner
- Open the side burner lid.
- Turn on the gas supply at the propane tank.
- Push and turn the side burner control knob to the HIGH position.
- Immediately press and hold the electronic igniter button until the burner lights.
- If the burner does not light within 5 seconds, turn the knob to OFF, wait 5 minutes, and repeat the process.
- Once lit, adjust the flame to the desired cooking temperature.

Figure 4: Close-up of the control panel, side burner, and other features.
3.4 Temperature Control and Cooking
- Use the control knobs to adjust the flame intensity for each burner independently.
- The built-in thermometer on the lid provides real-time internal temperature monitoring.
- Utilize the main cooking grates for direct heat grilling.
- The warming rack is ideal for keeping cooked food warm or for indirect cooking.
- The side burner is perfect for preparing sauces, boiling water, or cooking side dishes.
Video 2: Demonstrates the GREEN PARTY 6 Burner Propane Gas BBQ Grill in use for outdoor cooking, highlighting its features and cooking capacity.
4. Maintenance
Regular cleaning and maintenance will prolong the life of your grill and ensure optimal performance.
4.1 Cleaning Grill Grates
- After each use, once the grates have cooled, clean them with a grill brush to remove food residue.
- For deeper cleaning, the porcelain-enameled cast iron grates can be washed with warm soapy water. Rinse thoroughly and dry completely to prevent rust.
4.2 Cleaning Grease Tray
- The pull-out oil drip tray should be emptied and cleaned regularly to prevent grease buildup and potential flare-ups.
- Remove the tray, dispose of collected grease, and wash with warm soapy water. Rinse and dry before re-installing.

Figure 5: The full-size slide-out grease tray simplifies post-BBQ cleanup.
4.3 Exterior Cleaning
- Wipe down stainless steel surfaces with a soft cloth and a stainless steel cleaner or mild soapy water.
- Avoid abrasive cleaners or scouring pads that can scratch the finish.
4.4 Storage
- When not in use, store the grill in a dry, protected area.
- Disconnect the propane tank and store it upright in a well-ventilated area, away from direct sunlight or heat sources.
- Consider using a grill cover to protect the unit from weather elements.
5. Troubleshooting
If you encounter issues with your grill, refer to the following common problems and solutions:
| Problem | Possible Cause | Solution |
|---|---|---|
| Burner does not light | No gas flow, igniter issue, clogged burner port | Check propane tank, ensure igniter battery is installed, clean burner ports. |
| Uneven heating | Clogged burner ports, low gas pressure | Clean burner ports, check propane tank level and regulator. |
| Low flame | Low gas pressure, empty tank, regulator issue | Check tank level, reset regulator (turn off all gas, disconnect, wait 1 min, reconnect, slowly open tank valve). |
| Flare-ups | Excess grease buildup, high heat | Clean grease tray and grates, reduce heat, trim excess fat from food. |
For persistent issues not covered here, please contact customer support.
6. Specifications
- Brand: GREEN PARTY
- Model Name: 6 Burner Propane Grill (GP-E02GR-009-1)
- Fuel Type: Propane Gas
- Total BTU Output: 65,800 BTUs
- Main Burner Count: 6
- Side Burner Count: 1
- Total Cooking Area: 665 sq. in.
- Primary Cooking Area: 500 sq. in.
- Warming Rack Area: 165 sq. in.
- Grates Material: Porcelain-Enameled Cast Iron
- Special Features: Built-In Thermometer, Locking Casters, Versatile Side Burner, Warming Rack, Slide-out Grease Tray
- Product Dimensions: 60.4"W x 19.1"D x 44.9"H
- Material: Alloy Steel (Frame), Stainless Steel (Exterior components)
- Item Weight: 100 pounds

Figure 6: Detailed dimensions of the grill for planning placement.
7. Warranty and Customer Support
This GREEN PARTY grill comes with a 1-Year Warranty from the date of purchase, covering manufacturing defects.
For any questions, concerns, or warranty claims, please contact GREEN PARTY customer service. Refer to your purchase documentation for specific contact details or visit the official GREEN PARTY website.
Video 3: Highlights the features and benefits of the 6 Burner Propane Gas Grill, emphasizing its suitability for gatherings.