
1. Introduction
This manual provides detailed instructions for the proper setup, operation, and maintenance of your Elikliv EDM4C Digital Microscope with Scale. Please read this manual thoroughly before using the device to ensure optimal performance and longevity.
2. Package Contents
Verify that all items listed below are included in your package. If any items are missing or damaged, please contact Elikliv customer support.
- Elikliv EDM4C Digital Microscope (1 unit)
- Microscope Base (1 unit)
- Adjustable Bracket (1 unit)
- Charger Cable (2 units)
3. Product Overview
The Elikliv EDM4C is a versatile digital microscope featuring an integrated weighing scale, designed for detailed inspection and measurement of small objects such as coins, jewelry, and electronic components. It offers a 4.3-inch IPS display, adjustable LED lighting, and PC connectivity.

Figure 3.1: Elikliv EDM4C Digital Microscope with Scale. The device features a 4.3-inch screen displaying a magnified coin and its weight.
Key Features:
- 2-in-1 Functionality: Combines a digital microscope with a precision weighing scale.
- High-Accuracy Weighing: 0.1g resolution, ±0.5g accuracy, with a capacity of 0-300g.
- 4.3-inch IPS Display: HD screen with 500 cd/m² brightness and a 178° wide viewing angle.
- Adjustable LED Lighting: Built-in LEDs with adjustable brightness for optimal illumination.
- Magnification Range: 2X–1000X zoom for detailed inspection.
- PC Compatibility: Connects via USB to Windows and Mac computers for real-time viewing and data storage.
- Portable Design: Built-in rechargeable battery for cordless operation.
- Stable Construction: Features an 8-inch gear-driven metal stand and an enlarged base for stability.
4. Setup
4.1 Assembly
- Carefully unpack all components from the box.
- Insert the adjustable bracket into the designated slot on the microscope base. Ensure it is securely seated.
- Attach the digital microscope unit to the adjustable bracket. Tighten any securing screws or knobs to hold the microscope firmly in place.
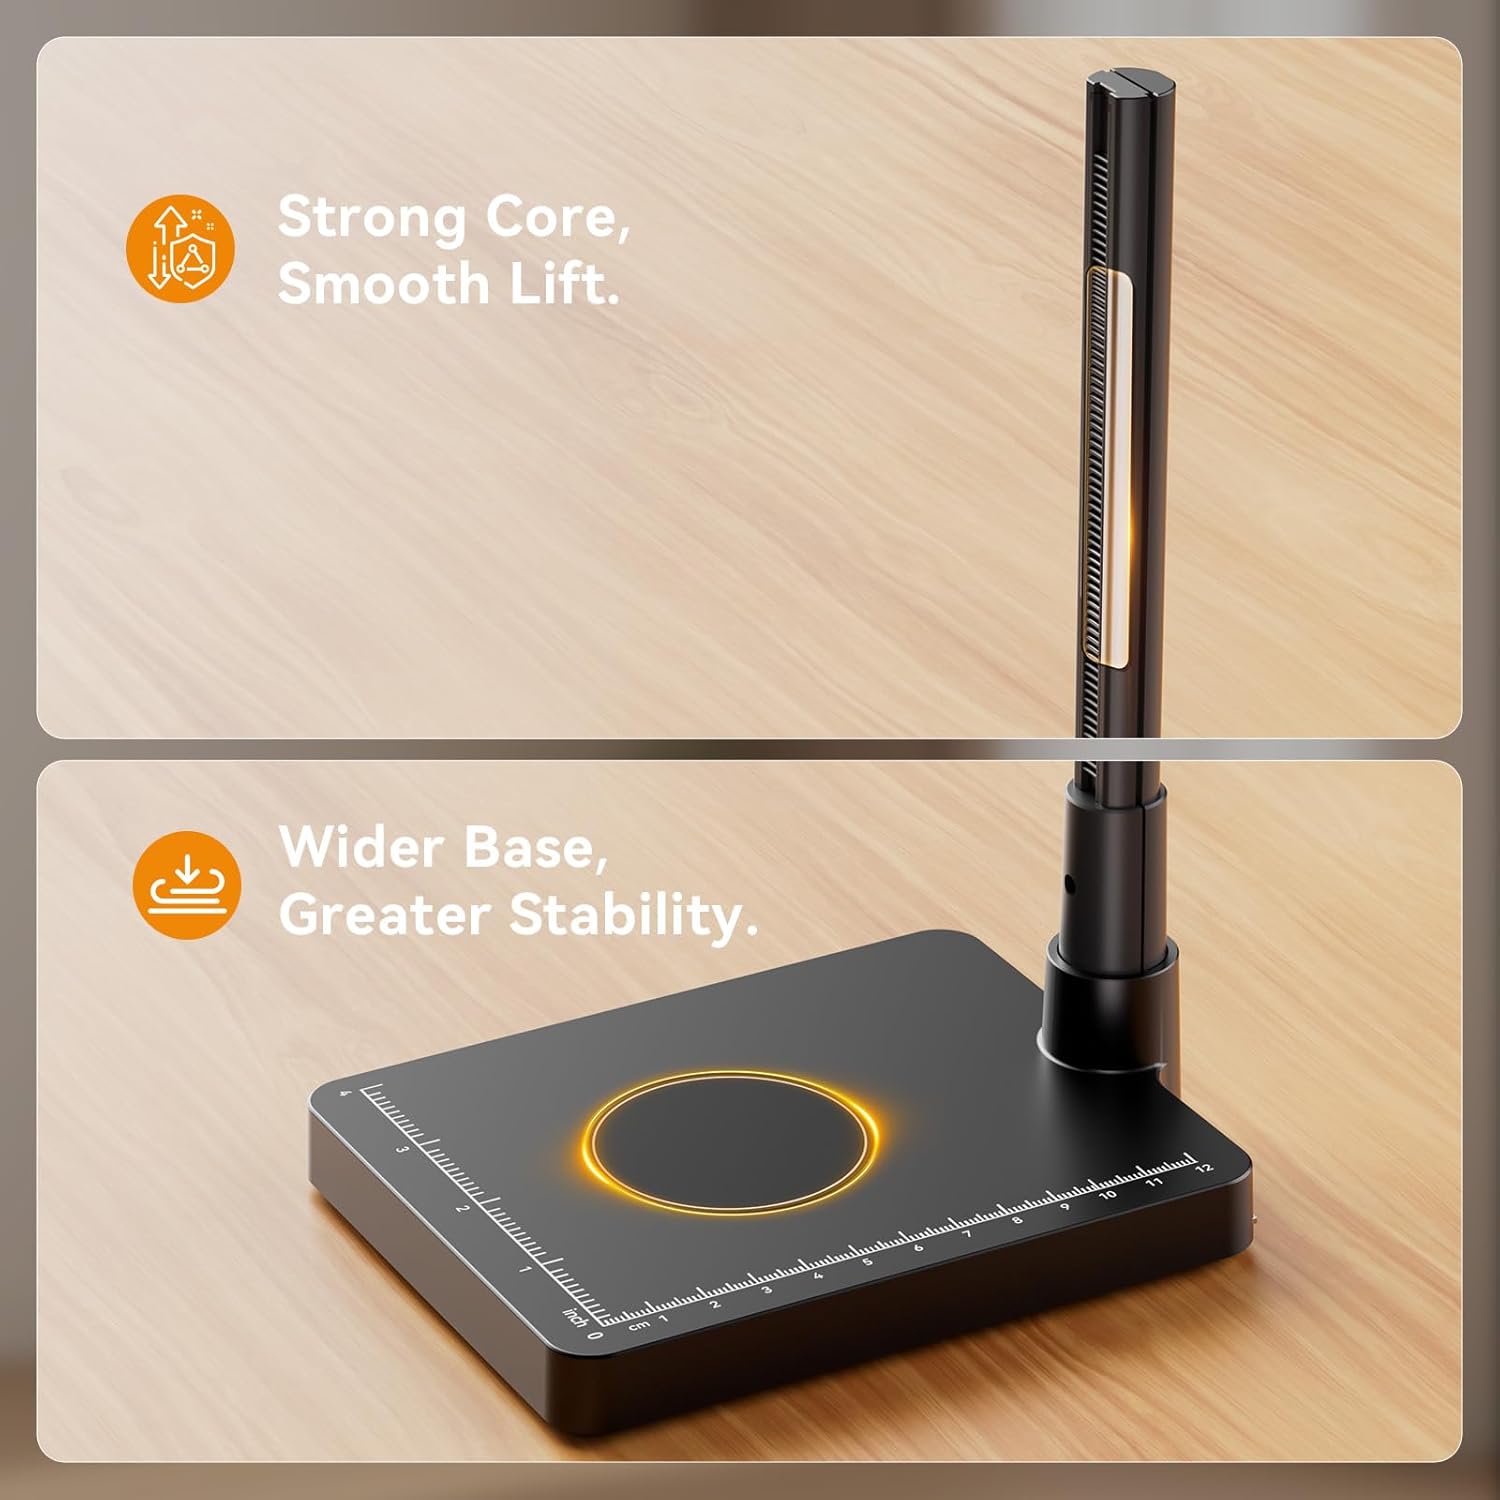
Figure 4.1: The microscope stand features a strong core for smooth lifting and a wider base for enhanced stability during operation.
4.2 Charging the Battery
The microscope is equipped with a built-in rechargeable Lithium Ion battery. Before first use, fully charge the device.
- Connect one of the provided charger cables to the charging port on the microscope.
- Connect the other end of the charger cable to a compatible USB power adapter (not included) or a computer USB port.
- The charging indicator light will illuminate. Allow the device to charge until the indicator light changes or turns off, signifying a full charge.
5. Operating Instructions
5.1 Powering On/Off
- To power on: Press and hold the POWER button located on the front panel until the screen illuminates.
- To power off: Press and hold the POWER button until the screen turns off.
5.2 Adjusting Magnification and Focus
- Place the object you wish to inspect on the center of the microscope base.
- Adjust the height of the microscope unit using the knob on the adjustable bracket until the object is roughly in focus on the screen.
- Fine-tune the focus by rotating the focus wheel on the microscope lens barrel until the image on the 4.3-inch IPS screen is clear and sharp.
- The magnification range is 2X to 1000X. Adjust the distance from the object and the focus wheel to achieve the desired magnification level.

Figure 5.1: The 4.3-inch HD IPS screen provides bright, sharp, and true-to-life details with a wide viewing angle.
5.3 Using the Integrated Weighing Scale
The Elikliv EDM4C features a high-accuracy weighing sensor for precise measurements.
- Ensure the microscope is powered on and placed on a stable, level surface.
- Place the item to be weighed directly onto the circular weighing platform on the microscope base.
- The weight will be displayed on the screen, typically in grams (g).
- To change weighing units (e.g., grams, ounces, carats), navigate through the menu options using the MENU button and arrow keys (<, >). Confirm selection with the OK button.

Figure 5.2: The high-accuracy sensor provides precise and fast weighing with 0.1g graduation and a 0-300g capacity.
5.4 Adjustable LED Lighting
The built-in LED lights provide illumination for clear viewing.
- The LED lights are located around the microscope lens.
- To adjust brightness: Use the dedicated light adjustment controls (refer to the device's physical buttons or on-screen menu for specific controls) to increase or decrease the intensity of the LED illumination.
- Optimal lighting enhances visibility of details on coins, jewelry, and other objects.
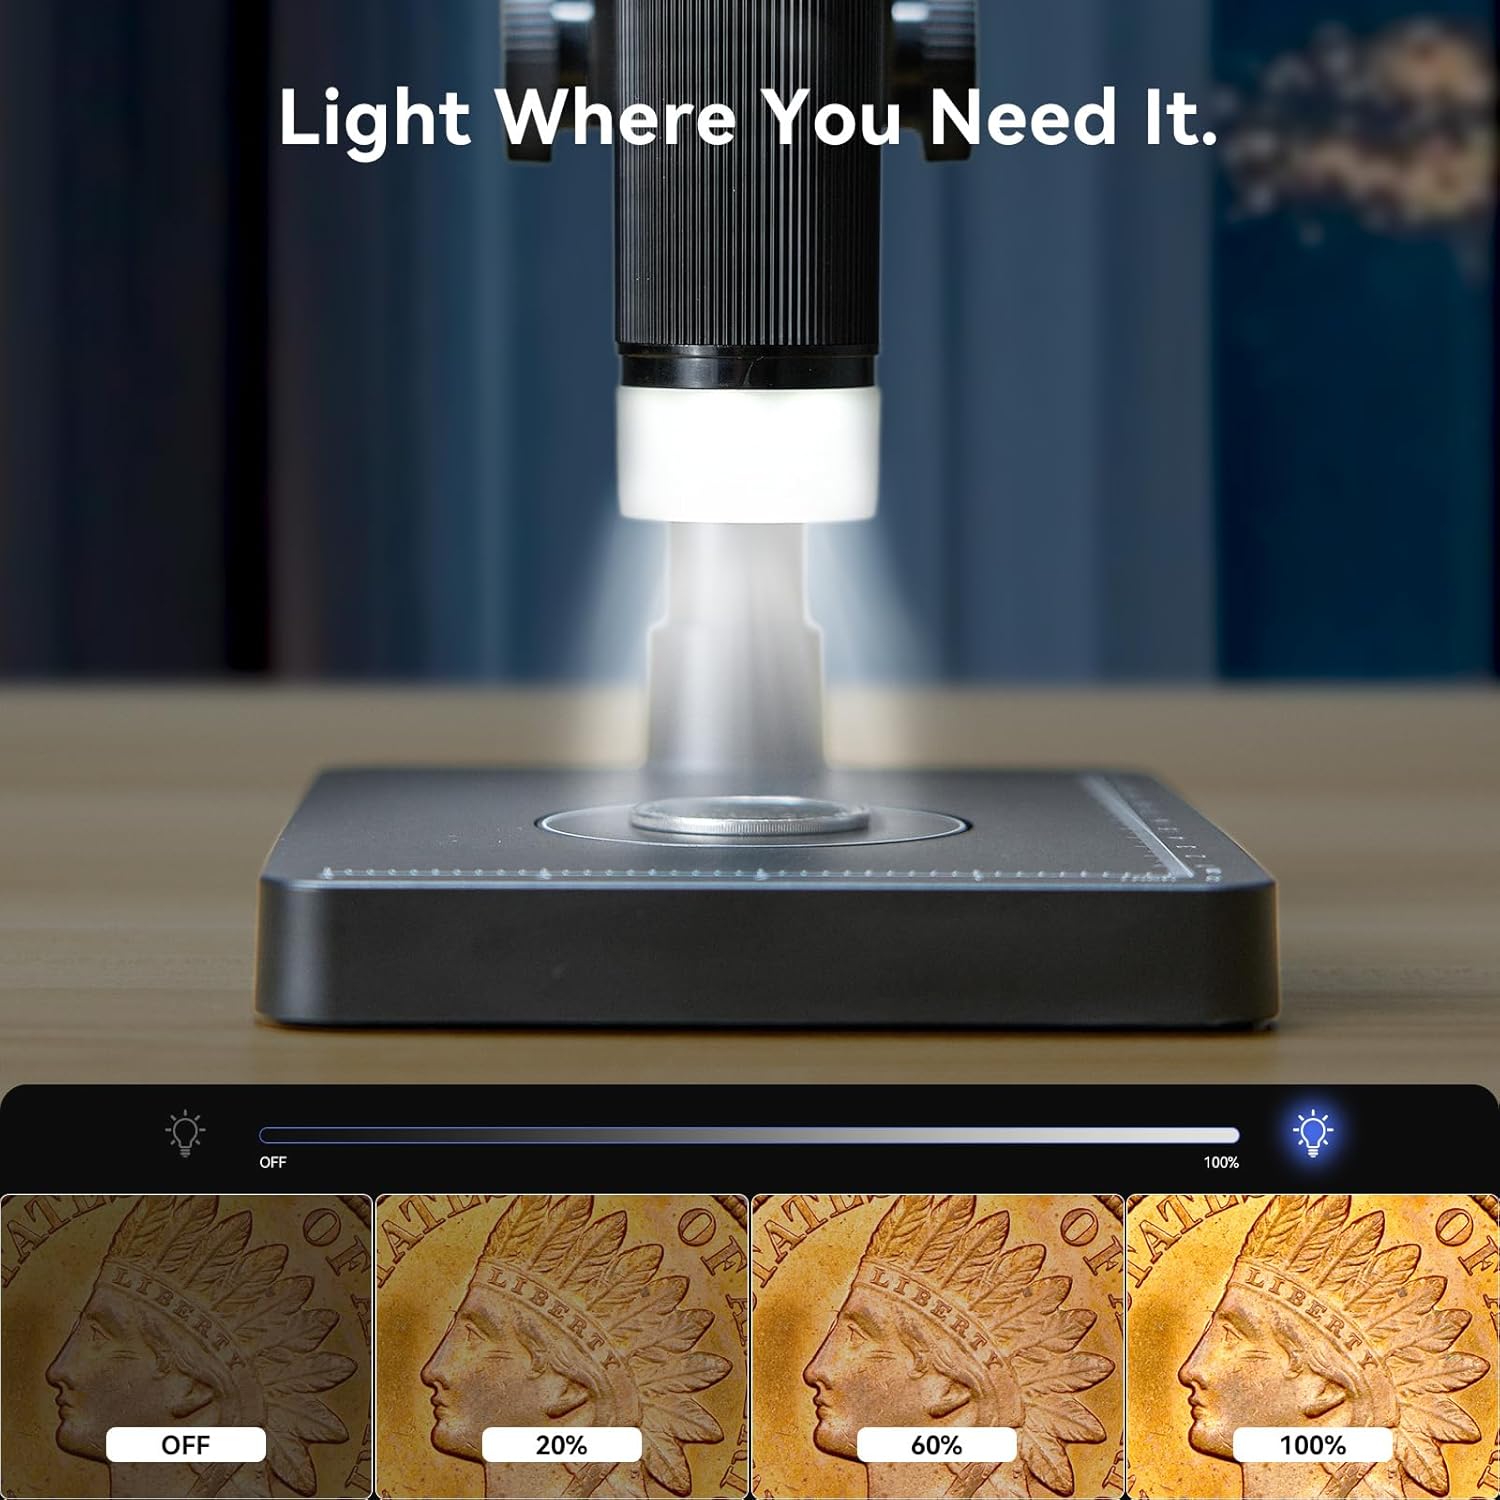
Figure 5.3: Adjustable LED lighting ensures optimal illumination for various inspection needs.
5.5 PC Connection (Windows/Mac)
Connect the microscope to a computer for real-time viewing, recording, and sharing.
- Ensure the microscope is powered on.
- Connect one of the provided charger cables (USB-A to USB-C or Micro-USB, depending on model) to the microscope's data port.
- Connect the other end of the cable to an available USB port on your Windows or Mac computer.
- The microscope should be recognized as a webcam or video input device. Open a compatible camera application (e.g., Camera app on Windows, Photo Booth on Mac, or third-party microscope software) to view the live feed.
- You can typically record videos or capture still images through the computer's software.

Figure 5.4: Connect to your PC for a larger view and enhanced capture capabilities.
5.6 Applications
The Elikliv EDM4C is suitable for various inspection tasks:
- Coin Collecting: Inspect mint marks, surface details, and assess authenticity and wear.
- Jewelry and Metals: Examine gemstones, settings, and textures, and weigh items for appraisal.
- Educational Use: Ideal for students and hobbyists exploring the microscopic world.

Figure 5.5: The microscope is designed for coin collectors to verify authenticity and track condition.
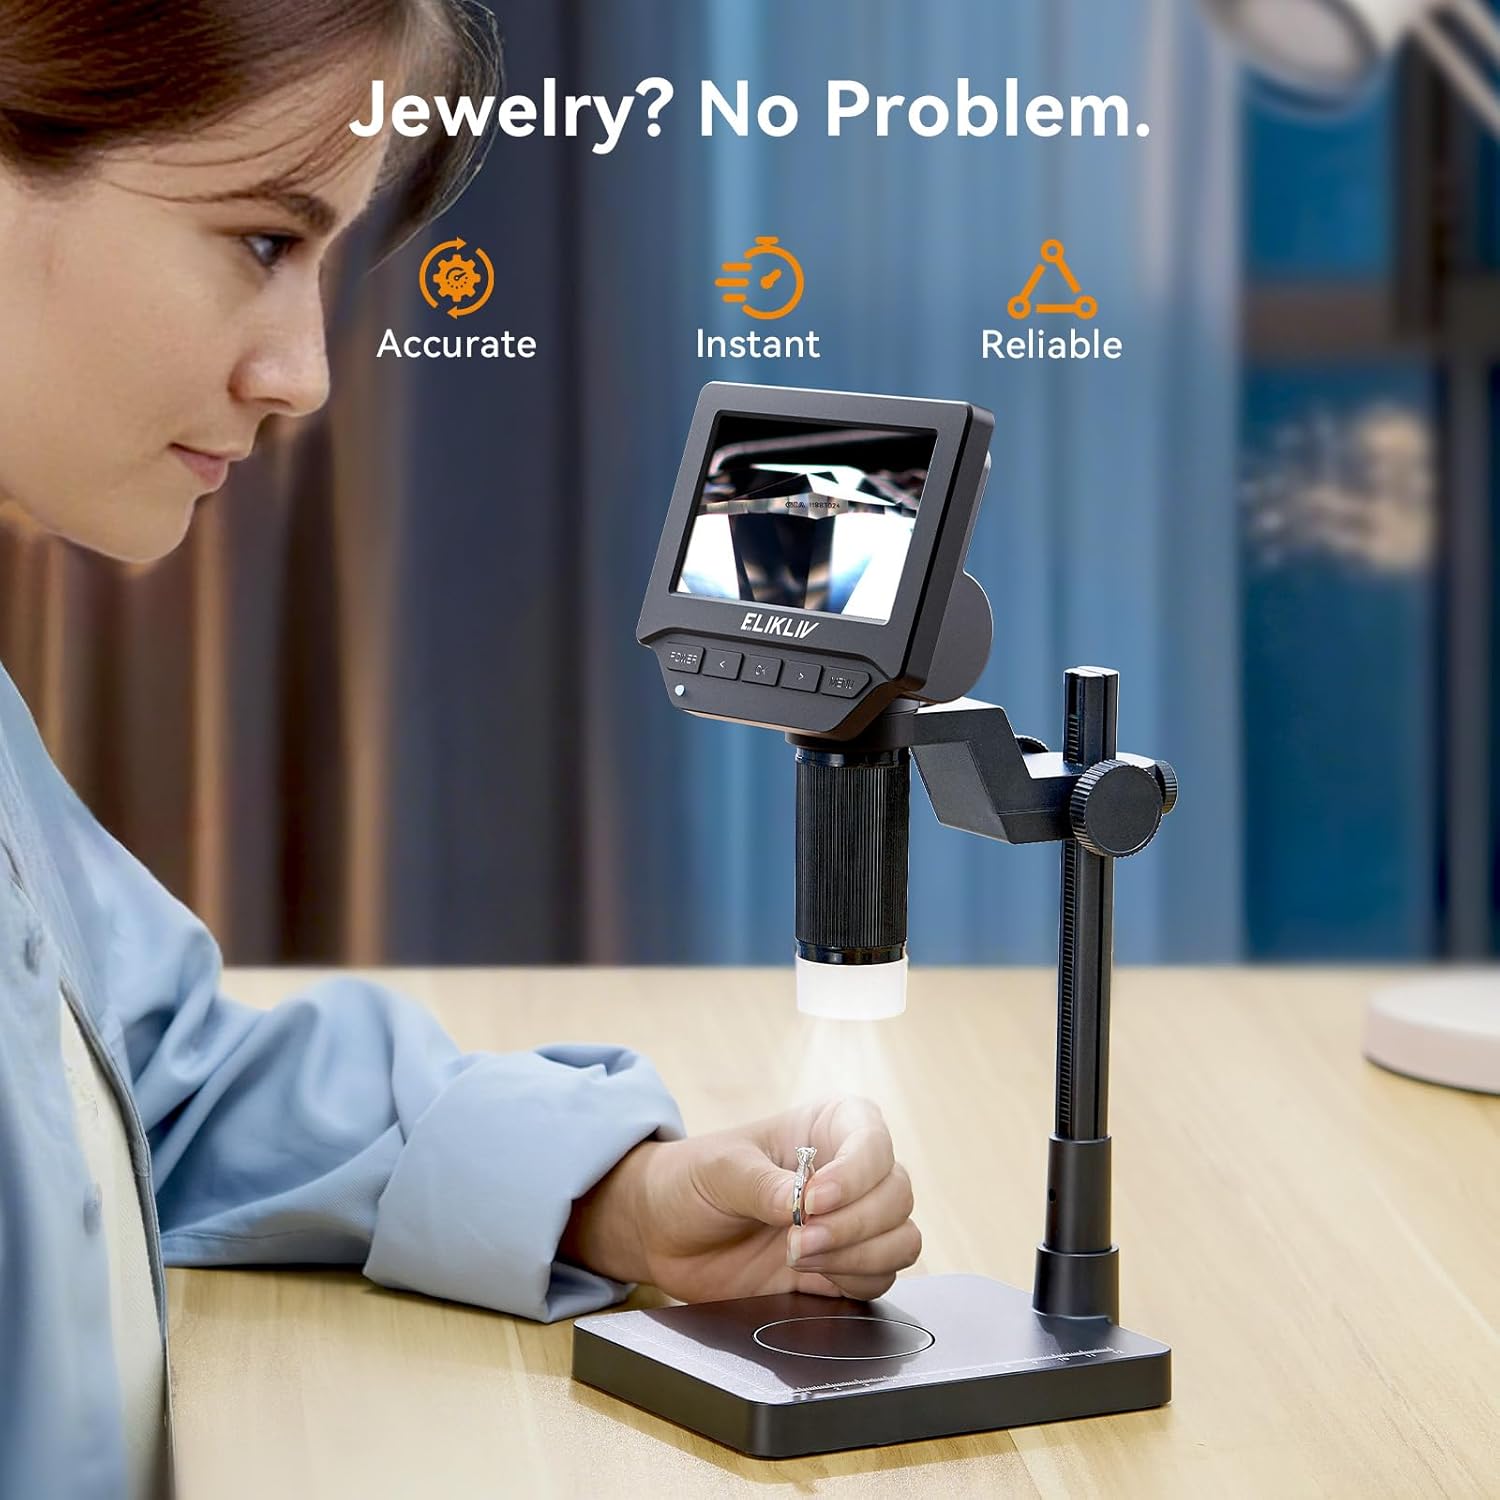
Figure 5.6: The device is also suitable for inspecting jewelry and metals.
6. Maintenance
6.1 Cleaning
- Screen: Use a soft, lint-free cloth specifically designed for electronics screens. Do not use abrasive cleaners or solvents.
- Lens: Use a lens cleaning brush or air blower to remove dust. For smudges, use a lens cleaning solution and a microfiber cloth. Avoid touching the lens directly.
- Body: Wipe the microscope body and base with a soft, dry cloth. For stubborn dirt, a slightly damp cloth can be used, ensuring no moisture enters the device.
6.2 Battery Care
- To prolong battery life, avoid fully discharging the battery frequently.
- Store the device in a cool, dry place when not in use for extended periods.
- If storing for a long time, charge the battery to approximately 50-70% every few months.
6.3 Storage
When not in use, store the microscope in a clean, dry environment, away from direct sunlight, extreme temperatures, and high humidity. Keep it covered to prevent dust accumulation.
7. Troubleshooting
- No Power: Ensure the battery is charged. Connect the charger cable and try powering on again. If using for the first time, ensure it has been fully charged.
- Blurry Image: Adjust the height of the microscope unit and fine-tune the focus wheel. Ensure the object is well-lit by adjusting the LED brightness. Clean the lens if smudges are present.
- Scale Inaccuracy: Ensure the microscope is on a stable, level surface. Avoid placing objects on the scale too quickly or with excessive force. Recalibrate if a calibration function is available in the menu (refer to on-screen instructions).
- PC Connection Issues: Ensure the USB cable is securely connected to both the microscope and the computer. Try a different USB port or cable. Verify that your computer's camera software is correctly configured to recognize the microscope as an input device.
- Screen Not Displaying: If the device powers on but the screen remains blank, try restarting the device. If the issue persists, contact customer support.
8. Specifications
| Feature | Specification |
|---|---|
| Model Name | EDM4C |
| Brand | Elikliv |
| Product Dimensions | 8.5 x 3.3 x 6.9 inches (8.5"L x 3.3"W x 6.9"H) |
| Item Weight | 8 ounces (0.5 Pounds) |
| Material | Plastic |
| Color | Gray |
| Display Screen | 4.3-inch HD IPS LCD |
| Screen Brightness | 500 cd/m² |
| Viewing Angle | 178° (Real Angle of View: 17 Degrees) |
| Magnification Range | 2X–1000X (Magnification Maximum: 1000 x) |
| Weighing Scale Resolution | 0.1g |
| Weighing Scale Accuracy | ±0.5g |
| Weighing Scale Capacity | 0-300g |
| Light Source Type | LED |
| Battery Type | 1 Lithium Ion battery (included) |
| Voltage | 5 Volts |
| PC Compatibility | Windows, Mac |
9. Warranty and Support
For warranty information and technical support, please refer to the documentation included with your purchase or visit the official Elikliv website. Contact details for customer service are typically provided on the product packaging or the manufacturer's website.


