
Coolhill M319
Coolhill Handheld Portable Fan with Ice Cooler
User Manual
Model: M319
Introduction
This manual provides detailed instructions for the safe and effective use of your Coolhill Handheld Portable Fan with Ice Cooler. Designed for personal cooling, this device features a powerful fan with 100 adjustable speeds and an integrated ice compress technology for enhanced cooling. Its portable and versatile design allows for handheld, desk, or neck-worn use, making it ideal for various environments.
Please read this manual thoroughly before operating the device and retain it for future reference.
Product Overview

Figure 1: Coolhill Handheld Portable Fan with Ice Cooler.

Figure 2: Key components and controls of the fan.
- Ice Compress: The metallic surface at the front of the fan head, which cools down for ice therapy.
- Digital Display: Shows battery percentage, fan speed, and cooling mode status.
- Lanyard Port: Attachment point for the included lanyard for neck-worn use.
- Scroll Wheel: Used to adjust fan speed from 1 to 99 gears.
- Power Button (2S ON/OFF): Press and hold for 2 seconds to turn the fan on or off.
- Single Click (Power Button): Displays current power level.
- Double Click (Power Button): Activates or deactivates the ice cooling mode.
- Food Grade Silicone: Non-slip side grips for comfortable handling.
- 18W PD Fast Charge Port: USB-C port for charging the device.
Setup
- Initial Charge: Before first use, fully charge the fan using the provided USB-C cable. Connect the cable to the 18W PD Fast Charge Port on the fan and a compatible power source (e.g., wall adapter, power bank, laptop). The digital display will show charging progress. A full charge typically takes approximately 2 hours.
- Lanyard Attachment (Optional): If desired, attach the included lanyard to the lanyard port for convenient neck-worn use.

Figure 3: Charging the Coolhill Portable Fan.
Operating Instructions
- Power On/Off: Press and hold the power button for 2 seconds to turn the fan on or off. The digital display will illuminate upon activation.
- Adjusting Fan Speed: Once powered on, use the scroll wheel to adjust the wind speed. The fan offers 1 to 99 gears, allowing for precise control over airflow. The current speed setting will be shown on the digital display.
- Checking Battery Level: Briefly single-click the power button to display the current battery percentage on the digital screen.
- Activating Ice Cooling Mode: Double-click the power button to activate the ice cooling mode. A snowflake icon will appear on the digital display, and the ice compress surface will begin to cool, providing a significant temperature drop. Double-click again to deactivate this mode.
- Versatile Use: The fan's design allows for multiple modes of use:
- Handheld Fan: Hold the fan by its handle for direct personal cooling.
- Desk Fan: Fold the fan's handle to create a stable base, allowing it to stand upright on a flat surface.
- Neck Fan: Attach the lanyard and wear the fan around your neck for hands-free cooling.

Figure 4: Multiple usage modes of the fan.
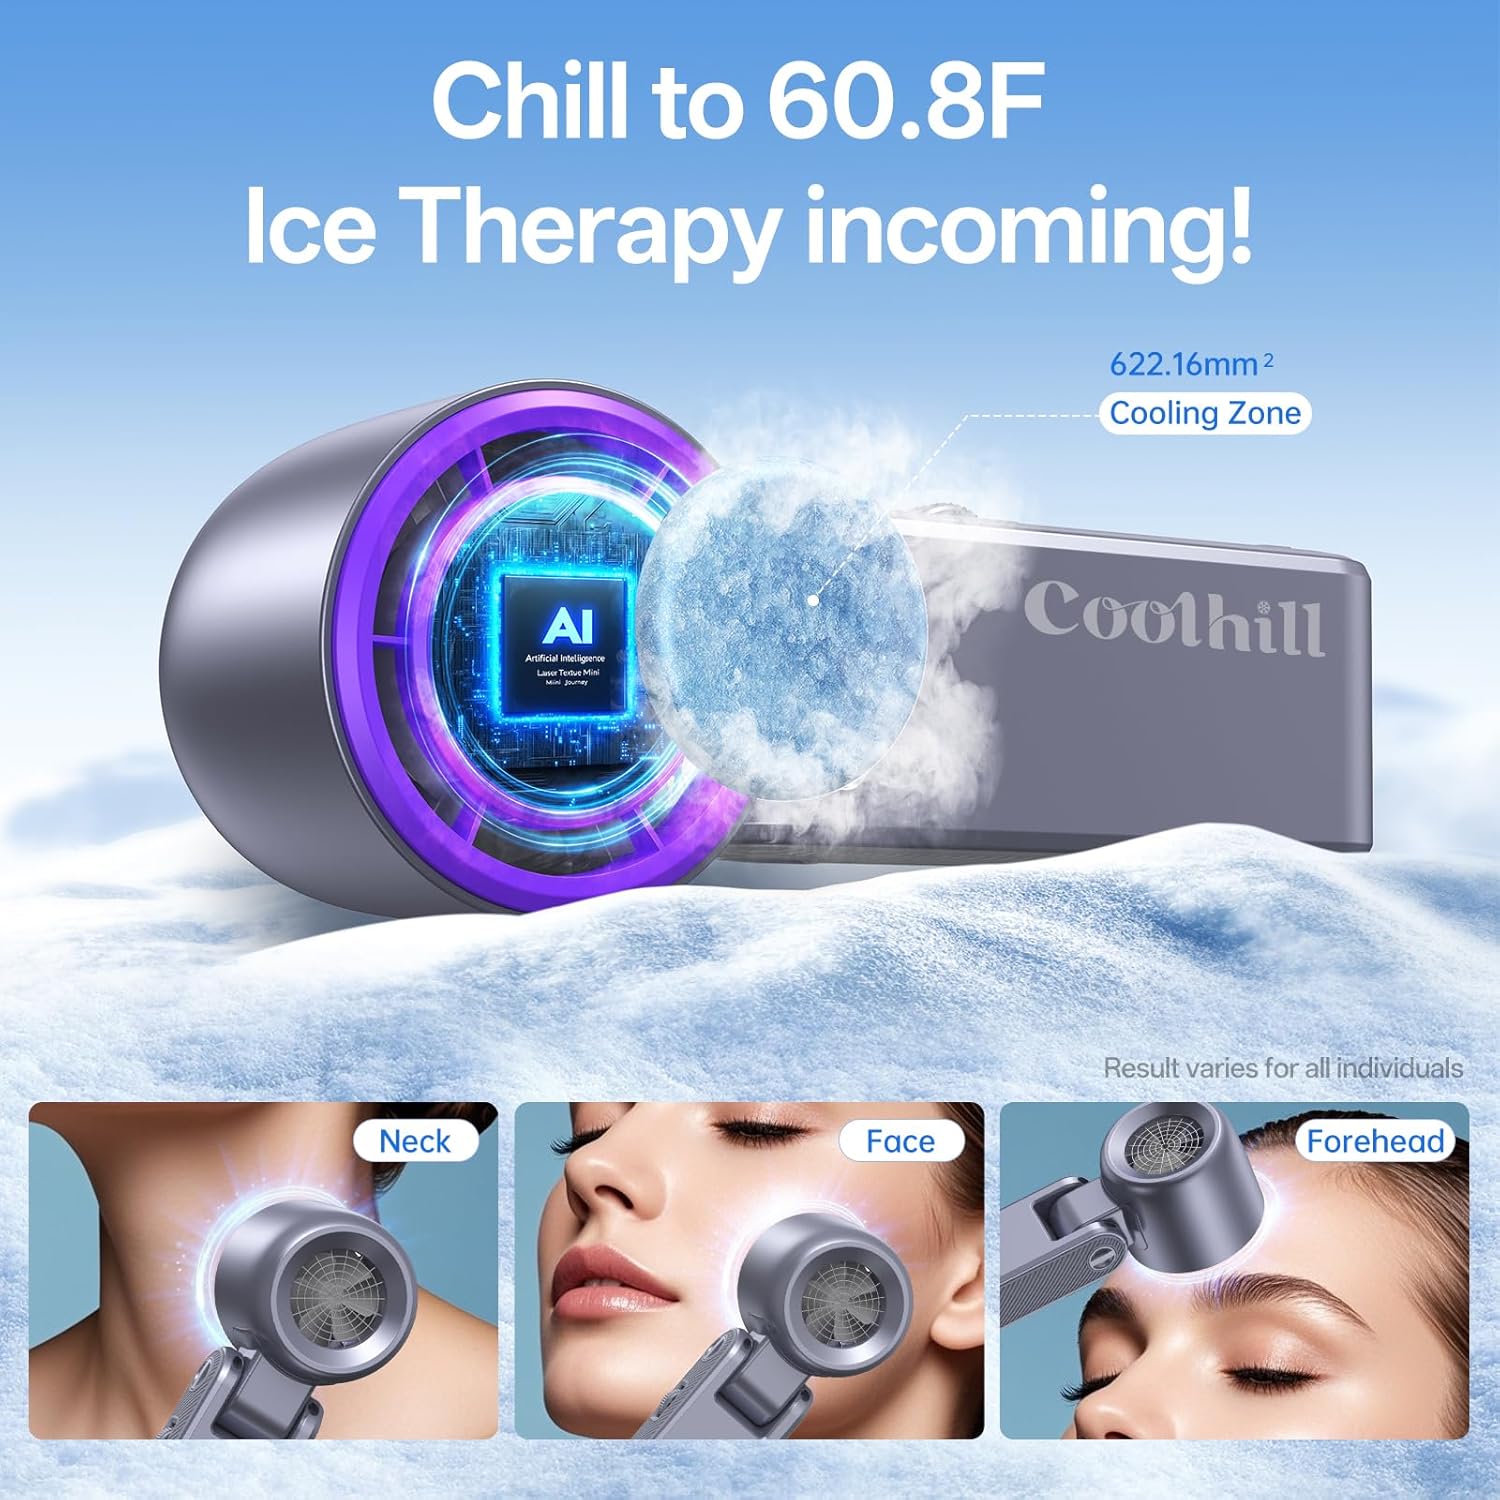
Figure 5: Utilizing the ice compress for targeted cooling.
Maintenance
- Cleaning: Ensure the fan is turned off and unplugged before cleaning. Use a soft, dry cloth to wipe the exterior of the fan. For the ice compress surface, a slightly damp cloth can be used, but ensure it is completely dry before next use. Do not use abrasive cleaners or immerse the fan in water.
- Storage: Store the fan in a cool, dry place away from direct sunlight and extreme temperatures. If storing for an extended period, ensure the battery is partially charged (around 50%) to maintain battery health.
Troubleshooting
| Problem | Possible Cause | Solution |
|---|---|---|
| Fan does not turn on. | Low battery. | Charge the fan fully. |
| Fan does not turn on. | Power button not held long enough. | Press and hold the power button for 2 seconds. |
| Ice cooling mode not activating. | Incorrect button press. | Double-click the power button to activate. |
| Weak airflow. | Fan speed set too low. | Adjust the scroll wheel to increase fan speed. |
| Fan not charging. | Faulty cable or power source. | Try a different USB-C cable or power adapter. Ensure the connection is secure. |
Specifications
| Feature | Detail |
|---|---|
| Brand | Coolhill |
| Model Name | CH-GR-M319 (M319) |
| Color | Purple |
| Power Source | Battery Powered |
| Battery Capacity | 5500mAh |
| Fan Speeds | 1-99 adjustable gears |
| Max Wind Speed | 30ft/s |
| Motor Speed | 20000 RPM |
| Cooling Technology | Ice Compress (TEC Semiconductor Cooling) |
| Charging Port | USB-C (18W PD Fast Charge) |
| Product Dimensions | 5.78"D x 6.37"W x 2.87"H |
| Item Weight | 9.1 ounces |
| Special Features | Adjustable Tilt, Lightweight, Portable, Digital Display |
| UPC | 199284000704 |
Warranty and Support
Coolhill products are manufactured to the highest quality standards. For warranty information, technical support, or any inquiries regarding your product, please contact Coolhill customer service through the retailer's platform or the official Coolhill website. Please have your model number (M319) and purchase date available when contacting support.
For the most up-to-date support information, please visit the official Coolhill website.
Ask a question about this manual
Ask about setup, troubleshooting, compatibility, parts, safety, or missing instructions. Manuals+ will review the question and use this page’s manual context to help answer it.