
1. Introduction
The Joiimu JM5 is a versatile alarm clock radio featuring Bluetooth 5.1 connectivity, FM radio, wireless charging, a desk clock with temperature display, and sleep aid functions. This manual provides detailed instructions for its setup, operation, and maintenance.

Figure 1: Front view of the Joiimu JM5 Alarm Clock Radio.
Key Features:
- Bluetooth 5.1 Speaker
- FM Radio
- Digital Alarm Clock with Snooze
- Wireless Charging Pad
- Temperature Display
- Built-in Sleep Aid Music
- AUX Input and TF Card Playback
- Rechargeable Battery (2600mAh)
2. Safety Information
- Do not expose the device to extreme temperatures, direct sunlight, or high humidity.
- Avoid dropping or subjecting the device to strong impacts.
- Do not disassemble or attempt to repair the device yourself. Contact qualified service personnel.
- Keep away from water and other liquids.
- Use only the provided USB-C charging cable and a compatible 5V power adapter.
3. Product Overview
Front Panel Controls:

Figure 2: Front panel buttons and their functions.
- Power ON/OFF / Standby Button: Press to turn on/off or enter standby mode.
- M/O (Mode/Scheduled Playback) Button: Press to switch modes (Bluetooth, FM, AUX, TF Card). Long press to set scheduled playback time.
- Time/Alarm Setting Button: Press to enter time/alarm setting mode.
- Previous Song / Rewind Button: Short press for previous track, long press to rewind.
- Play/Pause Button: Play or pause audio.
- Next Song / Fast Forward Button: Short press for next track, long press to fast forward.
- Volume Down Button (-): Decrease volume.
- Volume Up Button (+): Increase volume.
Rear Panel Ports:

Figure 3: Rear panel ports including AUX, SD slot, and Type-C charging port.
- AUX Port: For connecting external audio devices.
- SD Slot: For playing audio from a TF (Micro SD) card.
- Type-C Charging Port: For charging the device.
- LED Charging Indicator: Indicates charging status.
4. Setup
4.1 Charging the Device
Before first use, fully charge the Joiimu JM5. Connect the provided USB-C charging cable to the Type-C port on the rear of the device and plug the other end into a 5V USB power adapter (not included). The LED charging indicator will show charging status. A full charge ensures optimal battery performance.

Figure 4: The device features a built-in 2600mAh rechargeable battery.
4.2 Powering On/Off
Press and hold the Power ON/OFF button on the front panel to turn the device on or off. A short press will put the device into standby mode.
4.3 Setting Time and Date
- Press the Time/Alarm Setting button. The hour display will flash.
- Use the Previous Song and Next Song buttons to adjust the hour.
- Press the Time/Alarm Setting button again to confirm the hour and move to minute setting.
- Use the Previous Song and Next Song buttons to adjust the minutes.
- Press the Time/Alarm Setting button one more time to save the time.
- To switch between 12-hour and 24-hour format, long press the Time/Alarm Setting button during time display.
4.4 Setting Temperature Unit
The device displays temperature in Celsius (°C). To switch to Fahrenheit (°F), refer to the troubleshooting section or consult the manufacturer's support if the option is not readily available through button combinations.
5. Operating Instructions
5.1 Bluetooth Mode
- Turn on the device. Press the M/O button until "BT" appears on the display, indicating Bluetooth mode.
- On your smartphone or other Bluetooth-enabled device, search for "Joiimu JM5" in the Bluetooth settings.
- Select "Joiimu JM5" to pair. A confirmation sound will indicate successful pairing.
- You can now play audio from your device through the Joiimu JM5 speaker. Use the Previous Song, Next Song, Play/Pause, and Volume +/- buttons to control playback.
5.2 FM Radio Mode
- Press the M/O button until "FM" appears on the display.
- To auto-scan and save stations, long press the Play/Pause button. The radio will scan and store available FM stations.
- Use the Previous Song and Next Song buttons to navigate through saved stations.
- For manual tuning, short press the Previous Song or Next Song buttons to fine-tune the frequency.
Video 1: Demonstration of FM Radio and Multifunction Bluetooth Speaker features.
5.3 Alarm Clock
- Press the Time/Alarm Setting button twice. The alarm hour display will flash.
- Use the Previous Song and Next Song buttons to adjust the alarm hour.
- Press the Time/Alarm Setting button again to confirm the hour and move to alarm minute setting.
- Use the Previous Song and Next Song buttons to adjust the alarm minutes.
- Press the Time/Alarm Setting button one more time to save the alarm.
- To activate/deactivate the alarm, short press the Time/Alarm Setting button when the time is displayed. An alarm icon will appear/disappear on the screen.
- When the alarm sounds, press any button to snooze for 9 minutes. To turn off the alarm, press and hold the Time/Alarm Setting button.

Figure 5: The Music Alarm Clock offers 9 minutes of soothing music followed by a 1-minute alarm.
Video 2: Overview of the Alarm Clock Radio and Bluetooth Speaker functions.
5.4 Wireless Charging
Place your Qi-compatible smartphone or device on the top center of the Joiimu JM5. Ensure the device is properly aligned for charging to begin. The charging indicator on your phone will confirm charging status. Note that wireless charging requires the Joiimu JM5 to be powered on or in standby mode and connected to a power source for optimal performance.

Figure 6: A smartphone being wirelessly charged on the Joiimu JM5.
5.5 Sleep Aid Music
The device includes built-in soothing natural sounds to assist with sleep. To activate, press the M/O button until the sleep aid music mode is selected. Use the Previous Song and Next Song buttons to cycle through available sounds such as bee humming, birds chirping, frogs croaking, and ocean waves.

Figure 7: Built-in sleep aid music with various natural sounds.
5.6 Timed Playback (Sleep Timer)
To set a sleep timer for automatic shutdown:
- Long press the M/O button. The display will show the current timed playback setting (e.g., 30, 60, or 90 minutes).
- Press the M/O button repeatedly to cycle through the available time periods (30, 60, 90 minutes, or OFF).
- Once your desired time is selected, the number will flash three times to confirm the setting. The device will automatically turn off after the set duration.
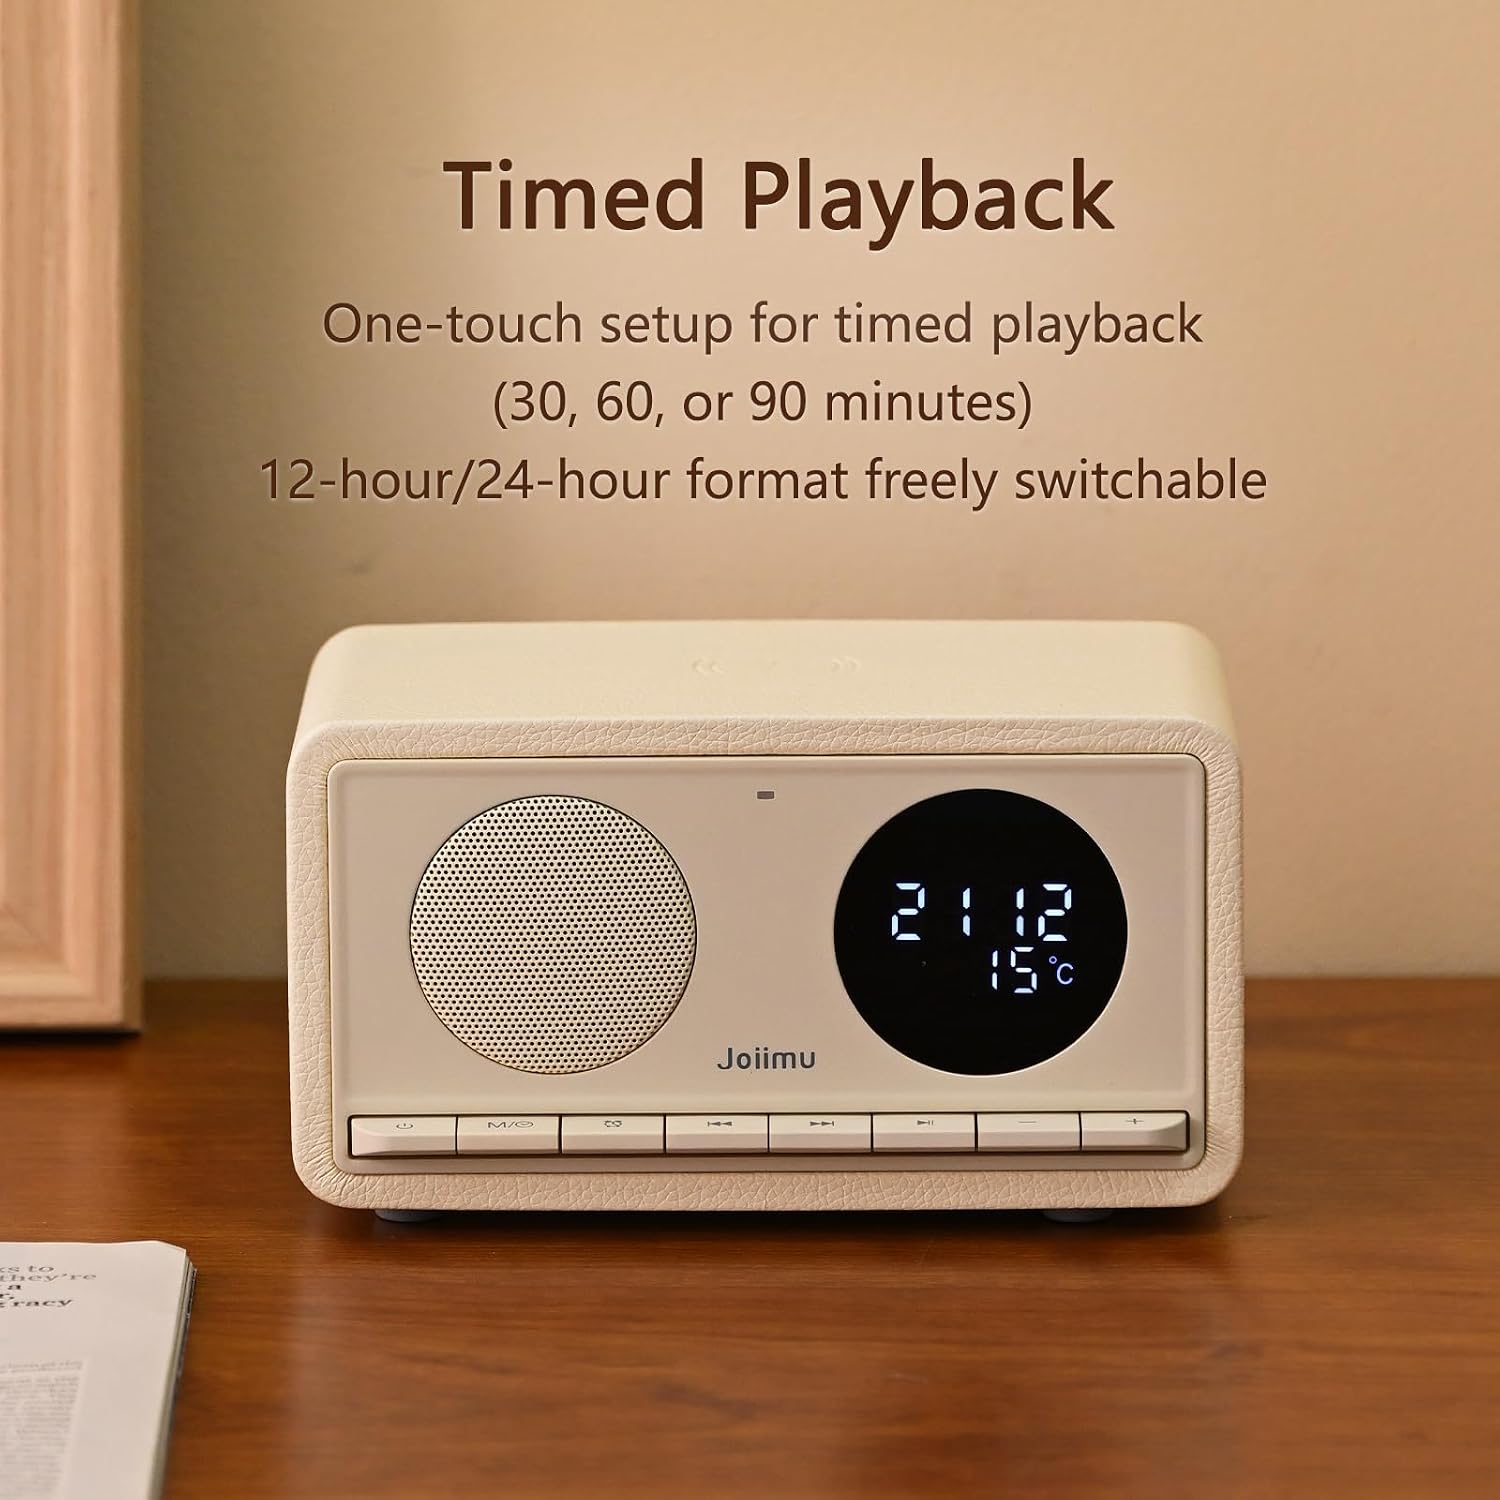
Figure 8: One-touch setup for timed playback (30, 60, or 90 minutes).
5.7 AUX Input
Connect an external audio device (e.g., MP3 player, computer) to the AUX port on the rear of the Joiimu JM5 using a 3.5mm audio cable (not included). Press the M/O button until "AUX" mode is selected. Audio from the connected device will now play through the speaker.
5.8 TF Card Playback
Insert a TF (Micro SD) card containing MP3 audio files into the SD slot on the rear of the device. Press the M/O button until "SD" mode is selected. The device will automatically begin playing music from the card. Use the Previous Song, Next Song, and Play/Pause buttons to control playback.

Figure 9: Rear view highlighting multiple playback options including AUX and TF card.
6. Maintenance
6.1 Cleaning
To clean the device, gently wipe the surfaces with a soft, dry cloth. Do not use abrasive cleaners, waxes, or solvents as they may damage the finish. Avoid spraying liquids directly onto the device.
6.2 Battery Care
The Joiimu JM5 contains a built-in rechargeable battery. To prolong battery life:
- Avoid fully discharging the battery frequently.
- Charge the device regularly, even if not in frequent use.
- Store the device in a cool, dry place when not in use for extended periods.
7. Troubleshooting
- Device does not power on: Ensure the device is charged. Connect it to a power source using the USB-C cable and try again.
- No sound from speaker: Check the volume level on both the device and your connected Bluetooth source. Ensure the correct mode (Bluetooth, FM, AUX, TF Card) is selected.
- Bluetooth pairing issues: Make sure the device is in Bluetooth mode and discoverable. Turn off and on Bluetooth on your source device, then try pairing again. Ensure no other devices are currently connected to the Joiimu JM5.
- FM radio reception is poor: Ensure the device is not near sources of interference. Try repositioning the device to improve signal.
- Wireless charging not working: Ensure your phone is Qi-compatible and correctly centered on the charging pad. Remove any thick phone cases. The device should be powered on or in standby and ideally connected to a power source for wireless charging.
- Cannot change temperature unit (Celsius to Fahrenheit): The Joiimu JM5 model JM5 may only support Celsius display. If there is no specific button combination or setting option in the manual to change this, Fahrenheit display might not be a supported feature for this model.
- Alarm sound options are limited: The alarm function typically uses built-in soothing sounds. If you expect FM radio as an alarm sound, this specific model may not support that feature. Refer to the alarm setting instructions for available options.
8. Specifications
| Brand | Joiimu |
| Model Number | JM5 |
| Color | White |
| Display Type | LED |
| Connectivity Technology | Bluetooth 5.1 |
| Power Source | Rechargeable (2600mAh battery included) |
| Input Voltage | 5 Volts |
| Product Dimensions | 5.5"W x 3.54"H |
| Item Weight | 1.58 pounds |
| Material | Acrylonitrile Butadiene Styrene (ABS), Engineered Wood, Leather |
9. Warranty and Support
The Joiimu JM5 comes with a limited warranty. For specific warranty terms and conditions, please refer to the documentation included with your purchase or contact Joiimu customer support. For technical assistance or further inquiries, please reach out to the retailer or manufacturer's support channels.