
NiesahYan ZL190PLUS
NiesahYan ZL190PLUS Handheld GPS Land Surveying Equipment User Manual
Comprehensive Instructions for Operation and Maintenance
1. Introduction
This manual provides comprehensive instructions for the operation and maintenance of your NiesahYan ZL190PLUS Handheld GPS Land Surveying Equipment. Please read this manual thoroughly before use to ensure proper functionality and to maximize the device's capabilities.
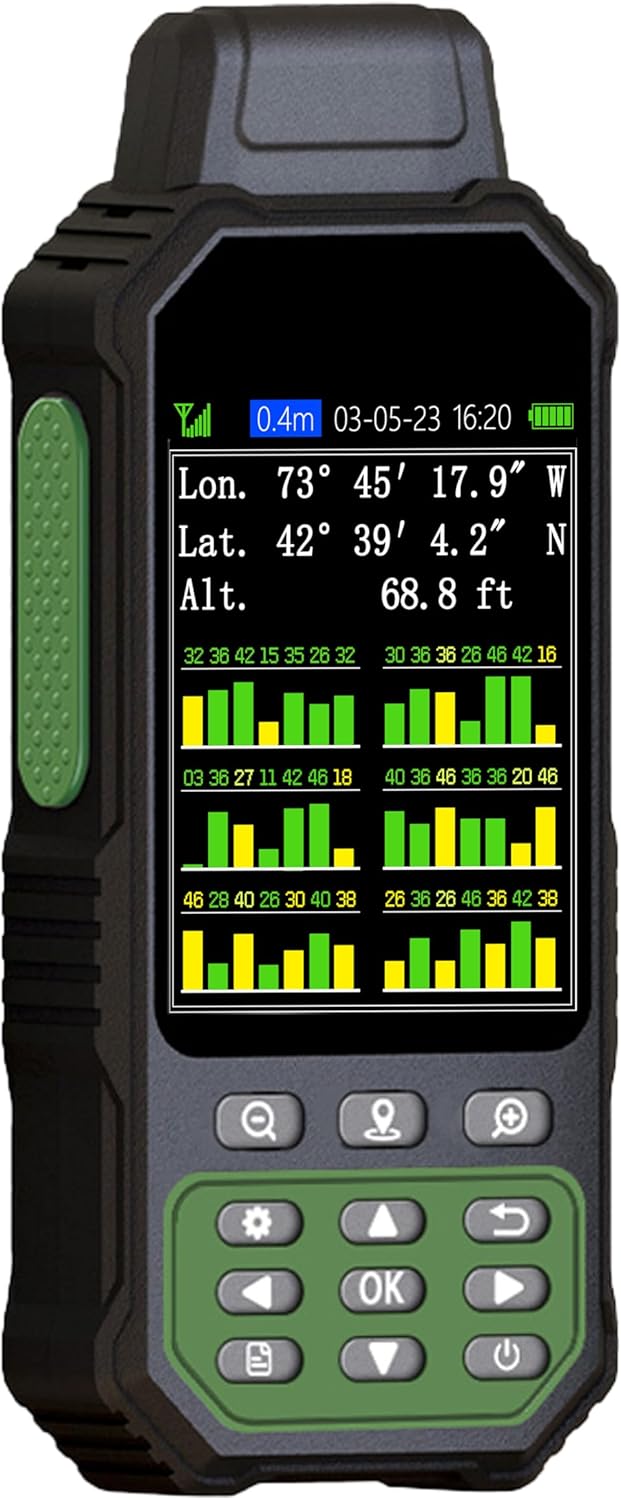
Figure 1: NiesahYan ZL190PLUS Handheld GPS device. This image shows the front view of the rugged, black and green handheld GPS unit with its 3.2-inch color screen displaying satellite signal strength, coordinates, and altitude.
2. Safety Information
Always operate the device in a safe manner. Ensure a clear view of the sky for optimal satellite signal reception. Do not use the device for navigation purposes; it is designed for surveying and measurement only. The altitude data is GPS-derived and may fluctuate.
3. Package Contents
Verify that all items are present in the package:
- ZL190PLUS Handheld GPS Unit
- USB Cable
- USA Plug (Power Adapter)
- Portable Rope (Lanyard)
- User Manual (this document)

Figure 2: Included components. This image displays the NiesahYan ZL190PLUS device, a USB cable, a USA plug power adapter, and a portable rope (lanyard), all neatly arranged.
4. Setup
4.1 Charging the Device
Before first use, fully charge the device using the provided USB cable and USA plug. The device features a 4000 mAh Li-ion rechargeable battery, offering up to 48 hours of continuous use.

Figure 3: Charging the device. This image shows the handheld GPS unit connected via its USB-C port to a power adapter plugged into a wall outlet, indicating the charging process.
4.2 Initial Power On and Satellite Acquisition
- Press and hold the power button to turn on the device.
- Take the device outdoors to an area with an unobstructed view of the sky.
- Allow 1-2 minutes for the device to acquire satellite signals. Ensure the signal value in the upper left corner of the screen is below 1 meter for optimal accuracy.
Figure 4: Satellite signal display. The device screen shows longitude, latitude, altitude, and a graphical representation of satellite signal strength, indicating successful satellite acquisition.
4.3 Language and Unit Settings
Access the settings menu to configure language, area units (e.g., acres, square meters), and length units (e.g., feet, meters, kilometers, miles) according to your preference.

Figure 5: Unit selection screen. This image shows the device's settings menu where users can select preferred units for area (m², sq.ft, hm², acre) and length (m, ft, km, mi).
5. Operating Instructions
The ZL190PLUS offers 7 measurement modes for various surveying needs. Ensure the device is held horizontally during measurements for accuracy.
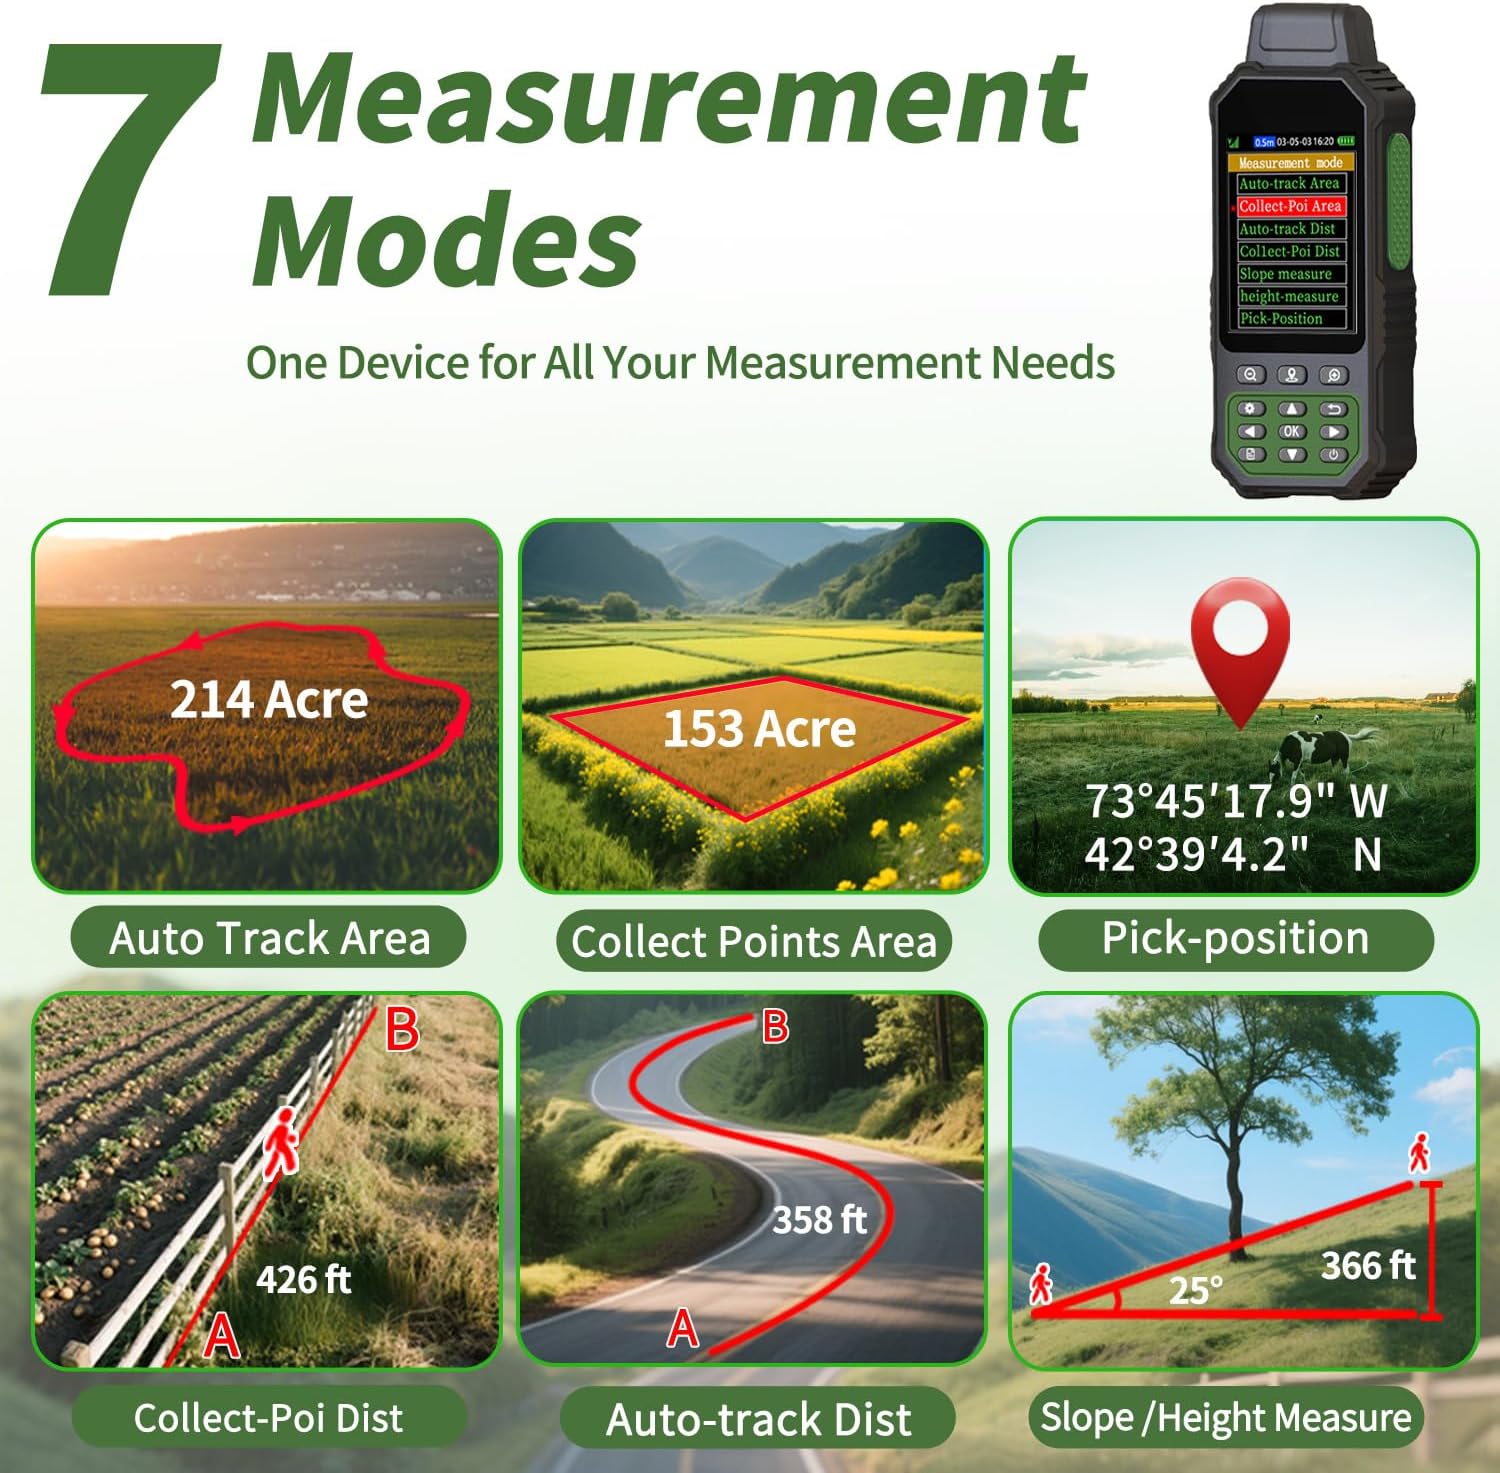
Figure 6: Seven measurement modes. This graphic illustrates the seven available measurement modes: Auto Track Area, Collect Points Area, Pick-position, Collect-Poi Dist, Auto-track Dist, and Slope/Height Measure, with visual examples for each.
5.1 Area Measurement (Auto-Track Area)
- Select "Auto-track Area" from the measurement modes.
- Press the "Start" button at your starting point.
- Walk along the perimeter of the area you wish to measure, maintaining a regular pace. The device will track your path.
- Return to your starting point and press the "Stop" button to complete the measurement. The device will calculate and display the area.

Figure 7: Auto-track area measurement. This image shows two examples of area measurement: one for a house lawn (26.3 Acre) and another for a field with livestock (103.2 Acre), demonstrating the device's ability to measure irregular and regular shapes.
Recommendation: For best accuracy, measure areas above 0.16 acres (approximately 7,000 sq ft).
5.2 Length Measurement (Auto-Track Dist / Collect-Point Dist)
- Select "Auto-track Dist" for continuous length measurement or "Collect-Point Dist" for point-to-point measurement.
- For "Auto-track Dist", press "Start" and walk the desired path. Press "Stop" to view the total distance.
- For "Collect-Point Dist", mark your start and end points. The device will calculate the straight-line distance.
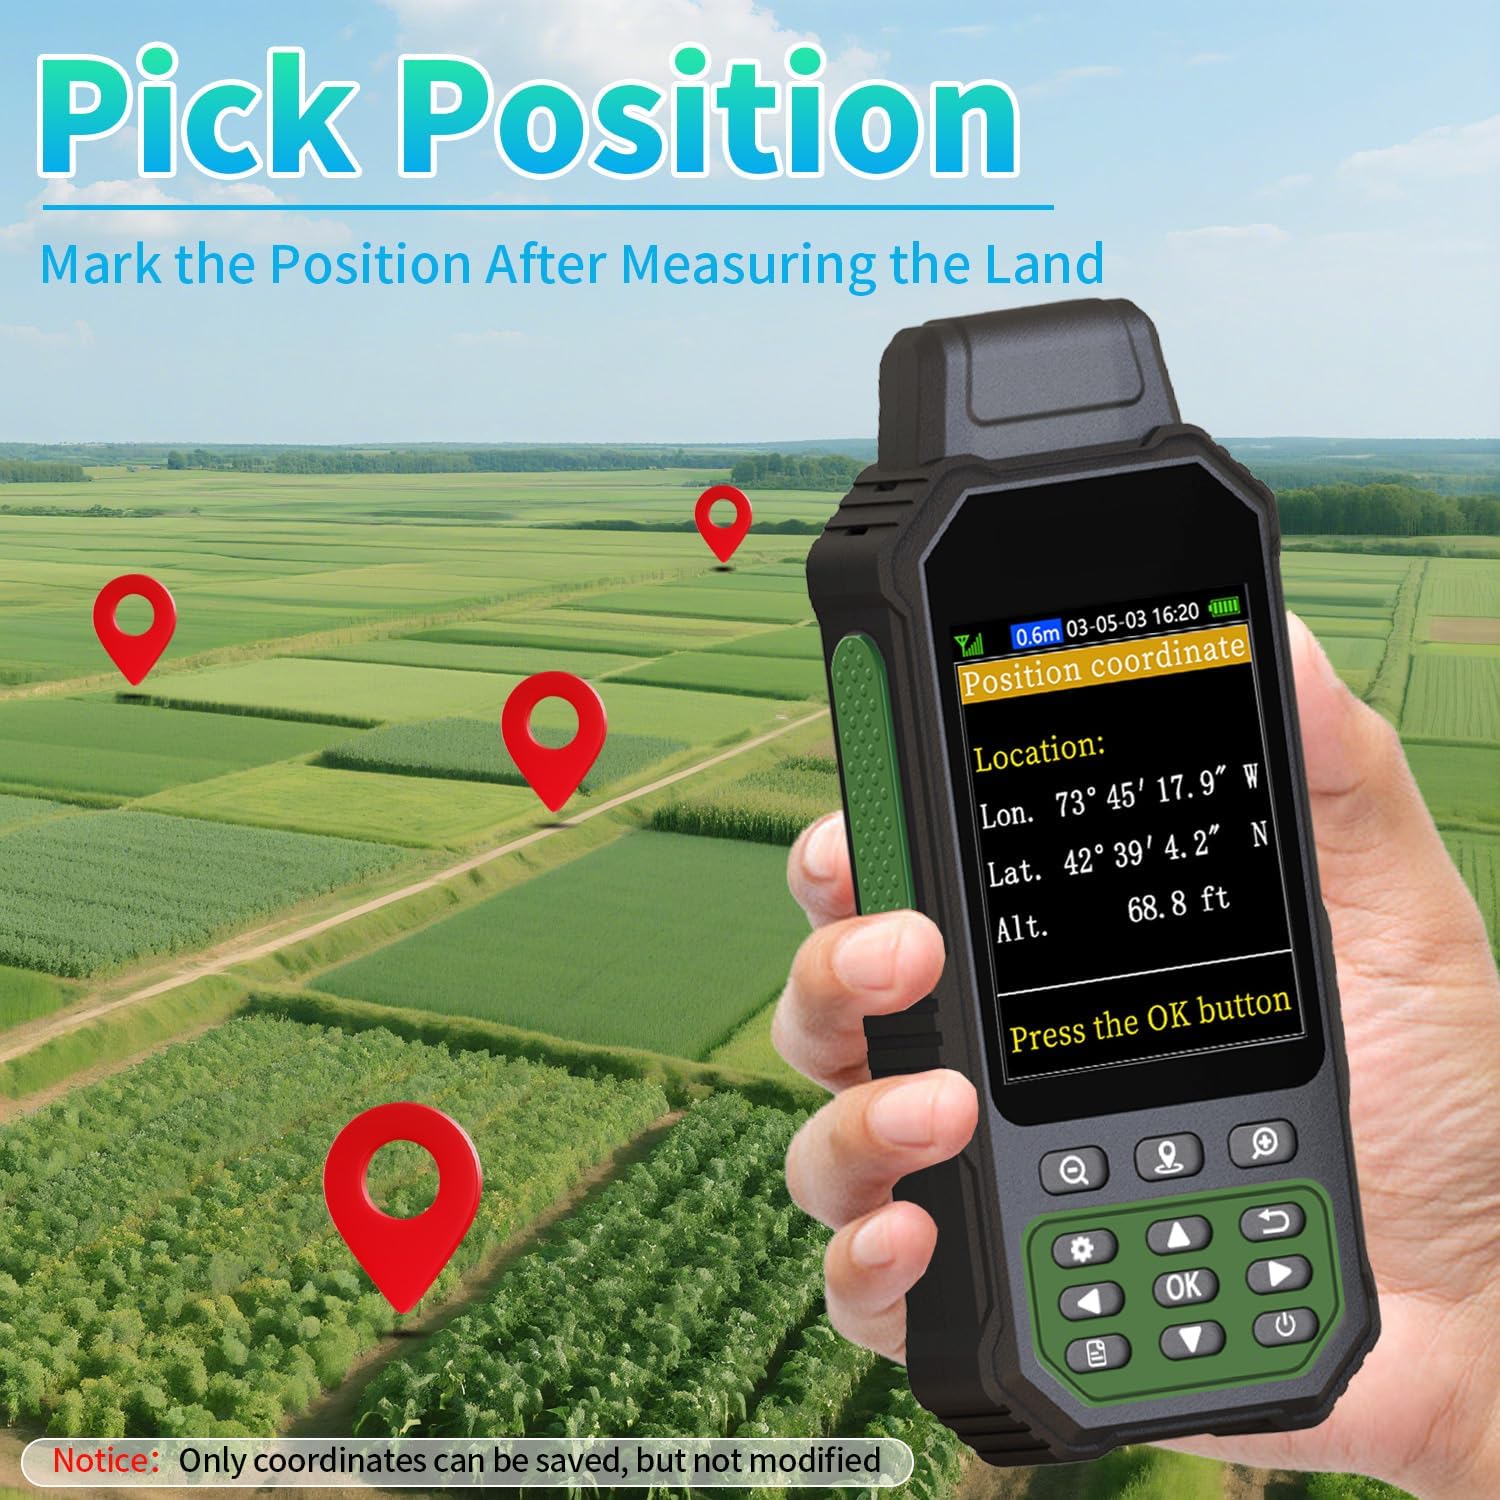
Figure 8: Auto-track and Collect-Point distance measurement. This image illustrates two methods of distance measurement: "Auto-track Distance" showing a curved path of 2073 ft, and "Collect-Point Distance" showing a straight line of 1026 ft between two points.
Recommendation: For best accuracy, measure distances above 328 ft.
5.3 Slope and Height Measurement
The device can measure slope and height. Follow the on-screen prompts for each specific mode. This is useful for terrain analysis.
5.4 Saving Coordinate Points
Use the "Pick Position" mode to save the coordinate points of your current location. Note that these coordinates can be saved but not modified on the device.
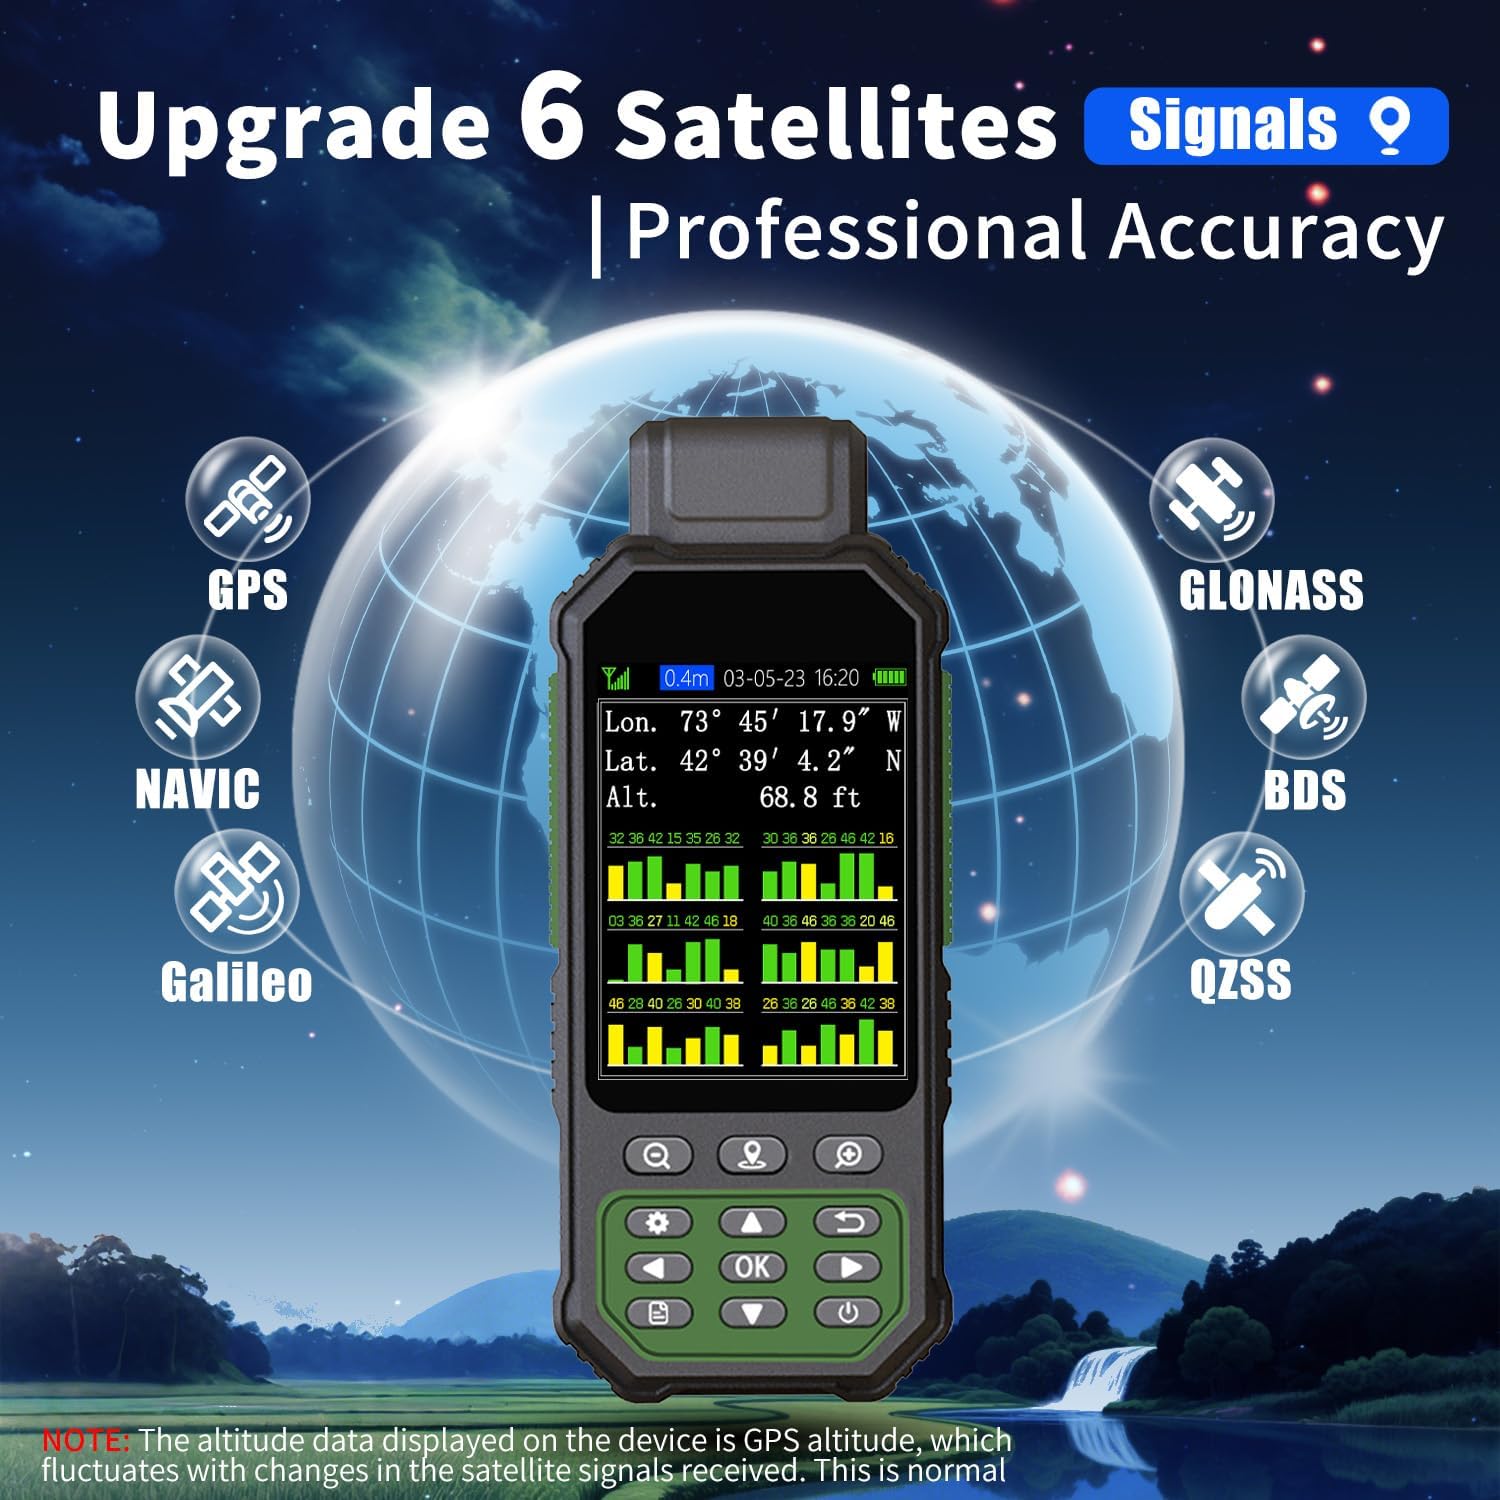
Figure 9: Pick Position feature. A hand holds the GPS device, displaying location coordinates (longitude, latitude, altitude) with red pins marking points in a green field, indicating the ability to save current position coordinates.
5.5 Data Records and Export
The device automatically records measurement data. It can store up to 100 data records. When the memory is full, the latest measurements will overwrite the oldest. You can export previous records to your computer via USB cable in CSV format.

Figure 10: Data records and export. This image shows the device displaying historical records and the option to export data, with an illustration of a computer screen showing exported data in a spreadsheet.
6. Maintenance
6.1 Cleaning
Wipe the device with a soft, damp cloth. Avoid harsh chemicals or abrasive cleaners.
6.2 Storage
Store the device in a cool, dry place away from direct sunlight and extreme temperatures. If storing for extended periods, ensure the battery is partially charged.
6.3 Water and Dust Resistance
The ZL190PLUS is IP65-rated, providing superior durability against dust and water splashes. However, it is not designed for submersion.
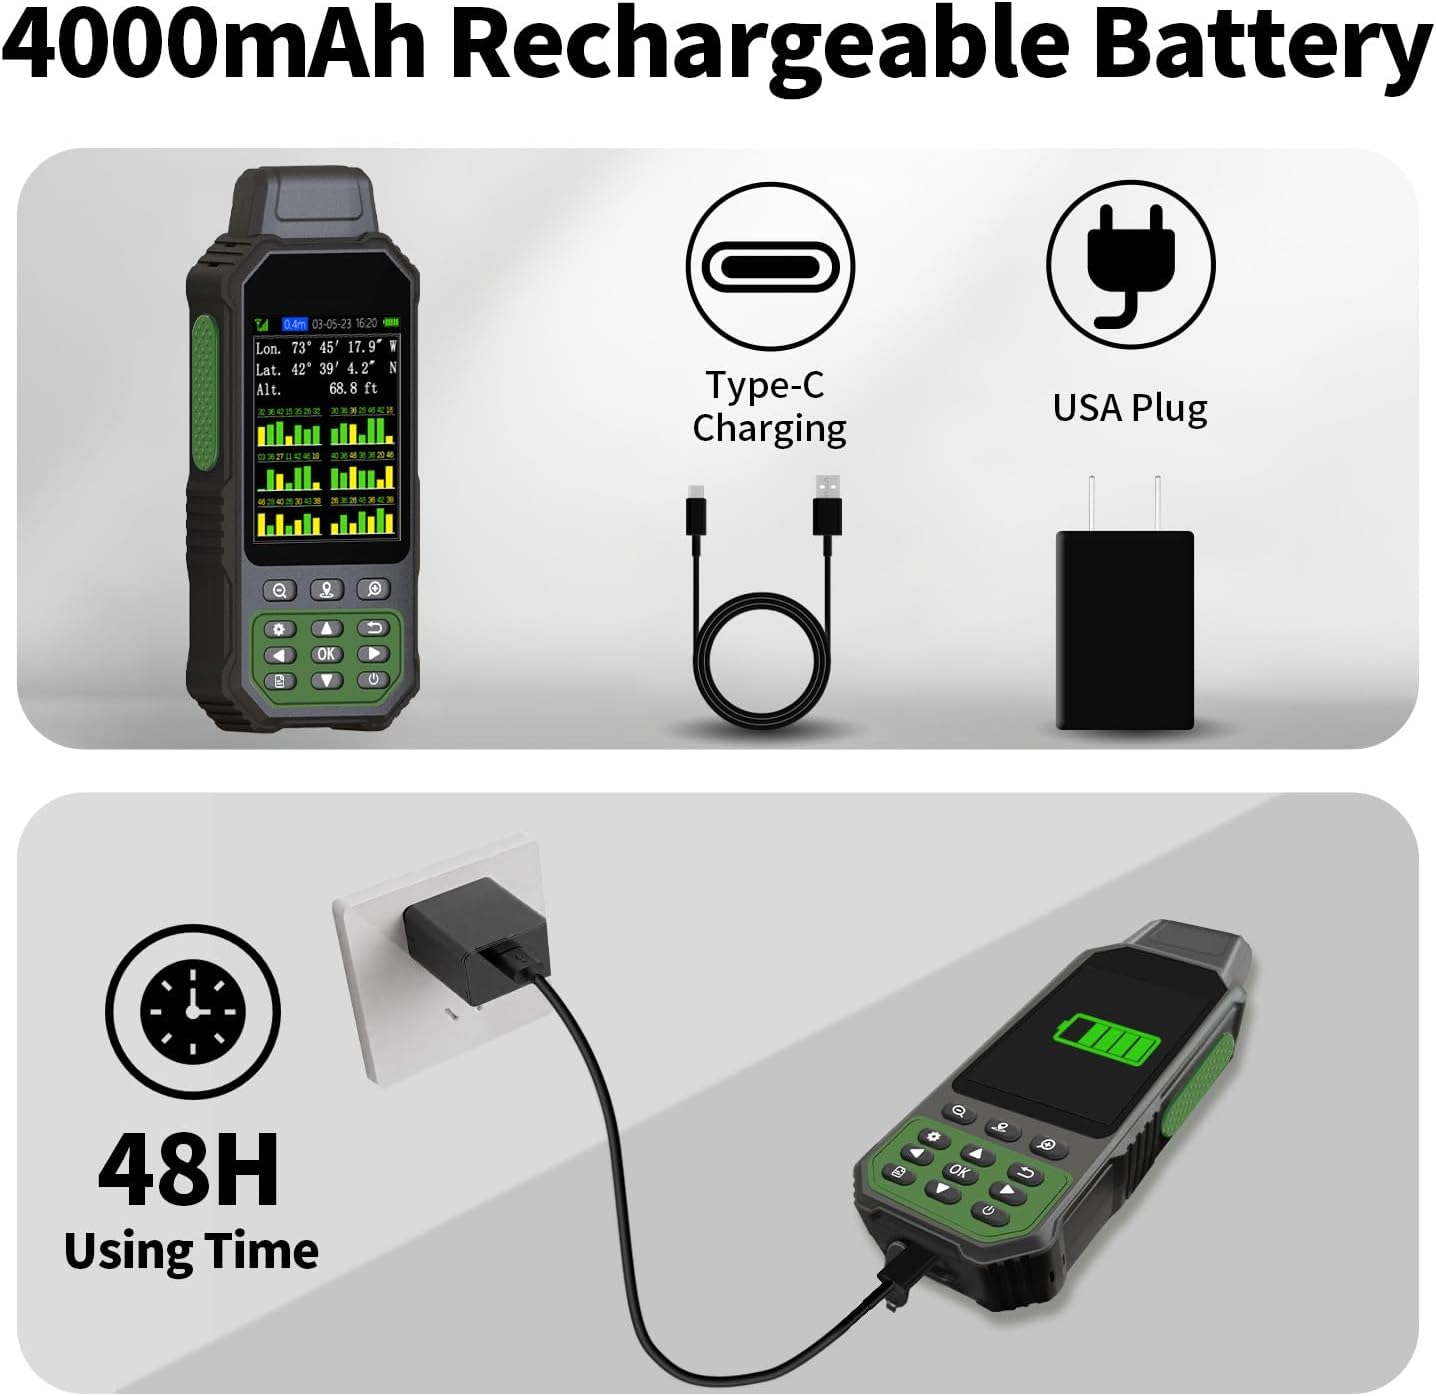
Figure 11: IP65 rating. This image shows the handheld GPS device being splashed with water, highlighting its IP65 waterproof and drop-resistant features, with icons for dust-proof, drop resistance, and waterproof.
7. Troubleshooting
| Problem | Possible Cause | Solution |
|---|---|---|
| No satellite signal / Low accuracy | Obstructed view of sky, initial signal acquisition not complete. | Move to an open area with a clear view of the sky. Wait 1-2 minutes for signal acquisition. Ensure signal value is below 1m. |
| Device not turning on | Low battery. | Charge the device fully. |
| Incorrect altitude reading | GPS altitude fluctuates with satellite signals. | This is normal for GPS altitude. For precise elevation, use a dedicated altimeter or survey equipment. |
8. Specifications
| Feature | Detail |
|---|---|
| Model Name | ZL190PLUS |
| Brand | NiesahYan |
| Display Size | 3.2 Inches |
| Display Resolution | 240 x 320 pixels |
| Satellite Systems Supported | GPS, Beidou, Galileo, GLONASS, NAVIC, QZSS |
| Area Measurement Error | < 0.002 acres |
| Distance Measurement Error | < 5 ft |
| Battery Capacity | 4000 mAh Li-ion |
| Battery Life | Up to 48 hours (continuous use) |
| Connectivity | USB (Type-C) |
| Water/Dust Resistance | IP65-rated |
| Item Weight | 7.8 ounces |
| Product Dimensions | 2 x 1 x 6 inches |
9. Warranty and Support
9.1 Warranty Information
This product comes with a 2-year manufacturer's warranty. Please retain your proof of purchase for warranty claims.
9.2 Customer Support
For technical assistance, troubleshooting, or warranty inquiries, please contact NiesahYan customer support. Refer to the product packaging or the official NiesahYan website for contact details.
10. Product Videos
ZL190PLUS Introduction Video
This video provides an overview of the NiesahYan ZL190PLUS Handheld GPS Land Surveying Equipment, showcasing its key features and applications.
How to Use ZL190PLUS
A step-by-step guide demonstrating the practical usage of the ZL190PLUS device for various measurement tasks.
Notice Before Use ZL190PLUS
Important considerations and tips to review before operating your ZL190PLUS to ensure optimal performance and accuracy.
Ask a question about this manual
Ask about setup, troubleshooting, compatibility, parts, safety, or missing instructions. Manuals+ will review the question and use this page’s manual context to help answer it.