
1. Introduction
The Meshnology MeshPocket Qi2 Magnetic Power Bank 10000mAh is a versatile portable charging solution designed for modern mobile devices. It combines Qi2-certified magnetic wireless charging with 20W USB-C fast charging capabilities. Beyond power delivery, this device integrates Bluetooth and LoRa technology, featuring an E-Ink display for seamless Meshtastic system integration, making it suitable for both daily use and outdoor communication needs.
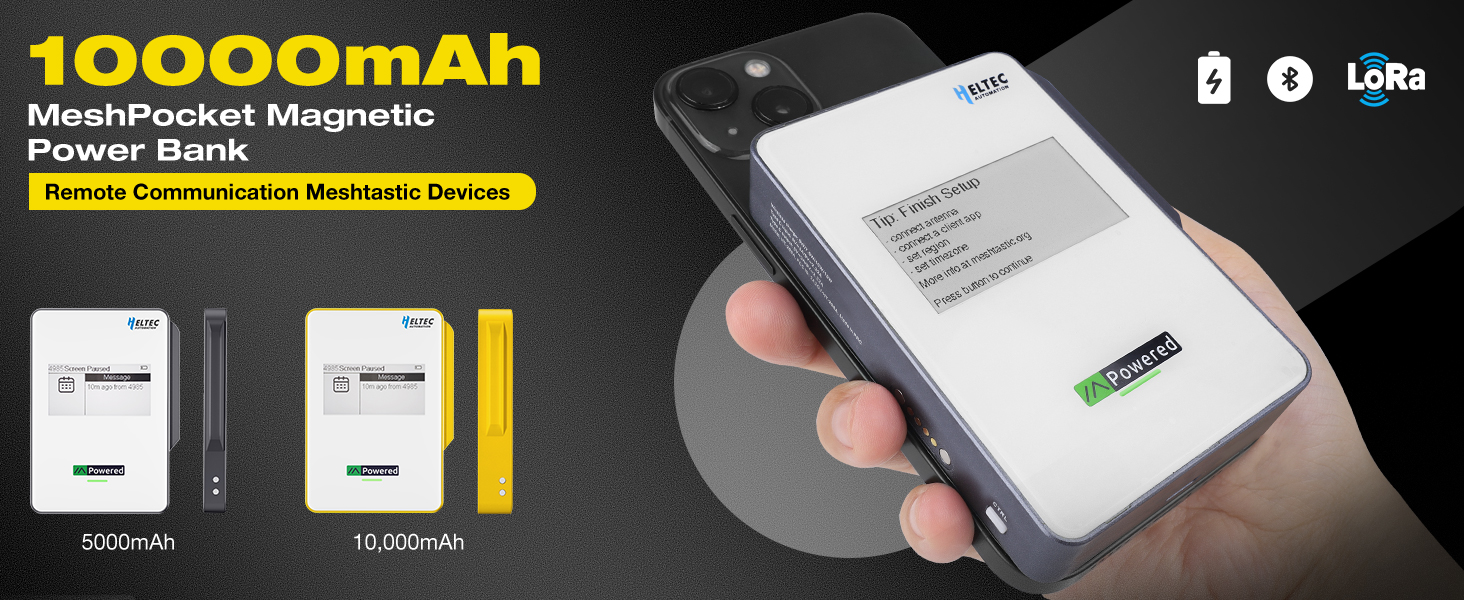
Image: The MeshPocket 10000mAh Magnetic Power Bank demonstrating its dual charging capabilities with a smartphone.
2. Product Overview
2.1 Key Features
- Qi2 Magnetic Wireless Charging: Provides 5W-15W wireless charging for compatible devices.
- 20W USB-C Fast Charging: Supports rapid charging via USB-C port, compatible with PD and AFC protocols.
- 10000mAh Battery Capacity: High-capacity lithium polymer battery for extended use.
- Integrated Meshtastic Communication: Features Bluetooth and LoRa technology for off-grid communication.
- E-Ink Display: Low-power display for status updates and Meshtastic messages.
- Durable Design: Constructed with rugged ABS and tempered glass for outdoor environments.
- Comprehensive Safety Protections: Includes overvoltage, undervoltage, overcurrent, short circuit, overcharge, overdischarge, NTC temperature, and chip temperature protection.
- Developer-Friendly: Open-source firmware for customization and IoT projects.
2.2 Product Components
Familiarize yourself with the various parts of your MeshPocket device:

Image: Detailed view of the MeshPocket's external components and their functions.
- E-Ink Display: Shows device status, Meshtastic messages, and other information.
- Charging Indicator Light: Provides visual feedback on charging status.
- Firmware Upgrade Interface: Used for updating device firmware.
- Power Control Button: For turning the device on/off and other power-related functions.
- Type-C Input/Output Port: For charging the power bank and wired charging of other devices.
- Magnetic Wireless Charging Area: For Qi2-compatible wireless charging.
- LoRa Antenna: For long-range Meshtastic communication.
- Function USER Button: User-programmable button for custom actions.
- Function RST Button: Reset button for device restart.
2.3 What's Included
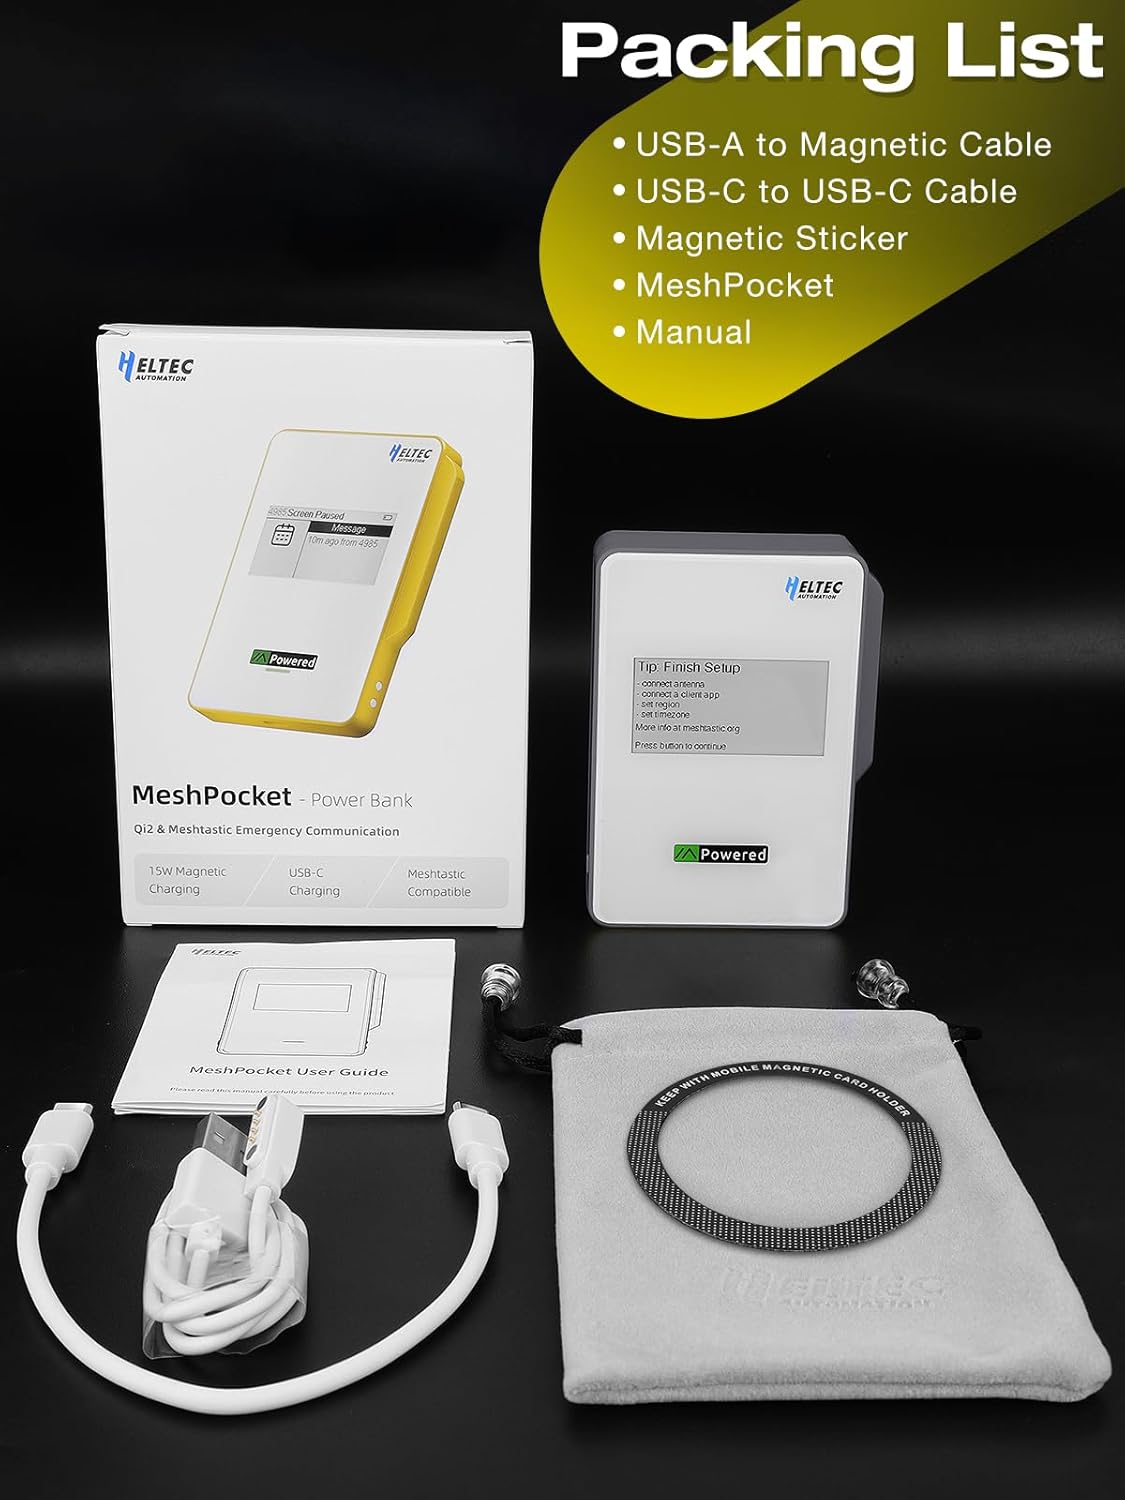
Image: The MeshPocket package contents, including cables, magnetic sticker, the device, and manual.
- MeshPocket Qi2 Magnetic Power Bank
- USB-A to Magnetic Cable
- USB-C to USB-C Cable
- Magnetic Sticker
- User Manual
3. Setup
3.1 Initial Charging
- Before first use, fully charge your MeshPocket. Connect the provided USB-C to USB-C cable to the MeshPocket's Type-C port and a compatible USB power adapter (not included).
- The charging indicator light will illuminate, and the E-Ink display will show charging status.
- Charging is complete when the indicator light changes or the display shows 100%.
3.2 Meshtastic App Connection
- Download the official Meshtastic app from your device's app store.
- Power on the MeshPocket by pressing the Power Control Button.
- Open the Meshtastic app on your smartphone and follow the in-app instructions to connect to your MeshPocket via Bluetooth.
- The E-Ink display will guide you through the initial setup process for Meshtastic.
Note: For optimal Meshtastic performance, ensure your device's firmware is up to date. Refer to the official Meshtastic documentation for detailed setup and configuration.
4. Operating Instructions
4.1 Magnetic Wireless Charging (Qi2)
- Ensure your smartphone is Qi2 compatible or has a magnetic case/sticker.
- Align your smartphone with the magnetic wireless charging area on the MeshPocket. The magnets will snap into place.
- Charging will begin automatically. The E-Ink display may show wireless charging status.
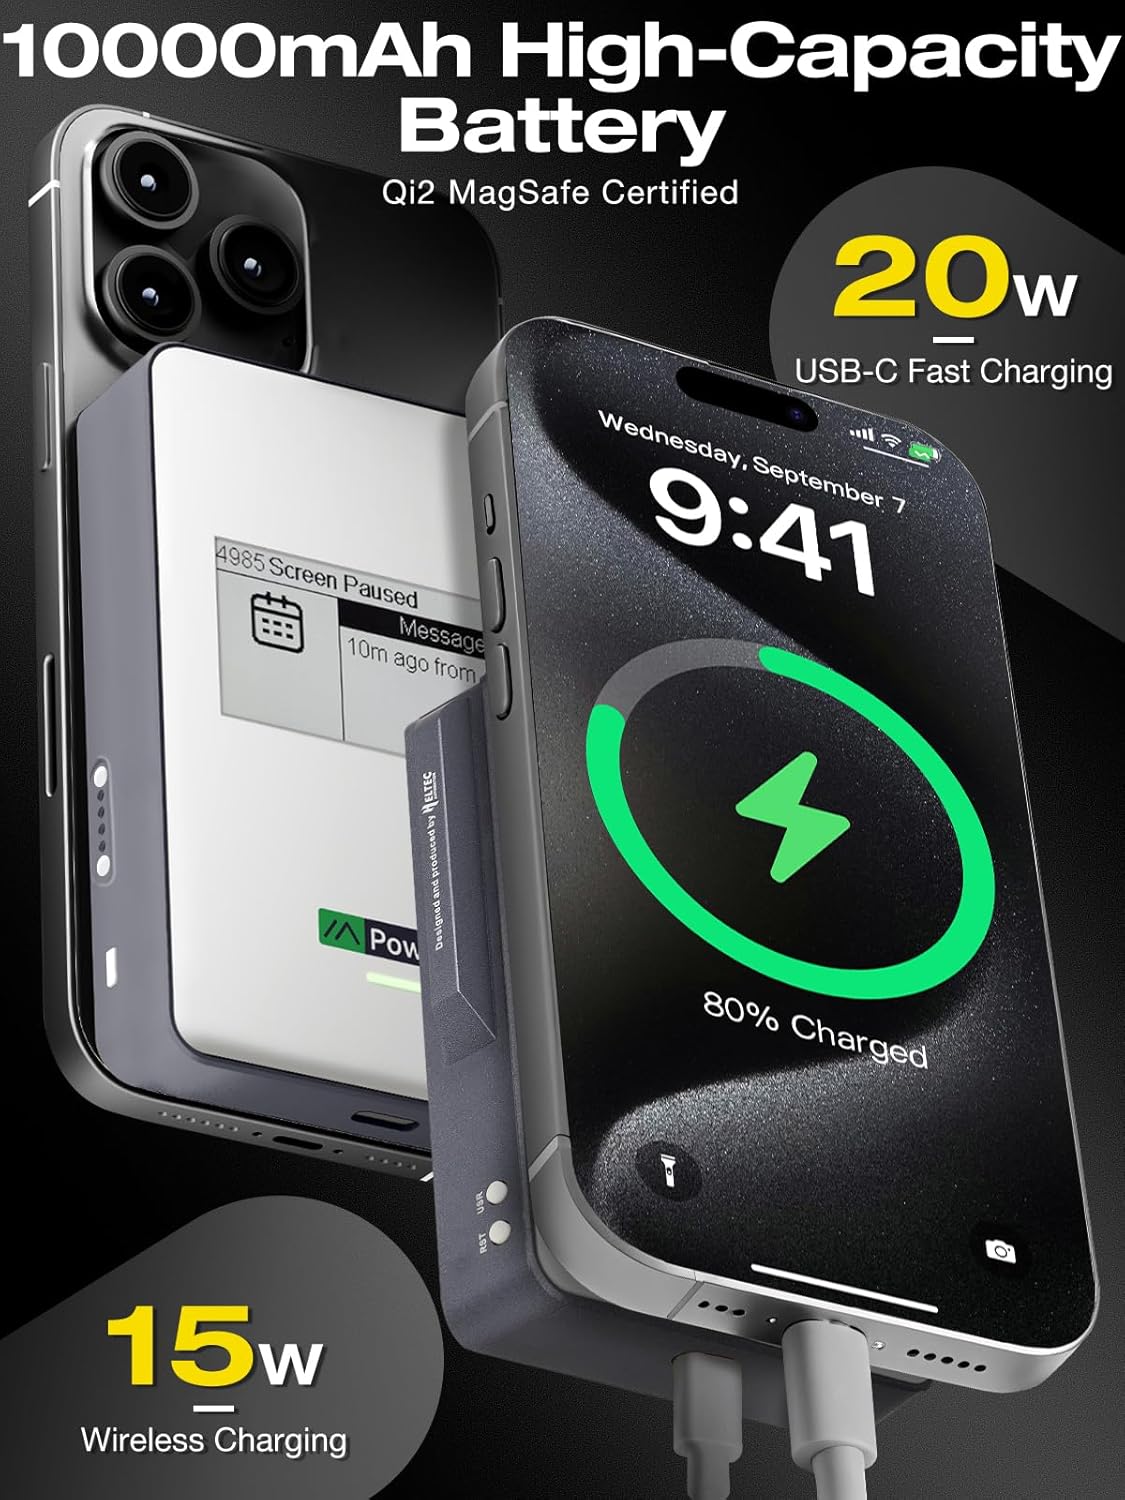
Image: A smartphone being wirelessly charged by the MeshPocket.
4.2 Wired Charging (USB-C)
- Connect your device to the MeshPocket's Type-C port using a compatible USB-C cable.
- The MeshPocket will automatically detect the device and begin charging.
- The MeshPocket supports simultaneous wired and wireless charging.
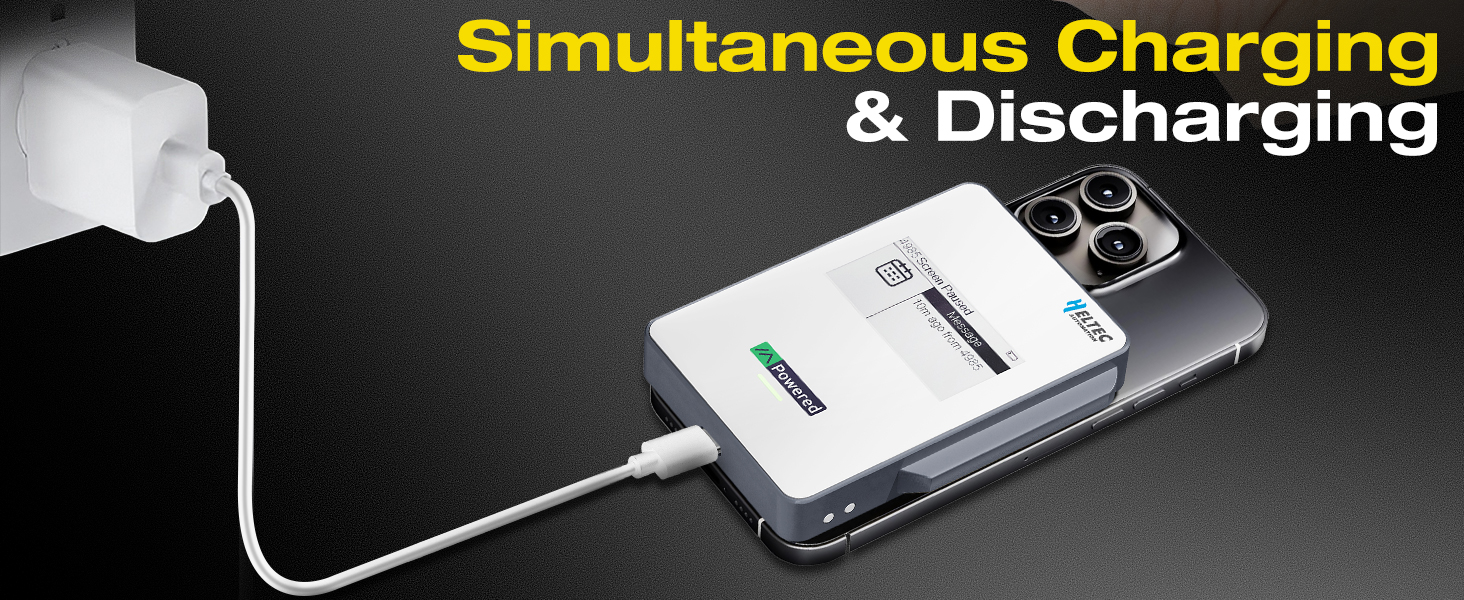
Image: The MeshPocket demonstrating simultaneous charging and discharging.
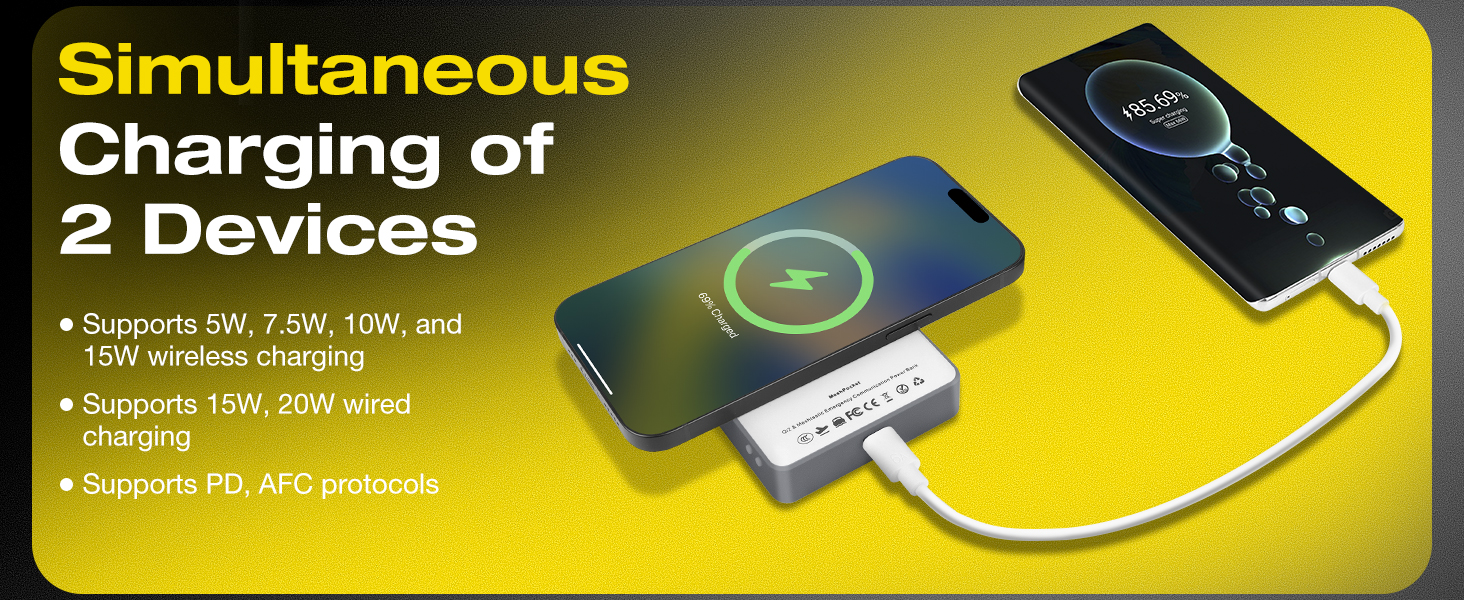
Image: The MeshPocket charging two devices simultaneously.
4.3 E-Ink Display Usage
The E-Ink display provides critical information with low power consumption. It shows:
- Battery level
- Charging status
- Meshtastic network status
- Received Meshtastic messages
- Setup prompts
Navigate through display menus using the Power Control Button and Function USER Button as indicated on the screen or in the Meshtastic app.
4.4 Meshtastic Communication
The MeshPocket acts as a Meshtastic node, enabling off-grid communication.
- Ensure the LoRa antenna is properly connected.
- Use the Meshtastic app on your paired smartphone to send and receive messages.
- The MeshPocket's E-Ink display will show incoming messages and network status.
- The device supports long-range communication up to 10km in optimal conditions.
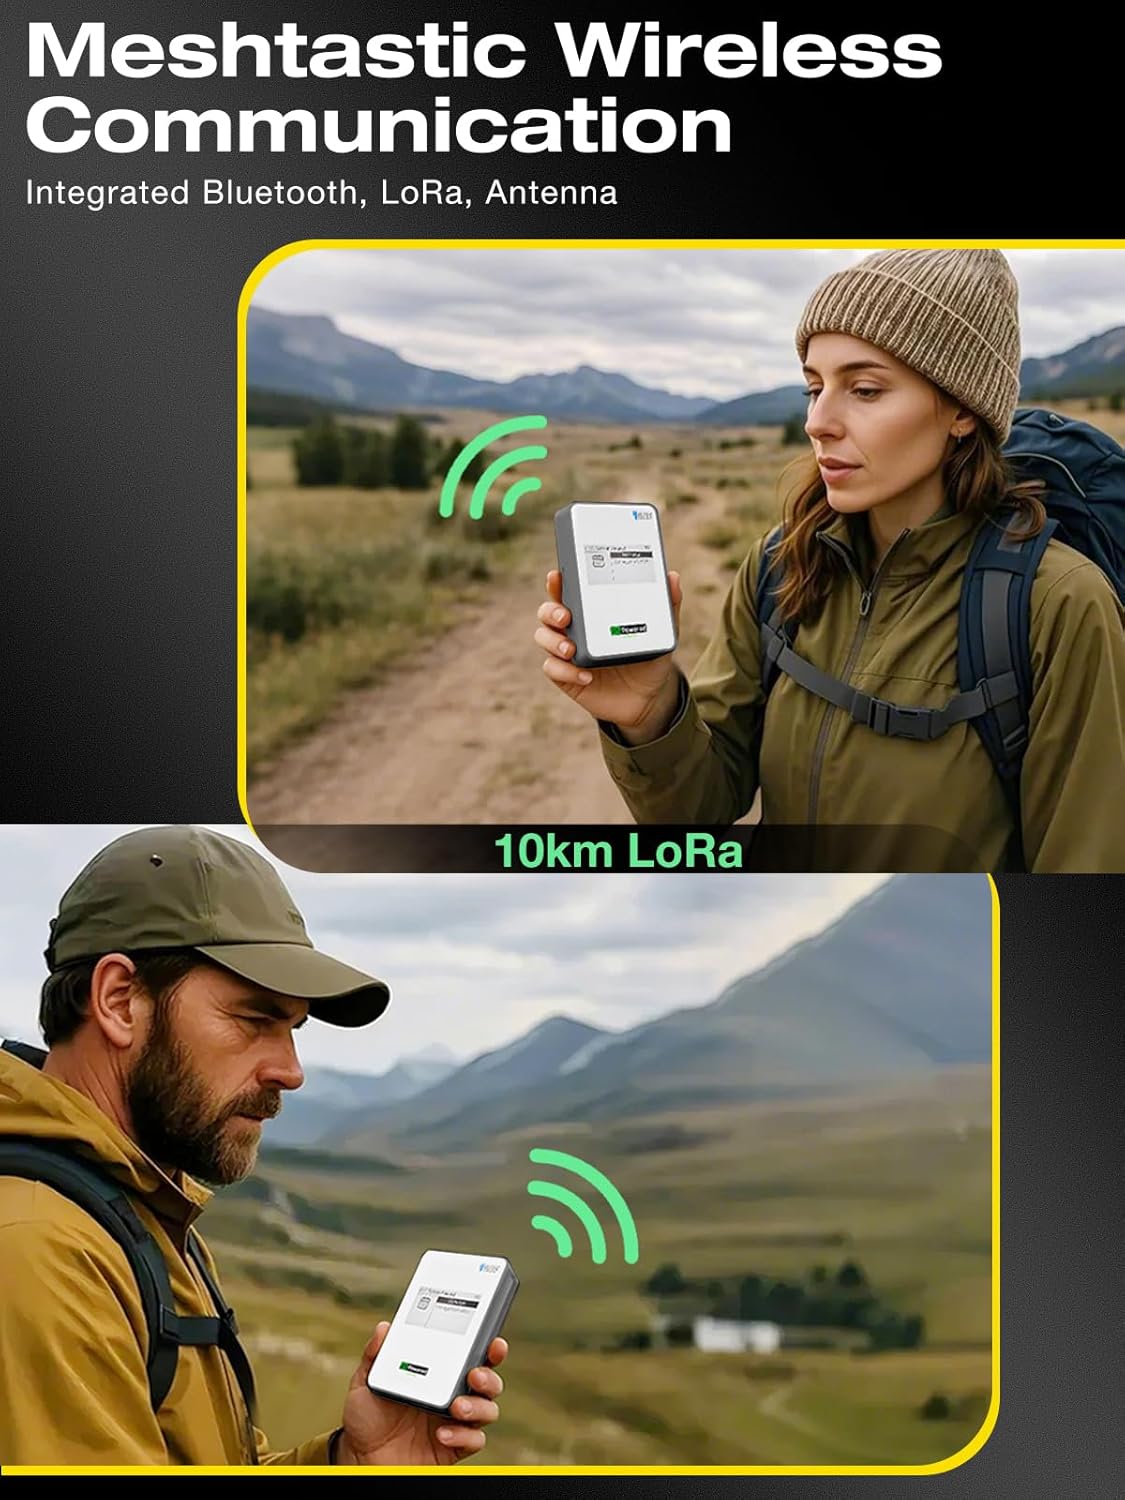
Image: Demonstrating Meshtastic wireless communication in an outdoor setting.
Video: An official product video demonstrating the MeshPocket Meshtastic Qi2 Magnetic Power Bank in various usage scenarios, highlighting its features and connectivity.
5. Maintenance
5.1 Cleaning
- Wipe the device with a soft, dry cloth.
- Do not use harsh chemicals, cleaning solvents, or strong detergents.
- Avoid getting moisture into any openings.
5.2 Storage
- Store the MeshPocket in a cool, dry place away from direct sunlight and extreme temperatures.
- For long-term storage, charge the device to approximately 50% every three months to preserve battery health.
5.3 Firmware Updates
Periodically check for firmware updates via the Meshtastic app or the official Meshnology website to ensure optimal performance and access to new features. Use the firmware upgrade interface as directed by update instructions.
6. Troubleshooting
| Problem | Possible Cause | Solution |
|---|---|---|
| Device not turning on or unresponsive display. | Low battery; device frozen; internal damage. |
|
| Wireless charging not working. | Misalignment; non-Qi2 compatible device/case; foreign objects; power bank low battery. |
|
| Wired charging not working. | Faulty cable; power bank low battery; incompatible device. |
|
| Meshtastic connectivity issues. | Bluetooth not enabled; app not paired; outdated firmware; LoRa antenna disconnected. |
|
| Device gets excessively hot during charging. | Normal heat generation; poor ventilation; faulty unit. |
|
7. Specifications
| Feature | Detail |
|---|---|
| Model Number | HT-298B |
| Battery Capacity | 10000 Milliamp Hours (Lithium Polymer) |
| Wireless Charging Output | 5W-15W (Qi2 Certified) |
| USB-C Output | Up to 20W (Supports PD, AFC protocols) |
| Input (USB-C) | 5 Volts (Corded Electric) |
| Connectivity | Bluetooth, LoRa (Meshtastic compatible) |
| Display Type | E-Ink Digital Display |
| Dimensions (L x W x Thickness) | 4"L x 2.9"W x 0.67"Th (102mm x 74.1mm x 17mm) |
| Weight | 220 Grams |
| Operating Temperature | -20°C to 55°C |
| Material | ABS & Tempered Glass |

Image: Dimensions and weight of the MeshPocket.
8. Safety Information
The MeshPocket is equipped with multiple safety features to ensure reliable operation:
- Overvoltage Protection: Prevents damage from excessive voltage input.
- Undervoltage Protection: Safeguards against battery over-discharge.
- Overcurrent Protection: Protects against excessive current flow.
- Short Circuit Protection: Automatically shuts off in case of a short circuit.
- Overcharge Protection: Prevents battery damage from overcharging.
- Overdischarge Protection: Extends battery life by preventing deep discharge.
- NTC Temperature Protection: Monitors and regulates internal temperature.
- Chip Temperature Protection: Ensures the internal chip operates within safe temperature limits.
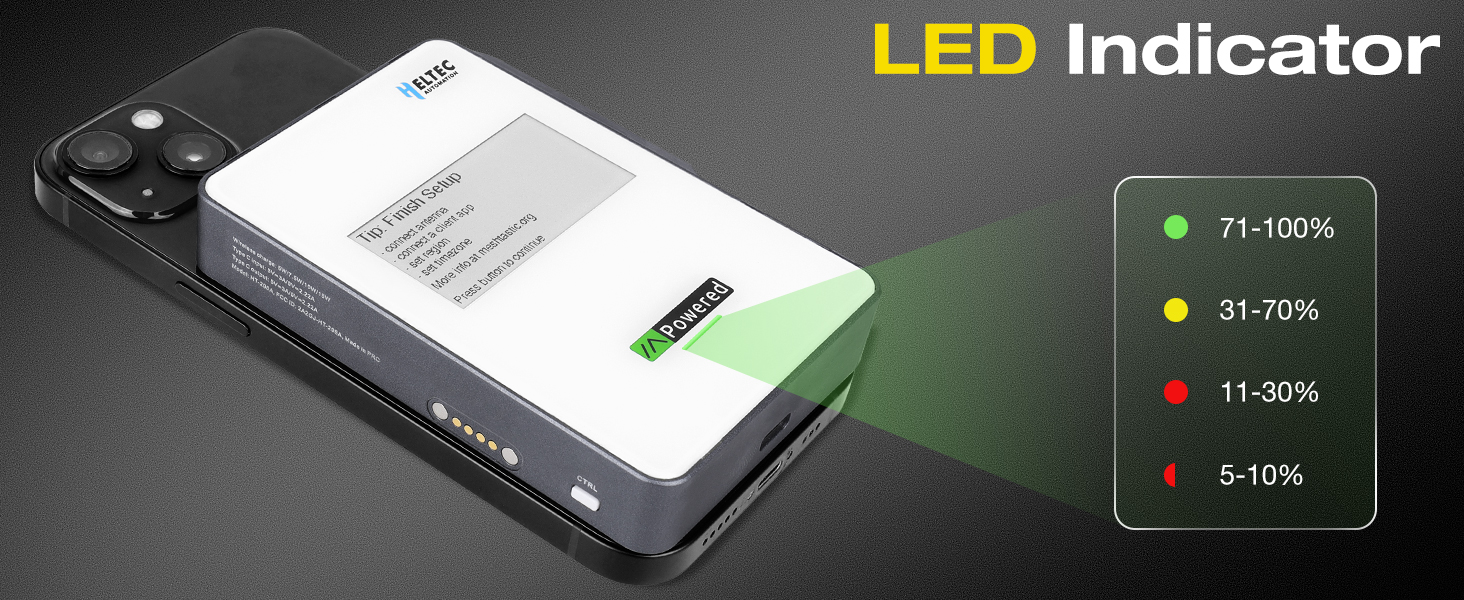
Image: LED indicator for battery status.
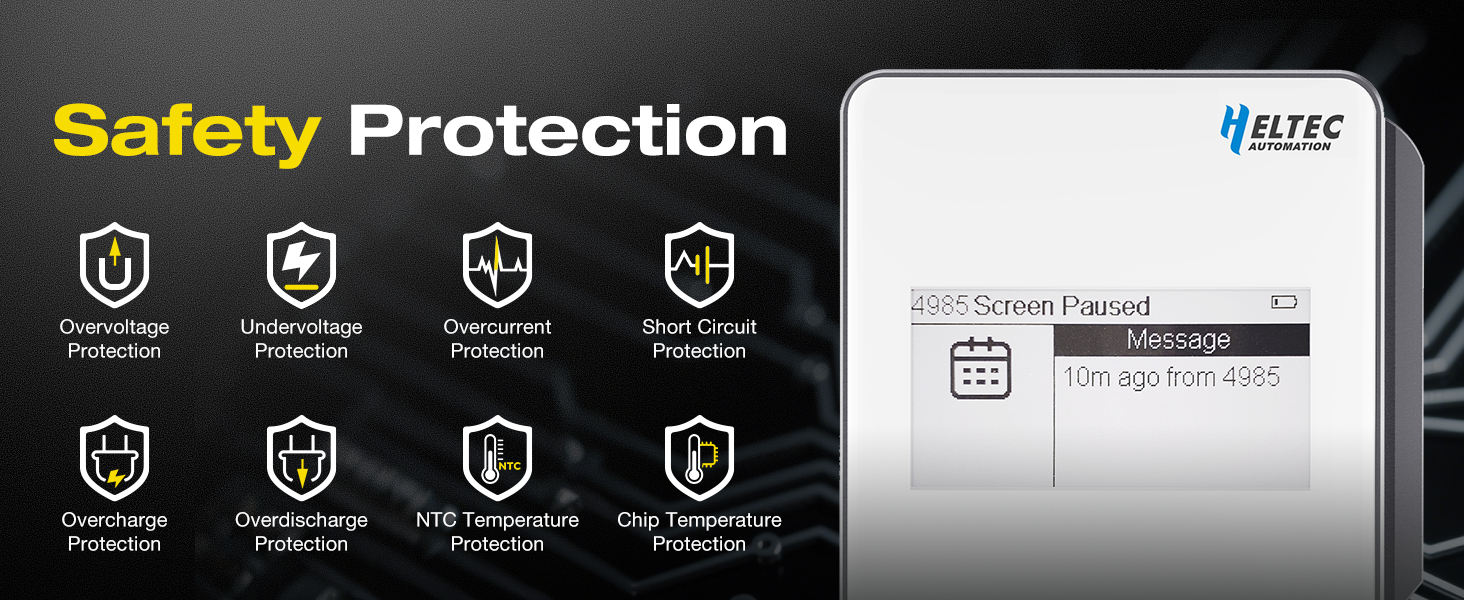
Image: Overview of the MeshPocket's safety protection features.
Important Warnings:
- Do not disassemble, crush, burn, puncture, or drop the device.
- Keep away from water and high humidity.
- Avoid exposing to extreme heat or cold.
- Do not use if the device is damaged.
- Dispose of the device responsibly according to local regulations.
9. Warranty and Support
9.1 Warranty Information
The MeshPocket Qi2 Magnetic Power Bank comes with a manufacturer's warranty. Please refer to the warranty card included in your product packaging or visit the official Meshnology website for detailed warranty terms and conditions.
9.2 Customer Support
For technical assistance, troubleshooting, or any inquiries regarding your MeshPocket, please contact Meshnology customer support through their official website or the contact information provided in your product documentation.