1. Introduction
The Radioddity GM-30 PRO is a versatile GMRS handheld radio designed for reliable communication. It features 8-band reception, including GMRS, VHF, UHF, NOAA, FM, Airband, 220MHz, and 350MHz, offering broad frequency coverage for various applications. With 1000 programmable channels and wireless app programming, this radio provides flexibility and ease of use for both beginners and experienced users.
2. Safety Information
Please read and understand all safety instructions before operating the radio. Failure to do so may result in personal injury or damage to the radio.
- FCC Compliance: This device complies with FCC regulations. Operation is subject to the condition that this device does not cause harmful interference.
- Battery Safety: Use only approved batteries and chargers. Do not short-circuit, incinerate, or disassemble the battery. Avoid exposing the battery to extreme temperatures.
- Antenna Care: Do not touch the antenna during transmission. Ensure the antenna is properly attached before use.
- Hearing Protection: Keep the volume at a comfortable level to avoid hearing damage.
- Explosive Environments: Do not operate the radio in potentially explosive atmospheres unless it is certified for such use.
3. Package Contents
Verify that all items are present in your package:
- 2 x Radioddity GM-30 Pro GMRS Radio
- 2 x Li-ion Battery (with one screw)
- 2 x Speaker Mic
- 2 x Antenna
- 2 x Belt Clip
- 2 x Wrist Strap
- 2 x USB-C Charging Cable
- 2 x Adapter
- 1 x User Manual

4. Setup
4.1 Installing the Battery
- Align the battery pack with the grooves on the back of the radio.
- Slide the battery pack upwards until it clicks into place.
- Secure the battery with the provided screw if desired.
4.2 Attaching the Antenna
Screw the antenna clockwise into the connector on the top of the radio until it is finger-tight.
4.3 Attaching the Belt Clip and Wrist Strap
Attach the belt clip to the designated slot on the back of the radio. Thread the wrist strap through the loop on the top of the radio for secure carrying.
4.4 Charging the Battery
The GM-30 PRO features a USB-C charging port on the battery pack, allowing for convenient charging. You can charge the battery directly via the radio or separately.
- Connect the USB-C charging cable to the battery pack or the radio.
- Plug the other end of the USB-C cable into the wall adapter, power bank, or car charger.
- The LED indicator will show charging status (typically red for charging, green for fully charged).


4.5 Installing Additional Speaker Microphone (Optional)
Open the rubber K-type connector cover on the side of the radio. Plug the speaker microphone into the jack.
5. Operating Instructions
5.1 Powering On/Off
Rotate the Power/Volume knob clockwise to turn the radio on. Rotate counter-clockwise until it clicks to turn the radio off.
5.2 Display Overview
The 1.77" TFT color display provides clear visibility of channels, frequencies, and settings. The backlight is adjustable for optimal viewing in various lighting conditions.

5.3 Basic Navigation
Use the MENU button to access the main menu. The EXIT button returns to the previous screen or exits the menu. The arrow keys (Up/Down) navigate through menu options or adjust values. P1 and P2 are programmable side keys for quick access to functions.
5.4 Channel Mode and Frequency Mode (VFO)
The radio operates in two main modes: Channel Mode (MR) and Frequency Mode (VFO).
- Channel Mode (MR): Allows selection from up to 1000 pre-programmed channels across 10 zones.
- Frequency Mode (VFO): Allows direct frequency input and scanning.
5.5 Selecting a Channel/Zone
The GM-30 PRO supports 1000 channels organized into 10 zones. Use the navigation keys to scroll through channels or zones. You can also directly input channel numbers using the keypad.

5.6 8-Band Reception
The radio can receive across a wide range of frequencies:
- GMRS (General Mobile Radio Service)
- VHF (Very High Frequency)
- UHF (Ultra High Frequency)
- NOAA Weather Radio (National Oceanic and Atmospheric Administration)
- FM Radio
- Airband
- 220MHz Band
- 350MHz Band


5.7 Wireless Programming via App
The GM-30 PRO can be programmed wirelessly using the "Walkie-talkie tool" app, available for iOS and Android devices. This eliminates the need for a PC or programming cable.
- Download the "Walkie-talkie tool" app from your device's app store.
- Open the app and select "RADIODDITY" as the brand and "GM-30 PRO" as the model.
- Connect to the radio via Bluetooth and begin programming channels, frequencies, and zones.


5.8 One-Key Frequency Copy
The SK2 side key can be programmed for one-key frequency copy, allowing you to quickly scan and copy active frequencies.

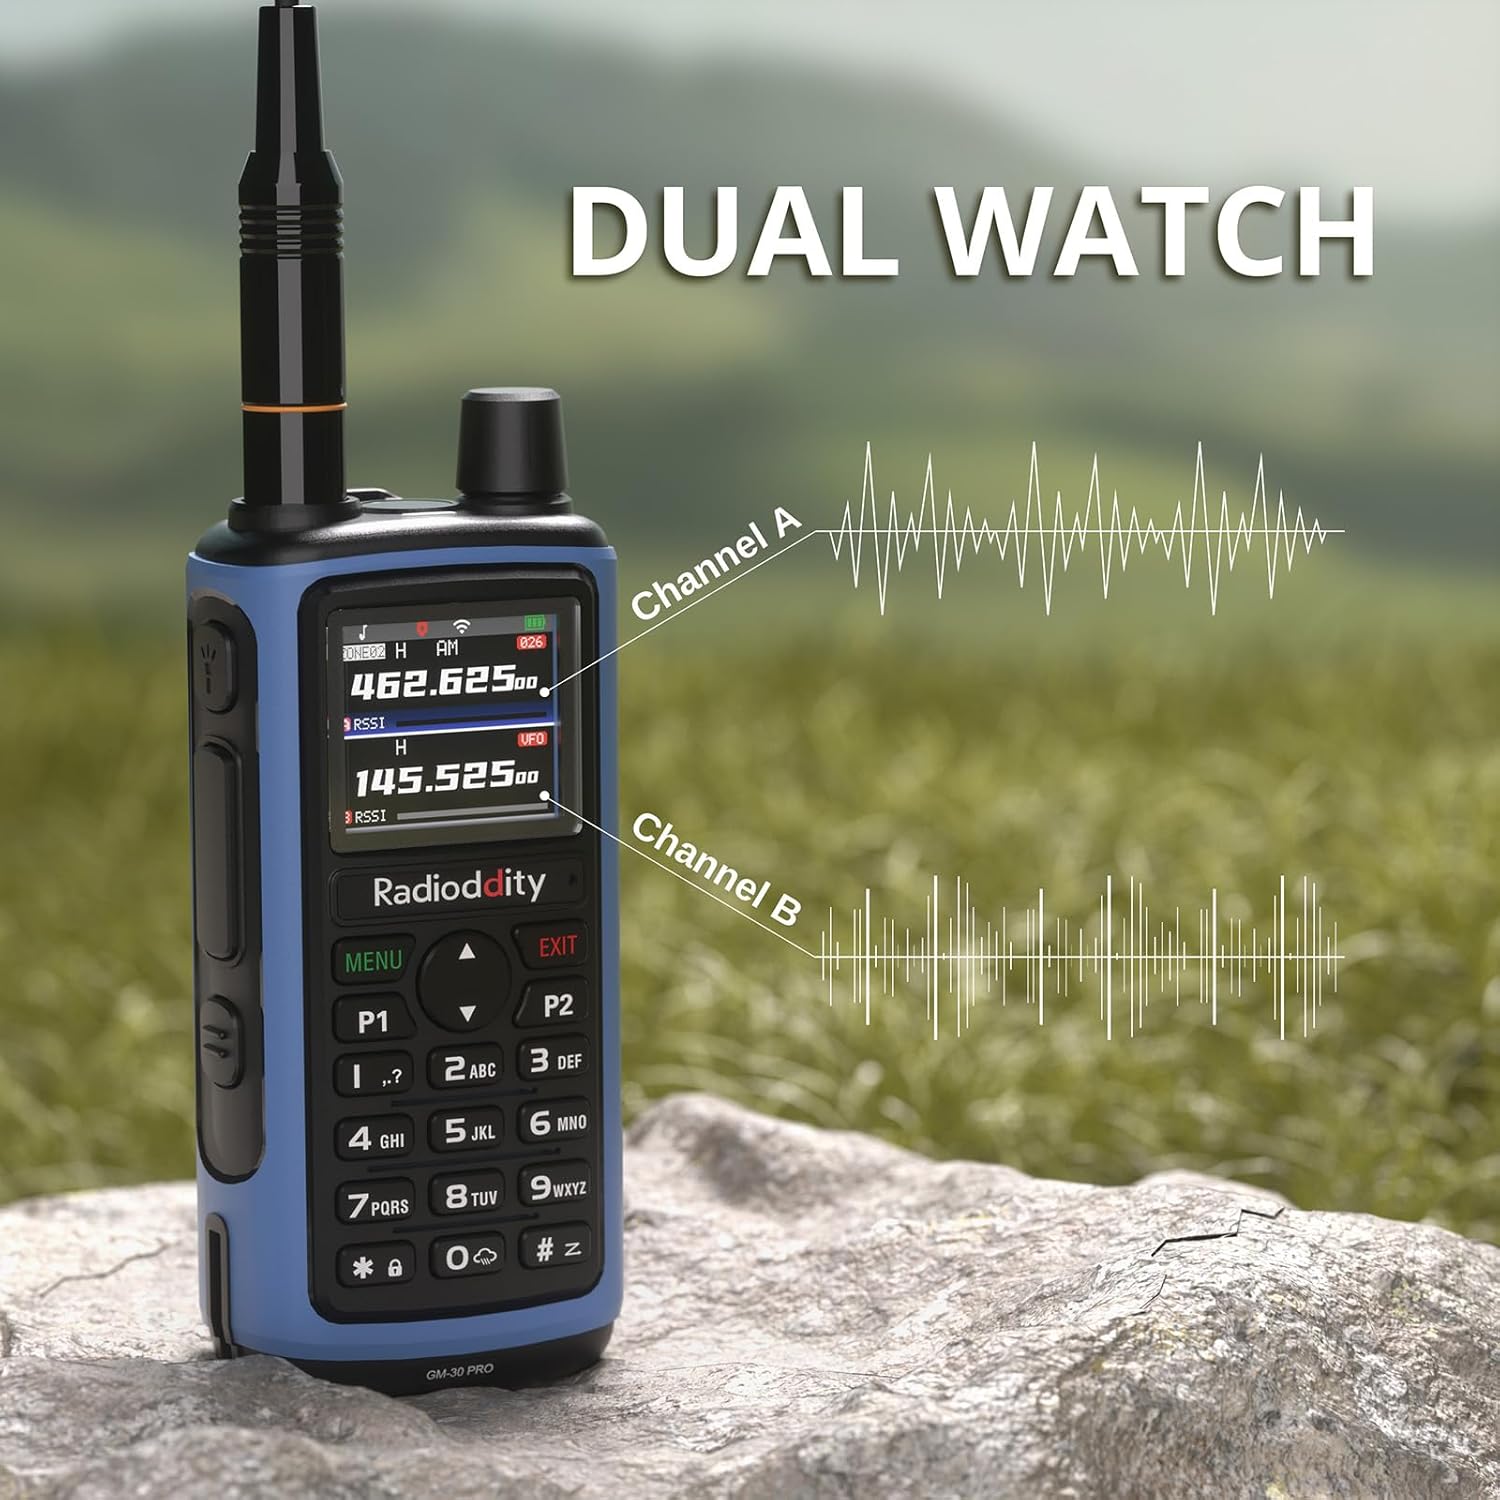
5.9 Dual Watch
The Dual Watch function allows you to monitor two channels simultaneously, ensuring you don't miss important communications.
5.10 VOX Hands-Free Operation
VOX (Voice Operated Exchange) allows for hands-free transmission when your voice is detected, eliminating the need to press the PTT button.

5.11 Advanced Scanning
The radio supports various scanning modes, including channel scan, frequency scan (with adjustable range), and CTCSS/DCS tone scan. These functions can be accessed directly from the radio's menu.
5.12 Using the Flashlight
The built-in LED flashlight on top of the radio can be activated for illumination in low-light conditions. This feature is useful for emergencies or general utility.

5.13 Making a Call
To transmit, press and hold the Push-To-Talk (PTT) button on the side of the radio. Speak clearly into the microphone. Release the PTT button to receive.
5.14 Emergency Alert
The radio includes an emergency alert function. Refer to the manual for specific instructions on how to activate and use this feature in an emergency.
6. Maintenance
6.1 Battery Maintenance
- Initial Charge: Fully charge the battery before first use.
- Regular Charging: Avoid overcharging. Charge the battery when the low battery indicator appears.
- Storage: For long-term storage, charge the battery to 50% and store in a cool, dry place. Recharge every 3-6 months to prevent deep discharge.
6.2 Cleaning the Radio
Use a soft, damp cloth to clean the radio's exterior. Do not use harsh chemicals or solvents. Ensure the radio is dry before use.
7. Troubleshooting
If you encounter issues with your Radioddity GM-30 PRO, refer to the following common problems and solutions:
- Radio not powering on: Ensure the battery is correctly installed and charged. Check the Power/Volume knob.
- No reception/transmission: Verify antenna connection. Check channel settings and frequency. Ensure you are within range of other radios or repeaters.
- Poor audio quality: Adjust squelch level. Check speaker mic connection if applicable.
- Programming issues: Ensure the "Walkie-talkie tool" app is updated and connected via Bluetooth. Refer to the app's instructions for detailed programming steps.
For further assistance, please contact Radioddity customer support.
8. Specifications
| Feature | Specification |
|---|---|
| Brand | Radioddity |
| Model Number | GM-30 Pro |
| Number of Channels | 1000 |
| Frequency Range | GMRS (Transmit), 8-Band Receive (GMRS, VHF, UHF, NOAA, FM, Airband, 220MHz, 350MHz) |
| Display | 1.77" TFT Color Display |
| Battery Capacity | 2500mAh Li-ion |
| Charging Port | USB-C |
| Wireless Programming | Via "Walkie-talkie tool" App (iOS & Android) |
| Special Features | VOX, Dual Watch, One-Key Frequency Copy, Advanced Scanning, Built-in LED Flashlight |
| Talking Range Maximum | 5 Mile |
| Water Resistance Level | Not Water Resistant |
| FCC ID | 2AN62-GM30PRO |
9. Warranty and Support
9.1 Warranty Information
The Radioddity GM-30 PRO GMRS Radio comes with an 18-month warranty from the date of purchase. This warranty covers manufacturing defects and ensures the product functions as intended under normal use. Please retain your proof of purchase for warranty claims.
9.2 Customer Support
For technical assistance, troubleshooting, or warranty inquiries, please contact Radioddity customer support through their official website or the retailer where the product was purchased. Radioddity aims to provide excellent customer service and support for its products.