1. Introduction
This manual provides detailed instructions for the installation, operation, and maintenance of your BAYTINA Smart Bidet Toilet, model TINA-02-MAX. Please read this manual thoroughly before use to ensure proper function and safety. Keep this manual for future reference.
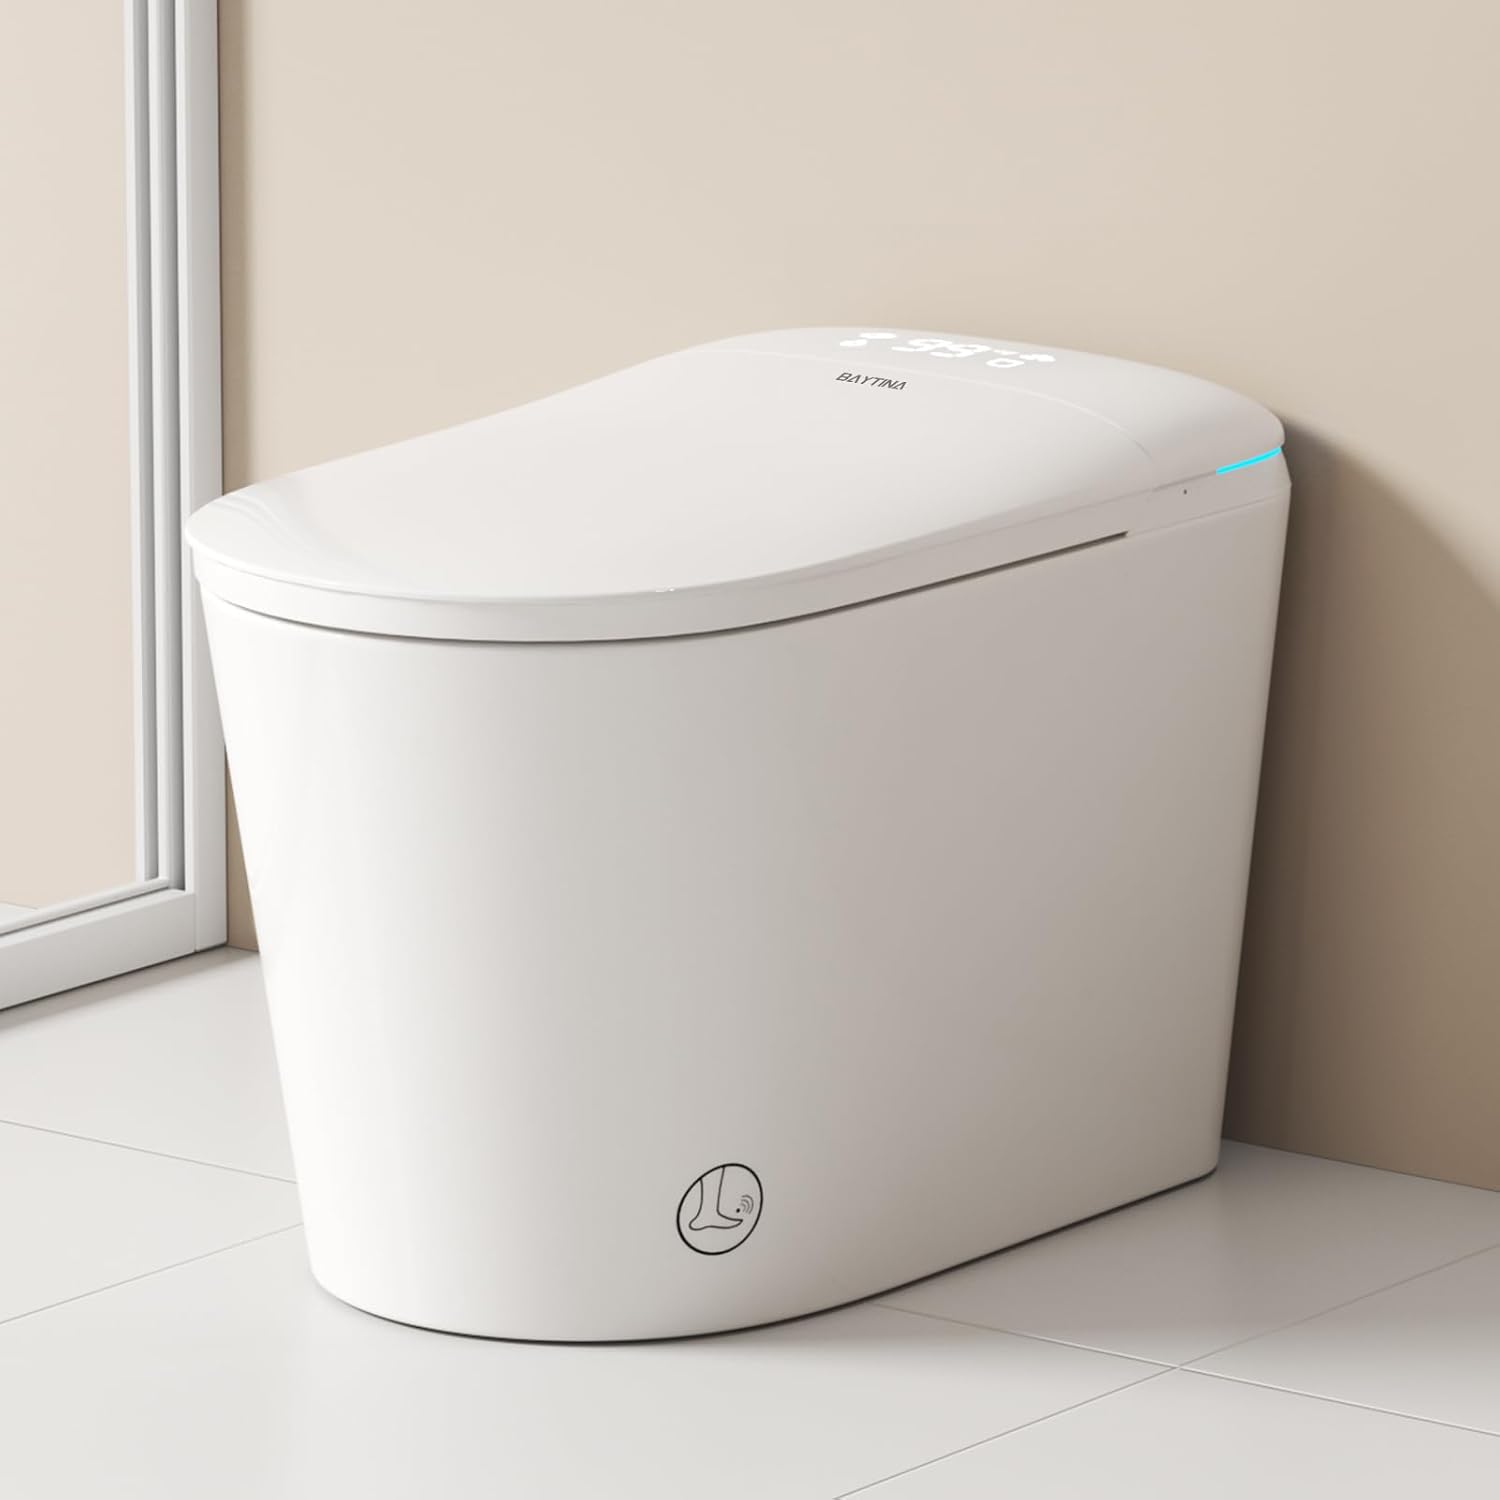
Image 1.1: The BAYTINA Smart Bidet Toilet TINA-02-MAX in a modern bathroom setting.
2. Safety Information
Always follow basic safety precautions when using electrical products to reduce the risk of fire, electric shock, or injury. This product is designed for indoor use only. Ensure proper grounding and electrical connections are made according to local codes. Do not immerse the product in water or spray water directly onto electrical components. Disconnect power before performing any maintenance or cleaning.
- Ensure the power outlet is properly grounded.
- Do not operate if the power cord is damaged.
- Keep away from open flames or excessive heat.
- Supervise children and individuals with reduced capabilities when near the product.
3. Package Contents
Verify that all components are present and undamaged upon unpacking. If any items are missing or damaged, contact customer support immediately.

Image 3.1: Included components for the BAYTINA Smart Bidet Toilet. This kit typically includes the smart toilet unit, bolt kit, angle valve, user manual, wax ring, remote control, and a spare battery box.
- Smart Toilet Unit (TINA-02-MAX)
- Bolt Kit for installation
- Angle Valve
- User Manual (this document)
- Wax Ring
- Remote Control
- Spare Battery Box (for power outage flushing)
4. Installation
The BAYTINA Smart Bidet Toilet is designed for straightforward installation. It requires a standard 12-inch rough-in. All necessary hardware is included. Professional installation is recommended to ensure proper plumbing and electrical connections.
4.1 Pre-Installation Checklist
- Confirm 12-inch rough-in measurement.
- Ensure a grounded electrical outlet is available near the installation site.
- Turn off the main water supply before beginning installation.
- Verify all package contents are present.
4.2 Dimensions
Refer to the diagram below for precise product dimensions to ensure compatibility with your bathroom space.

Image 4.1: Detailed dimensions of the BAYTINA Smart Bidet Toilet, including length, width, height, and rough-in measurements.

Image 4.2: Comparison illustrating the comfort height of the BAYTINA toilet (17.37 inches) for ergonomic seating.
4.3 Installation Steps (Summary)
- Prepare the floor flange and ensure the area is clean.
- Install the wax ring onto the toilet's base.
- Carefully position the toilet over the flange bolts.
- Secure the toilet to the floor using the provided bolt kit.
- Connect the water supply line to the angle valve and the toilet.
- Connect the power cord to a grounded electrical outlet.
- Turn on the water supply and check for leaks.
- Test all functions of the smart toilet.
5. Operating Instructions
Your BAYTINA Smart Bidet Toilet offers a range of automated and customizable features for enhanced comfort and hygiene.
5.1 Auto Open/Close Lid & Seat
The toilet features an automatic lid and seat opening/closing mechanism for a touchless experience.
- Approach Detection: The lid automatically opens as you approach the toilet.
- Departure Detection: The lid automatically closes and flushes approximately 3 seconds after you leave the toilet area.
- Foot Sensor: A foot-kick sensor allows for manual control of the lid and seat opening/closing.

Image 5.1: Diagram illustrating the automatic lid opening and closing functions based on user presence and foot sensor activation.
5.2 Flushing System
The toilet is equipped with an advanced dual-flush system and multiple activation methods.
- Automatic Flush: The toilet flushes automatically upon standing and departure.
- Dual Flush: Choose between a 1.3 GPF full flush and a 0.9 GPF half flush for water conservation.
- Foot Sensor Flush: Activate flush with the foot sensor.
- Side Buttons: Manual flush buttons are located on the side of the toilet.
- Remote Control: Use the remote control for flushing.
- Power Outage Flush: A spare battery box ensures flushing functionality during power outages.

Image 5.2: Illustration of the double pump assisted flushing system, highlighting its efficiency and various activation methods.

Image 5.3: Visual representation of the automatic flush mechanism that activates when a user stands up, including a gentle seat-activated wall cleaning feature.
5.3 Bidet Cleaning Functions
Enjoy a personalized cleaning experience with adjustable bidet settings.
- Wash Modes: Rear wash, front wash (feminine care), and mobile washing options are available.
- Adjustable Settings: Customize water pressure, water temperature, and spray position.
- Self-Cleaning Nozzle: The bidet nozzle performs a self-cleaning cycle before and after each use to maintain hygiene. The nozzle can also be removed for manual cleaning.

Image 5.4: Depiction of the various bidet washing modes, including rear wash, front wash, mobile washing, and the self-cleaning function of the nozzle.

Image 5.5: Visual guide to personalized cleaning settings, showing rear and front wash nozzles, mobile washing, and self-cleaning features, along with adjustable water temperatures.
5.4 Heated Seat
The ergonomic heated seat provides comfort, especially in colder environments.
- Adjustable Warmth: Choose from 4 adjustable warmth levels: Normal, 93°F, 98°F, and 104°F.
- Safety Features: Equipped with smart temperature control and overheat safety protection.

Image 5.6: Illustration of the elongated heated seat with its four adjustable temperature settings for user comfort.

Image 5.7: Close-up view of the heated seat, emphasizing temperature control protection and multi-layer insulation material.
5.5 Warm Air Dryer
A gentle warm-air dryer provides a hands-free alternative to toilet paper.
- Adjustable Air Temperature: The air temperature can be adjusted for personal comfort.
- Reduced Toilet Paper Use: Promotes hygiene and reduces reliance on toilet paper.

Image 5.8: Visual of the warm air dryer in operation, indicating adjustable air temperature settings for optimal drying.
5.6 Night Light & LED Display
Integrated lighting and display features enhance usability and comfort.
- Soft Inner Night Light: Provides gentle illumination for nighttime visits without disturbing sleep.
- LED Display: Shows real-time information such as seat temperature, water temperature, and dryer temperature.

Image 5.9: The soft night light illuminating the toilet bowl, designed to provide gentle guidance during nighttime use while maintaining a quiet environment.

Image 5.10: The LED display showing real-time seat, water, and dryer temperature settings.
5.7 Remote Control & Side Buttons
Control all functions conveniently via the included 2.4GHz remote control or the integrated side buttons.

Image 5.11: The 2.4GHz remote control for comprehensive function management and the physical metal buttons located on the side of the toilet for essential controls like flushing and bidet activation.

Image 5.12: Close-up of the mechanical side buttons, indicating functions for butt wash and flushing/stop.
6. Maintenance
Regular cleaning and maintenance will ensure the longevity and optimal performance of your smart toilet.
6.1 Cleaning the Exterior
- Wipe the exterior surfaces with a soft, damp cloth and mild, non-abrasive cleaner.
- Avoid using harsh chemicals, abrasive pads, or solvents, as these can damage the finish.
- Ensure no water enters the electrical components.
6.2 Cleaning the Bidet Nozzle
- The nozzle has a self-cleaning function. For deeper cleaning, the nozzle can be gently pulled out and removed.
- Clean the nozzle with a soft brush and mild soap. Rinse thoroughly before reinserting.
- Do not use excessive force when removing or reinserting the nozzle.
6.3 Descaling (if applicable)
If you live in an area with hard water, periodic descaling of the internal water pathways may be necessary. Consult a professional plumber for descaling procedures.
7. Troubleshooting
This section addresses common issues you might encounter. For problems not listed here, please contact customer support.
| Problem | Possible Cause | Solution |
|---|---|---|
| Toilet does not flush. | No power; water supply off; sensor obstruction. | Check power connection; ensure water supply valve is open; clear sensor path; use manual flush buttons or remote. |
| Bidet spray is weak or inconsistent. | Water pressure low; nozzle clogged; filter dirty. | Check household water pressure; clean bidet nozzle; clean water inlet filter. |
| Heated seat not warming. | Temperature setting too low; power issue. | Adjust seat temperature setting; check power connection. |
| Lid/seat not opening/closing automatically. | Sensor obstructed; sensor dirty; power issue. | Clean sensors; ensure no obstructions; check power. |
8. Specifications
| Feature | Detail |
|---|---|
| Brand | BAYTINA |
| Model Number | TINA-02-MAX |
| Color | White |
| Material | Ceramic |
| Style | Modern |
| Shape | U-Shape (Elongated) |
| Product Dimensions (L x W) | 31"L x 30"W |
| Item Weight | 125.3 pounds |
| Rough-in Requirement | Standard 12-inch |
| Flush System | Dual Flush (1.3 GPF full, 0.9 GPF half), Double Pump Assisted Siphonic & Jet Flush |
| Heated Seat Temperatures | Normal, 93°F, 98°F, 104°F |
| Certifications | CUPC, GES, CEC |
9. Warranty and Support
BAYTINA is committed to providing high-quality products and customer satisfaction.
- Warranty: This product comes with a 3-Year Warranty.
- Money Back Guarantee: Enjoy a 30-Day Money Back Guarantee.
- Replacement Warranty: A 12-Month Replacement Warranty is provided for eligible issues.
- Customer Support: If you encounter any problems or have questions, please contact BAYTINA customer service. We aim to reply within 24 hours.
For support, please refer to the contact information provided with your purchase or visit the official BAYTINA website.


