1. Introduction
Thank you for choosing the Smeike Black Exterior Wall Sconce. This manual provides essential information for the safe installation, operation, and maintenance of your new light fixtures. Please read these instructions thoroughly before beginning installation and retain them for future reference.
2. Safety Information
WARNING: Risk of Electric Shock. Disconnect power at the circuit breaker or fuse box before installation or servicing.
- All electrical connections must be in accordance with local codes, ordinances, or the National Electric Code (NEC).
- Consult a qualified electrician if you are unfamiliar with electrical wiring.
- Use only UL or ETL listed wire connectors.
- Do not exceed the maximum wattage specified for the bulb.
- Ensure the fixture is properly grounded.
- Wear safety glasses and gloves during installation.
3. Package Contents
Verify that all components are present before installation. If any part is missing or damaged, do not attempt to assemble or install the fixture. Contact customer service for assistance.
- Exterior Wall Sconce (2 units)
- Mounting Hardware Kit (screws, wire nuts, mounting plate)
- Instruction Manual
Note: Bulbs are NOT included. This fixture requires E26 base bulbs (60W Max).
4. Specifications
| Model | A275-3-2PK-SG |
| Dimensions (L x W x H) | 8" x 6.5" x 11.4" |
| Mounting Backplate | 4.5"W x 6.3"H |
| Material | Aluminum, Glass, Iron |
| Finish | Matte Black, Powder Coated |
| Shade Material | Seeded Glass |
| Voltage | 110 Volts (AC) |
| Wattage (Max) | 60 Watts per bulb |
| Bulb Base | E26 (Bulbs not included) |
| Indoor/Outdoor Usage | Indoor, Outdoor |
| Special Features | Waterproof, Anti-Rust, Anti-corrosion, Weather Resistance |
| Certification | ETL Listed |

Image: Detailed product dimensions and electrical specifications.
5. Installation (Setup)
Before you begin, ensure you have the following tools (not included): Phillips screwdriver, flathead screwdriver, wire strippers, electrical tape, and safety glasses.
- Prepare for Installation: Turn off the power at the circuit breaker or fuse box to the outlet box where the fixture will be installed.
- Remove Old Fixture (if applicable): Carefully remove any existing light fixture and its mounting hardware.
- Attach Mounting Plate: Secure the mounting plate to the outlet box using the screws provided. Ensure the plate is firmly attached and level.
- Wire Connections:
- Connect the black wire from the fixture to the black (hot) wire from the outlet box using a wire nut.
- Connect the white wire from the fixture to the white (neutral) wire from the outlet box using a wire nut.
- Connect the ground wire (bare copper or green) from the fixture to the ground wire from the outlet box and the mounting plate using a wire nut.
- Carefully tuck all wires into the outlet box.
- Mount the Fixture: Align the fixture with the mounting plate and secure it with the provided screws. Ensure the fixture is flush against the wall and stable.
- Install Bulb: Insert an E26 base bulb (max 60W) into the socket.
- Restore Power: Turn the power back on at the circuit breaker or fuse box. Test the light fixture.
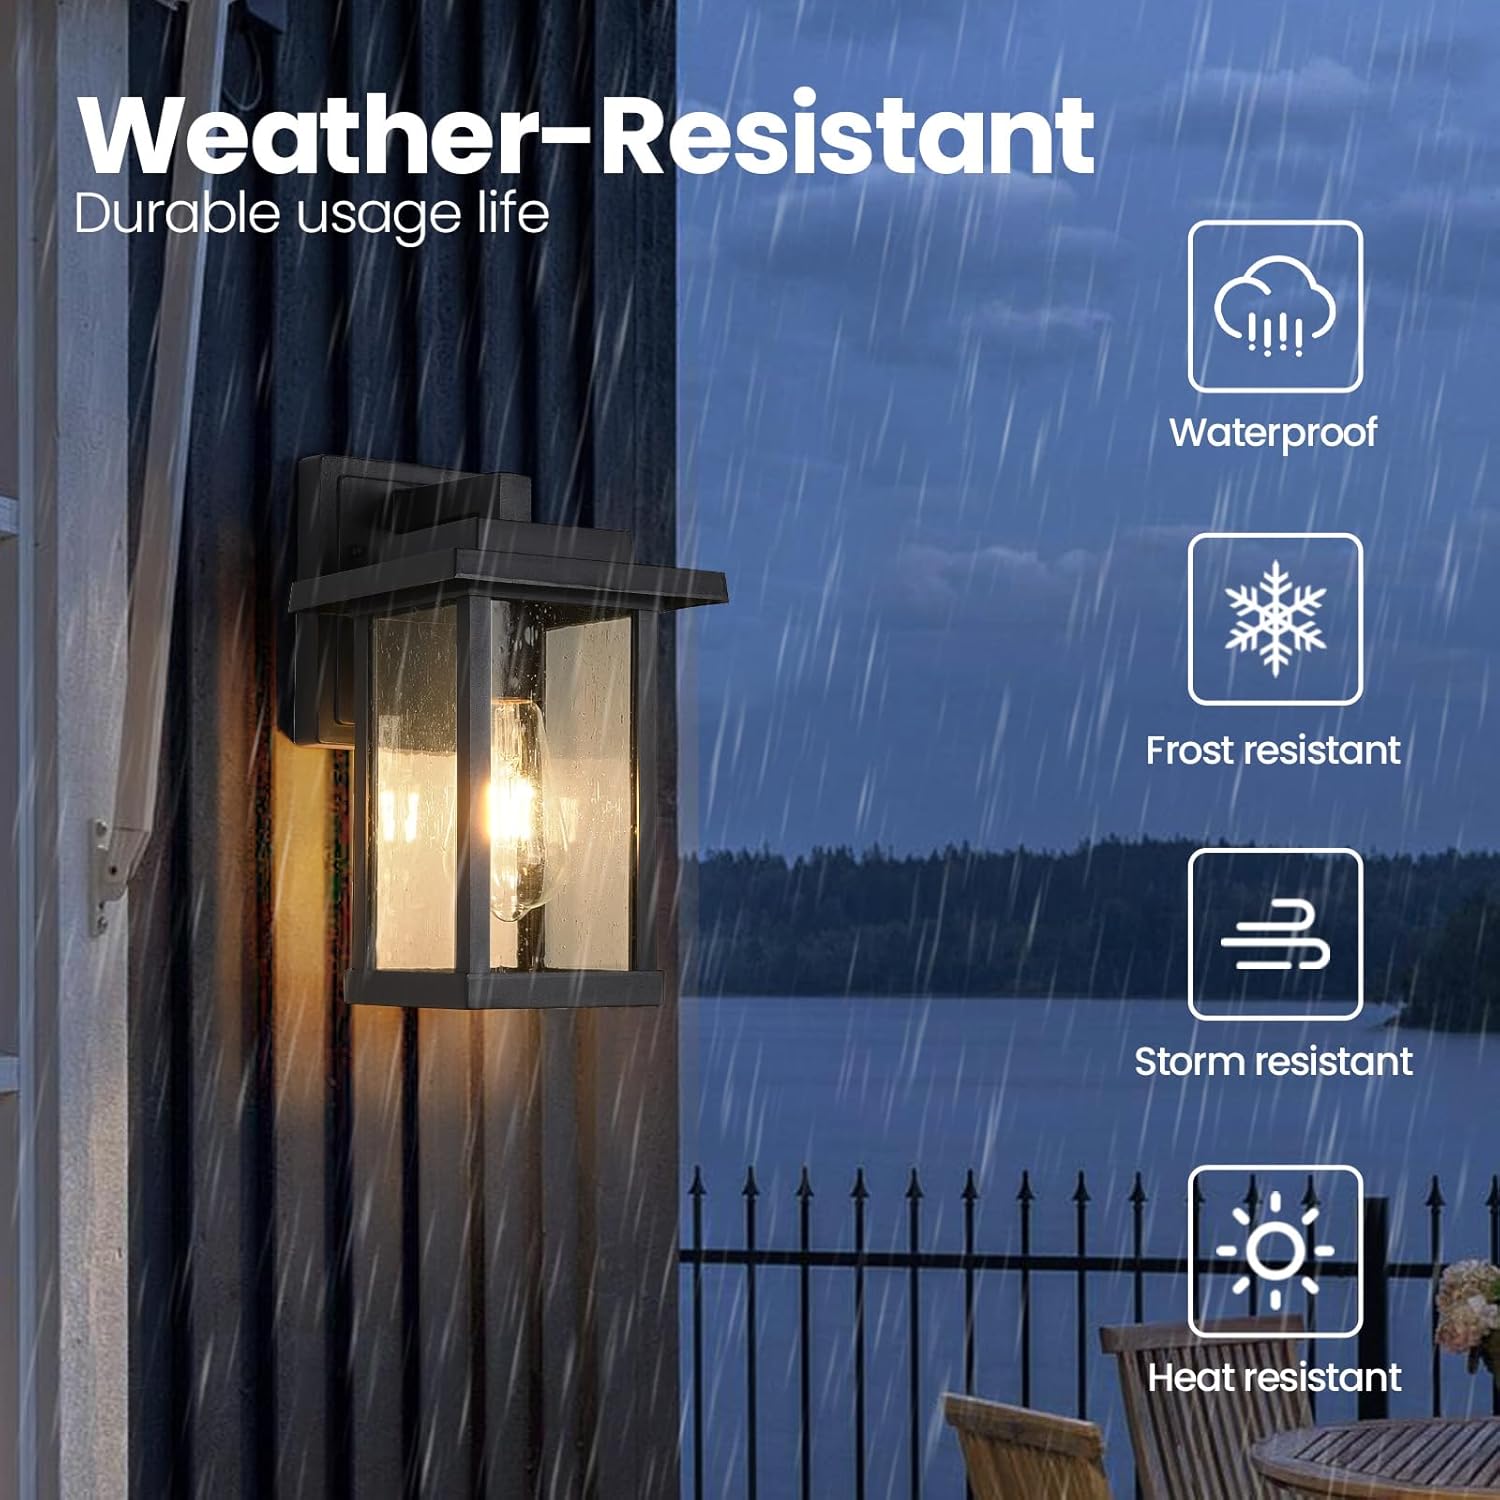
Image: Exploded view showing fixture components and mounting hardware.

Image: Example of the Smeike wall sconce installed on an exterior wall.
6. Operation
The Smeike Black Exterior Wall Sconce operates via a standard wall switch (not included). Once installed and powered, simply use your existing wall switch to turn the light fixture on or off.

Image: Visual representation of the light fixture in its 'on' and 'off' states.
7. Maintenance
Regular maintenance ensures the longevity and optimal performance of your light fixture.
- Cleaning: To clean the fixture, turn off the power and wipe it with a soft, damp cloth. Do not use abrasive cleaners or solvents, as these may damage the finish or glass. The open bottom design allows for easy cleaning and bulb replacement without disassembly.
- Bulb Replacement: Ensure power is off before replacing bulbs. The fixture features an open bottom, allowing for easy access to the bulb socket. Simply unscrew the old bulb and screw in a new E26 base bulb (max 60W).
- Weather Resistance: This fixture is designed with a refined matte black finish and explosion-proof tempered seeded glass for protection against rust, corrosion, water, frost, storm, and heat. Periodically inspect the fixture for any signs of wear or damage to maintain its weather-resistant properties.

Image: The open bottom design for easy bulb replacement and cleaning.

Image: Visual representation of the fixture's weather-resistant capabilities.
8. Troubleshooting
If you encounter issues with your light fixture, refer to the following common problems and solutions:
| Problem | Possible Cause | Solution |
|---|---|---|
| Light does not turn on. | No power to the fixture. Loose wire connection. Defective bulb. | Check circuit breaker or fuse. Ensure all wire connections are secure (power off first). Replace bulb with a new one. |
| Light flickers. | Loose bulb. Loose wire connection. Incorrect bulb type. | Tighten bulb. Check wire connections (power off first). Ensure bulb is E26 base and within 60W max. |
| Fixture is not stable. | Mounting screws not tightened. | Ensure mounting plate and fixture screws are securely fastened. |
If the problem persists after attempting these solutions, please contact customer support.
9. Warranty and Support
The Smeike Black Exterior Wall Sconce comes with a one-year warranty from the date of purchase, covering manufacturing defects. If you encounter any problems with your product, please contact Smeike customer service. We are committed to providing a satisfactory solution within 24 hours.
For support, please refer to the contact information provided with your purchase or visit the official Smeike website.