1. Safety Information
Please read all safety instructions carefully before operating the appliance. Retain this manual for future reference.
- Ensure the unit is placed on a flat, stable surface.
- Do not block air inlets or outlets.
- Only use the appliance with a properly grounded electrical outlet.
- Do not operate the unit with a damaged power cord or plug.
- Keep children and pets away from the unit during operation.
- Unplug the unit before cleaning or performing any maintenance.
- Do not attempt to repair or modify the unit yourself. Contact qualified service personnel.
2. Product Components
Familiarize yourself with the parts included in your GarveeTech Portable Air Conditioner package:

- Portable Air Conditioner Unit
- Air Exhaust Duct
- Connector Of Air Exhaust Duct
- Window Exhaust Adapter
- Window Kit Adapter
- Remote Controller
- Drain Pipe
- User Manual (this document)
3. Setup & Installation
Follow these steps for proper installation of your portable air conditioner:
3.1 Unpacking
Carefully remove the unit and all accessories from the packaging. Inspect for any shipping damage. Keep packaging materials for storage or if return is necessary.
3.2 Window Kit Installation
- Assemble the window kit adapter to fit your window opening. The kit is designed for sliding windows.
- Attach the window exhaust adapter to one end of the air exhaust duct.
- Connect the other end of the air exhaust duct to the connector on the back of the portable AC unit.
- Insert the window exhaust adapter into the opening of the assembled window kit.
- Ensure all connections are secure to prevent air leakage.

3.3 Drain Pipe Connection (Optional for Dehumidification)
For continuous drainage during dehumidification mode, connect the provided drain pipe to the drainage outlet at the back of the unit. Place the other end of the pipe into a suitable drain or container.

3.4 Power Connection
Plug the power cord into a standard 115V/60Hz grounded electrical outlet. Ensure the outlet meets the unit's power requirements.
Video 3.1: This video demonstrates the general setup and operation of a portable air conditioner, including connecting the exhaust hose and power cord. It provides a visual guide for initial installation steps.
4. Operation
Your GarveeTech Portable Air Conditioner offers multiple modes and settings for optimal comfort.
4.1 Control Panel Overview

- Power Button: Turns the unit On or Off.
- Mode Button: Cycles through Cool, Dehumidify, and Fan modes.
- Speed Button: Adjusts fan speed (Low, Medium, High).
- Temperature Up/Down Buttons: Adjusts the desired temperature in Cool mode.
- Timer Button: Sets the auto-on or auto-off timer.
- Sleep Button: Activates Sleep mode for quieter operation and gradual temperature adjustment.
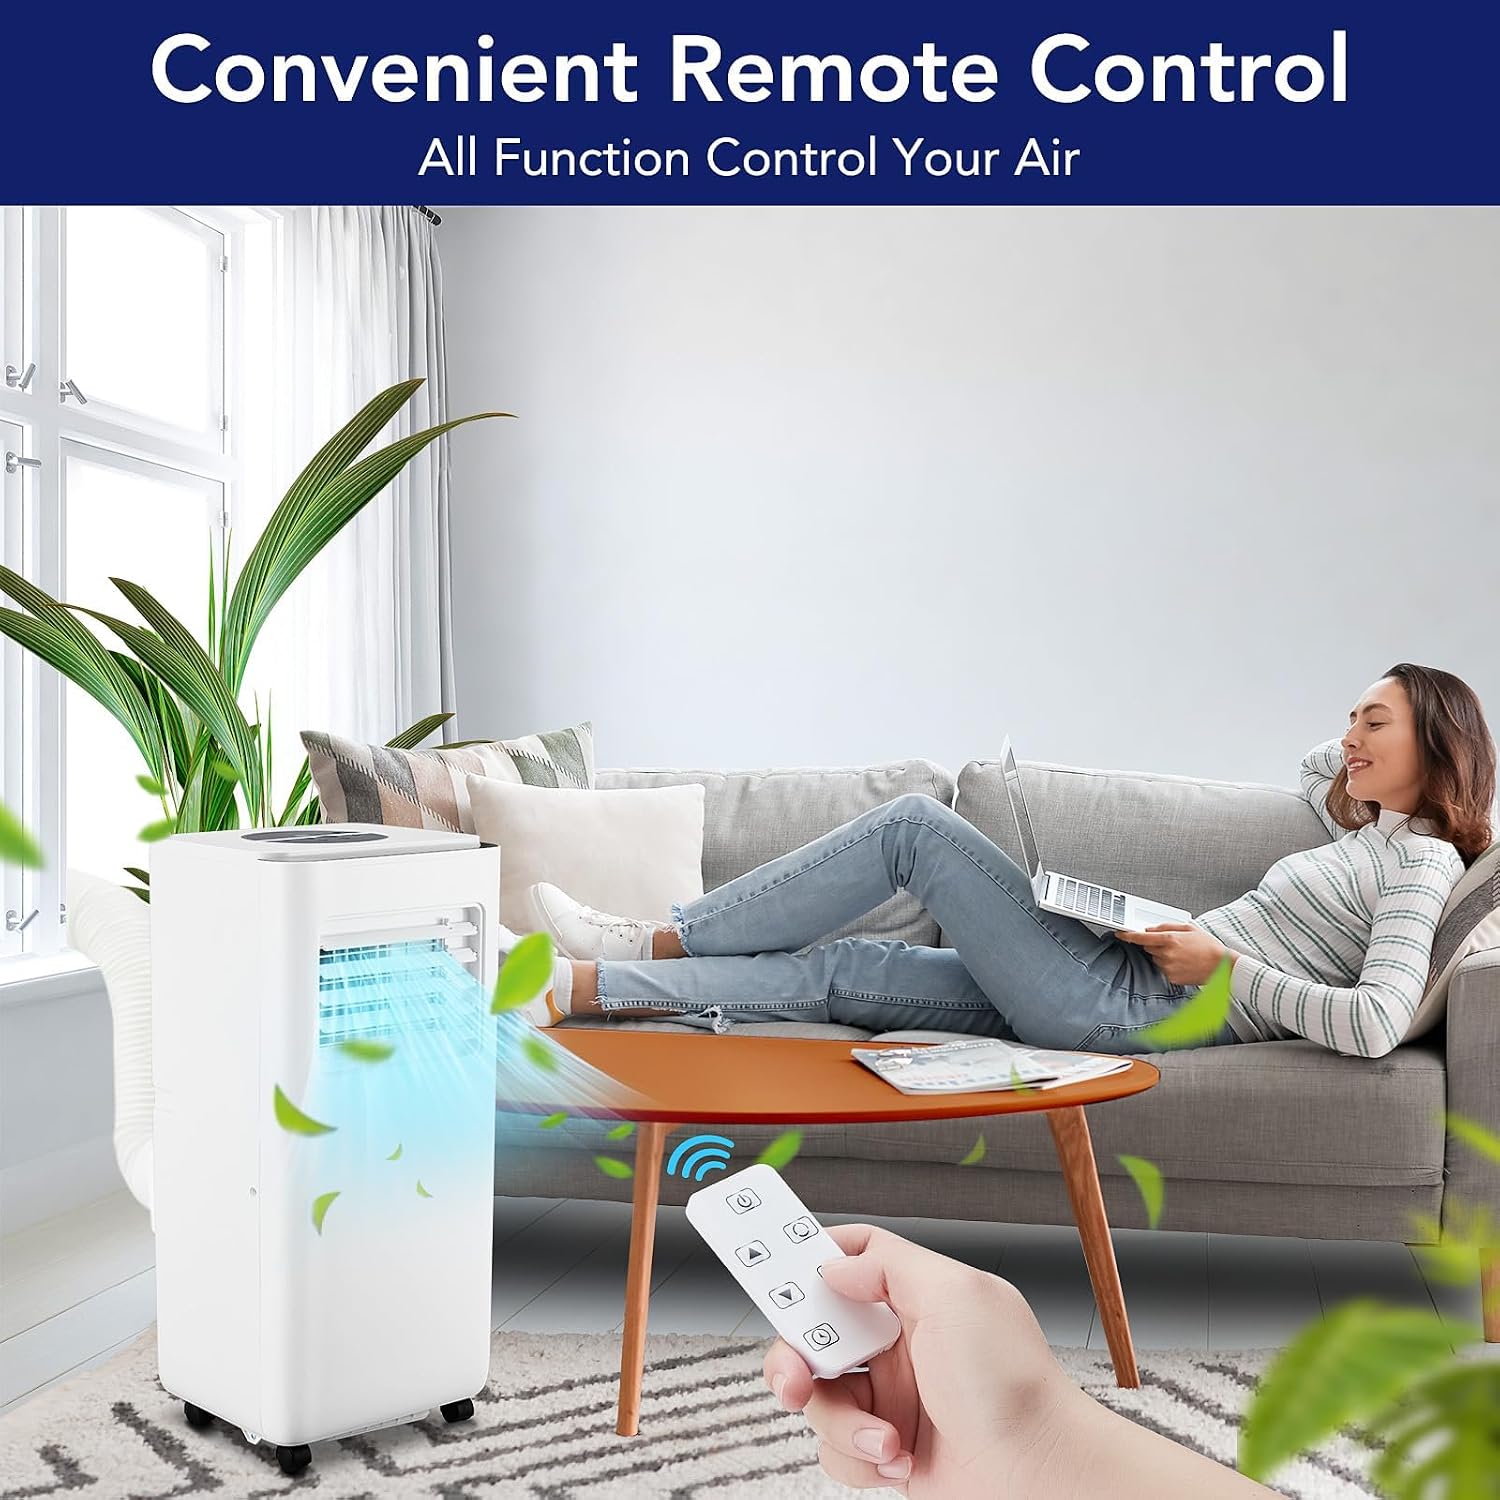
4.2 Remote Control
The included remote control allows convenient operation from a distance. It replicates all functions available on the main control panel.
4.3 Operating Modes
- Cool Mode: Provides cooling to the room. Set your desired temperature using the Up/Down buttons.
- Dehumidify Mode: Removes excess moisture from the air. The fan speed is typically fixed in this mode.
- Fan Mode: Circulates air without cooling. Fan speed can be adjusted.
4.4 Sleep Mode
Activate Sleep mode for reduced noise levels and energy consumption during nighttime. The unit will gradually adjust the temperature for comfortable sleep.

5. Maintenance
Regular maintenance ensures optimal performance and longevity of your air conditioner.
5.1 Filter Cleaning
The air filter should be cleaned every two weeks, or more frequently depending on usage and air quality, to maintain efficient operation and fresh air output.
- Unplug the air conditioner from the power outlet.
- Locate the air filter panel, typically on the side or back of the unit.
- Carefully pull out the filter.
- Wash the filter under running water or use a vacuum cleaner to remove dust and debris.
- Allow the filter to dry completely before reinserting it into the unit.


5.2 Drainage
If the internal water tank becomes full, the unit will stop operating and display an error code. Drain the water by removing the drain plug and allowing water to flow into a suitable container. For continuous drainage, refer to Section 3.3.
5.3 Exterior Cleaning
Wipe the exterior of the unit with a soft, damp cloth. Do not use harsh chemicals or abrasive cleaners.
6. Troubleshooting
Before contacting customer support, refer to the following common issues and solutions:
| Problem | Possible Cause | Solution |
|---|---|---|
| Unit does not turn on | No power supply; Power cord not plugged in; Full water tank. | Check power connection; Plug in securely; Drain water tank. |
| Insufficient cooling | Air filter dirty; Exhaust hose blocked or improperly installed; Room too large; Doors/windows open. | Clean air filter; Check exhaust hose for obstructions and proper sealing; Ensure room size is within specifications; Close all doors and windows. |
| Unit is noisy | Unit not on a level surface; Fan speed too high. | Place unit on a flat, stable surface; Reduce fan speed. |
| Water leakage | Drain plug loose; Drain pipe not connected properly. | Ensure drain plug is secure; Check drain pipe connection. |
7. Specifications
Technical details for the GarveeTech 10000 BTU Portable Air Conditioner (Model FDP29-2023R3):
| Feature | Detail |
|---|---|
| Brand | GarveeTech |
| Model Name | FDP29-2023R3 |
| Cooling Power | 10000 BTU (British Thermal Units) |
| Cooling Capacity (AHRAE) | 10,000 Btu / h |
| Cooling Capacity (SACC) | 6,500 Btu / h |
| Coverage Area | Up to 450 sq.ft. |
| Product Dimensions (D x W x H) | 11.3" x 11.7" x 27.4" |
| Item Weight | 46 Pounds |
| Voltage | 115V |
| Wattage | 699W |
| Noise Level | 52 Decibels (Sleep Mode: 40 Decibels) |
| Refrigerant | R-32 |
| Control Method | Remote, Touch |
| Special Features | Dehumidifier, Dust Filter, Fast Cooling, Remote Controlled, Sleep Mode |
| Included Components | Portable Air Conditioner, Remote Control, Window Kits, Drain Pipe |
8. Warranty & Support
GarveeTech provides a 1-year manufacturer's warranty for this product. This warranty covers:
- Shipping damage upon arrival.
- Parts failure under normal use.
- Any other functional issues not caused by misuse or improper installation.
For assistance, replacement, or to claim warranty service, please contact our customer service team. Keep your purchase receipt as proof of purchase.