1. Setup
This section guides you through the initial setup of your Tivoli Audio Model Three Bluetooth Clock Radio.
1.1 Unpacking and Placement
Carefully remove the unit from its packaging. Place the radio on a stable, flat surface such as a tabletop. Ensure adequate ventilation around the unit.
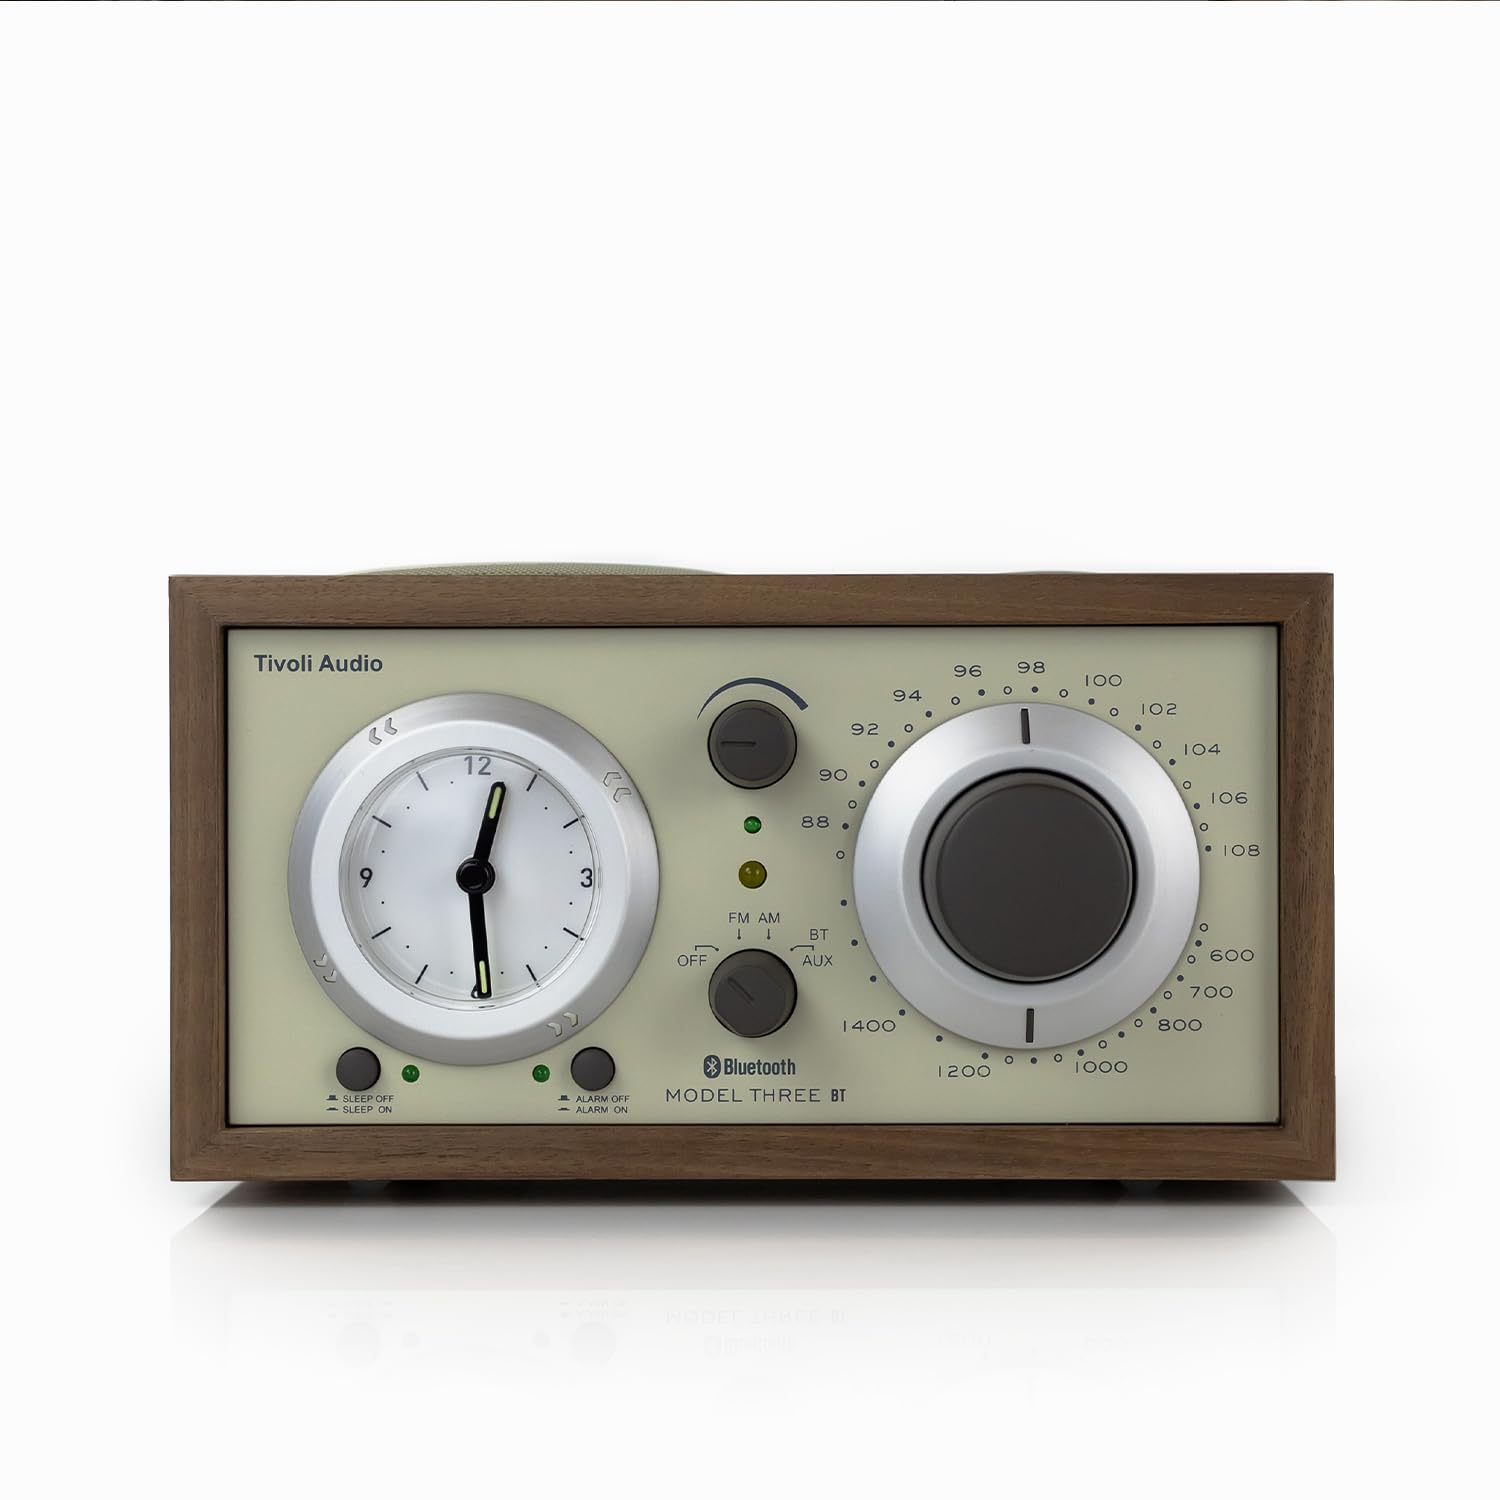
Front view of the Tivoli Audio Model Three Bluetooth Clock Radio in Walnut/Beige.
1.2 Power Connection
Connect the provided power cord to the AC IN port on the back of the radio, then plug it into a wall outlet. The unit operates on corded electric power.
1.3 Battery Installation (for Clock)
The analog clock requires 1 AA battery (included) for operation. Locate the battery compartment on the back of the unit, insert the AA battery, ensuring correct polarity, and close the compartment. This battery powers the clock function independently of the main power supply.
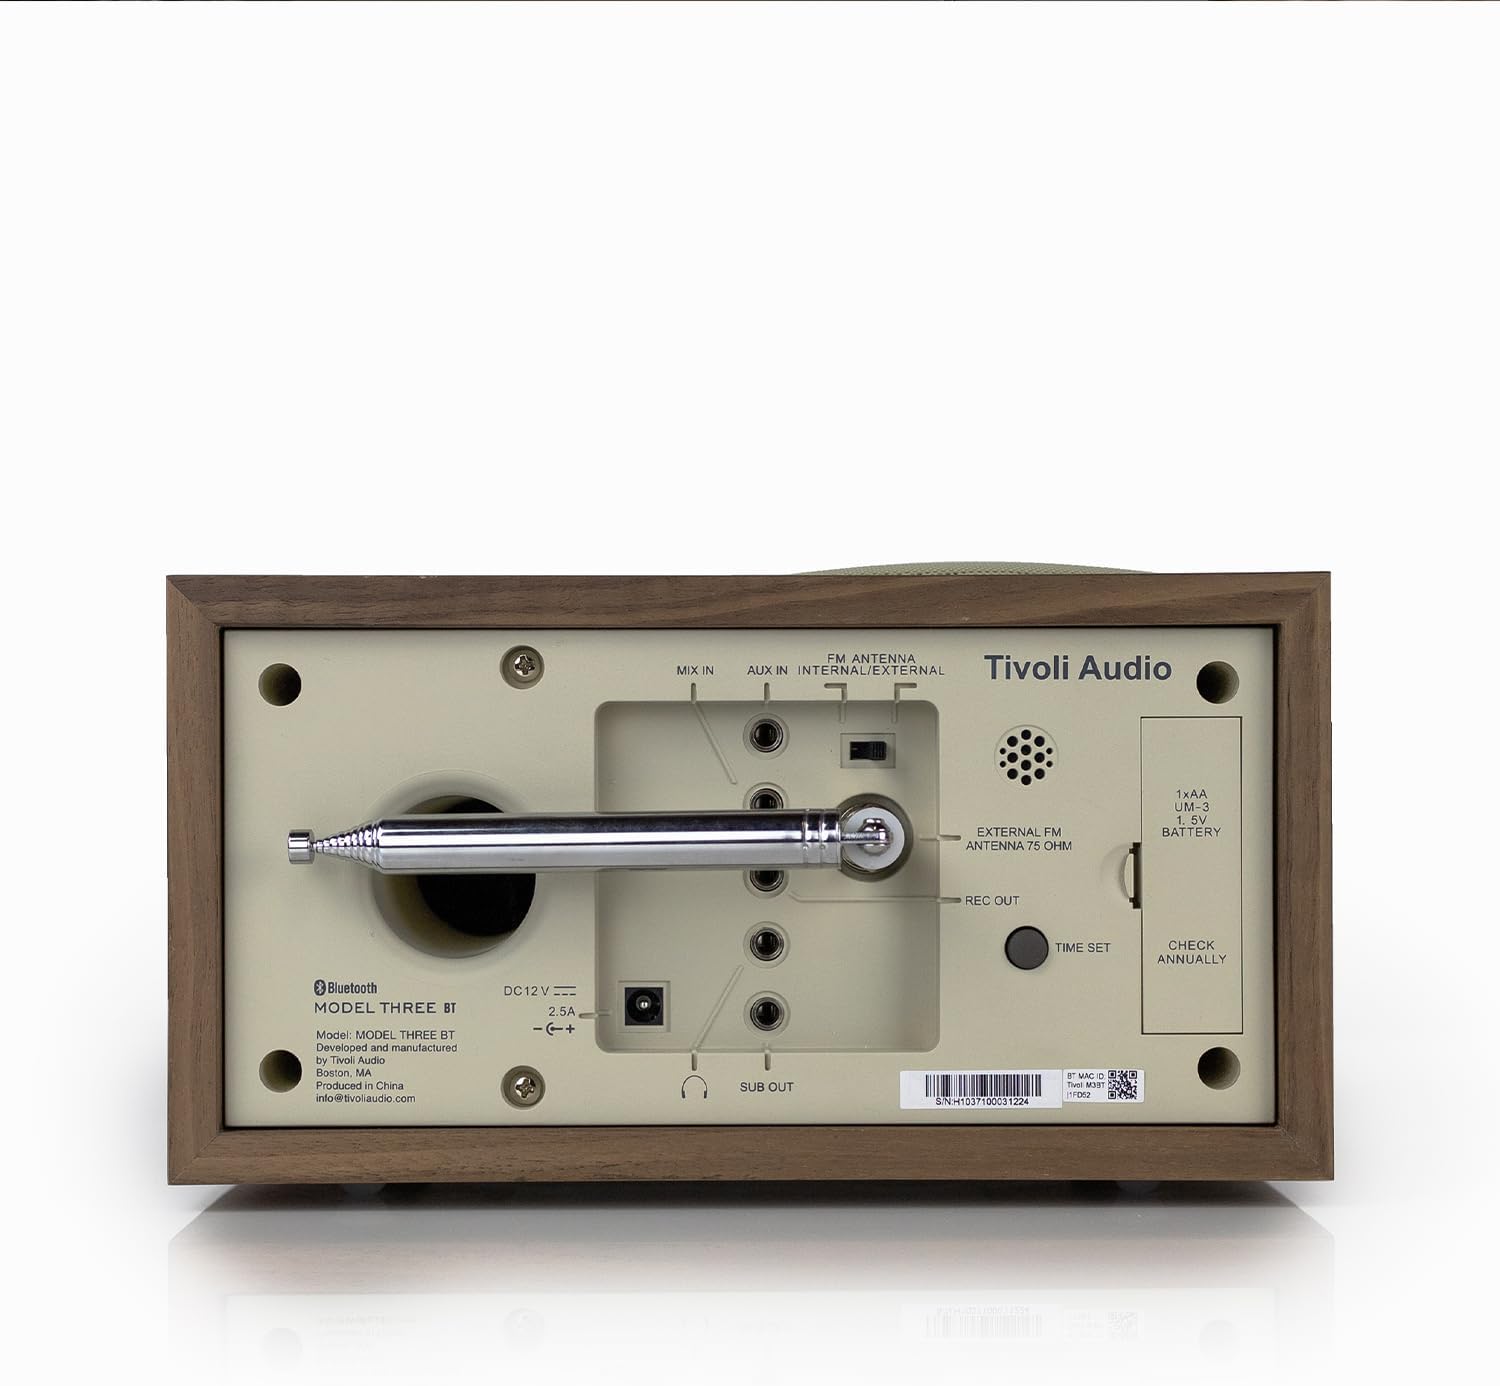
Rear view of the radio, highlighting the battery compartment and various input/output ports.
1.4 Antenna Connection
For optimal FM reception, extend the built-in telescopic FM antenna. For external FM or AM antenna connections, refer to the ports on the back of the unit.
1.5 Initial Time Setting
To set the analog clock, use the 'TIME SET' control, typically a small knob or button on the back or side of the clock face. Rotate or press to adjust the hour and minute hands to the current time. Be aware that this is an analog clock and may require manual adjustment for time changes.
2. Operating Instructions
Learn how to use the various features of your Model Three Clock Radio.
2.1 Power On/Off and Mode Selection
Use the main function knob/switch to turn the unit ON or OFF. This control also allows you to select between FM, AM, Bluetooth (BT), and Auxiliary (AUX) input modes.

Close-up of the front panel showing the mode selector, tuning dial, and volume knob.
2.2 Radio Operation (AM/FM)
- Switch the mode selector to FM or AM.
- Rotate the large Tuning Dial to select your desired radio station. The tuning indicator light will illuminate when a strong signal is received.
- Adjust the Volume Knob to your preferred listening level.
2.3 Bluetooth Pairing
- Switch the mode selector to BT (Bluetooth). The Bluetooth indicator light will begin to flash, indicating it is in pairing mode.
- On your mobile device (smartphone, tablet, etc.), enable Bluetooth and search for available devices.
- Select "Tivoli Audio Model Three" from the list of devices.
- Once paired, the Bluetooth indicator light on the radio will stop flashing and remain solid. You can now stream audio wirelessly to your radio.
2.4 Auxiliary Input
To play audio from an external device (e.g., MP3 player, older smartphone), connect a 3.5mm audio cable from your device's headphone jack to the AUX IN port on the back of the radio. Switch the mode selector to AUX. Control playback and volume from your external device.
2.5 Alarm Clock, Sleep Timer, and Snooze
- Setting Alarm: Use the dedicated alarm set buttons (e.g., ALARM SET, ALARM ON/OFF) to configure your desired wake-up time. Refer to the specific button labels on your unit for precise instructions.
- Sleep Timer: Activate the sleep timer function to automatically turn off the radio after a set period.
- Snooze Button: When the alarm sounds, press the Snooze button to temporarily pause the alarm for a few minutes.
2.6 USB-A & USB-C Charging Ports
The radio features built-in USB-A and USB-C charging ports on its side. These ports provide 5V 1A power output for charging compatible phones and tablets. Simply connect your device's charging cable to the appropriate USB port.

Side view of the radio, highlighting the USB-A and USB-C charging ports.
3. Maintenance
Proper care ensures the longevity and optimal performance of your radio.
3.1 Cleaning
Wipe the cabinet and controls with a soft, dry cloth. Avoid using abrasive cleaners, waxes, or solvents as they may damage the finish. Do not spray liquids directly onto the radio.
3.2 Clock Battery Replacement
The analog clock's AA battery should be checked annually and replaced as needed to ensure accurate timekeeping. A weak battery may cause the clock to stop or lose time. Refer to section 1.3 for battery installation details.
4. Troubleshooting
If you encounter issues with your radio, consult the following common solutions.
- No Power: Ensure the power cord is securely plugged into both the radio and a working wall outlet.
- Poor Radio Reception: Extend the FM telescopic antenna fully. Try repositioning the radio or the antenna. If using an external antenna, ensure it is correctly connected.
- Bluetooth Pairing Issues: Make sure the radio is in BT mode and its indicator light is flashing. Ensure your device's Bluetooth is enabled and within range. Try forgetting the device on your phone and re-pairing.
- Clock Not Keeping Time / Difficult to Set: Verify the AA battery for the clock is fresh and correctly installed. The analog clock requires manual adjustment; ensure you are using the correct 'TIME SET' control.
- USB Charging Ports Not Working: Check that the radio is powered on. Ensure your device's charging cable is fully inserted into the USB-A or USB-C port. Test with a different cable or device to rule out cable/device issues.
- No Audio from Auxiliary Input: Confirm the mode selector is set to AUX. Check the connection of the 3.5mm audio cable at both ends. Ensure the volume on your external device is turned up.
5. Specifications
| Feature | Detail |
|---|---|
| Brand | Tivoli Audio |
| Model | Model Three |
| Color | Walnut / Beige |
| Display Type | Analog |
| Style | Classic |
| Special Features | Alarm, Charging Port, Radio |
| Product Dimensions | 8.38"W x 4.5"H |
| Power Source | Corded Electric |
| Indoor/Outdoor Usage | Indoor |
| Material | Walnut (Wood Frame) |
| Batteries | 1 AA batteries required (included) |
| Mounting Type | Tabletop |
| Connectivity Technology | Bluetooth, 3.5mm Auxiliary Input |
| Item Weight | 5.21 pounds |
6. Warranty & Support
Your Tivoli Audio Model Three Bluetooth Clock Radio is covered by a manufacturer's warranty. For specific warranty details, registration, and technical support, please visit the official Tivoli Audio website or contact their customer service.
For additional information and support, please visit the Tivoli Audio Store on Amazon.