Introduction
This manual provides essential instructions for the proper installation, use, and maintenance of your JKRRKEYI Sewage Tank, designed as a compatible replacement part for various Dreame wet and dry vacuum cleaner models. Adhering to these guidelines will help ensure optimal performance and longevity of your vacuum cleaner.
Product Overview
The JKRRKEYI Sewage Tank is a crucial component for your wet and dry vacuum cleaner, responsible for collecting dirty water and debris during cleaning operations. Regular replacement and maintenance of this tank are vital for maintaining hygiene and cleaning efficiency.

Image 1: Overview of the JKRRKEYI Sewage Tank and its filter component. This image displays the main tank body, the attached mechanism, and a separate filter, illustrating the complete assembly.
Compatibility
This sewage tank is compatible with the following Dreame wet and dry vacuum cleaner models:
- Dreame H20
- Dreame H14
- Dreame H14 Dual
- Dreame H30 Ultra Max
- Dreame H20 Ultra
- Dreame H14 Pro
Please verify your vacuum cleaner's model number before installation to ensure proper fit and function.
Installation Instructions
Follow these steps to properly install the JKRRKEYI Sewage Tank into your compatible Dreame vacuum cleaner:
- Preparation: Ensure your vacuum cleaner is turned off and unplugged from the power source. Place the vacuum on a stable, flat surface.
- Remove Old Tank: Locate the existing sewage tank on your vacuum cleaner. Depending on your model, there may be a release button or latch. Carefully detach and remove the old tank.
- Inspect New Tank: Before installation, inspect the new JKRRKEYI Sewage Tank for any damage or defects. Ensure all seals are intact.
- Insert New Tank: Align the new sewage tank with the designated slot on your vacuum cleaner. Gently push it into place until you hear a click or feel it securely seated. Ensure it is firmly attached to prevent leaks.
- Verify Installation: Once installed, gently tug on the tank to confirm it is securely locked.
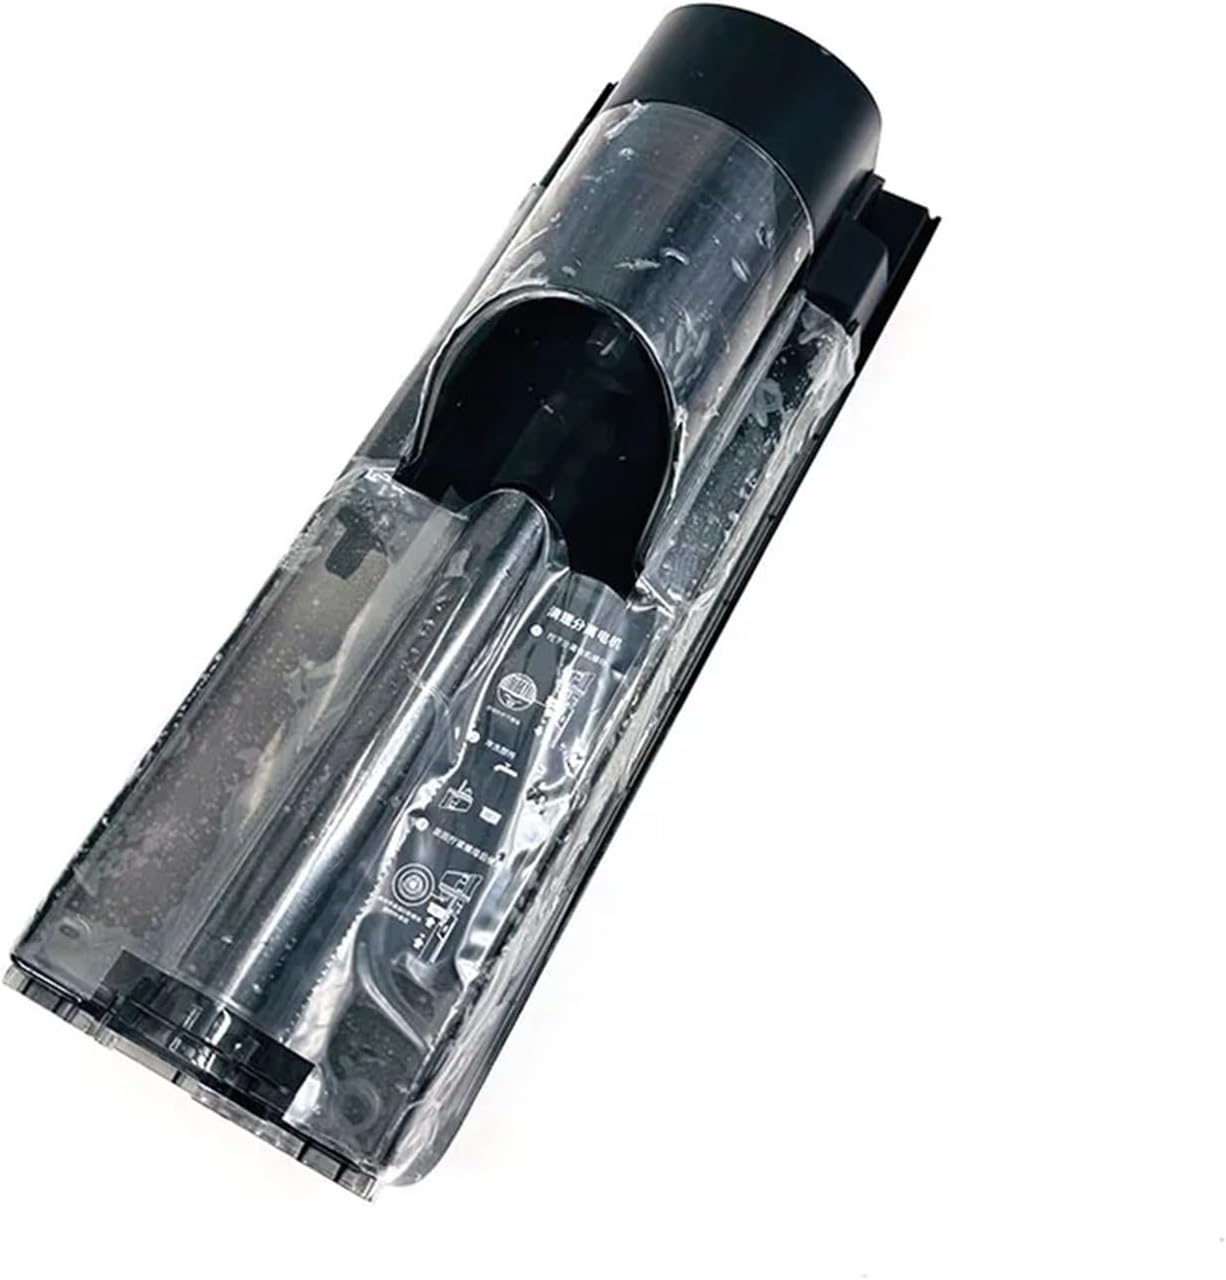
Image 2: Side view of the sewage tank, showing its elongated design and connection points. This perspective helps in understanding how the tank integrates into the vacuum cleaner's body.
Operating Considerations
The sewage tank functions automatically once installed. During operation, it collects dirty water and debris. Monitor the tank's fill level to prevent overfilling, which can affect vacuum performance or lead to spills.
- Optimal Performance: Replacing the water tank can remove the dirt of the old water tank, avoid secondary pollution, and ensure the cleaning effect.
- Leak Prevention: The new water tank has a better sealing performance to prevent water leakage and keep the machine running efficiently.
- Improved Suction: Changing the water tank regularly can improve the suction power of the vacuum cleaner, greatly improving the cleaning efficiency and saving time.
Maintenance
Regular maintenance of the sewage tank is crucial for extending the life of your vacuum cleaner and ensuring consistent cleaning performance.
- Emptying the Tank: After each use, or when the tank reaches its maximum fill line, carefully remove the sewage tank. Dispose of the dirty water and debris responsibly.
- Cleaning the Tank: Rinse the inside of the tank thoroughly with clean water. Use a soft brush if necessary to remove any stubborn residue. Ensure the tank is completely dry before re-installing to prevent mold or odors.
- Filter Maintenance: The sewage tank often includes a filter. Remove and clean this filter regularly according to your vacuum cleaner's specific instructions. A clogged filter can reduce suction power.
- Regular Replacement: Over time, the sewage tank and its seals may wear out. Keep the water tank in good condition to extend the life of the vacuum cleaner and reduce maintenance costs. Consider replacing the tank periodically, especially if you notice reduced performance or leaks.

Image 3: Top-down view of the sewage tank, highlighting the internal structure and filter housing. This view provides insight into the tank's design for collecting and separating liquids and solids.
Troubleshooting
If you encounter issues with your sewage tank or vacuum cleaner performance after installation, consider the following:
- Water Leakage:
- Ensure the tank is correctly seated and locked into place.
- Check the rubber seals around the tank and its opening for any damage or misalignment.
- Verify that the tank is not overfilled.
- Reduced Suction:
- Check if the sewage tank is full and needs emptying.
- Inspect the filter within the sewage tank for clogs and clean it thoroughly.
- Ensure there are no blockages in the vacuum cleaner's hoses or nozzles.
- Unusual Odors:
- Thoroughly clean and dry the sewage tank after each use.
- Ensure no stagnant water or debris remains in the tank or associated components.
Specifications
| Attribute | Detail |
|---|---|
| Brand | JKRRKEYI |
| Model Name (Part) | HJ dianpu |
| Item Weight | 50 Grams (approx. 1.76 ounces) |
| Color | Light Grey |
| Compatible Models | Dreame H20, H14, H14 Dual, H30 Ultra Max, H20 Ultra, H14 Pro |
| Number of Items | 1 |
Support and Warranty
For any questions regarding the installation, operation, or maintenance of your JKRRKEYI Sewage Tank, please refer to the original vacuum cleaner's user manual or contact the manufacturer of your Dreame vacuum cleaner for specific guidance related to their product. As this is a compatible spare part, warranty coverage for the tank itself may be provided by the seller or manufacturer of the JKRRKEYI brand. Please retain your purchase receipt for any warranty claims.
Note: Protection plans mentioned on the product page are typically offered by third-party providers and are separate from any manufacturer's warranty.


