
Introduction
The Zunate 3-Outlet Sprinkler Timer is designed to automate your garden watering, providing efficient and customizable irrigation for lawns, gardens, and other applications. This device features robust brass terminals for durability, a user-friendly interface with an LCD screen, and the ability to set up to three independent watering programs per day. It also includes a child safety lock function and is designed to minimize water waste.
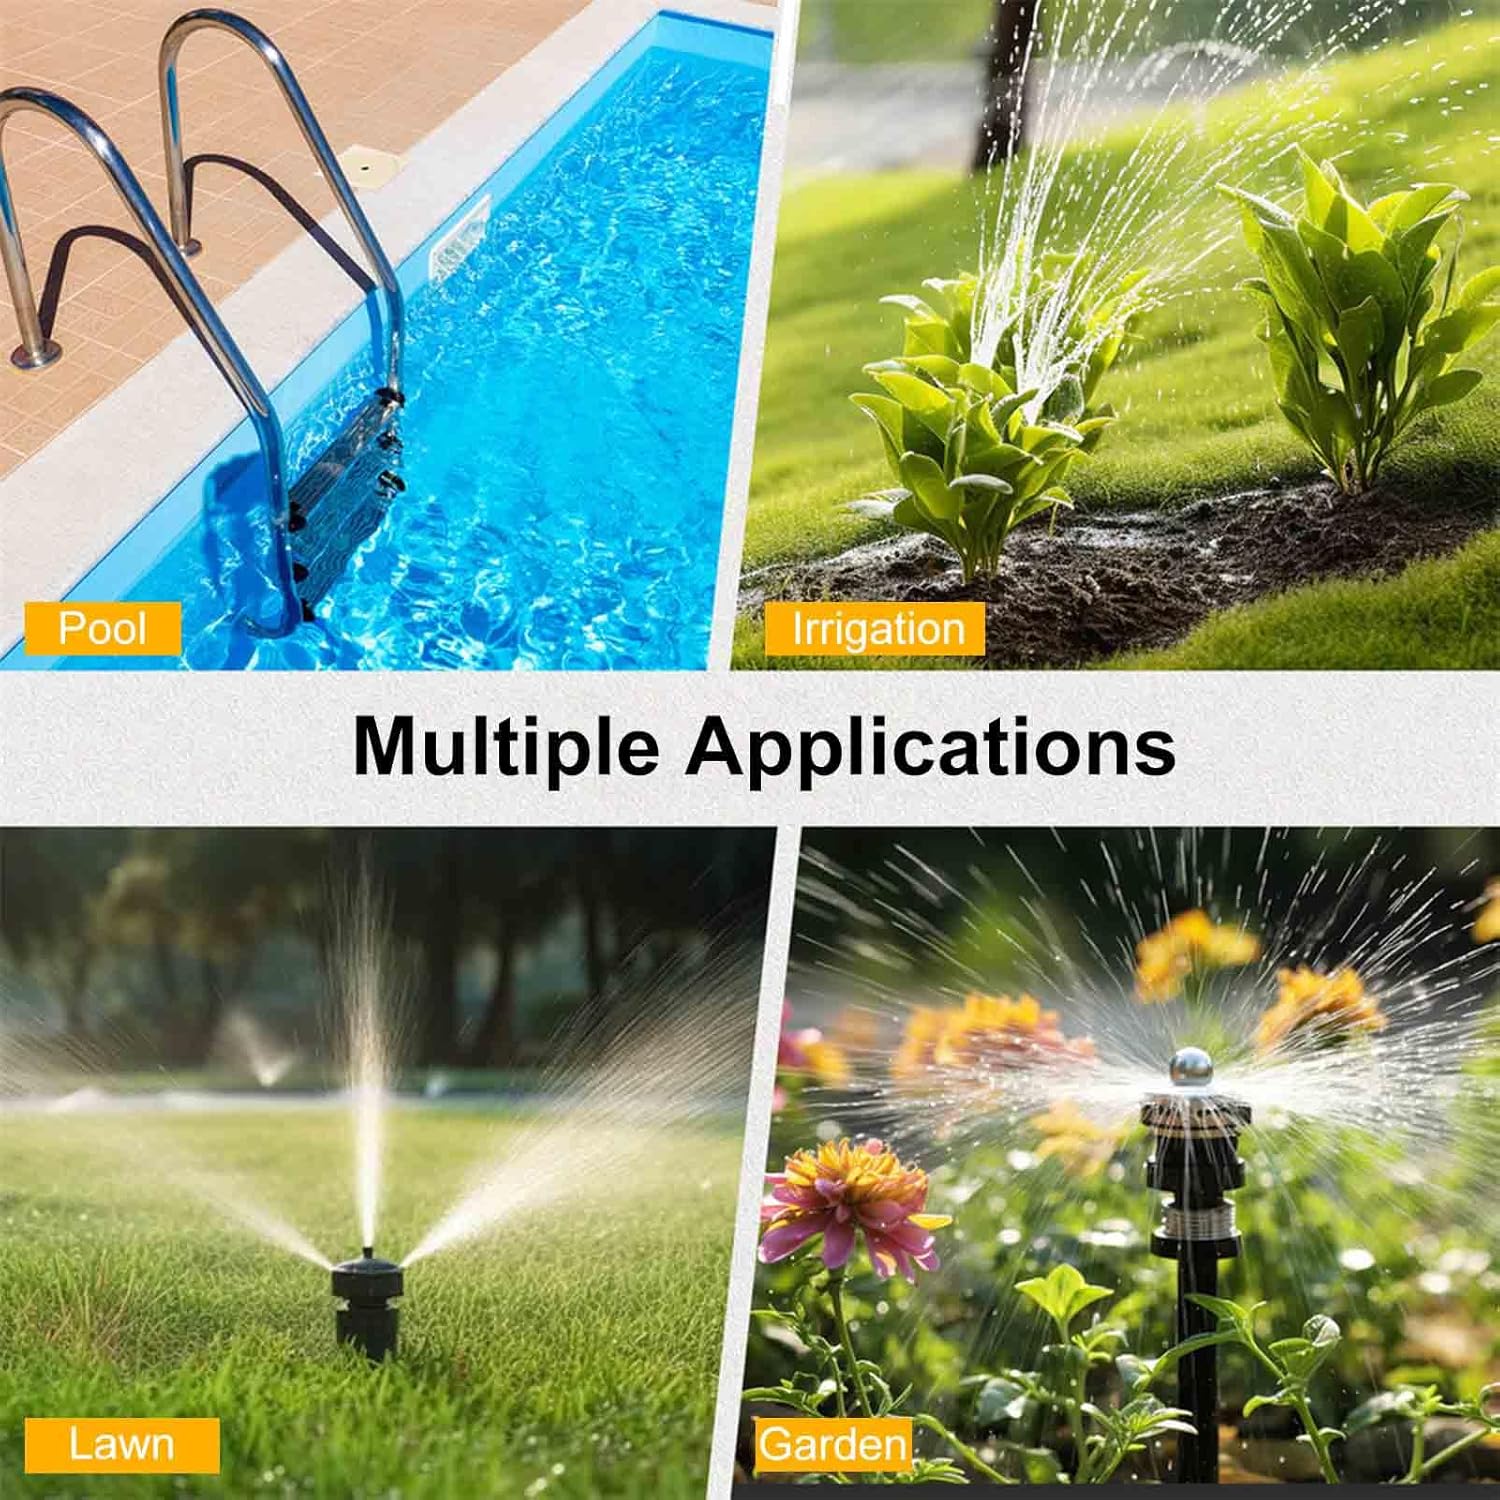
Figure 1: Multiple applications for the Zunate Sprinkler Timer, suitable for various watering needs.
Setup
1. Battery Installation
The sprinkler timer requires two 2A batteries (not included) for operation. Ensure batteries are inserted with correct polarity.
- Locate the battery compartment on the back of the timer.
- Open the battery compartment cover.
- Insert two 2A batteries, observing the positive (+) and negative (-) markings.
- Close the battery compartment cover securely.

Figure 2: Battery compartment and low battery reminder feature. The timer operates on two 2A batteries.
2. Connecting the Timer to a Faucet
The timer features a durable brass inlet terminal for connection to your garden hose faucet.
- Ensure the faucet is turned off.
- Screw the timer's brass inlet terminal onto your standard NH3/4 inch external thread faucet. Hand-tighten only to prevent damage.
- Ensure a tight seal to prevent leaks.
3. Connecting Hoses to Outlets
The timer has three independent outlets for connecting your garden hoses.
- Attach your garden hoses to the three outlets at the bottom of the timer.
- Ensure each hose is securely fastened to prevent leaks.
Operating Instructions
1. User Interface Overview
The timer features an intuitive interface with a central knob, five control buttons, and an LCD screen for easy programming.

Figure 3: Front panel of the Zunate Sprinkler Timer, highlighting the water inlet, control buttons, display screen, and programming knob.
- Knob: Used to select different programming modes (Set Clock, Start Time, How Long, How Often, Auto, Off).
- Buttons: Five buttons (Zone, +, -, OK, Manual) for navigation and setting adjustments.
- LCD Screen: Displays current time, program settings, and status indicators.
2. Setting the Current Time (Set Clock)
- Turn the knob to the 'Set Clock' position.
- Use the '+' and '-' buttons to adjust the hour and minute.
- Press 'OK' to confirm each setting.
3. Programming Watering Schedules
The timer allows for up to three independent watering programs (P1, P2, P3) per day.
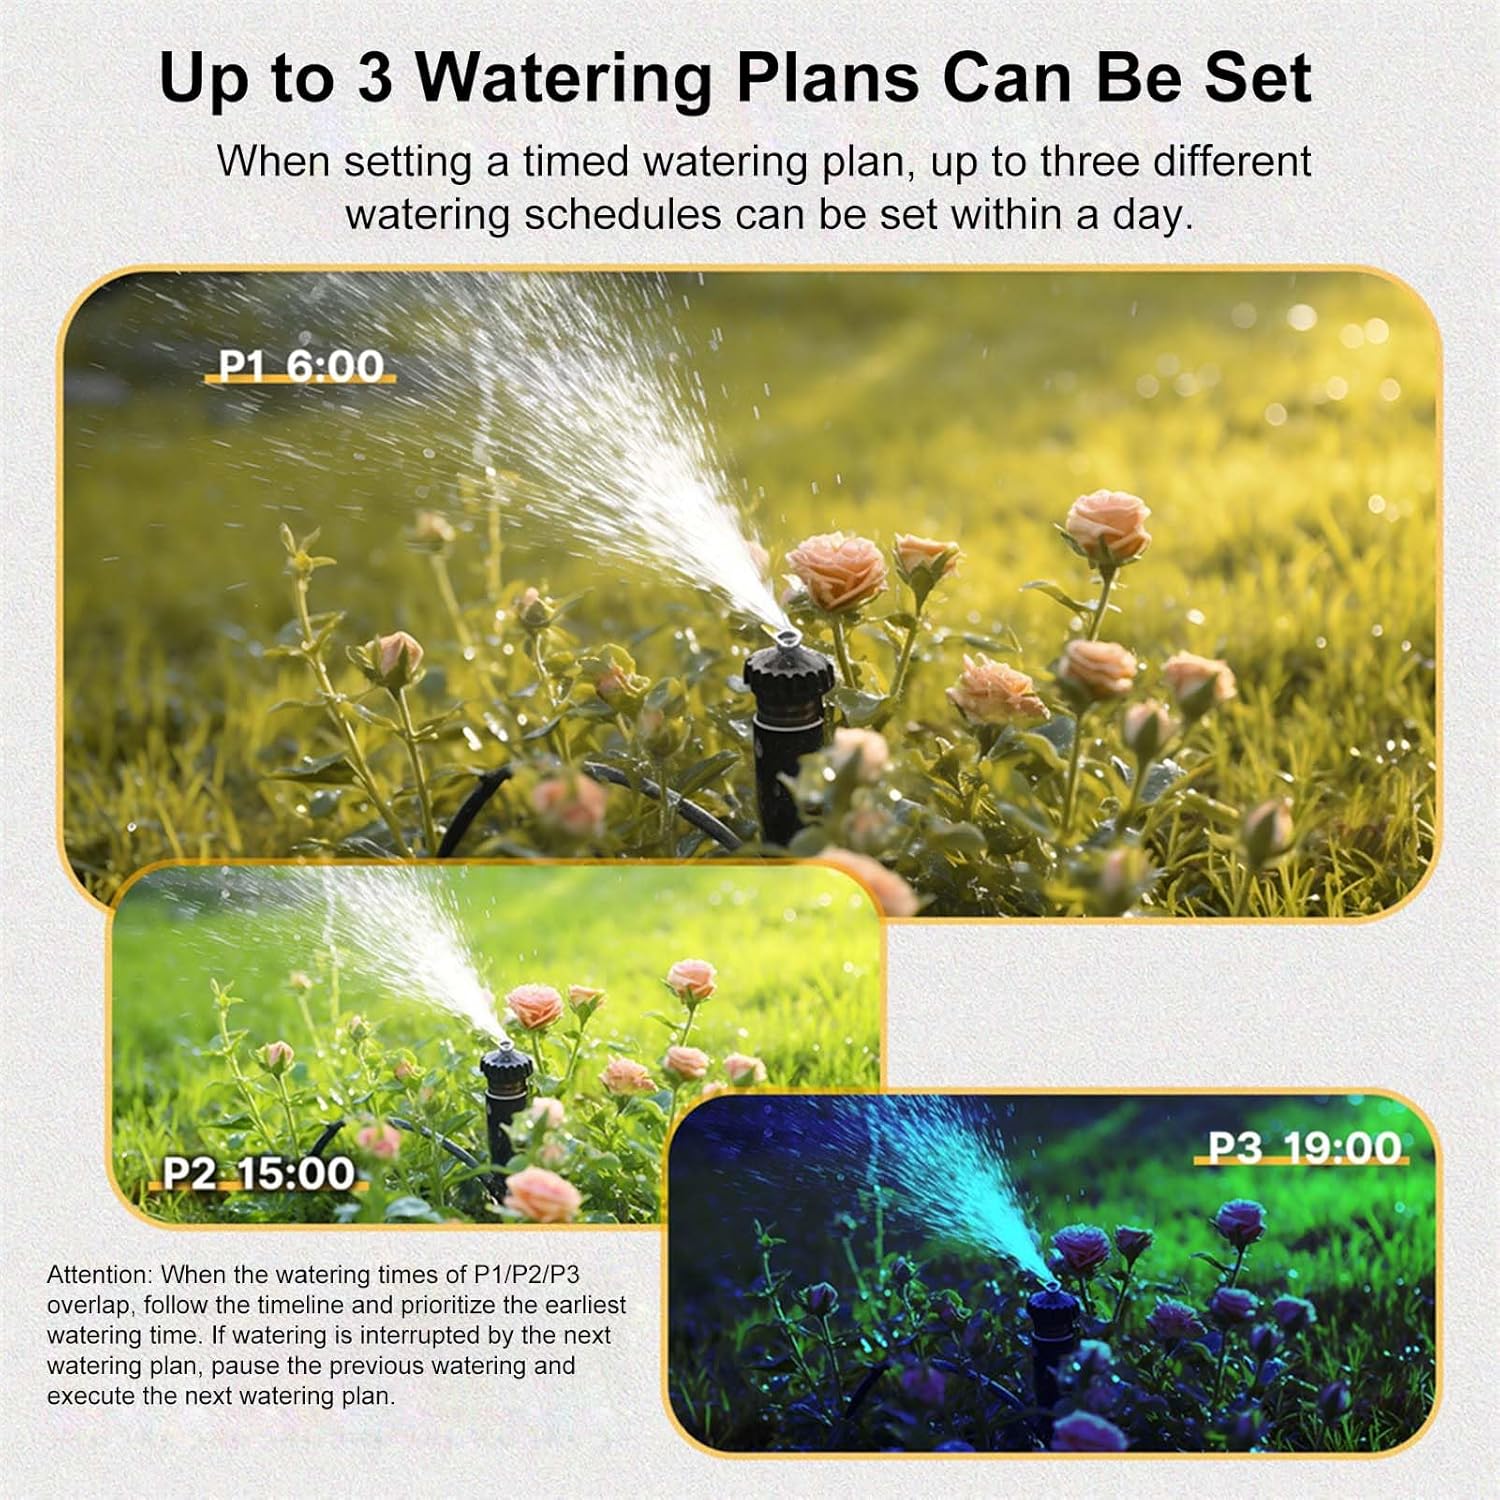
Figure 4: Example of three distinct watering plans (P1, P2, P3) that can be set within a single day.
- Select Program: Press the 'Zone' button to cycle through P1, P2, P3.
- Set Start Time: Turn the knob to 'Start Time'. Use '+' and '-' to set the desired start time for the selected program. Press 'OK'.
- Set Watering Duration (How Long): Turn the knob to 'How Long'. Use '+' and '-' to set the duration (e.g., minutes, hours). Press 'OK'.
- Set Watering Frequency (How Often): Turn the knob to 'How Often'. Use '+' and '-' to set the frequency (e.g., every X hours, every X days, specific days of the week). Press 'OK'.
- Activate Program: Turn the knob to 'Auto' to activate the programmed schedule.
Note: If watering times for P1/P2/P3 overlap, the timer prioritizes the earliest watering time. If watering is interrupted by a subsequent plan, the previous watering will pause, and the next plan will execute.
4. Manual Watering
To initiate watering outside of the programmed schedule:
- Press the 'Manual' button.
- Use '+' and '-' to set the desired manual watering duration.
- Press 'OK' to start manual watering.
- To stop manual watering, press 'Manual' again or turn the knob to 'Off'.
5. Rain Delay Function
The timer includes a rain delay feature to temporarily pause watering.
- In 'Auto' mode, press and hold the 'Delay' button (often combined with '+').
- Use '+' and '-' to select the desired delay duration (e.g., 1 day, up to 15 days).
- Press 'OK' to confirm the rain delay. The timer will resume its schedule after the delay period.
6. Child Lock Function
The child lock prevents unintended changes to the timer settings.

Figure 5: The child lock feature helps prevent accidental changes to settings.
- To Activate: In 'Auto' mode, press and hold the '-' button for 5 seconds. A lock icon will appear on the screen.
- To Deactivate: Press and hold the '-' button for 3 seconds. The lock icon will disappear.
Maintenance
1. Battery Replacement
When the battery icon flashes on the LCD screen, it indicates low battery and replacement is needed.
- Turn the timer knob to 'Off'.
- Remove the old batteries from the compartment.
- Insert two new 2A batteries, ensuring correct polarity.
- Close the battery compartment.
- Reset the current time if necessary.
2. Cleaning
Periodically clean the timer to ensure optimal performance.
- Wipe the exterior with a soft, damp cloth.
- Do not use abrasive cleaners or solvents.
- Check the inlet filter for debris and clean if necessary.
3. Winterization
Before freezing temperatures, disconnect the timer from the faucet and store it indoors.
- Turn off the water supply and disconnect the timer.
- Drain any remaining water from the timer.
- Remove batteries if storing for an extended period.
- Store in a dry, frost-free location.
Troubleshooting
| Problem | Possible Cause | Solution |
|---|---|---|
| Timer not turning on/LCD blank | Dead or incorrectly installed batteries. | Replace batteries with new 2A batteries, ensuring correct polarity. |
| No water flow | Faucet is off; timer is in 'Off' mode; low water pressure; clogged filter. | Ensure faucet is fully open. Turn knob to 'Auto' or initiate 'Manual' watering. Check water pressure. Clean inlet filter. |
| Water leaks from connections | Loose connections; worn washers. | Tighten all connections. Replace washers if damaged. |
| Timer not following schedule | Timer not in 'Auto' mode; incorrect program settings; child lock active. | Ensure knob is set to 'Auto'. Verify program settings (Start Time, How Long, How Often). Deactivate child lock if active. |
Specifications

Figure 6: Detailed dimensions of the Zunate 3-Outlet Sprinkler Timer.
- Model Number: Zunatek25h31tavi-11
- Material: Brass, PC, ABS
- Working Pressure: Approx. 0.05-0.8Mpa / 7.25-116psi
- Working Temperature: Approx. 4.5℃-45℃ / 40.1℉-113℉
- Power Supply: 2 * 2A batteries (not included)
- Waterproof Grade: IPX5
- Rain Delay: 1 day, up to 15 days
- Hose Connector: NH3/4 inch external thread (US)
- Product Dimensions: 15.2 * 7.5 * 12.5 cm / 6 * 3 * 5 inch (approx.)
- Item Weight: 1.33 pounds
Warranty and Support
For warranty information or technical support, please refer to the product packaging or contact the seller directly through your purchase platform. Keep your purchase receipt for warranty claims.