
Introduction
This manual provides detailed instructions for the installation, operation, and maintenance of your Jingelsye 7-inch Car Radio. Please read this manual thoroughly before using the product to ensure proper functionality and safety.
Vehicle Compatibility
This car radio is designed for specific vehicle models. Please verify your vehicle's compatibility before installation.
- For Jeep Wrangler JK / Unlimited (2007-2017)
- For Jeep Compass / Patriot (2009-2016)
- For Jeep Grand Cherokee (2005-2011)
- For Jeep Liberty / Commander (2008-2011)
- For Dodge Grand Caravan (2011-2014)
- For Dodge Charger (2008-2010)
The system features a plug-and-play design, eliminating the need for additional accessories for compatible vehicles.
Product Features
- Operating System: Android 13
- Processor: 1.8Ghz CPU
- Memory & Storage: 4GB RAM + 64GB ROM
- Display: 7-inch HD LCD Touch Screen (1280x800 resolution)
- Connectivity: Wireless CarPlay, Android Auto, 5G WiFi, Bluetooth 5.4, USB
- Audio: 32-band EQ settings, FM Radio (87.5-108MHz with 18 presets), Built-in RDS
- Navigation: GPS with North America map support
- Additional Functions: Split-screen, Steering Wheel Controls (SWC), Mirror Link, 1080P AHD Rear View Camera input (backup camera included)
- Updates: Over-The-Air (OTA) firmware updates
Setup
1. Installation
Refer to the wiring diagram below for proper connection of the car radio components. Ensure all cables are securely connected before powering on the device.

Image: Car Radio Wiring Diagram. This diagram illustrates the connections for the radio antenna, GPS antenna, reversing cable, SIM card cable/RCA cable, USB cables (6-pin and 4-pin), CANBUS, and power cable.
The installation process typically involves removing the factory radio and connecting the new unit using the provided harnesses. For specific vehicle models, consult a professional installer if you are unsure.

Image: Before and After Car Radio Installation. This image shows the original car dashboard with the factory radio (Before) and the same dashboard with the new 7-inch Jingelsye car radio installed (After), demonstrating the integrated appearance.
2. Initial Power On
After installation, turn on your vehicle's ignition. The car radio should power on automatically. Follow any on-screen prompts for initial setup, such as language selection and time zone.
3. Wi-Fi Connection
- Go to Settings on the main menu.
- Select Network & Internet.
- Turn on Wi-Fi and select your desired network.
- Enter the password if prompted and connect.

Image: Wireless CarPlay, Android Auto, 5G WiFi, and Bluetooth 5.4 Features. This image highlights the capabilities of the car radio, including seamless integration with CarPlay and Android Auto, support for 5G WiFi for internet access, and Bluetooth 5.4 for stable wireless connections.
4. Bluetooth Pairing
- On the car radio, go to Settings and select Bluetooth.
- Ensure Bluetooth is enabled on your mobile device.
- Search for available devices on your mobile device and select the car radio's name (e.g., "Jingelsye Car Radio").
- Confirm the pairing code on both devices.
5. GPS Setup
The unit comes with pre-installed navigation software. Ensure the GPS antenna is properly connected as shown in the wiring diagram for optimal signal reception.
Operating Instructions
1. Touch Screen Operation
The 7-inch LCD touch screen is highly responsive. Use light touches and swipes to navigate menus, select options, and control functions.
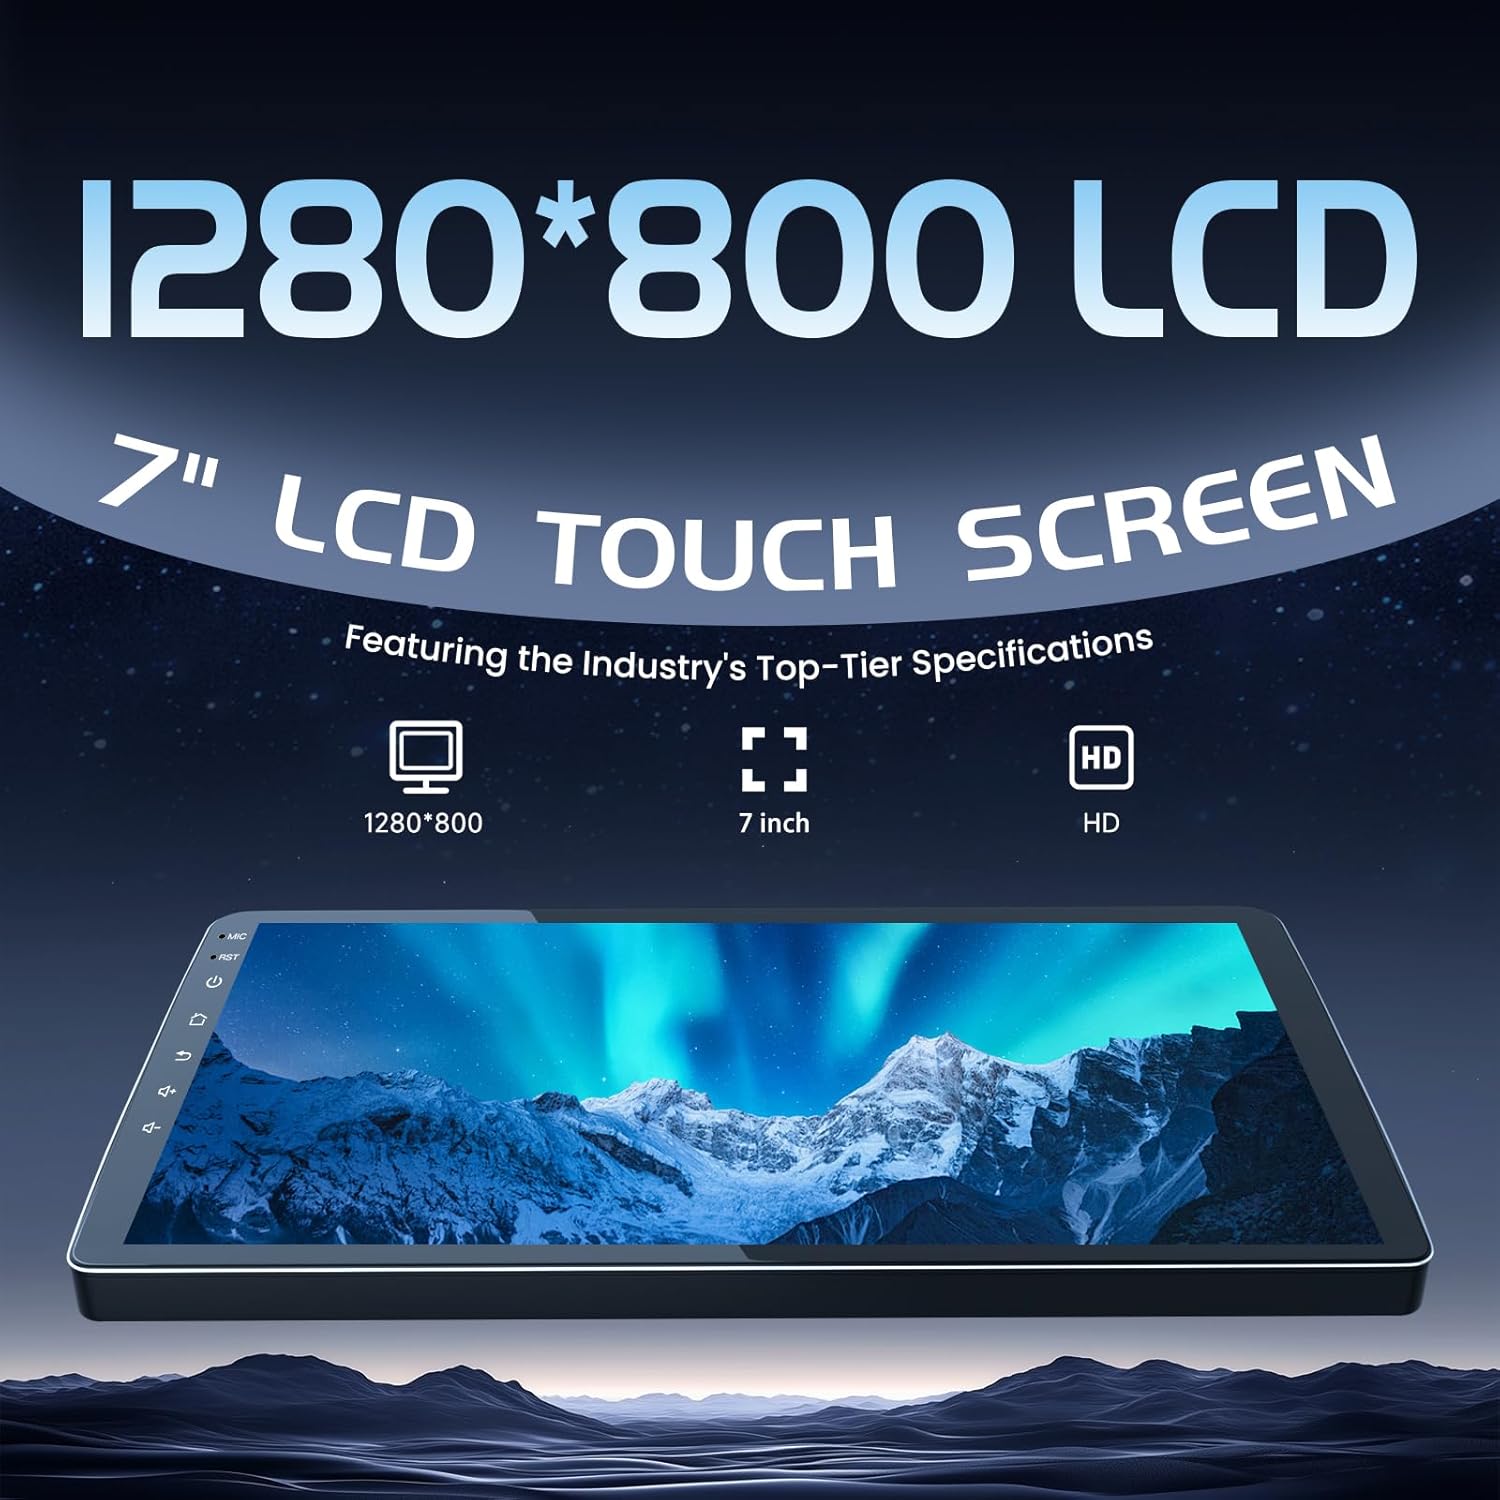
Image: 7-inch 1280x800 HD LCD Touch Screen. This image showcases the high-definition 7-inch LCD touch screen with a resolution of 1280x800, emphasizing its clarity and responsiveness for an enhanced user experience.
2. Wireless CarPlay / Android Auto
Connect your compatible smartphone wirelessly to access CarPlay or Android Auto. This allows you to use navigation, make calls, send messages, and listen to music directly from your phone's interface on the car radio screen.
- Ensure Bluetooth and Wi-Fi are enabled on your phone and the car radio.
- On your phone, search for the car radio's Bluetooth name and pair.
- Follow the on-screen prompts on both devices to initiate CarPlay or Android Auto.
3. FM Radio
Access the FM Radio application from the main menu. You can manually tune to stations or use the auto-scan function to find and save up to 18 preset stations. The built-in RDS (Radio Data System) provides station information where available.
4. Audio Equalizer (EQ)
Customize your audio experience using the 32-band equalizer. Access the EQ settings from the audio menu to adjust frequency bands, balance, fader, and select preset sound styles like Folk, Rock, Classic, or Jazz.

Image: Built-in RDS and 32-band EQ for Enhanced Sound Quality. This image illustrates the car radio's advanced audio features, including built-in RDS for intelligent noise reduction and reverberation, and a detailed 32-band equalizer interface for customizing sound profiles.
5. Split-Screen Functionality
The split-screen feature allows you to run two applications simultaneously. For example, you can use navigation on one side and control music playback on the other. To activate, long-press the recent apps button or drag an app to one side of the screen.
6. Steering Wheel Controls (SWC)
If your vehicle supports it, the car radio can integrate with your existing steering wheel controls. This allows you to adjust volume, change tracks, answer calls, and switch navigation modes without taking your hands off the wheel. Refer to the system settings for SWC configuration.
7. Backup Camera
The included AHD backup camera provides a 1080P rear view image. When the vehicle is shifted into reverse, the display will automatically switch to the camera feed, enhancing safety during parking and reversing maneuvers.
Maintenance
- Screen Cleaning: Use a soft, lint-free cloth to clean the touch screen. Avoid abrasive cleaners or solvents.
- Software Updates: The system supports Over-The-Air (OTA) updates. Periodically check for new firmware versions in the system settings to ensure optimal performance and access to new features.
- General Care: Avoid exposing the unit to extreme temperatures, direct sunlight for prolonged periods, or excessive moisture.

Image: Over-The-Air (OTA) Firmware Updates. This image illustrates the car radio's capability for OTA updates, ensuring the firmware remains current with the latest features and improvements.
Troubleshooting
Refer to the common questions and answers below for assistance with typical issues.

Image: Frequently Asked Questions for Car Radio. This image provides answers to common troubleshooting questions, including how to unlock factory settings, fix a flipped rear camera image, address low-quality old camera feeds, and remove parking guidelines.
- What password unlocks factory settings?
Use 1617 or 1234 to access advanced configuration. - My rear camera image looks flipped. Can I fix this?
Go to CarSetting → General Settings → General and adjust Reverse Mirror to correct the view instantly. - Why does my old camera look low-quality on this screen?
Your factory camera uses outdated 360P CVBS technology. This radio supports high-definition AHD 1080P, so upgrading to the included camera unlocks a crystal-clear HD view. - Can I remove the parking guide lines?
Yes, enter Factory Setting with code 1617, go to Backcar Setting, and disable Backcar Assist Line.
Specifications
| Brand | Jingelsye |
| Model | 4GB RAM+64GB ROM 7 Inch |
| Screen Size | 7 Inches |
| Display Type | LCD, Capacitive Touch Screen |
| Operating System | Android 13 |
| CPU | 1.8Ghz |
| Memory Storage | 4GB RAM + 64GB ROM |
| Connectivity | Bluetooth 5.4, USB, 5G Wi-Fi |
| Special Features | Wireless CarPlay, Android Auto, GPS Navigation, FM/RDS Radio, 32-band EQ, Mirror Link, SWC, Split Screen, 1080P Rear View Camera Input |
| Map Type | North America |
| Product Dimensions (L x W x H) | 9.49"L x 4.02"W x 11.73"H |
| Item Weight | 1.37 Kilograms |
| UPC | 750880886279 |
Warranty and Support
For warranty information and technical support, please refer to the contact details provided with your purchase or visit the official Jingelsye website. Our professional technical team is available to assist with any issues or questions you may have.
You can also reach out to the seller directly through the platform where the product was purchased for prompt assistance.