1. Introduction
This manual provides essential information for the safe and efficient installation, operation, and maintenance of your VARMINPOOL 40000BTU Smart Electric Pool Heater. This advanced heat pump is designed to provide year-round comfort by heating and cooling pools up to 13,000 gallons, featuring smart control via a mobile application and a robust build for outdoor durability. Please read this manual thoroughly before installation and use.
2. Safety Information
WARNING: Electrical installation must be performed by a qualified electrician in accordance with all local and national electrical codes. Failure to do so may result in serious injury, death, or property damage.
- Always disconnect power to the unit and all associated pool equipment before performing any service or maintenance.
- Ensure proper grounding of the unit.
- Do not operate the unit if any electrical components are wet or damaged.
- Keep children and pets away from the unit during operation.
- Ensure adequate ventilation around the unit.
3. Product Overview
The VARMINPOOL 40000BTU Smart Electric Pool Heater is engineered for optimal performance and user convenience. Key features include:
- Capability: Heats and cools pools up to 13,000 gallons (approximately 15’ x 30’ x 4’).
- Smart Features: Connects via WiFi using the Smart Life app for seamless control and monitoring from anywhere. Includes a schedule function for automated operation.
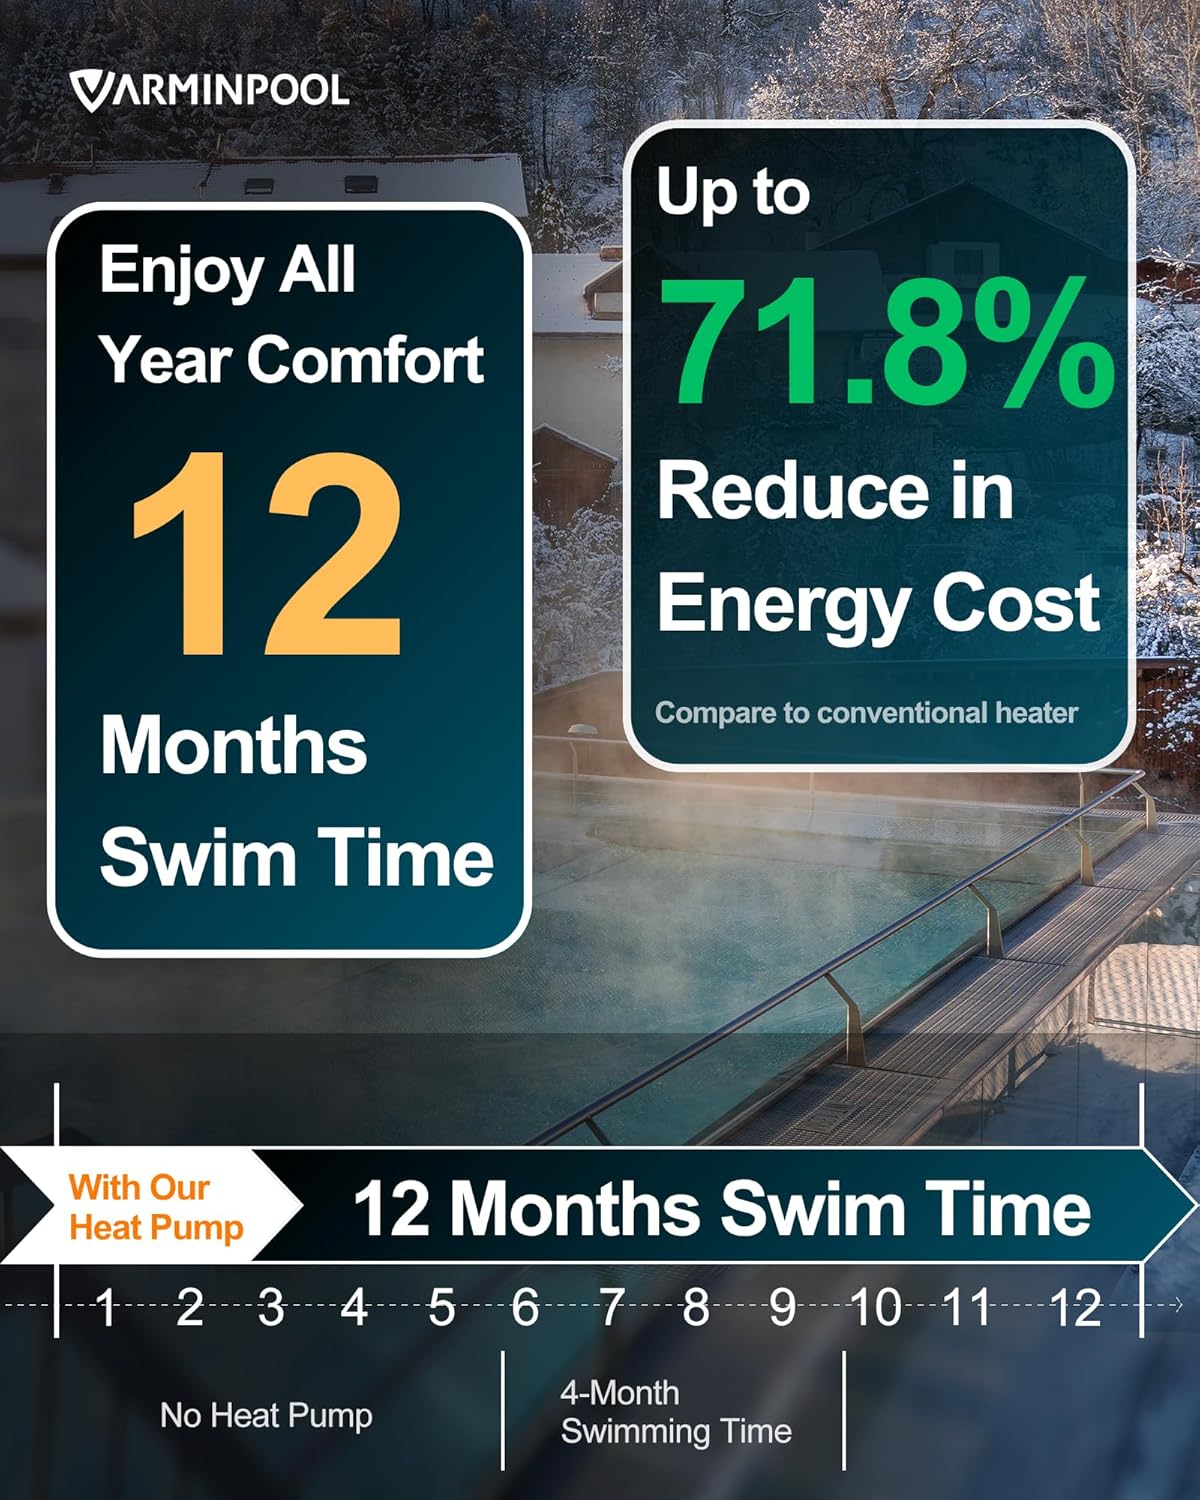
- Energy Saving: Space-saving structure and inverter technology enhance power efficiency, reducing electricity use without sacrificing performance.
- Robust Build: Galvanized modular steel panel housing ensures resistance to weather and long-term outdoor durability.
- Quiet Operation: Operates at a low noise level of 48dB.
- Low Ambient Temperature Operation: Capable of operating in temperatures as low as 15°F.


4. Specifications
| Feature | Specification |
|---|---|
| Brand | VARMINPOOL |
| Model Number | KSPF-010L1UR1A1 |
| Color | Deep Grey |
| Material | Metal |
| Product Dimensions (L x W x H) | 35" x 14" x 22" |
| Weight | 111 lbs |
| Power Source | AC (220-240V/60Hz) |
| Max Current | 12.0A |
| Maximum Flow Rate | 30 Gallons Per Minute (1800 GPH) |
| Product Style | Above Ground |
5. Setup
5.1 Unpacking and Placement
Carefully remove the heat pump from its packaging. Ensure the unit is placed on a stable, level surface with adequate clearance for airflow around all sides. Avoid placing it directly against a wall or in an enclosed space.
5.2 Electrical Connection
- Disconnect Power: Before starting any electrical work, turn off the main power to your pool equipment at the circuit breaker. Verify power is off using a voltage tester.
- Breaker Requirements: This unit requires a 15-amp breaker. If replacing an older, higher-amperage unit (e.g., 60-amp), you must downgrade the breaker to 15 amps to protect the new heat pump.
- Wiring: The heat pump comes with pre-sheathed wiring (two hot wires and one ground wire). Connect these wires to the appropriate terminals in your electrical disconnect box.
- Professional Installation: It is highly recommended to have a qualified electrician perform the electrical connections to ensure safety and compliance with local codes.
5.3 Plumbing Connection
The heat pump should be plumbed into your existing pool filtration system. Water should flow from the pool pump, through the filter, then into the heat pump, and finally back to the pool. The unit includes easy-to-use attachments for standard PVC pipes.
- Identify Ports: Locate the Water Inlet and Water Outlet ports on the back of the heat pump.
- Cut and Prepare Pipes: Measure and cut your existing PVC pipes to align with the heat pump's inlet and outlet. Use PVC primer and cement for secure, watertight connections.
- Install Fittings: Attach the provided fittings to the heat pump's ports and then connect your PVC pipes. Ensure all connections are tight and leak-free.
- Optional Bypass Valves: For easier maintenance and to bypass the heater when not in use, consider installing three bypass valves as shown in the plumbing diagram. This allows water to flow directly back to the pool without passing through the heater.


5.4 Installation Video Guide
For a visual guide on removing an old heater and installing a new one, including electrical and plumbing considerations, please refer to the video below. Note that the video demonstrates a general installation process and specific details may vary.
6. Operating
6.1 Control Panel
The heat pump features an intuitive control panel with a weather-proof cover. Use the 'M' button to cycle through modes, and the up/down arrows to adjust settings like target temperature. The display shows the current water temperature and other operational information.
6.2 Smart Life App Control
For enhanced control and monitoring, download the Smart Life app on your smartphone. The app allows you to:
- Remotely adjust heating and cooling temperatures.
- Set custom operating schedules for specific days and times.
- Monitor the unit's status and receive notifications.
- Share control with other users.

6.3 Heating and Cooling Modes
The unit offers both heating and cooling modes to maintain your desired pool temperature year-round. The heating mode typically operates between 59°F and 104°F, while the cooling mode ranges from 45°F to 87°F.

6.4 Optimal Flow Rate
Maintaining an optimal water flow rate of 30-35 GPM (Gallons Per Minute) is crucial for the heat pump's efficiency. Too low a flow rate can lead to heat buildup and reduced heating, while too high a flow rate can result in insufficient heat transfer. Ensure your pool pump is capable of pushing greater than 1500 GPH through the system.
7. Maintenance
Regular maintenance ensures the longevity and efficiency of your VARMINPOOL heat pump.
- Clean Coils: Periodically inspect and clean the evaporator coils to remove debris, leaves, and dirt that can obstruct airflow and reduce efficiency.
- Check for Leaks: Regularly inspect all plumbing connections for any signs of leaks.
- Winterization: In colder climates, proper winterization is essential. This typically involves draining water from the unit and pipes to prevent freezing damage. Consult a pool professional for specific winterization procedures for your region.
- Use a Pool Cover: Utilizing a pool cover significantly reduces heat loss and evaporation, leading to faster heating times and substantial energy savings (60-80% compared to not using a cover).

8. Troubleshooting
If you encounter issues with your heat pump, consider the following common troubleshooting steps:
- No Power: Check the circuit breaker for the unit and ensure it is in the ON position. Verify all electrical connections are secure.
- Not Heating/Cooling Effectively: Ensure the pool pump is running and the water flow rate is within the optimal range (30-35 GPM). Check for clogged filters or debris in the heat pump coils. Verify the set temperature in the app or on the control panel.
- App Connectivity Issues: Ensure your home WiFi network is active and the heat pump is within range. Restart your router and the heat pump if necessary. Follow the app's pairing instructions carefully.
- Unusual Noises: Inspect the fan for any obstructions. If unusual noises persist, contact customer support.
For more complex issues or if troubleshooting steps do not resolve the problem, please contact VARMINPOOL customer support.
9. Warranty and Support
For warranty information and technical support, please refer to the documentation included with your product or visit the official VARMINPOOL website. You may also contact VARMINPOOL customer service directly for assistance with any product-related inquiries or issues.
VARMINPOOL Customer Service: Refer to your product packaging or the VARMINPOOL brand store on Amazon for contact details.