
1. Introduction and Overview
The Ubiquiti U7-PRO-XG is a high-performance wireless access point designed for advanced network environments. It supports 2.4 GHz, 5 GHz, and 6 GHz frequency bands, offering a maximum data transfer rate of 5800 Mbps. This device utilizes Power over Ethernet (PoE++) for simplified installation and supports PPSK security algorithms. It is engineered to provide robust wireless connectivity with Ethernet LAN data transfer rates up to 10000 Mbit/s, making it suitable for demanding applications.
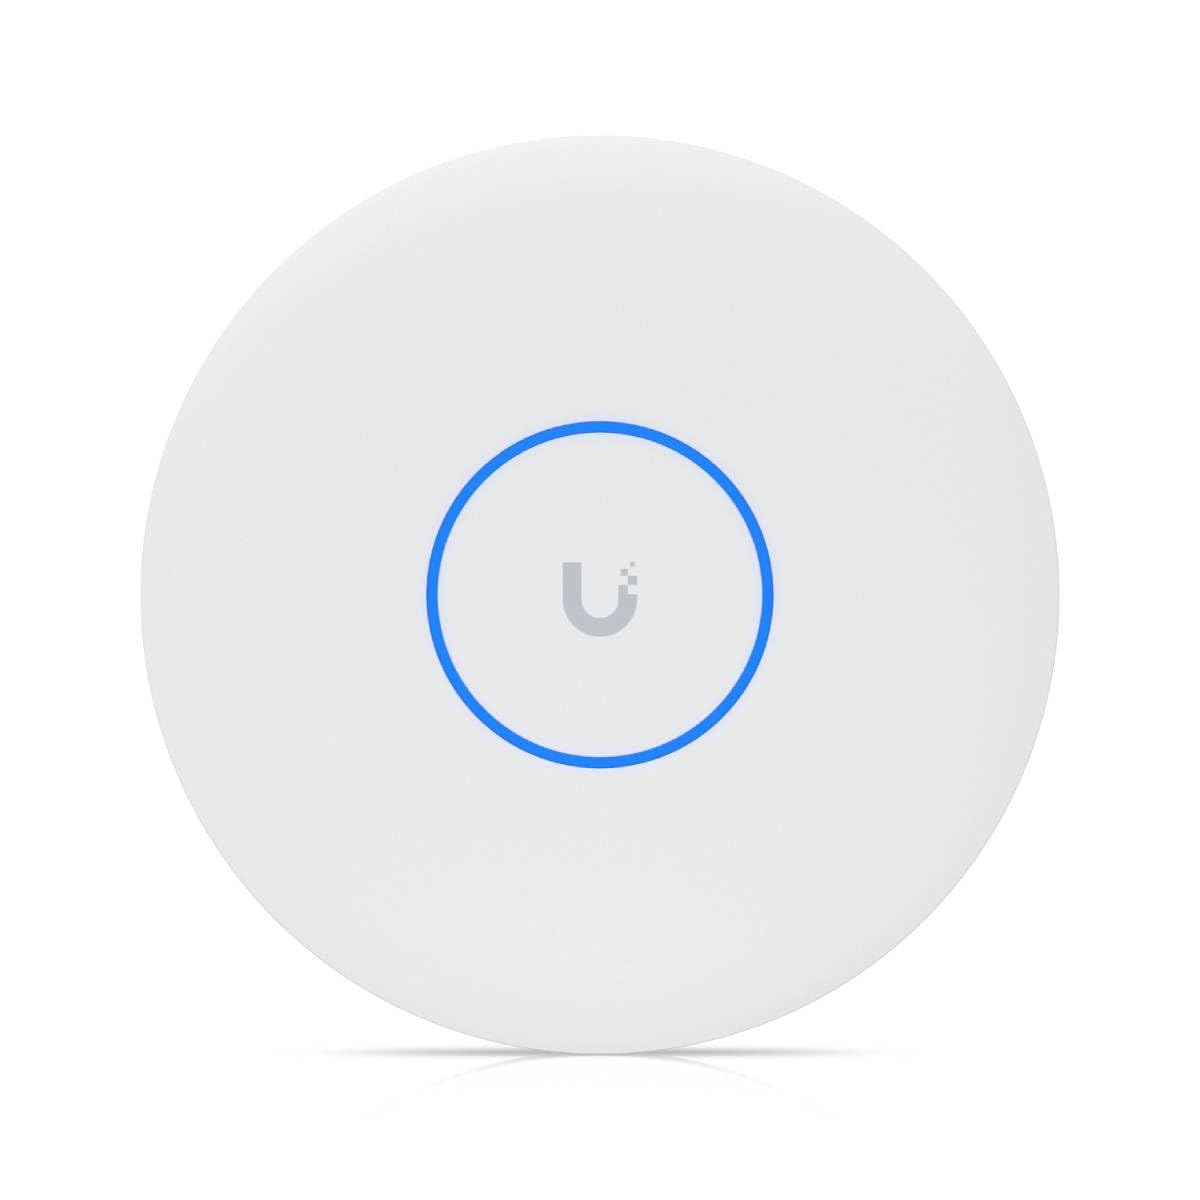
Figure 1: Front view of the U7-PRO-XG Wireless Access Point.
2. Package Contents
Verify that all items are present in your package:
- U7-PRO-XG Wireless Access Point
- Mounting Bracket
- Ceiling Backing Plate
- Screws and Wall Anchors
- T-Bar Clip (for drop ceiling mounting)
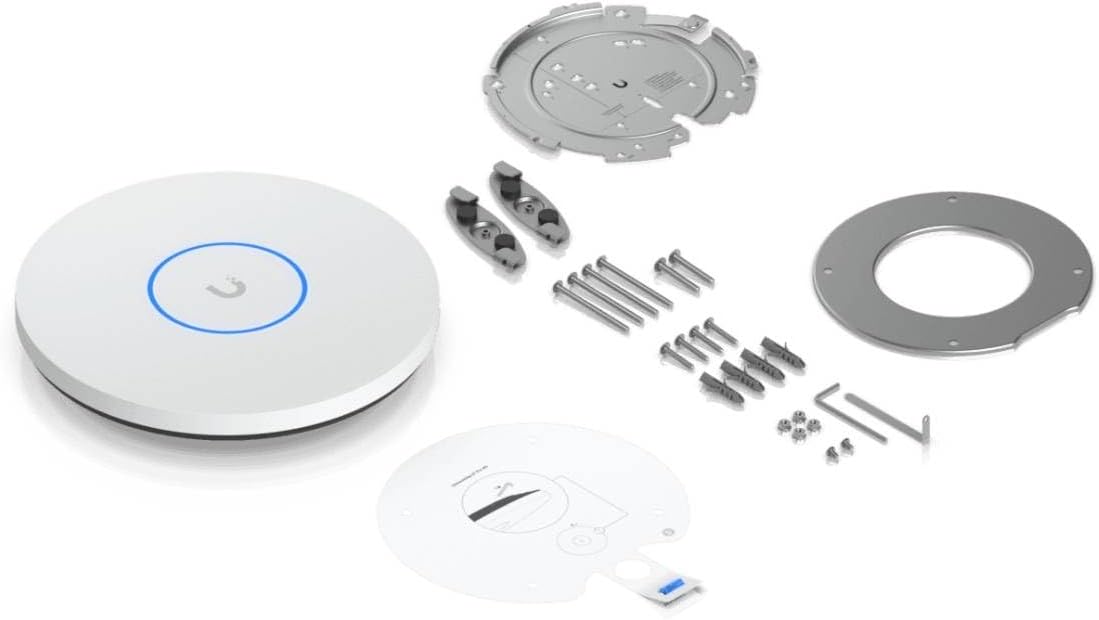
Figure 2: U7-PRO-XG Access Point and included mounting hardware.
3. Setup and Installation
The U7-PRO-XG Access Point is designed for indoor use and can be mounted on a wall or ceiling. Proper installation ensures optimal performance.
3.1 Power Requirements
This device requires Power over Ethernet Plus Plus (PoE++). Ensure your network switch or PoE injector provides PoE++ (802.3bt) to power the unit correctly. Using a standard PoE (802.3af/at) injector or switch may result in insufficient power and unstable operation.
3.2 Physical Installation
- Choose a Location: Select a central location for optimal Wi-Fi coverage. Avoid obstructions like metal objects or thick walls.
- Mounting:
- Attach the mounting bracket to your desired wall or ceiling location using the provided screws and anchors.
- For drop ceilings, use the T-Bar clip to secure the mounting bracket.
- Connect Ethernet: Connect an Ethernet cable from your PoE++ enabled switch or injector to the Ethernet port on the back of the U7-PRO-XG.

Figure 3: Rear view of the U7-PRO-XG with the Ethernet port visible.
3.3 Software Configuration
The U7-PRO-XG is managed using the UniFi Network Controller software or the UniFi Network mobile app. Follow these general steps:
- Install UniFi Network Controller: Download and install the UniFi Network Controller software on a computer or use a UniFi Cloud Key/Dream Machine.
- Launch Controller: Open the UniFi Network Controller. The U7-PRO-XG should appear as a pending device.
- Adopt Device: Select the U7-PRO-XG and click "Adopt" to integrate it into your UniFi network.
- Configure Wi-Fi: Once adopted, configure your Wi-Fi networks (SSIDs), security settings (PPSK), and other advanced features through the controller interface.
4. Operating Instructions
Once installed and configured, the U7-PRO-XG operates automatically to provide wireless connectivity.
4.1 LED Indicator
The LED on the front of the access point indicates its status:
- White: Device is booting or ready for adoption.
- Blue: Device is adopted and operating correctly.
- Flashing White/Blue: Firmware upgrade in progress or device is in an error state.
4.2 Wireless Connectivity
The U7-PRO-XG broadcasts Wi-Fi signals across 2.4 GHz, 5 GHz, and 6 GHz bands. Client devices will automatically connect to the most suitable band based on their capabilities and network configuration. The maximum theoretical data transfer rate is 5800 Mbps, achievable with compatible Wi-Fi 7 (802.11be) client devices.
5. Maintenance
Regular maintenance helps ensure the longevity and optimal performance of your U7-PRO-XG Access Point.
- Firmware Updates: Regularly check for and apply firmware updates through the UniFi Network Controller. Updates often include performance improvements, security patches, and new features.
- Cleaning: Keep the device clean and free from dust. Use a soft, dry cloth to wipe the exterior. Do not use liquid cleaners or aerosols.
- Environmental Conditions: Ensure the device operates within its specified temperature and humidity ranges. Avoid exposing it to direct sunlight or extreme temperatures.
6. Troubleshooting
If you encounter issues with your U7-PRO-XG, refer to the following troubleshooting steps:
- Device Not Powering On:
- Verify that the Ethernet cable is securely connected to both the access point and the PoE++ source.
- Ensure your PoE source (switch or injector) is PoE++ (802.3bt) compliant and providing sufficient power.
- Test with a different Ethernet cable.
- Device Not Adopting/Going Offline:
- Confirm the UniFi Network Controller is running and accessible on the same network segment as the access point.
- Check for IP address conflicts.
- Ensure the device has a stable power supply (PoE++). Inadequate power can cause instability.
- Try restarting the access point by disconnecting and reconnecting the Ethernet cable.
- Perform a factory reset (refer to the UniFi documentation for specific reset procedures).
- Poor Wi-Fi Performance:
- Check for physical obstructions or sources of interference (e.g., microwaves, cordless phones).
- Ensure the access point is mounted in an optimal location.
- Review channel selection and transmit power settings in the UniFi Network Controller.
- Verify client devices support Wi-Fi 7 (802.11be) to achieve maximum speeds.
7. Specifications
| Feature | Detail |
|---|---|
| Brand | Ubiquiti Networks |
| Model Name | U7-PRO-XG |
| Frequency Band Class | Tri-Band (2.4 GHz, 5 GHz, 6 GHz) |
| Wireless Communication Standard | 802.11be (Wi-Fi 7) |
| Maximum Upstream Data Transfer Rate | 5800 Megabits Per Second |
| LAN Port Bandwidth | 10000 Mbit/s (10 Gigabit Ethernet) |
| Connectivity Technology | Ethernet, Wi-Fi |
| Power Consumption (Max) | 22 W |
| Power Method | Power over Ethernet (PoE++) |
| Recommended Uses | Indoor |
| Item Weight | 0.75 Kilograms |
| Item Dimensions (L x W x H) | 9.81"L x 5.04"W x 8.94"H |
| Control Method | App (UniFi Network Controller) |
8. Warranty and Support
For detailed warranty information, please refer to the official Ubiquiti Networks website or the warranty card included with your product. Ubiquiti Networks provides technical support for its products.
For further assistance, product documentation, and support resources, please visit the official Ubiquiti Networks support portal: