Introduction
Thank you for choosing the Teenpull Galvanized Steel Tool Shed. This manual provides essential information for the safe assembly, operation, and maintenance of your new outdoor storage unit. Please read all instructions carefully before beginning assembly and retain this manual for future reference.

Image: The Teenpull Galvanized Steel Tool Shed in Anthracite, featuring a single door and corrugated metal panels.
Safety Information
Always prioritize safety during assembly and use. Failure to follow these instructions may result in injury or damage to the product.
- Two-Person Assembly: Assembly requires at least two adults. Do not attempt to assemble alone.
- Wear Protective Gear: Always wear work gloves to protect hands from sharp edges and safety glasses to protect eyes during assembly.
- Choose a Level Surface: Assemble the shed on a firm, level surface to ensure stability.
- Secure the Shed: Once assembled, anchor the shed to the ground to prevent it from being moved by strong winds. Anchoring hardware may not be included.
- Keep Children Away: Keep children and pets away from the assembly area to prevent accidents.
- Check for Damage: Inspect all parts for damage before assembly. Do not assemble if parts are damaged.
- Ventilation: Ensure adequate ventilation if storing items that may emit fumes.
Package Contents
Before beginning assembly, verify that all components are present. If any parts are missing or damaged, contact customer support.
- Galvanized Steel Panels (Walls, Roof, Door)
- Metal Frame Components
- Plastic Corner Protectors
- Sliding Bolt Lock System
- Assembly Hardware (Screws, Nuts, Washers)
- Instruction Manual
Setup and Assembly
Assembly is recommended for two people. Follow the steps below carefully.
Step 1: Prepare the Base
Ensure your chosen location is a flat, level surface. Clear any debris or obstacles. A concrete slab or treated timber foundation is recommended for long-term stability.
Step 2: Assemble the Base Frame
Unpack all frame components. Connect the base frame pieces according to the diagrams provided in the separate assembly guide. Ensure all connections are secure but do not fully tighten bolts until the entire frame is assembled.
Step 3: Attach Wall Panels
Begin attaching the galvanized steel wall panels to the base frame and to each other. Work systematically around the shed, ensuring panels are correctly aligned. Use the provided screws and fasteners. Install plastic corner protectors as indicated.

Image: Side view of the shed, illustrating the corrugated panel construction.
Step 4: Install the Roof
Carefully lift and position the roof panels onto the top frame. Secure them using the designated fasteners. Ensure the roof is properly aligned to prevent water leakage.
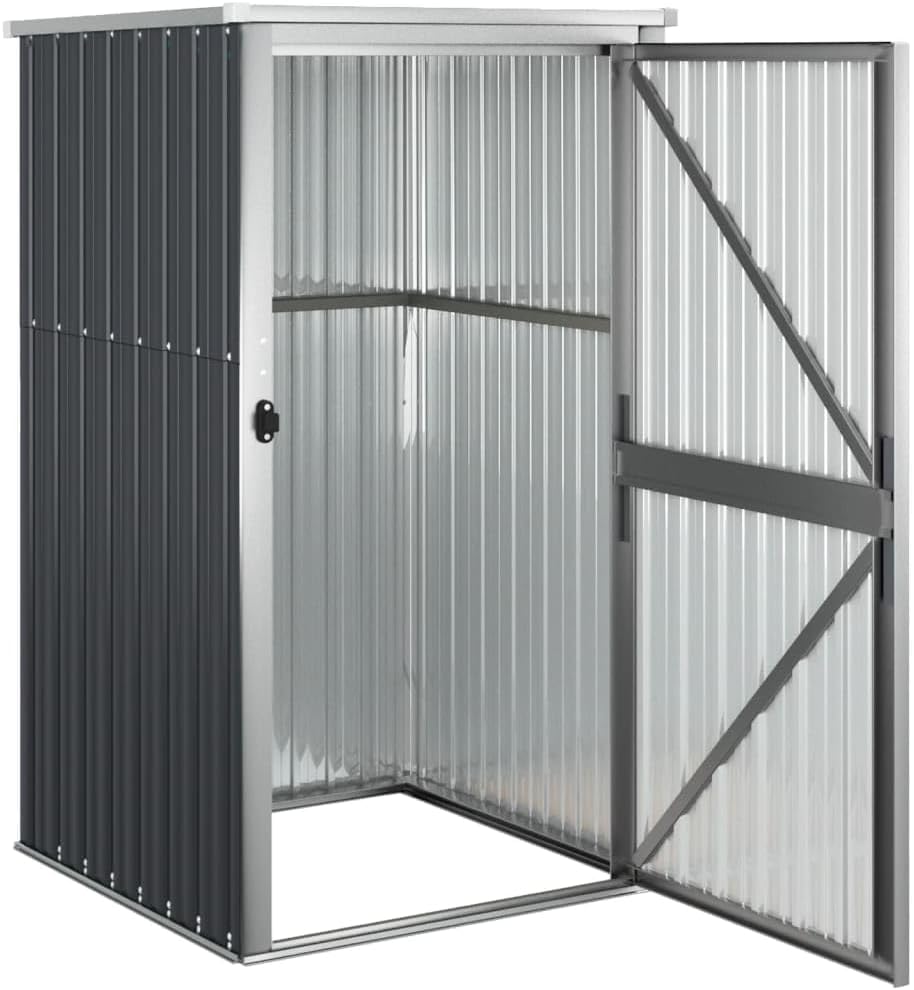
Image: Detail of the shed's roof edge and corner, showing the construction.
Step 5: Mount the Door
Attach the door panel to the designated frame using the provided hinges. Ensure the door swings freely and closes properly. Install the sliding bolt lock system.
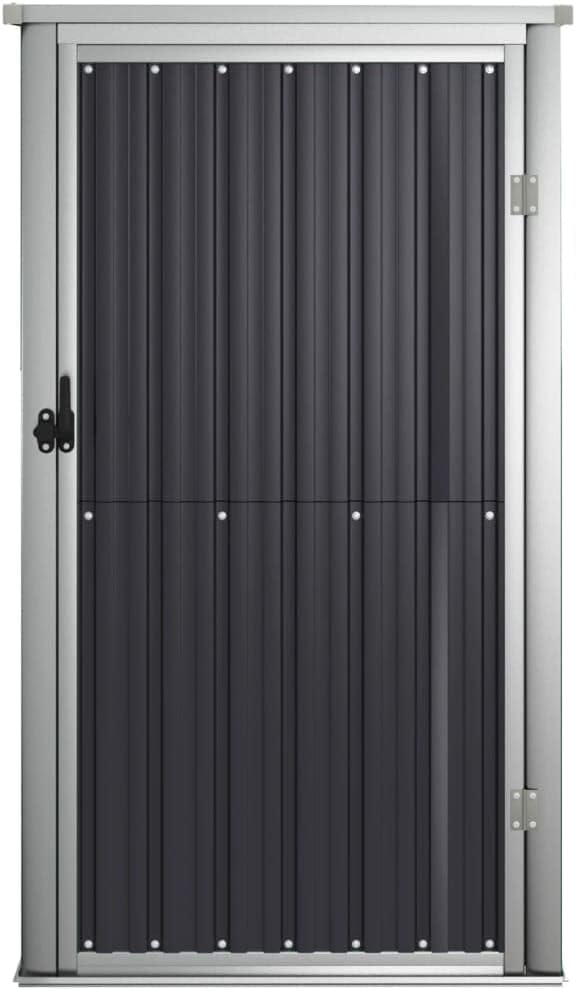
Image: Front view of the shed with the door closed, showing the lock mechanism.

Image: Front view of the shed with the door open, providing a view of the interior storage space.
Step 6: Final Tightening and Anchoring
Once all components are in place, go back and fully tighten all bolts and screws. Anchor the shed to the ground using appropriate anchoring hardware (not included) suitable for your foundation type and local weather conditions.
Operating Instructions
The Teenpull Tool Shed is designed for straightforward operation.
- Opening the Door: To open, slide the bolt of the lock mechanism to the unlocked position and pull the door open.
- Closing the Door: Push the door firmly shut until it aligns with the frame. Slide the bolt into the locked position to secure.
- Securing the Shed: The sliding bolt lock provides basic security. For enhanced security, consider adding an external padlock (not included) through the designated holes on the lock mechanism.

Image: Close-up of the sliding bolt lock, showing its design for securing the shed door.
Maintenance
Regular maintenance will extend the life of your tool shed.
- Cleaning: Clean the exterior of the shed periodically with mild soap and water. Rinse thoroughly and allow to air dry. Avoid abrasive cleaners or harsh chemicals.
- Inspect Fasteners: Annually, check all screws and bolts for tightness. Retighten as necessary to maintain structural integrity.
- Rust Prevention: While galvanized steel is rust-resistant, inspect for any signs of rust, especially in areas where the coating might be scratched. Touch up with rust-inhibiting paint if needed.
- Door Operation: Lubricate hinges and the sliding bolt mechanism annually with a silicone-based lubricant to ensure smooth operation.
Troubleshooting
Here are solutions to common issues you might encounter:
- Door Does Not Close Properly: Check if the shed is on a level surface. Adjust the base if necessary. Inspect hinges for damage or misalignment.
- Water Leakage: Ensure all roof and wall panels are securely fastened and properly overlapped. Check for any gaps and seal with outdoor-grade sealant if necessary. Verify the shed is anchored on a level surface.
- Shed Feels Unstable: Confirm all frame connections are fully tightened. Ensure the shed is properly anchored to the ground.
Specifications
| Model | 1 |
| Material | Galvanized Steel, Plastic Corner Protectors |
| Color | Anthracite |
| Overall Dimensions (W x D x H) | 34.6" x 35.0" x 63.4" (88 cm x 89 cm x 161 cm) |
| Assembly Required | Yes (2 people recommended) |

Image: Dimensional diagram of the shed, indicating width, depth, and height measurements.
Warranty Information
Specific warranty details for this product may vary. Please refer to your purchase documentation, receipt, or the retailer's website for information regarding warranty coverage and terms.
Customer Support
If you have any questions, require assistance with assembly, or need to report missing or damaged parts, please contact the retailer or manufacturer directly. Have your model number and purchase information ready when contacting support.
Manufacturer: Teenpull