Mrzneaoch K80
Mrzneaoch Electric Weed Wacker 21V String Trimmer
Model: K80
User Manual
1. Introduction
Thank you for choosing the Mrzneaoch 21V Electric Weed Wacker String Trimmer. This versatile cordless tool is designed for efficient lawn care, including trimming grass, weeds, and light brush. Its lightweight design, adjustable features, and powerful motor make it suitable for maintaining small to medium-sized yards. This manual provides essential information for the safe and effective operation, assembly, maintenance, and troubleshooting of your new trimmer. Please read this manual thoroughly before first use and retain it for future reference.

Figure 1.1: Mrzneaoch 21V Electric Weed Wacker String Trimmer and included accessories.
2. Safety Instructions
WARNING: Read all safety warnings and instructions. Failure to follow the warnings and instructions may result in electric shock, fire, and/or serious injury.
- Personal Protective Equipment (PPE): Always wear safety goggles or glasses, long pants, and sturdy footwear when operating the trimmer. Gloves are recommended for handling blades and during operation.
- Work Area Safety: Keep the work area clean and well-lit. Do not operate power tools in explosive atmospheres, such as in the presence of flammable liquids, gases, or dust. Keep children and bystanders away while operating a power tool.
- Electrical Safety: Do not expose power tools to rain or wet conditions. Water entering a power tool will increase the risk of electric shock. Use only the charger provided by the manufacturer to recharge the battery.
- Battery Use and Care: Prevent unintentional starting. Ensure the switch is in the off-position before connecting to battery pack, picking up or carrying the tool. Do not use a battery pack or tool that is damaged or modified. Damaged or modified batteries may exhibit unpredictable behavior resulting in fire, explosion or risk of injury.
- Blade Safety: Disconnect the battery pack before making any adjustments, changing accessories, or storing power tools. Avoid contact with moving parts. Always ensure the blade guard is properly installed before operation.
- General Operation: Do not overreach. Keep proper footing and balance at all times. Do not operate the trimmer if you are tired, ill, or under the influence of drugs, alcohol, or medication.
3. Package Contents
Carefully unpack all items and check against the list below. If any parts are missing or damaged, please contact customer service.
- 1 x Electric Weed Wacker String Trimmer Main Unit
- 2 x 21V Lithium-Ion Batteries
- 1 x Battery Charger
- Plastic Cutting Blades (Quantity: 10-16, exact quantity may vary)
- Metal Circular Saw Blades (Quantity: 3-4, exact quantity may vary)
- Metal Straight Blades (Quantity: 2-4, exact quantity may vary)
- 1 x Protective Goggles
- 1 x Pair of Work Gloves
- 1 x Blade Guard
- 1 x Auxiliary Handle
- 1 x User Manual
4. Setup and Assembly
4.1 Charging the Battery
Before first use, fully charge both lithium-ion batteries. Connect the charger to a standard power outlet and then connect the battery to the charger. The indicator light on the charger will show the charging status. A full charge typically takes 2-3 hours.
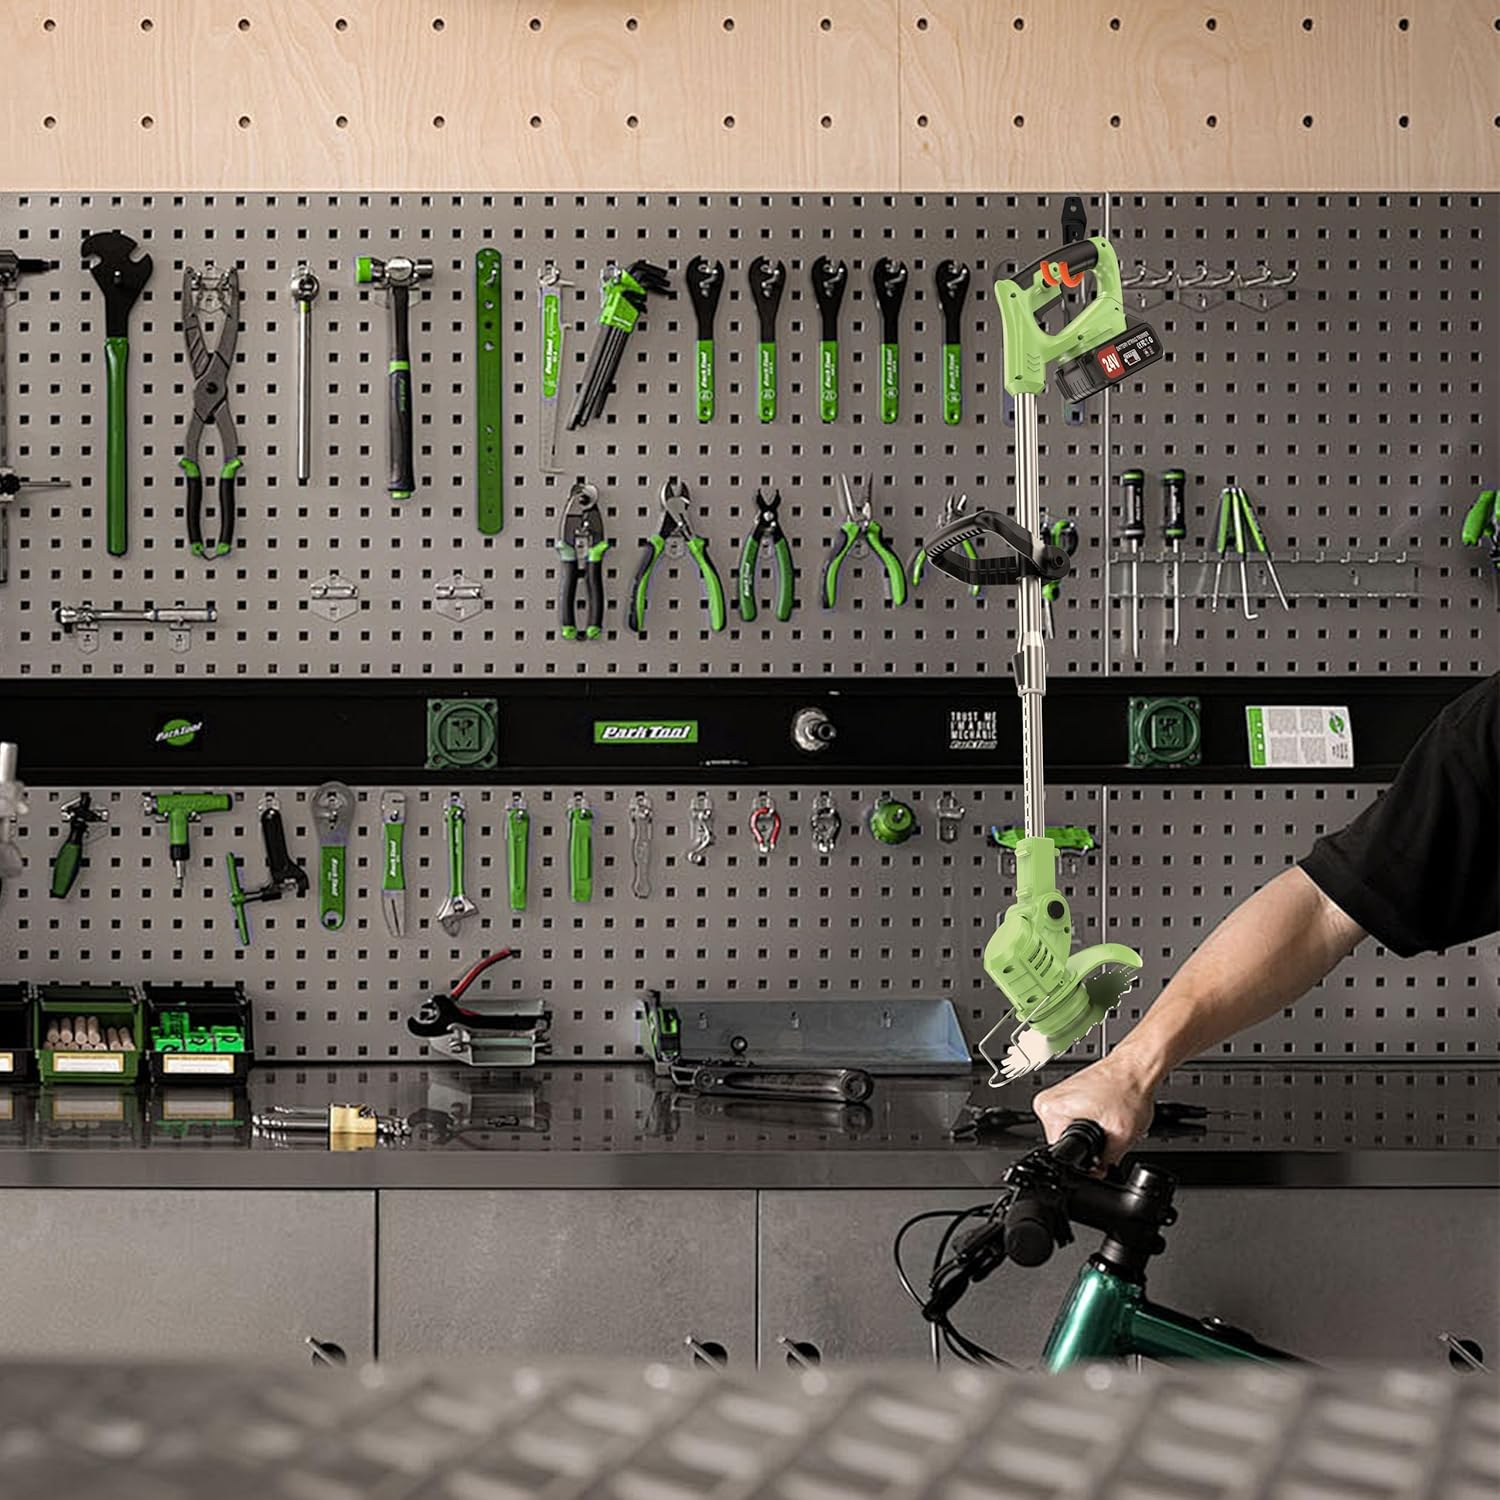
Figure 4.1: The 21V Lithium-Ion Battery and Charger. The battery features multiple protection mechanisms including over-heating, over-charge, over-voltage, over-current, and over-discharge protection.
4.2 Assembling the Trimmer
- Attach the Blade Guard: Secure the blade guard to the trimmer head using the provided fasteners. Ensure it is firmly in place to protect against debris.
- Install the Auxiliary Handle: Slide the auxiliary handle onto the main shaft and adjust its position for comfortable grip. Tighten the locking mechanism to secure it.
- Adjust the Telescoping Shaft: Extend or retract the telescoping shaft to your desired length (adjustable from approximately 90 cm to 120 cm). Lock it in place using the quick-release clamp.
- Install the Cutting Blade: Choose the appropriate blade for your task (plastic for light grass, metal straight for tougher weeds, metal circular for dense brush). Align the blade with the spindle and secure it with the retaining nut/bolt. Ensure it is tightly fastened.
- Insert the Battery: Slide a fully charged battery into the battery slot on the trimmer until it clicks into place.

Figure 4.2: Components of the trimmer ready for assembly, including the main unit, handle, guard, and various blades.
5. Operating Instructions
5.1 Pre-Operation Checklist
- Ensure the battery is fully charged.
- Verify the blade is securely installed and the blade guard is in place.
- Adjust the shaft length and handle position for comfortable and safe operation.
- Clear the work area of any obstacles, rocks, or debris that could be thrown by the blade.
- Wear appropriate PPE: safety goggles, long pants, and sturdy shoes.
5.2 Starting and Stopping
To start the trimmer, press and hold the safety lock button (if present) and then squeeze the trigger switch. To stop, release the trigger switch.
5.3 Trimming Techniques
- General Trimming: Hold the trimmer firmly with both hands. Swing the trimmer from side to side in a sweeping motion, keeping the blade parallel to the ground.
- Edging: For precise edging along sidewalks or driveways, tilt the trimmer head to a vertical position. The 90° adjustable trimmer head allows for easy transition to edging.
- Around Obstacles: Use caution when trimming around trees, fences, or other obstacles to avoid damaging the blade or the object.
- Blade Selection: The trimmer supports plastic blades for light grass, metal straight blades for tougher weeds, and metal circular saw blades for dense brush and small saplings. Select the appropriate blade for optimal performance and safety.

Figure 5.1: The 3-in-1 multifunction blade system allows for versatile trimming, edging, and brush cutting.

Figure 5.2: Demonstrating the ease of trimming your lawn with the electric weed wacker.
5.4 Battery Runtime
A fully charged 21V 2000mAh lithium-ion battery provides approximately 40-60 minutes of runtime, depending on the intensity of use and the type of material being cut. Using higher speeds or cutting denser material will consume power faster.
6. Maintenance
Regular maintenance ensures the longevity and optimal performance of your trimmer. Always disconnect the battery before performing any maintenance.
6.1 Cleaning
- After each use, remove any grass clippings, dirt, or debris from the trimmer head, blade guard, and motor housing. Use a dry cloth or soft brush.
- Do not use water or harsh chemicals to clean the trimmer, as this can damage electrical components.
6.2 Blade Inspection and Replacement
- Regularly inspect the cutting blades for wear, damage, or dullness. Dull blades reduce cutting efficiency and can strain the motor.
- Replace worn or damaged blades immediately. Refer to Section 4.2 for blade installation instructions.
6.3 Battery Care and Storage
- Store batteries in a cool, dry place away from direct sunlight and extreme temperatures.
- For long-term storage, charge batteries to approximately 50% capacity.
- Do not store batteries in a discharged state to prevent deep discharge and damage.
6.4 Storage of the Trimmer
Store the trimmer in a clean, dry place, out of reach of children. The lightweight and foldable design allows for convenient storage.

Figure 6.1: The trimmer can be conveniently stored on a pegboard or similar storage system.
7. Troubleshooting
This section addresses common issues you might encounter with your trimmer. If the problem persists after trying these solutions, please contact customer service.
| Problem | Possible Cause | Solution |
|---|---|---|
| Trimmer does not start | Battery not inserted correctly Battery discharged Safety lock not engaged | Ensure battery is fully seated Charge the battery Press safety lock button before trigger |
| Poor cutting performance | Dull or damaged blade Incorrect blade for material Overgrown or wet grass | Replace blade Select appropriate blade Trim in smaller sections; avoid wet grass |
| Short battery runtime | Battery not fully charged Battery nearing end of life Cutting very dense material | Ensure battery is fully charged Consider replacing battery Use appropriate blade; trim in stages |
| Excessive vibration | Blade improperly installed Damaged blade | Re-install blade correctly Replace damaged blade |
8. Specifications
| Feature | Detail |
|---|---|
| Brand | Mrzneaoch |
| Model Number | K80 |
| Power Source | Battery Powered (21V Lithium-Ion) |
| Motor Power | 650W High-Power Pure Copper Brushless Motor |
| No-Load Speed | 18000 RPM |
| Battery Capacity | 2000mAh (2.0 Ah) per battery |
| Battery Runtime | Approx. 40-60 minutes (per 2 batteries, depending on use) |
| Cutting Width | 5 Inches |
| Adjustable Length | 90-120 cm (telescopic pole) |
| Product Dimensions | 38"D x 4"W x 7"H (approximate) |
| Item Weight | 8.3 Pounds (approximate) |
| Color | Green |
| UPC | 612715085304 |
9. Warranty and Customer Support
Mrzneaoch is committed to providing high-quality products and customer satisfaction. While specific warranty terms are not detailed in this manual, we offer 24-hour friendly customer service to address any concerns or questions you may have.
For warranty information, technical support, or any other inquiries, please contact Mrzneaoch customer service through the platform where you purchased the product or refer to the contact information provided with your product packaging.
Please have your model number (K80) and purchase details ready when contacting support.