1. Introduction and Overview
This manual provides essential information for the safe and efficient operation of your CELYYPU 3500W Pure Sine Wave Inverter. This device converts 12V DC battery power to 110V/120V AC household power, making it suitable for solar emergency power supply in RVs, homes, and various off-grid applications. Please read this manual thoroughly before installation and use to ensure proper function and longevity of the product.
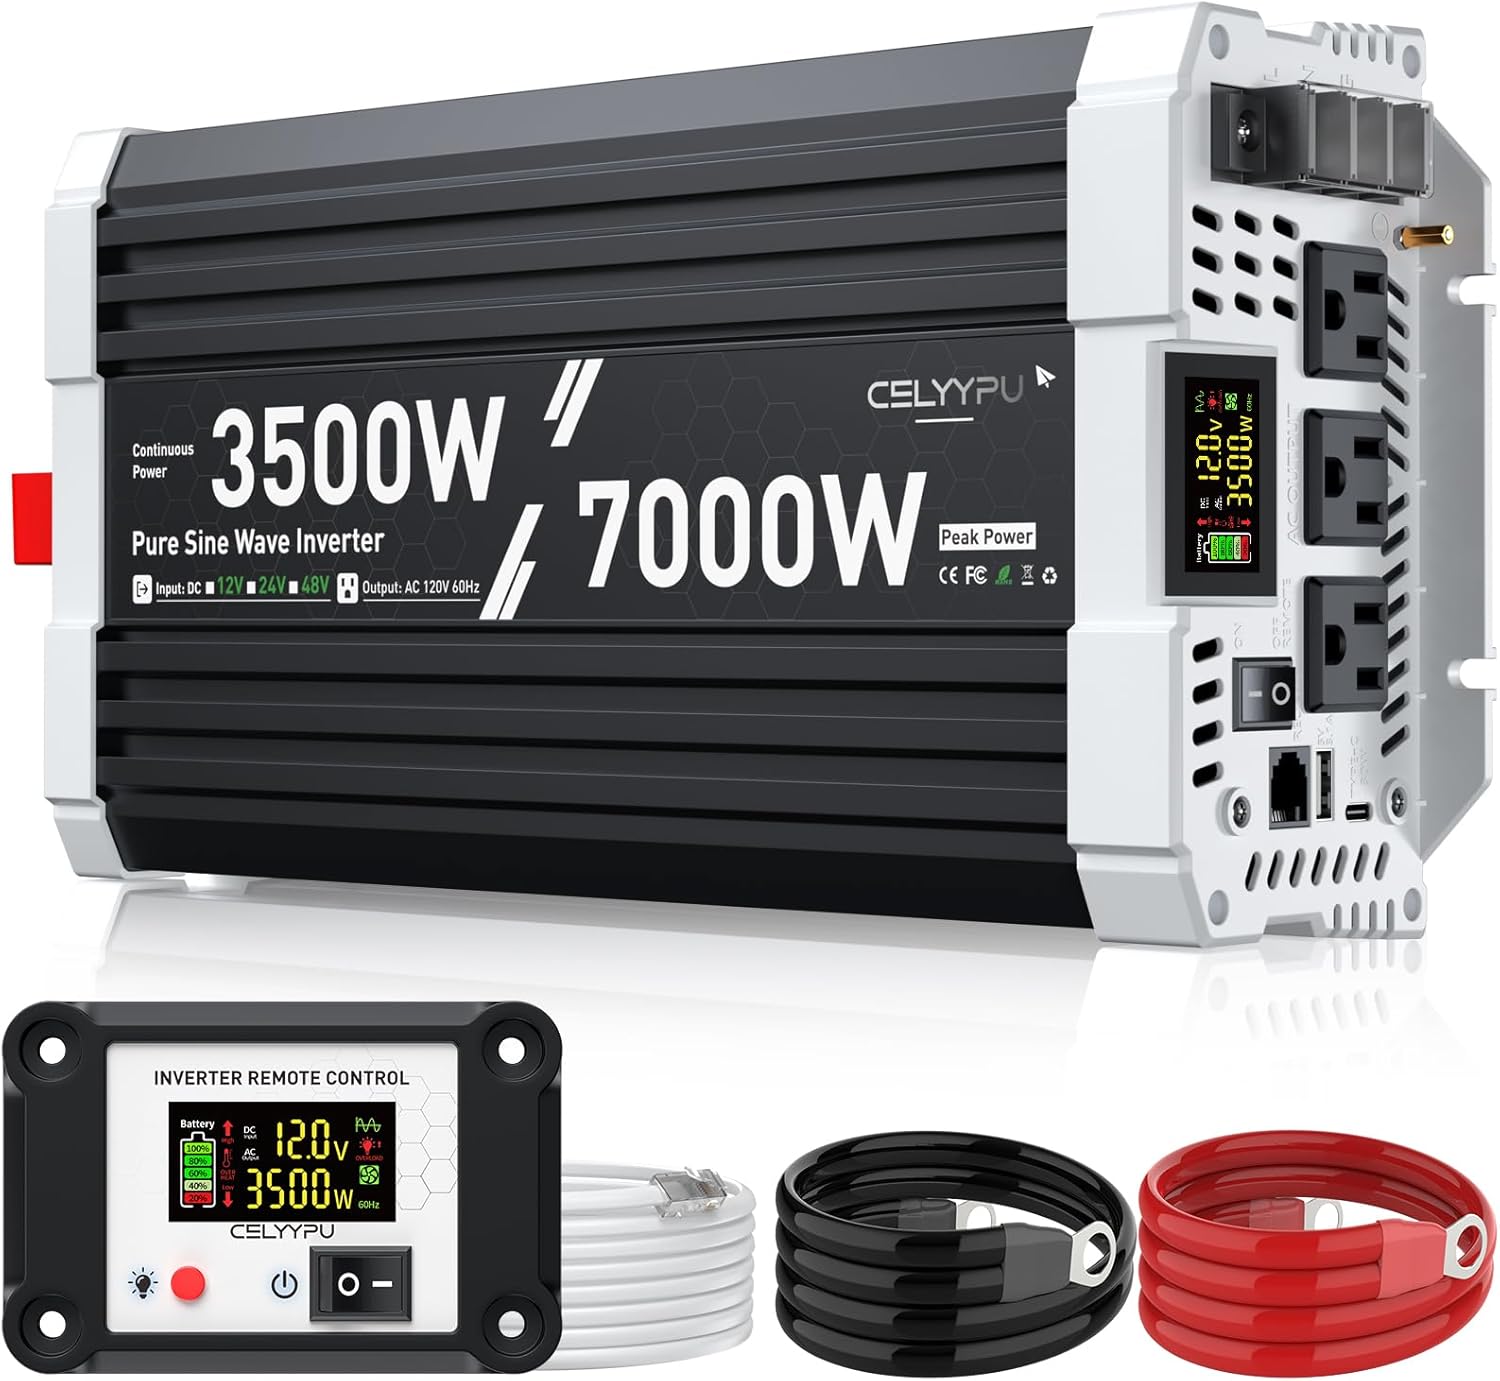
Image 1.1: CELYYPU 3500W Pure Sine Wave Inverter with included accessories.
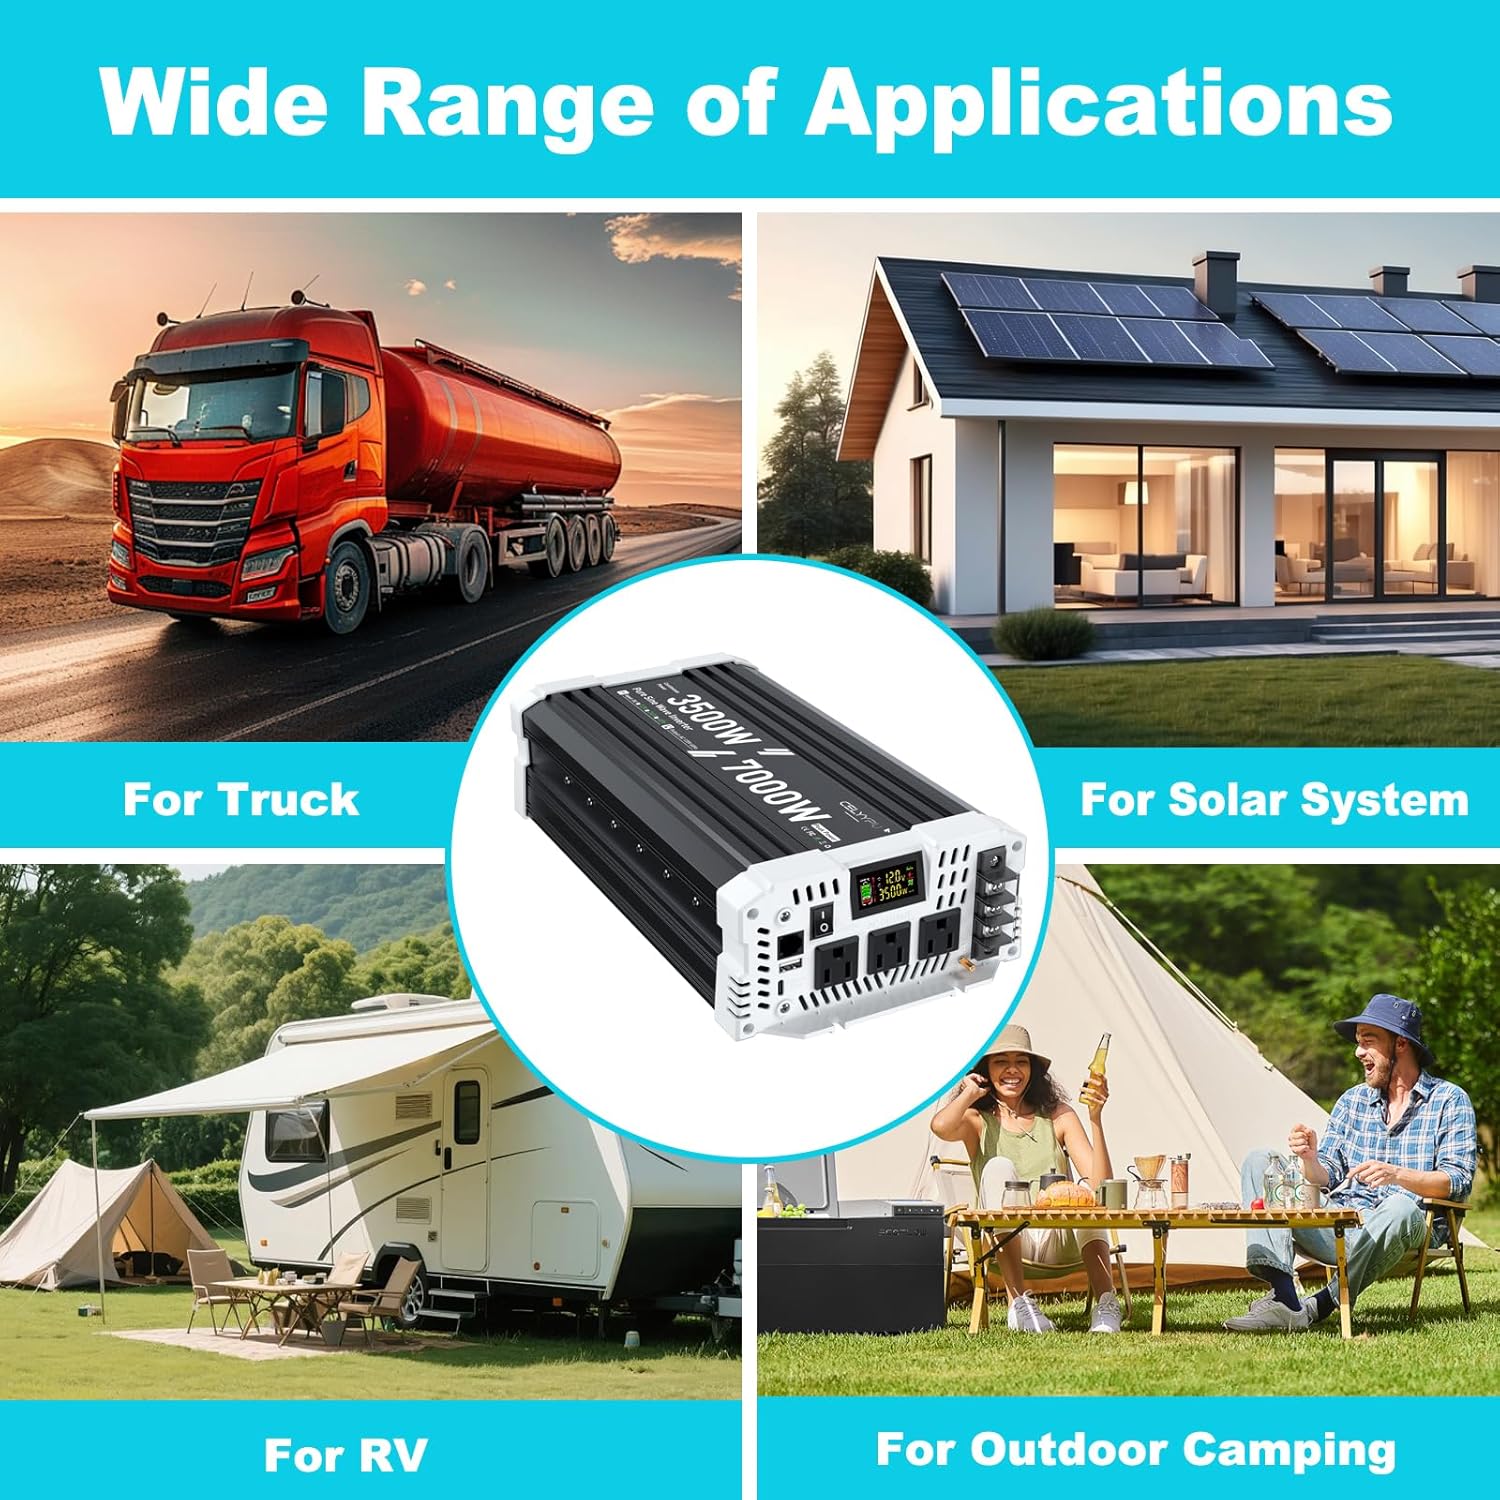
Image 1.2: Wide range of applications for the CELYYPU 3500W Pure Sine Wave Inverter.
2. Safety Instructions
Adherence to these safety guidelines is crucial for preventing injury and damage to the inverter or connected devices.
- Ventilation: Ensure the inverter is installed in a well-ventilated area to prevent overheating. Do not block ventilation openings.
- Moisture: Avoid exposing the inverter to water, rain, snow, or any liquids. Operate in a dry environment.
- Correct Voltage: Connect the inverter only to a 12V DC power source. Connecting to other voltages may cause damage.
- Polarity: Always observe correct polarity when connecting battery cables (positive to positive, negative to negative). Reverse polarity can cause severe damage.
- Load Capacity: Do not exceed the inverter's continuous power rating of 3500W. Overloading can trigger safety protections or damage the unit.
- AC Socket Limit: The maximum power output for a single AC socket is 15A. For loads exceeding 15A, utilize the hardwired port to prevent damage to the AC sockets.
- Grounding: Ensure the inverter is properly grounded according to local electrical codes.
- Internal Components: Do not attempt to open or modify the inverter. There are no user-serviceable parts inside. Refer all servicing to qualified personnel.
- Safety Protections: The inverter is equipped with multiple safety features including under-voltage, over-voltage, overload, over-temperature, short-circuit, and reverse connection protection. While these features enhance safety, proper installation and operation are still paramount.
3. Package Contents
Upon unpacking, please verify that all items listed below are present and undamaged.
- CELYYPU 3500W Pure Sine Wave Inverter
- Wired Remote Control with LCD Screen (14.76 ft cable)
- Power Cables (1.97 ft, 4 AWG x 2)
- Earth Wire
- Wrench
- User Manual (this document)

Image 3.1: Contents included in the CELYYPU 3500W Inverter package.
4. Product Features
The CELYYPU 3500W Pure Sine Wave Inverter offers advanced features for reliable power conversion:
- High Power Output: Provides 3500 watts of continuous pure sine wave power with a peak power of 7000 watts.
- Pure Sine Wave Technology: Delivers clean and stable AC power, identical to grid power, suitable for sensitive electronics and inductive loads. This promotes longer lifespan for connected electrical equipment.
- High Conversion Efficiency: Achieves a conversion efficiency greater than 91% during normal operation, minimizing energy loss.
- Intelligent LCD Dual Display: Features a high-brightness display on the inverter body and a separate 14.76-foot wired remote control with an LCD screen. Both displays show real-time input/output voltage, battery status, load status, and operational conditions for easy monitoring and troubleshooting.
- Versatile Output Ports: Equipped with three standard AC output sockets, one 15A AC socket, one 5V3.4A USB port, one Type-C fast charging port, and a hardwired port for high-power applications.
- Comprehensive Safety Protections: Includes under-voltage protection, over-voltage protection, overload protection, over-temperature protection, short-circuit protection, and reverse connection protection.
- Durable Construction: Constructed with an aluminum and sturdy plastic casing, ensuring durability, portability, and effective heat dissipation.

Image 4.1: Intelligent Digital Screen Display on the inverter.
5. Setup
Follow these steps for proper installation of your inverter:
- Choose a Location: Select a dry, cool, and well-ventilated area for installation. Ensure there is sufficient space around the inverter for airflow. Avoid direct sunlight or heat sources.
- Mounting: Securely mount the inverter on a stable surface using appropriate fasteners.
- Battery Connection:
- Ensure the inverter's power switch is in the OFF position.
- Connect the red (positive) power cable to the positive (+) terminal of your 12V DC battery.
- Connect the other end of the red cable to the positive (+) terminal on the inverter.
- Connect the black (negative) power cable to the negative (-) terminal of your 12V DC battery.
- Connect the other end of the black cable to the negative (-) terminal on the inverter.
- Tighten all connections securely. Loose connections can cause overheating and damage.
- Grounding: Connect the included earth wire from the inverter's grounding terminal to a proper earth ground point.
- Remote Control Connection: Plug the remote control cable into the designated port on the inverter. The remote control allows for convenient power management and monitoring from a distance.
- Battery Compatibility: The inverter is compatible with various 12V battery types, including Lithium (Li), Sealed Lead-Acid (SLD), Gel, Flooded (FID), and AGM batteries.

Image 5.1: Inverter compatibility with various 12V battery types.
6. Operating Instructions
Once the inverter is properly installed, follow these steps to operate it:
- Power On: Turn on the main power switch on the inverter. Alternatively, you can use the power button on the wired remote control to turn the inverter on or off.
- Monitor Display: Observe the LCD display on the inverter or the remote control. It will show the input DC voltage, output AC voltage, current wattage draw, battery charge status, and any active protection warnings (e.g., overheat, overload).
- Connect AC Devices: Plug your 110V/120V AC appliances into the available AC output sockets. Ensure the total wattage of all connected devices does not exceed 3500W.
- Use USB/Type-C Ports: Connect your USB-powered devices to the 5V3.4A USB port or the Type-C fast charging port for charging.
- Hardwired Port Usage: For appliances requiring more than 15A from a single AC outlet, connect them directly to the hardwired port (L, N, G terminals) to prevent damage to the standard AC sockets. Consult a qualified electrician for hardwired connections if you are unsure.
- Power Off: When finished, first turn off all connected AC appliances, then turn off the inverter using its main power switch or the remote control.
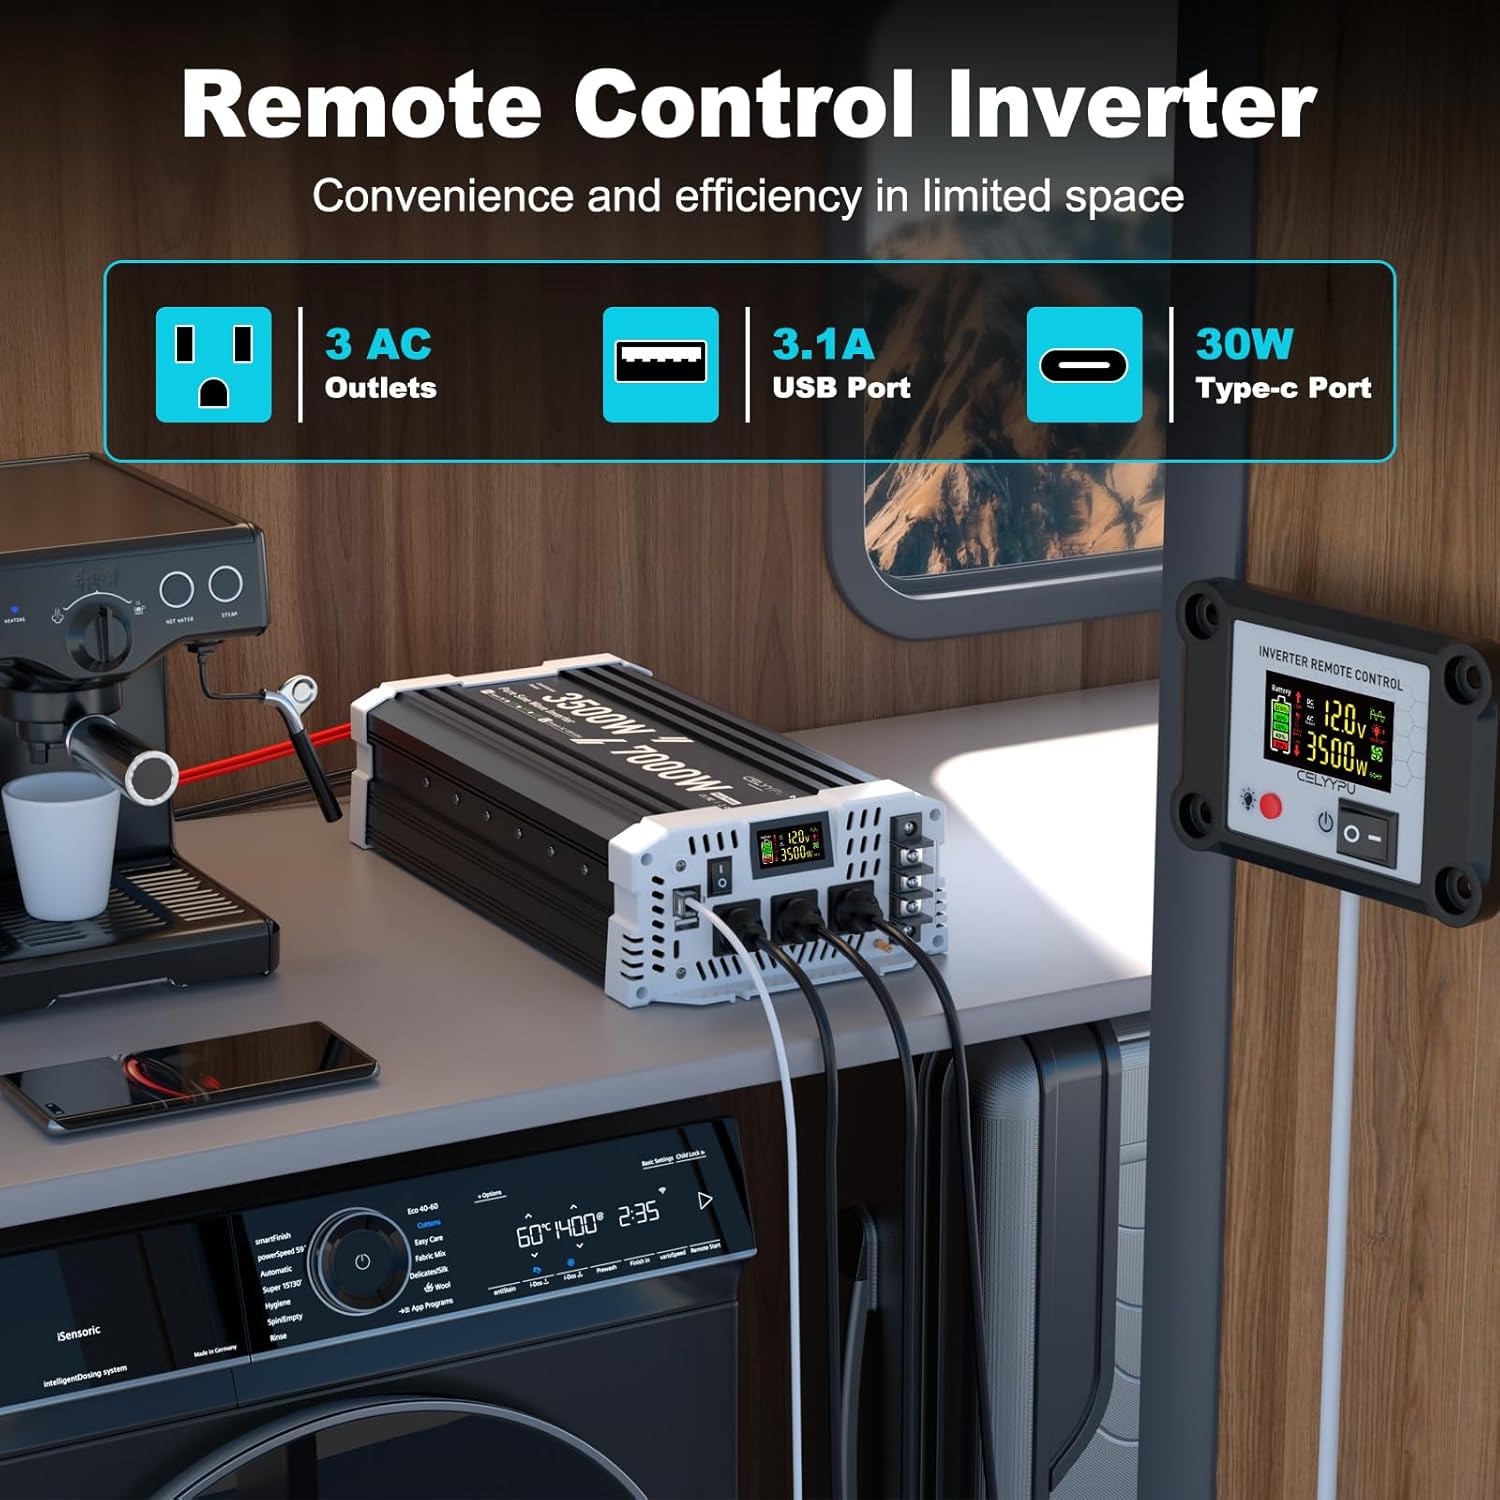
Image 6.1: Remote control and inverter in an operational setup.
7. Maintenance
Regular maintenance ensures optimal performance and extends the lifespan of your inverter:
- Cleaning: Periodically clean the exterior of the inverter with a dry, soft cloth. Do not use liquid cleaners or solvents. Ensure ventilation openings are free from dust and debris.
- Connection Checks: Regularly inspect all electrical connections (battery cables, grounding wire, AC output connections) to ensure they are tight and free from corrosion.
- Ventilation: Confirm that the inverter's cooling fans are operating correctly and that there is unobstructed airflow around the unit.
- Storage: If storing the inverter for an extended period, disconnect it from the battery and store it in a cool, dry place away from direct sunlight and moisture.
8. Troubleshooting
This section addresses common issues you might encounter with your inverter. The intelligent LCD display provides diagnostic information for timely troubleshooting.
| Problem | Possible Cause | Solution |
|---|---|---|
| No power output / Inverter not turning on | Loose battery connections; Low battery voltage; Inverter switch off; Blown fuse (external or internal) | Check and tighten battery cables; Charge battery; Turn on inverter switch; Check and replace fuses if necessary (consult professional for internal fuses). |
| Overload warning on display | Connected appliances exceed 3500W continuous power; High surge power from inductive loads | Reduce total load by disconnecting some appliances; Ensure starting (surge) power of appliances is within 7000W peak rating. |
| Over-temperature warning on display | Poor ventilation; Ambient temperature too high; Overload condition | Ensure adequate ventilation around the inverter; Move inverter to a cooler environment; Reduce load. |
| Low/High Voltage warning on display | Battery voltage is outside the operational range (too low or too high) | Check battery charge level and charge if low; Verify battery health; Ensure correct 12V battery is used. |
| No output from AC sockets, but USB/Type-C works | AC socket overload (if using single 15A socket for high load) | If load exceeds 15A, use the hardwired port instead of AC sockets. |
If the problem persists after attempting these solutions, please contact CELYYPU customer support for further assistance.
9. Specifications
| Feature | Specification |
|---|---|
| Continuous Power | 3500 Watts |
| Peak Power | 7000 Watts |
| Input DC Voltage | 12 Volts DC |
| Output AC Voltage | 110V / 120V AC |
| Output Frequency | 60 Hz |
| Waveform | Pure Sine Wave |
| Conversion Efficiency | > 91% |
| AC Output Sockets | 3 (Standard), 1 (15A dedicated) |
| USB Output | 5V 3.4A |
| Type-C Output | Fast Charging Port |
| Remote Control Cable Length | 14.76 feet |
| Inverter Dimensions (approx.) | 13.22 in (L) x 7.2 in (W) x 3.42 in (H) |
| Item Weight | 10.08 pounds |
| Model Number | CELYYPU-3500W |
10. Warranty and Support
For information regarding product warranty, technical support, or service inquiries, please contact CELYYPU customer service through the retailer where the product was purchased or refer to the official CELYYPU website for contact details. Please have your model number (CELYYPU-3500W) and purchase date available when contacting support.