1. Product Overview
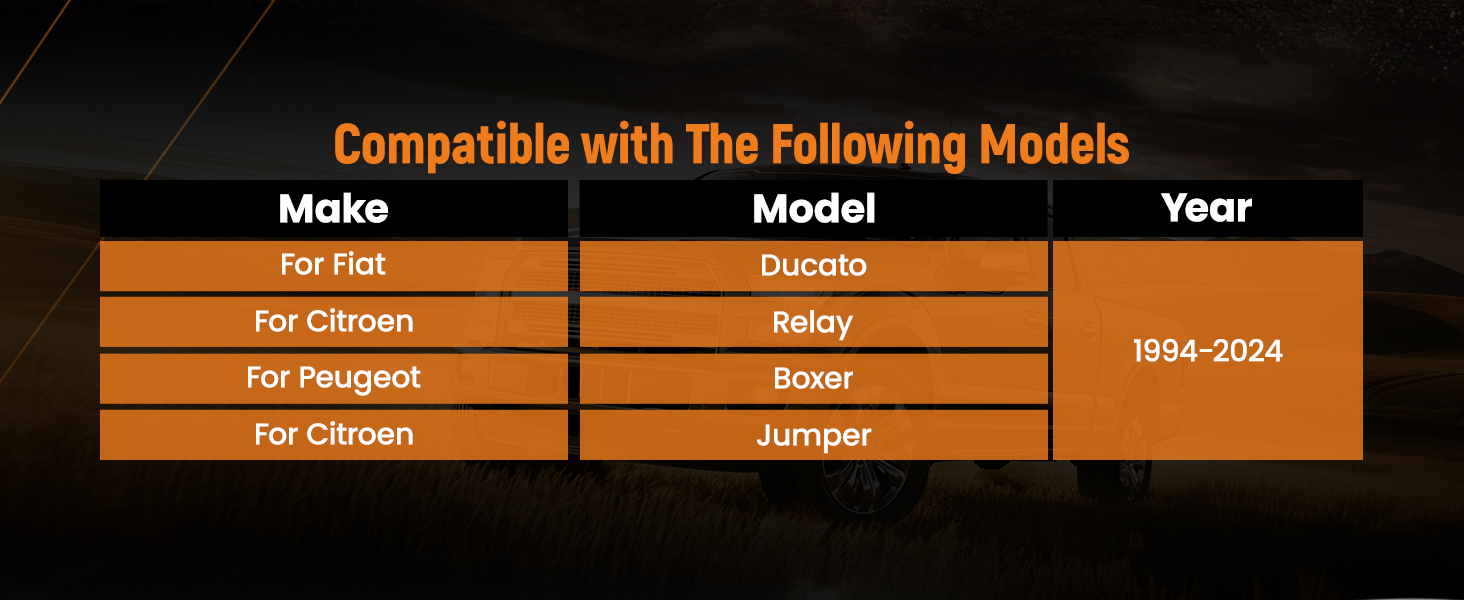
This manual provides instructions for the maXpeedingrods Air Suspension Spring Bag Kit, designed to enhance vehicle stability and load-carrying capacity. This kit is compatible with various models, including:
- Fiat Ducato (1994–2024)
- Citroen Relay / Jumper (1994–2024)
- Peugeot Boxer (1994–2024)
It supports both single and twin rear wheels, and FWD or RWD chassis configurations. The system features a dual-panel gauge for precise control and dual-channel inflation.
2. Package Contents
Before beginning installation, verify that all components listed below are present in your kit:
- Air Suspension Bags (2 units)
- Upper and Lower Mounting Brackets
- Air Compressor
- Dual-Panel Gauge
- 14m Air Line
- Fittings and Connectors
- Mounting Hardware (bolts, washers, nuts)
- Installation Manual

3. Setup and Installation
The maXpeedingrods Air Suspension Spring Bag Kit features a bolt-on design for straightforward installation. However, if you are not confident with automotive modifications, professional installation is recommended.
3.1 Installation Steps Overview
- Prepare the Vehicle: Ensure the vehicle is safely supported on jack stands or a lift. Disconnect the battery.
- Remove Existing Components: Carefully remove any existing suspension components that will be replaced by the air spring bags.
- Mount Air Spring Bags: Install the air spring bags using the provided upper and lower mounting brackets and hardware. Ensure all bolts are securely tightened to the manufacturer's specifications.
- Install Air Compressor: Mount the air compressor in a suitable location, typically near the battery or under the vehicle, ensuring it is protected from elements.
- Route Air Lines: Connect the 14m air line from the air spring bags to the compressor and the dual-panel gauge. Ensure lines are routed away from hot or moving parts and secured with clips. The system supports dual-channel inflation, allowing independent control of each air bag.
- Wire Electrical Connections: Connect the compressor to the vehicle's electrical system, typically directly to the battery with an inline fuse. Connect the gauge wiring as per the detailed instructions in the included manual.
- Leak Test: After installation, perform a thorough leak test as described in Section 4.1.
- Final Checks: Reconnect the battery, lower the vehicle, and check for proper operation and clearance.

3.2 Video Guide
For a visual guide on the installation process and product features, please refer to the following video:
4. Operating Instructions
The air suspension system allows for adjustable ride height and improved stability, especially when carrying heavy loads or towing.
4.1 Adjusting Air Pressure
- Use the dual-panel gauge to monitor and adjust the air pressure in each air spring bag independently.
- Increase air pressure to raise the vehicle's rear end and provide additional support for heavy loads, preventing sag and improving handling.
- Decrease air pressure to lower the vehicle's rear end or when driving without a load for a softer ride.
- The system supports up to 4000kg (approximately 8800 lbs) of load. Always adhere to your vehicle's maximum gross vehicle weight rating (GVWR).

5. Maintenance
Regular maintenance ensures the longevity and optimal performance of your air suspension system.
5.1 Routine Checks
- Visual Inspection: Periodically inspect the air spring bags, air lines, and connections for any signs of wear, damage, or leaks.
- Air Pressure Monitoring: Regularly check the air pressure in the bags, especially before and after carrying heavy loads.
- Cleanliness: Keep the air compressor and air lines free from dirt and debris.
5.2 Leak Prevention and Detection
Proper installation is crucial to prevent leaks. If a leak is suspected:
- Ensure air lines are cut cleanly and squarely to create a smooth, tight seal when inserted into fittings.
- Verify that all air lines are properly placed and routed, avoiding kinks or sharp bends.
- Use a spray bottle filled with soapy water to spray all fittings and the air bag itself. Bubbles will indicate a leak.

6. Troubleshooting
This section addresses common issues you might encounter with your air suspension system.
6.1 Common Issues and Solutions
| Problem | Possible Cause | Solution |
|---|---|---|
| Air bag not inflating | No power to compressor, kinked air line, faulty compressor, leak in system. | Check electrical connections and fuse. Inspect air lines for obstructions. Test compressor. Perform leak test (Section 5.2). |
| Air bag deflates over time | Air leak in system (fittings, air bag, air line). | Perform a thorough leak test (Section 5.2) to pinpoint and repair the leak. |
| Uneven ride height | Unequal air pressure in bags, uneven load distribution. | Adjust air pressure in individual bags using the dual-panel gauge. Redistribute load if possible. |
| Compressor not turning on | Blown fuse, loose wiring, faulty switch. | Check and replace fuse if necessary. Inspect all electrical connections. Test the switch. |
7. Specifications
Key technical specifications for the maXpeedingrods Air Suspension Spring Bag Kit:
- Model Number: AT68OF
- Vehicle Compatibility: Fiat Ducato, Peugeot Boxer, Citroen Relay/Jumper (1994-2024)
- Load Capacity: Up to 4000 kg (approx. 8800 lbs)
- Air Spring Stroke: 140 mm
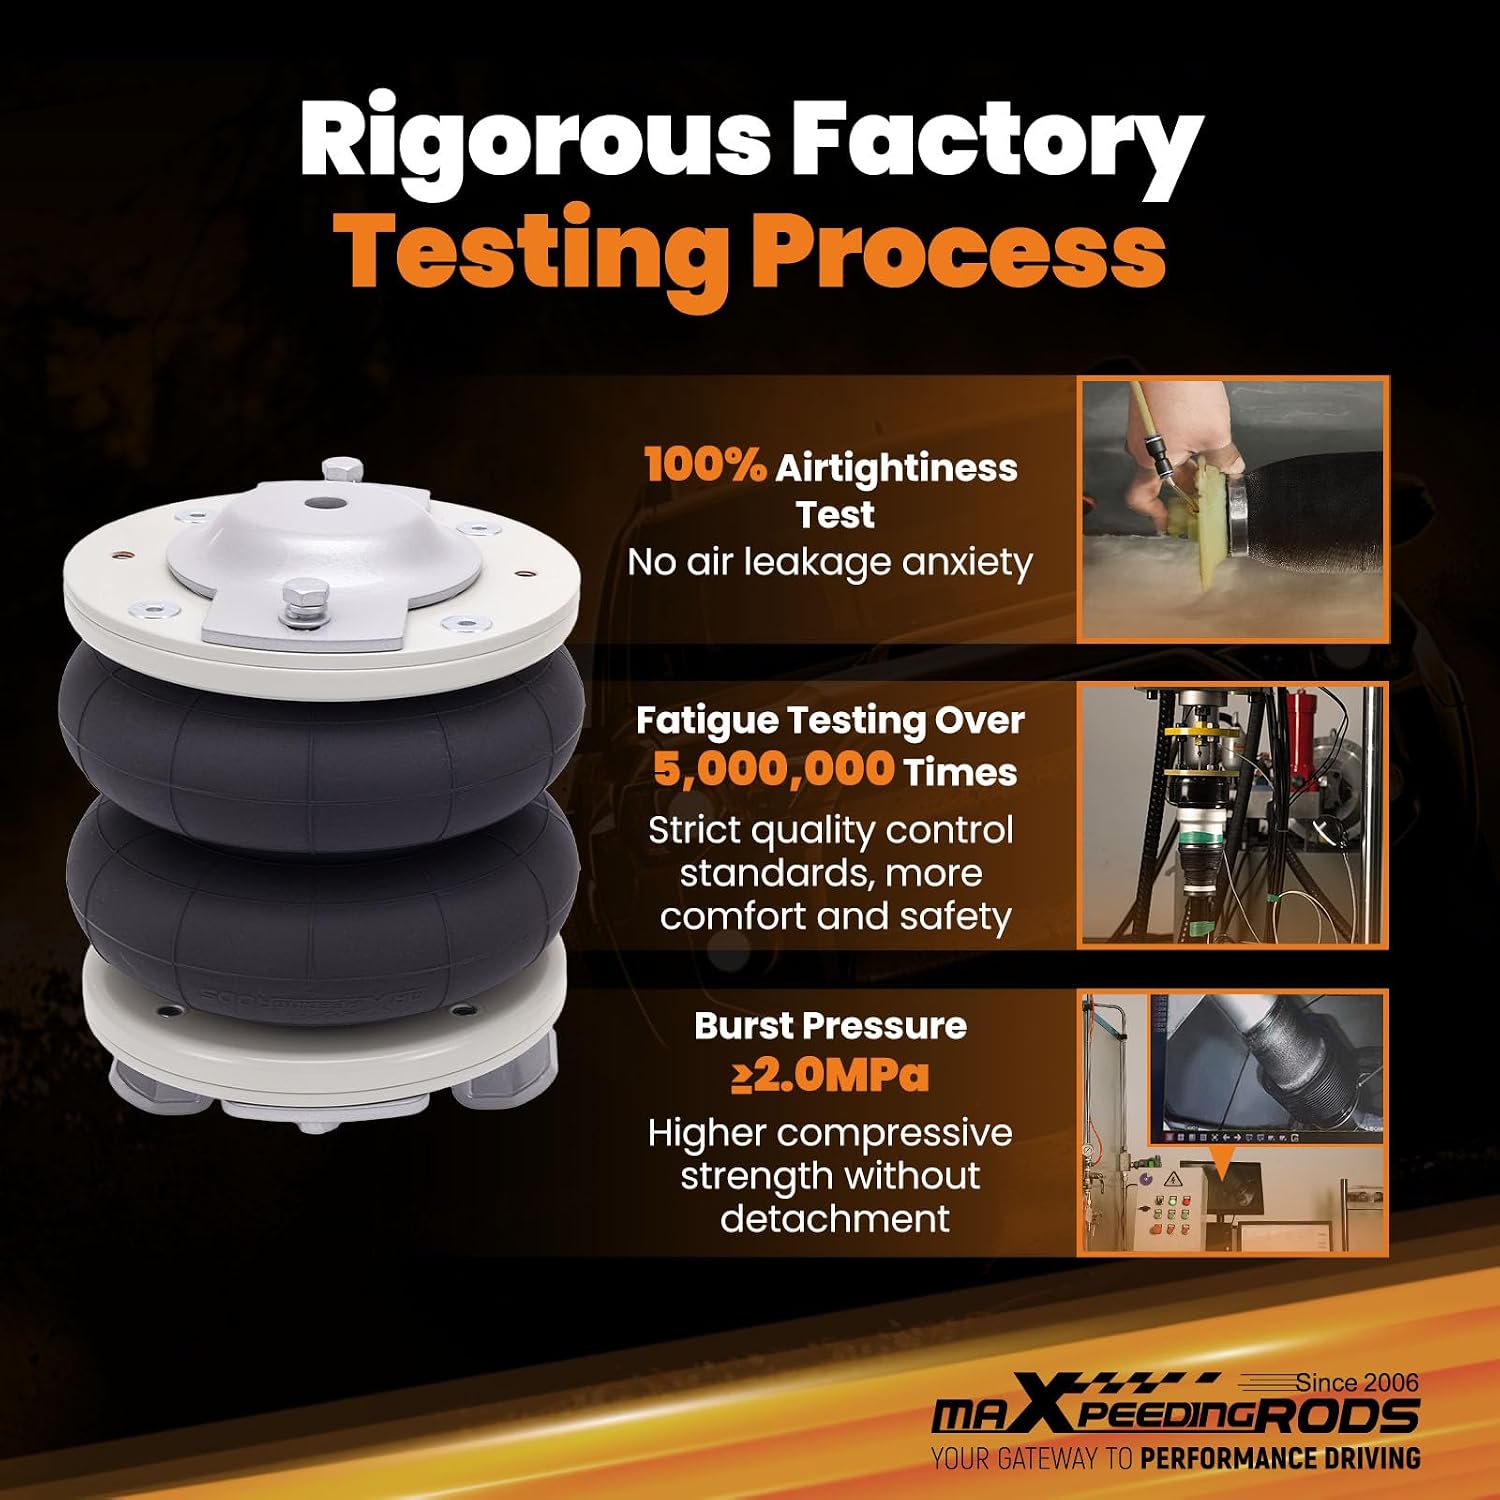
- Burst Pressure: ≥ 2.0 MPa
- Construction: 4-layer reinforced rubber, premium steel end caps (ST12 steel), Dacromet anti-rust treated bolts
- Testing: Over 5 million cycles fatigue testing, 100% airtightness test
- Product Dimensions: 41.9 x 34 x 27.4 cm
- Item Weight: 13.3 kg
- Position: Rear Left, Rear Right

8. Warranty and Support
maXpeedingrods is committed to providing high-quality products and customer satisfaction.
- Warranty: A 12-month warranty is provided for quality issues, offering replacement within this period.
- Customer Service: 24/7 customer service and support are available.
- Technical Support: Lifetime technical support is offered for the product.
For assistance, please contact maXpeedingrods customer support through their official channels.