1. Introduction
Welcome to the user manual for your Ahlirmoy DC310 AI Smart Digital Camera. This document provides comprehensive instructions for setting up, operating, and maintaining your camera. The DC310 features AI learning capabilities, a 3.6-inch IPS touchscreen, front and rear cameras, 1080P video recording, and Wi-Fi for easy file transfer.
2. Package Contents
Please verify that all items listed below are included in your package:
- Ahlirmoy DC310 AI Smart Digital Camera
- USB Charging Cable
- 32GB Memory Card
- Wrist Strap
- Cleaning Cloth
- User Manual (this document)

Image: Contents of the Ahlirmoy DC310 package.
3. Camera Overview
The Ahlirmoy DC310 is designed for intuitive use with its compact form factor and interactive display.
3.1 Front View

Image: Front view of the camera, highlighting the lens and flash.
The front of the camera features the main lens with autofocus capability and an integrated flash for low-light conditions.
3.2 Rear View and Display
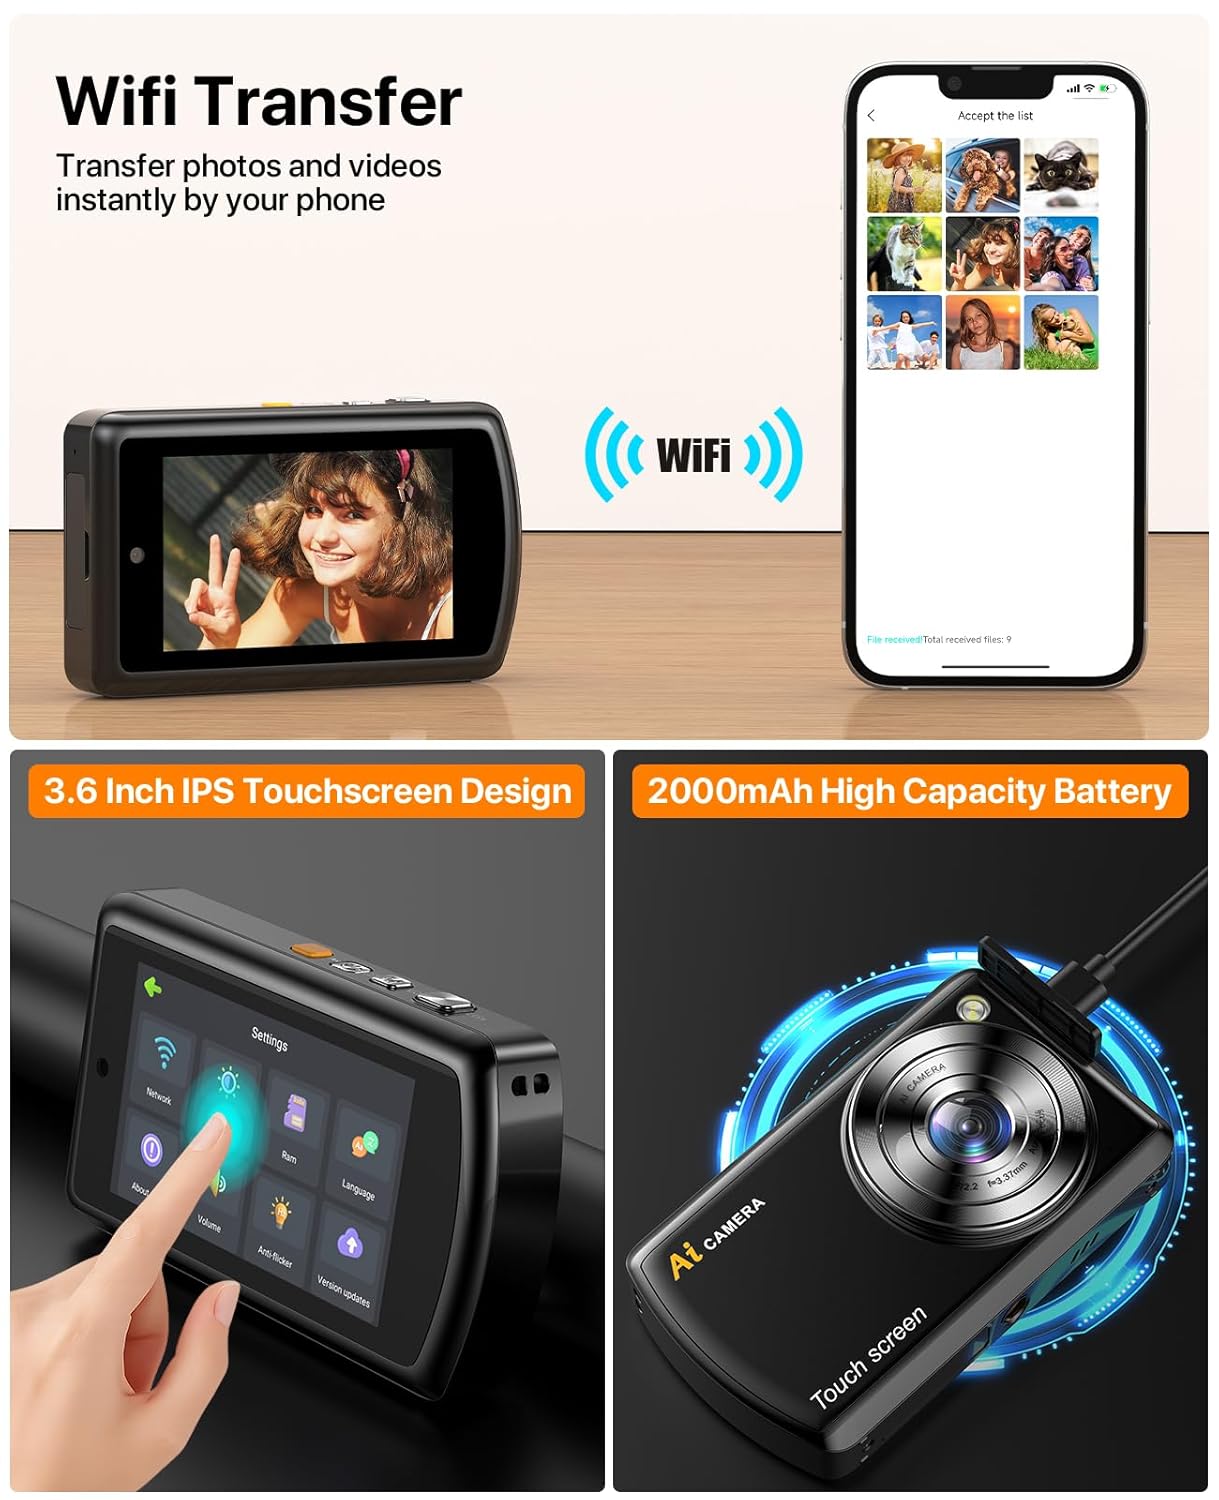
Image: Rear view of the camera, displaying the 3.6-inch IPS touchscreen.
The rear of the camera is dominated by a 3.6-inch IPS touchscreen display, which allows for touch, swipe, and zoom interactions for navigation and photo review.
3.3 Dual Cameras and Autofocus
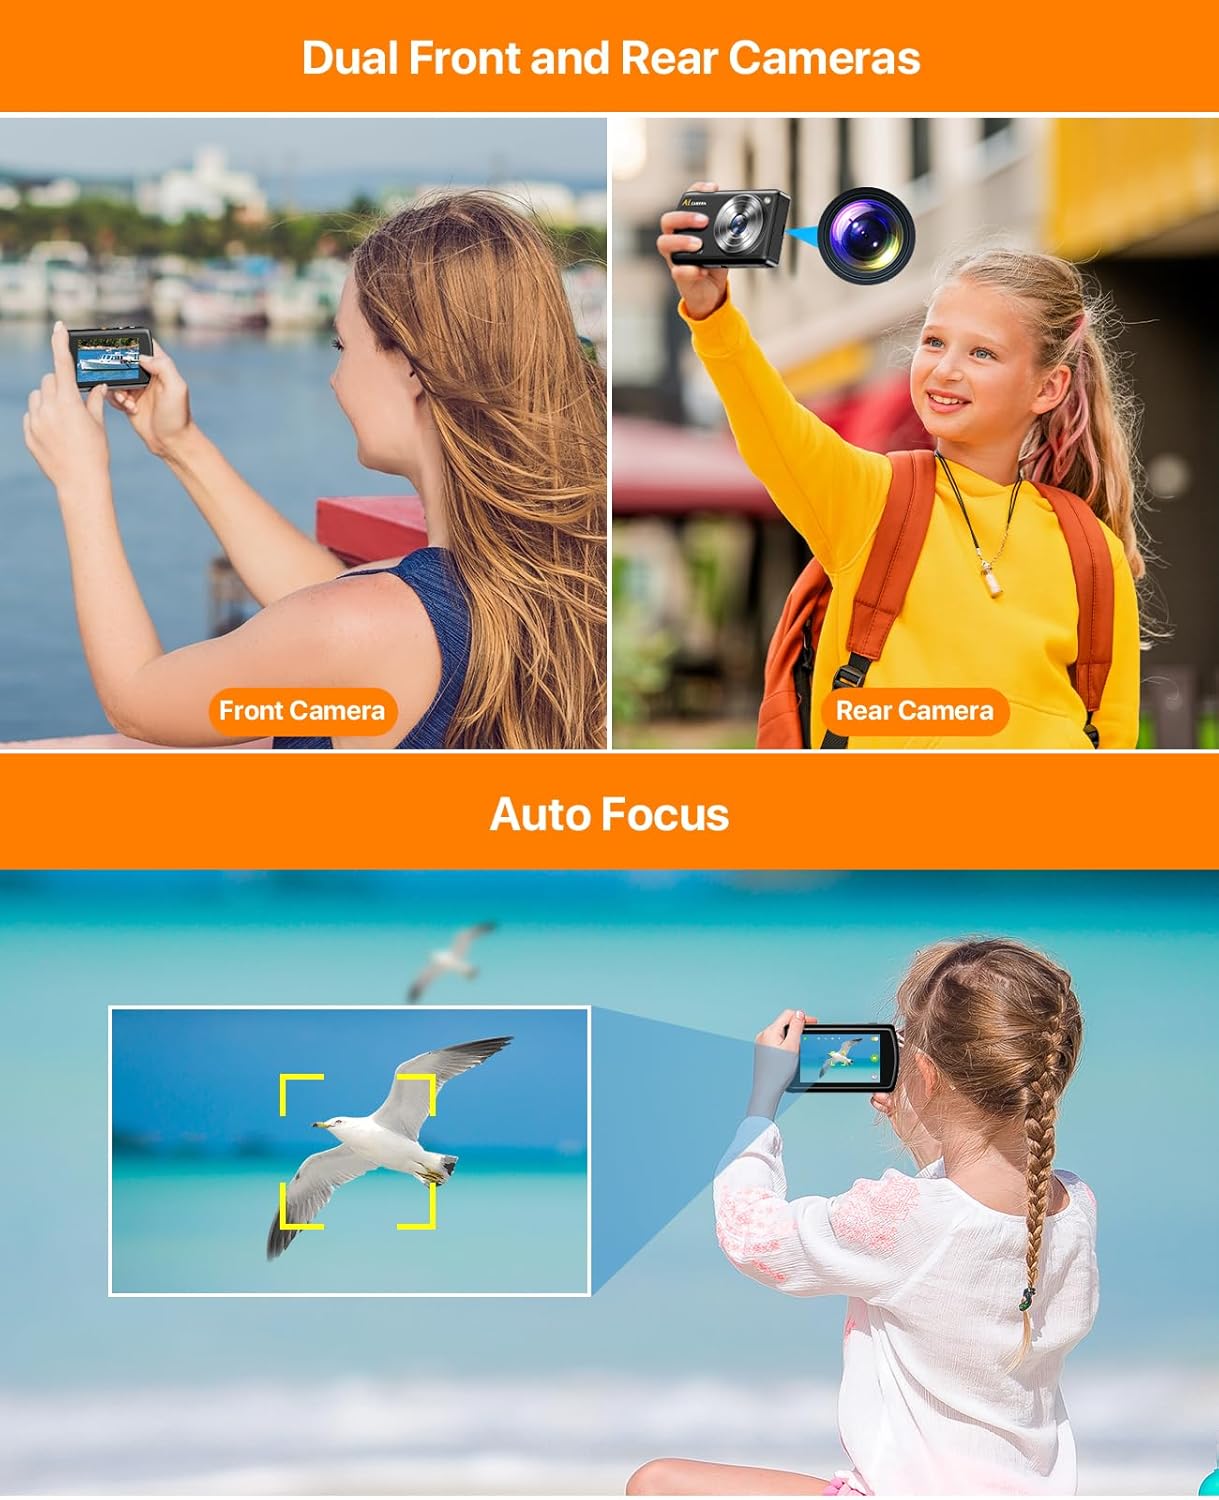
Image: Demonstrating the dual front and rear cameras and autofocus feature.
The camera is equipped with both front and rear lenses, facilitating various photographic perspectives including self-portraits and group photos. An integrated autofocus system automatically adjusts lens focus, simplifying the process of capturing images without manual adjustments.
4. Setup
4.1 Charging the Battery
The camera uses a rechargeable Lithium-Ion Polymer battery. Before first use, fully charge the camera using the provided USB cable connected to a compatible USB power adapter (not included) or a computer USB port. The charging indicator light will typically show charging status and turn off or change color when fully charged.
4.2 Inserting the Memory Card
Locate the memory card slot, usually on the side or bottom of the camera. Insert the included 32GB memory card with the metal contacts facing the correct direction (refer to the diagram near the slot if available) until it clicks into place. Ensure the camera is powered off before inserting or removing the memory card.
4.3 Powering On/Off
Press and hold the Power button (location may vary, typically on the top or side) for a few seconds to turn the camera on or off. The 3.6-inch IPS touchscreen will illuminate upon startup.
5. Operating Basics
5.1 Taking Photos
With the camera powered on, frame your subject using the touchscreen display. The autofocus system will automatically adjust the focus. Press the Shutter button (typically on the top of the camera) to capture a photo.
5.2 Recording Videos
Switch to video mode (usually via an icon on the touchscreen or a dedicated button). Press the Shutter button to start recording and press it again to stop. The camera records video at 1080p resolution.
5.3 Using the Touchscreen
Navigate menus, review photos, and adjust settings by tapping, swiping, and pinching on the 3.6-inch IPS touchscreen, similar to a smartphone interface.
6. Advanced Features
6.1 AI Learning Function

Image: AI recognition and voice dialogue features.
The AI learning function allows users to identify objects in photos, such as animals or plants, and receive informational facts. The camera also features interactive AI characters with distinct voices and personalities. To engage, hold the designated button and speak; the AI character will respond.
6.2 Creative Modes and Effects

Image: Various creative doodle and portrait effects.
The camera includes 240 creative doodle options, enabling users to add artistic elements to images or transform photos into various art styles. Additionally, 16 portrait effects, including cartoon, sketch, and hand-drawn styles, are available for enhancing portrait photographs.
6.3 Photo Customization
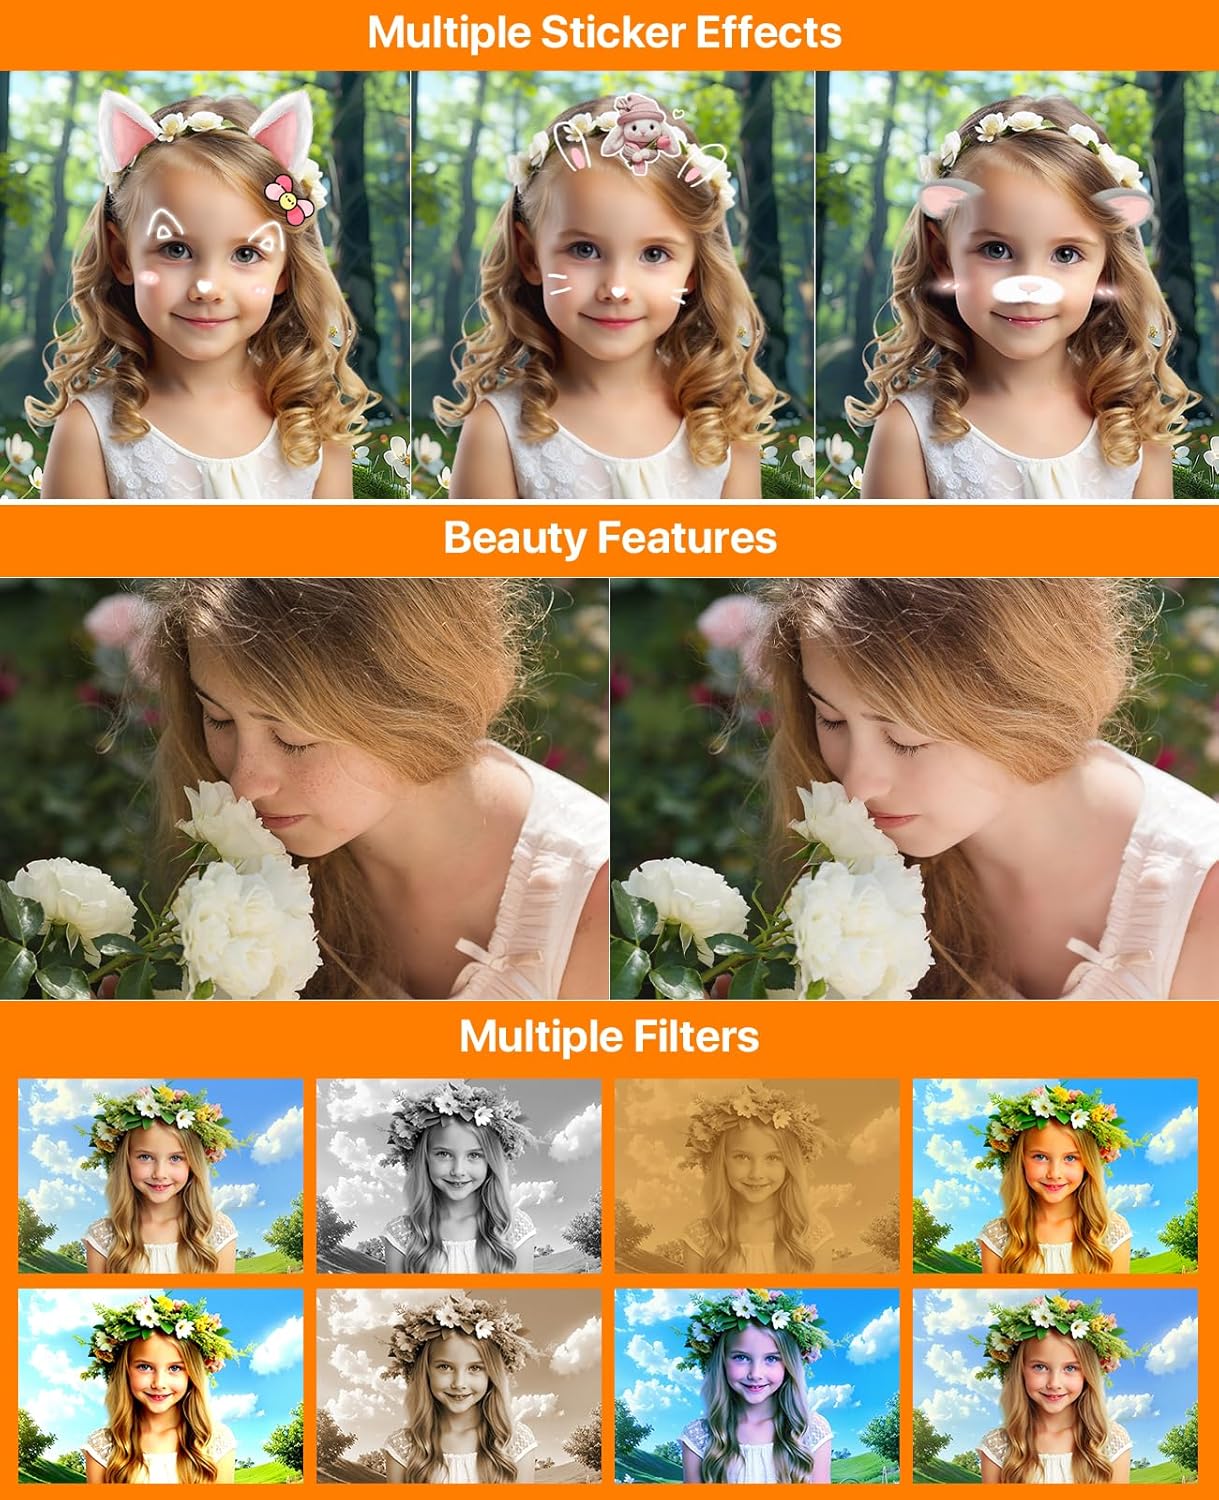
Image: Sticker effects, beauty features, and multiple filters.
Beyond its core creative modes, the camera offers additional customization features such as creative filters, portrait beauty enhancements, digital stickers, background alteration, and hairstyle effects. These options allow users to personalize their photographs.
6.4 Wi-Fi Transfer
For image transfer, connect a smartphone to the camera's integrated Wi-Fi network (credentials displayed on screen) and utilize the "AI Cam Transfer" application to wirelessly transfer photos and videos. This eliminates the need for physical cables for file transfer.
7. Maintenance
7.1 Cleaning the Camera
Use the provided cleaning cloth or a soft, lint-free cloth to gently wipe the camera body and screen. For stubborn smudges on the lens or screen, use a specialized lens cleaning solution applied to the cloth, not directly to the camera.
7.2 Battery Care
To prolong battery life, avoid exposing the camera to extreme temperatures. Charge the battery regularly, even if the camera is not in frequent use. If storing the camera for an extended period, ensure the battery is partially charged (around 50%) before storage.
7.3 Storage
Store the camera in a cool, dry place away from direct sunlight and excessive humidity. Use a protective case or pouch to prevent scratches and dust accumulation.
8. Troubleshooting
- Camera Not Turning On: Ensure the battery is fully charged. If the issue persists, try connecting the camera to a power source and attempting to power it on.
- Wi-Fi Connection Issues: Verify that the Wi-Fi name and password displayed on the camera screen are correctly entered on your smartphone. Ensure your smartphone is within range of the camera's Wi-Fi signal.
- Poor Image Quality: Check that the camera lens is clean and free from smudges. Ensure there is adequate lighting for your subject.
- Memory Card Error: Reinsert the memory card. If the error persists, try formatting the card (this will erase all data) via the camera's settings menu, or try a different compatible memory card.
- Touchscreen Unresponsive: Restart the camera. If the problem continues, ensure the screen is clean and free from moisture.
9. Specifications
| Feature | Specification |
|---|---|
| Brand | Ahlirmoy |
| Model Name | DC310 Digital Camera |
| Screen Size | 3.6 Inches (IPS Touchscreen) |
| Maximum Resolution | 12 MP |
| Video Capture Resolution | 1080p |
| Memory Storage Capacity | 32 GB (Memory Card Included) |
| Battery Type | Lithium-Ion Polymer (Rechargeable) |
| Connector Type | USB |
| Autofocus | Yes |
| Timer | Yes |
| Wi-Fi | Yes (for file transfer) |
| Item Weight | 381 g |
| Photo Sensor Technology | CMOS |
| Supported File Format | JPEG |
10. Warranty and Support
For warranty information and technical support, please refer to the documentation provided with your purchase or contact Ahlirmoy customer service directly. Keep your proof of purchase for warranty claims.