1. Introduction
Thank you for choosing the EAFCAuto 12V/24V 15A Battery Charger. This manual provides essential information for the safe and efficient operation of your new charger. Please read it thoroughly before use and retain it for future reference.
1.1 Important Safety Information
WARNING: This product is a battery charger and requires connection to an external power source to function. Always ensure proper connection to avoid damage or injury.
- Do not connect the positive (+) and negative (-) poles of the charger clips to the battery in reverse. Incorrect polarity can cause sparks, damage the battery, or damage the charger.
- Ensure the charger is disconnected from the power outlet before making or breaking connections to the battery.
- Use the charger in a well-ventilated area.
- Keep out of reach of children.
- Do not expose the charger to rain or excessive moisture.
1.2 Product Overview
The EAFCAuto 12V/24V 15A Battery Charger is designed for a wide range of vehicles and equipment, offering efficient and safe battery charging.
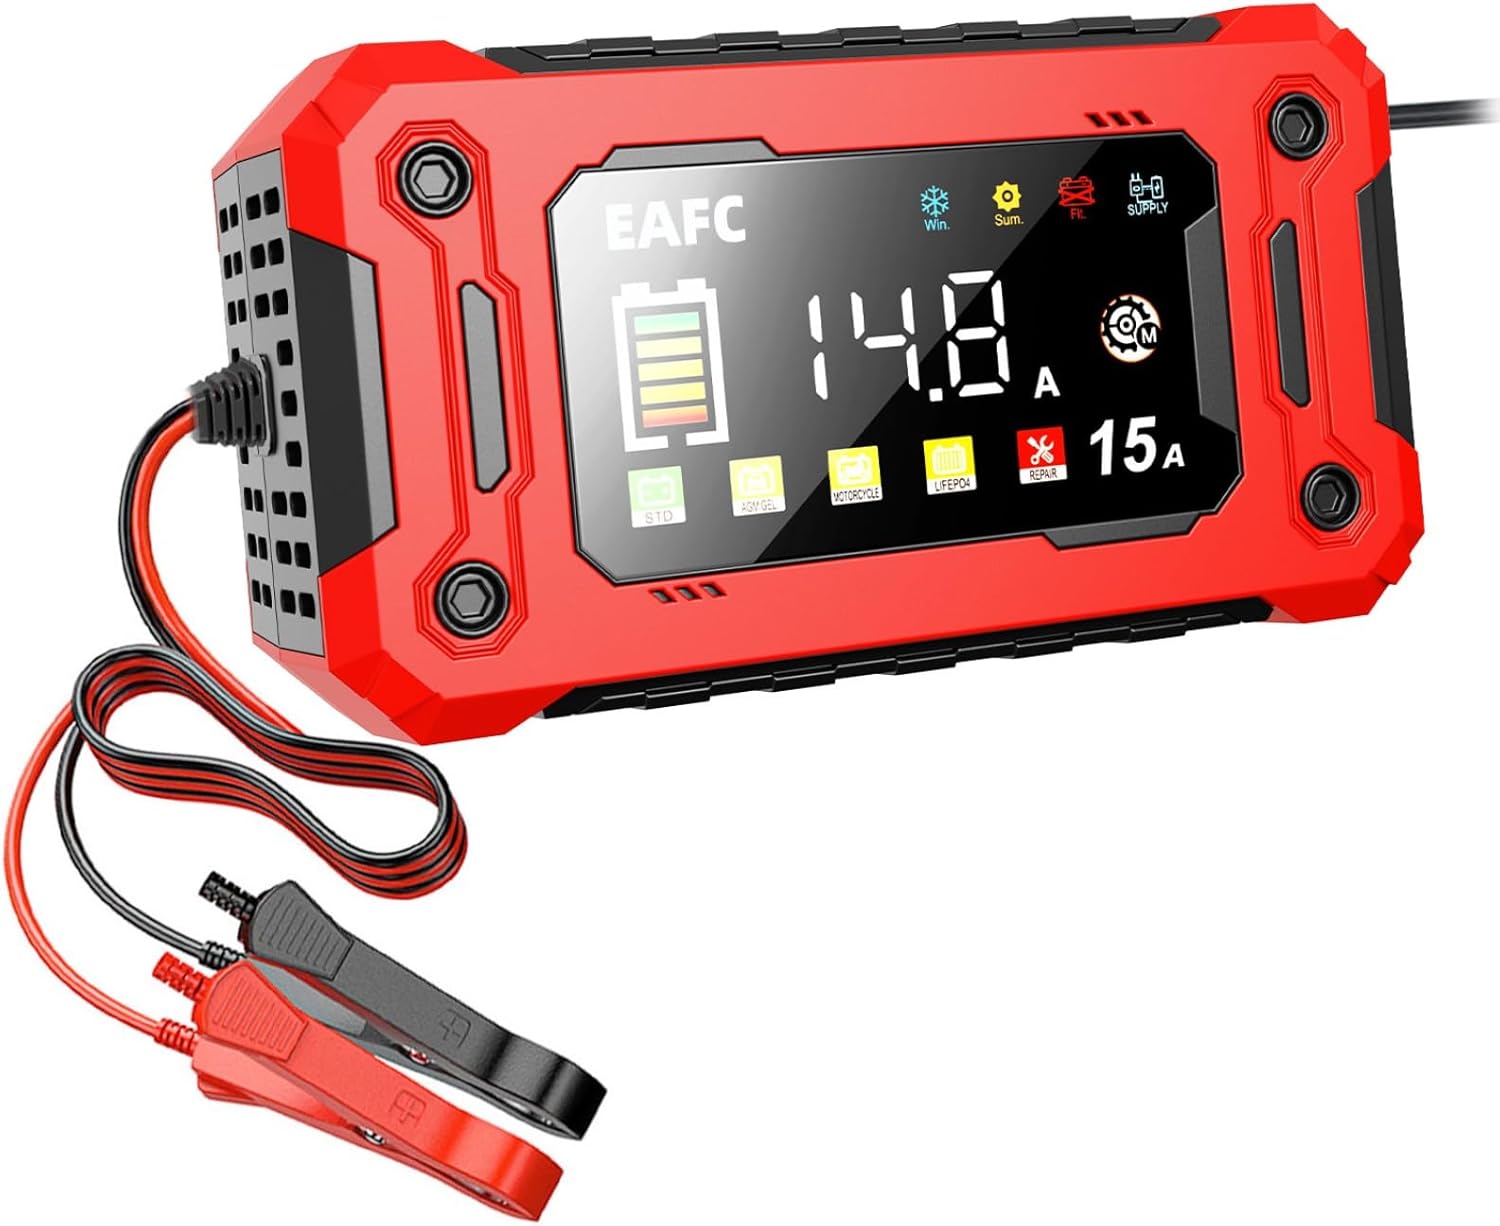
Figure 1: EAFCAuto 12V/24V 15A Battery Charger. This image shows the main unit with its digital display and connected red and black alligator clips.
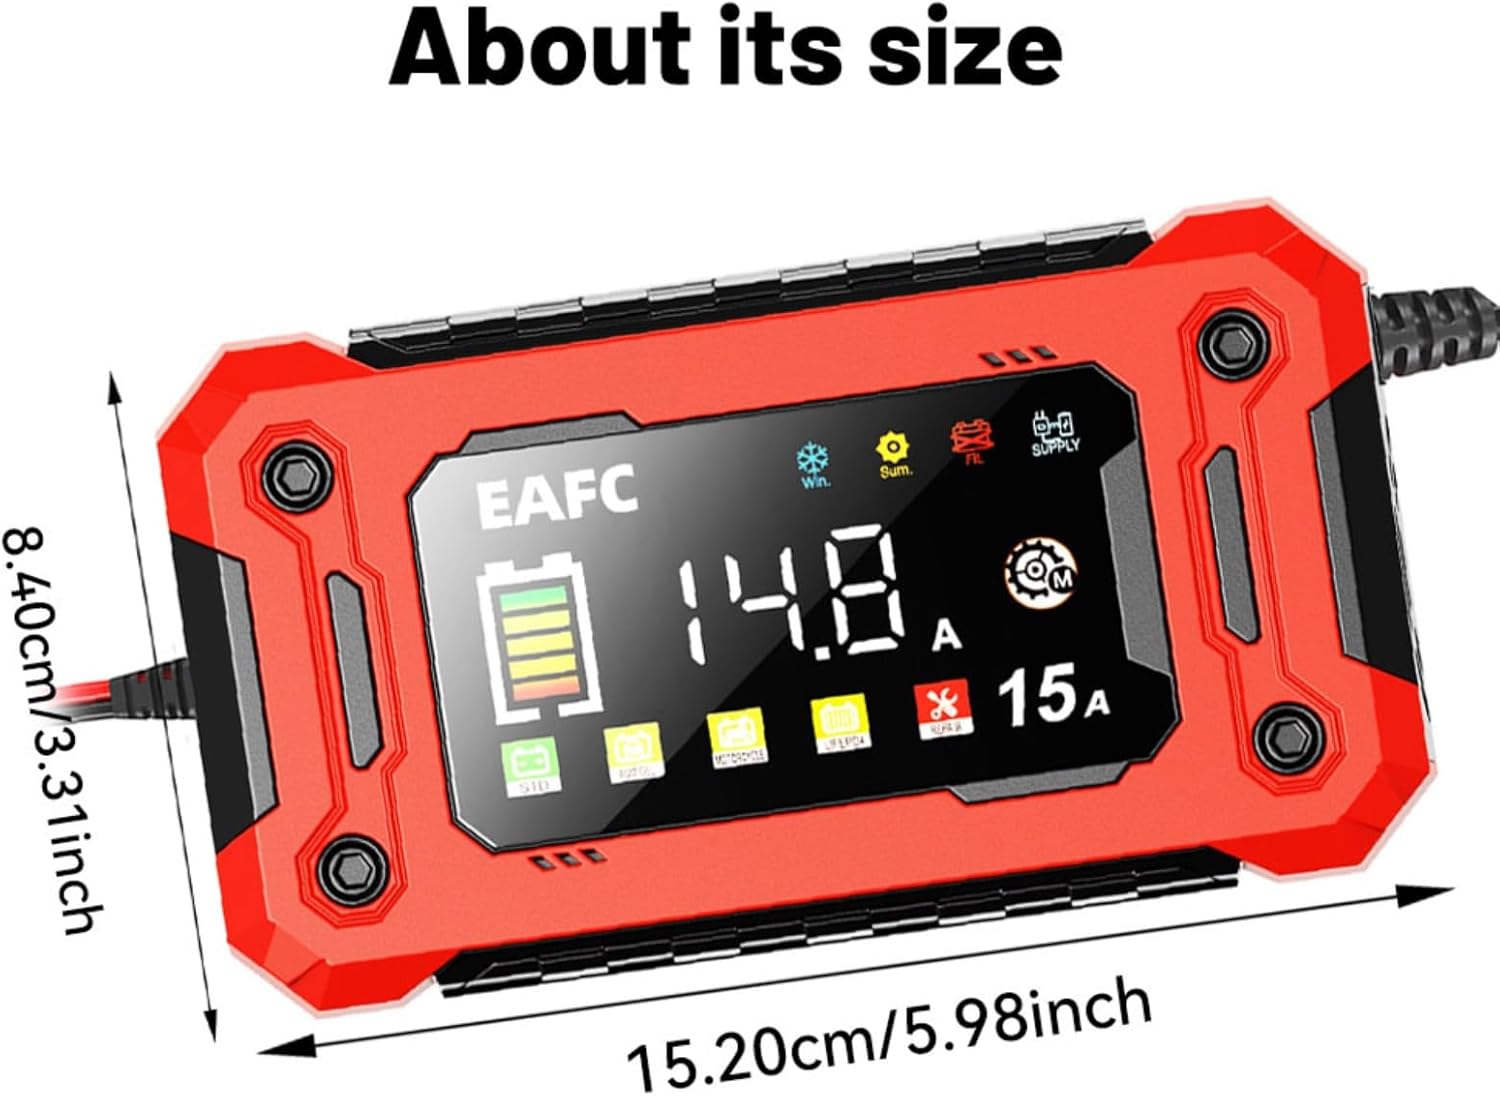
Figure 2: Charger Dimensions. The charger measures approximately 8.40 cm (3.31 inches) in width and 15.20 cm (5.98 inches) in length.
Key Features:
- Wide Compatibility: Meets charging needs for various models and equipment, including cars, trucks, construction machinery, ships, and agricultural machinery.
- Fast Charging: 15A output current significantly improves charging efficiency, suitable for large-capacity batteries.
- Multi-Battery Support: Intelligently identifies and adapts to Lead-acid batteries (AGM, GEL) and Lithium Iron Phosphate (LiFePO4) batteries.
- Intelligent Protection System: Built-in safety mechanisms include overload protection, short circuit protection, reverse connection alarm, and high-temperature power-off.
- User-Friendly Design: Portable, simple operation with clip lines, and an LED display for real-time charging status.
2. Setup
2.1 Unpacking
Carefully remove the battery charger and all accessories from the packaging. Inspect the unit for any signs of damage. If any damage is found, do not use the charger and contact customer support.
2.2 Connecting the Charger to a Battery
- Ensure the battery charger is unplugged from the AC power outlet.
- Identify the positive (+) and negative (-) terminals on your battery. The positive terminal is usually marked with a plus sign (+) and is larger in diameter. The negative terminal is marked with a minus sign (-).
- Connect the RED (+) alligator clip from the charger to the positive (+) terminal of the battery.
- Connect the BLACK (-) alligator clip from the charger to the negative (-) terminal of the battery.
- Ensure both connections are secure and free from corrosion.

Figure 3: Battery Connection. This image illustrates the correct connection of the charger's alligator clips to a vehicle battery, with the red clip on the positive terminal and the black clip on the negative terminal.
2.3 Connecting to Power
After securely connecting the charger clips to the battery, plug the charger's power cord into a standard AC power outlet (100-240V AC). The charger will power on and begin its operation.
3. Operating Instructions
3.1 Automatic Mode Detection
Upon connecting to a battery and power, the charger will automatically detect the battery voltage (12V or 24V) and begin the charging process. The LED display will show real-time charging status, including voltage and current.
3.2 Selecting Battery Type/Mode
The charger supports various battery types. Use the 'MODE' button on the charger to cycle through the available battery types: STD (Standard Lead-Acid), AGM, GEL, EFB, and LiFePO4 (Lithium Iron Phosphate). Select the mode that matches your battery type for optimal charging.
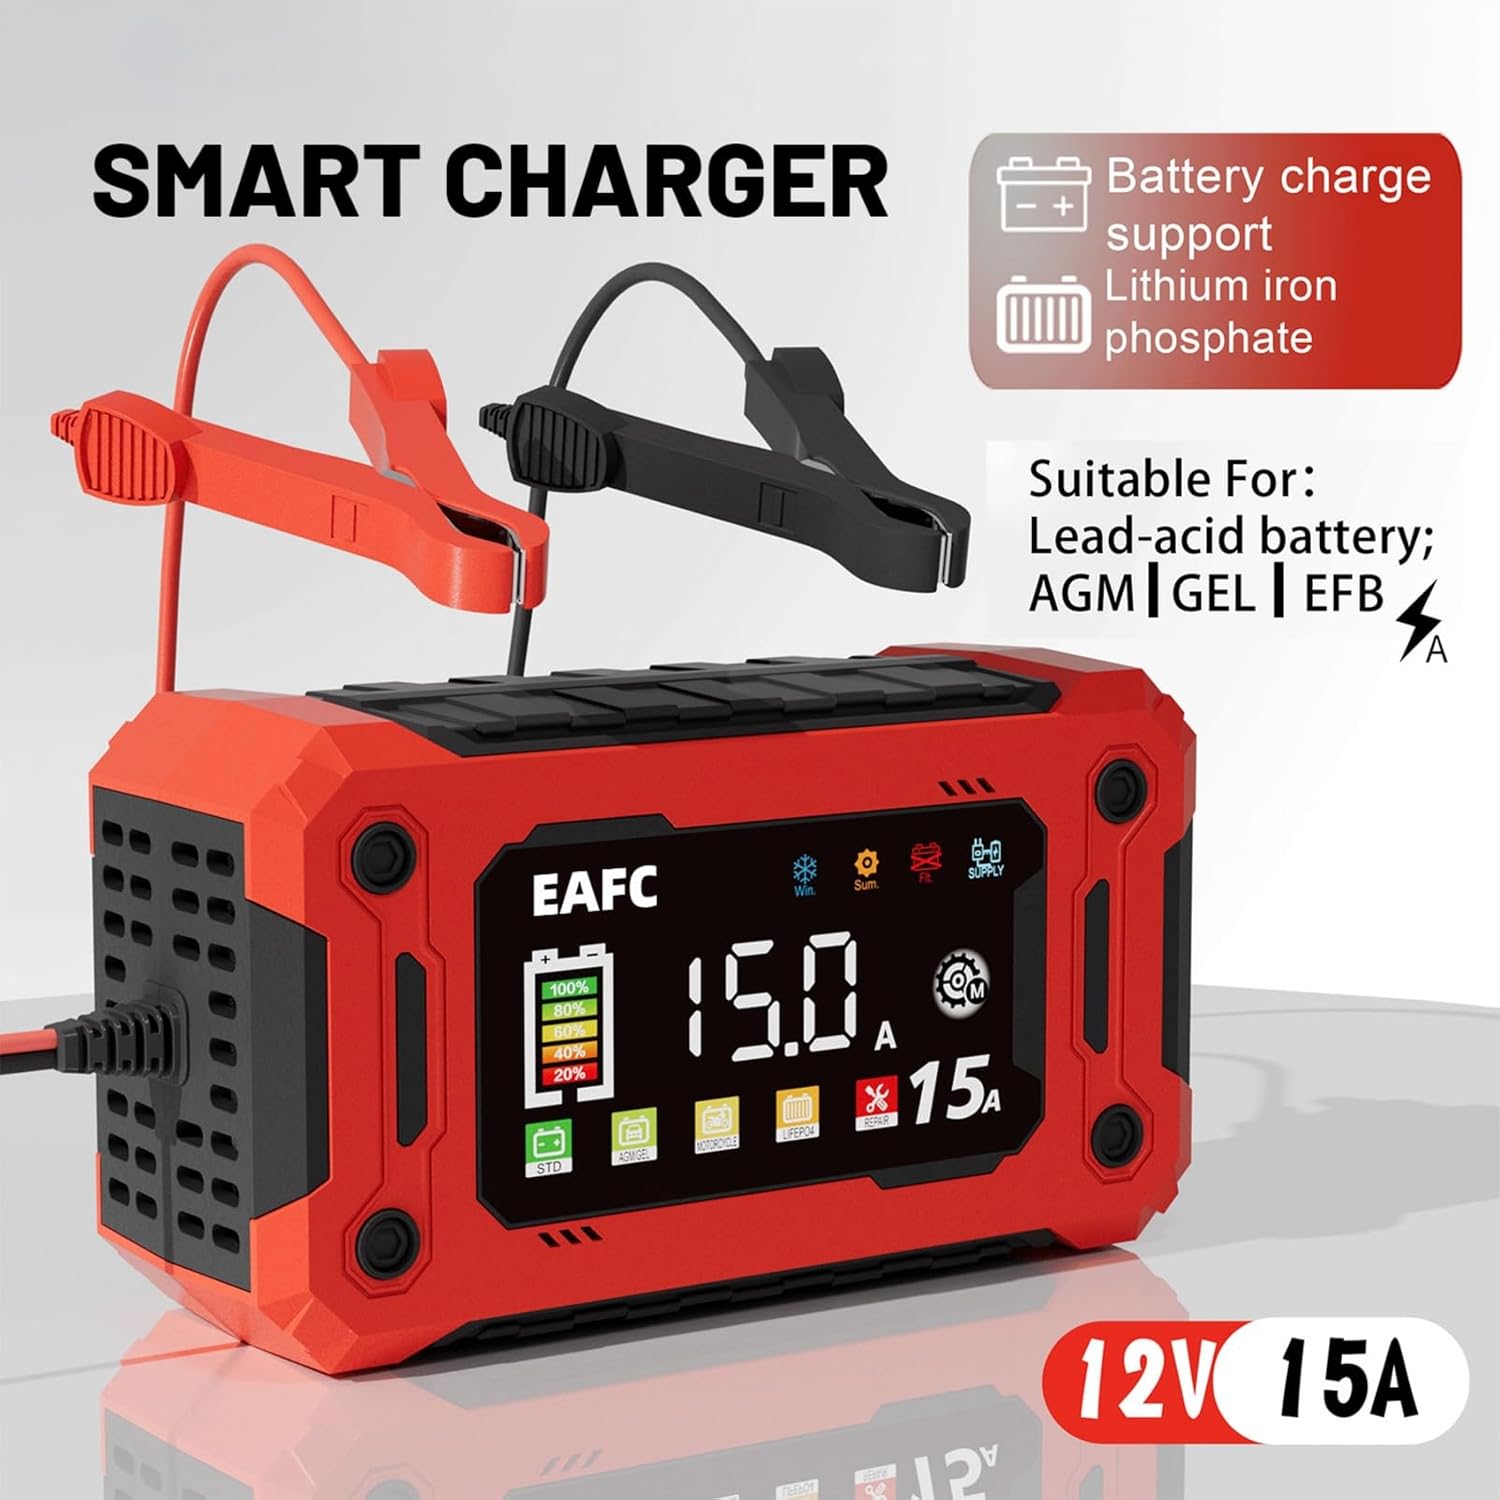
Figure 4: Battery Type Selection. The charger's display indicates various battery types it supports, including STD, AGM, GEL, EFB for lead-acid batteries, and LiFePO4 for lithium iron phosphate batteries.
3.3 Charging Process
Once the correct battery type is selected, the charger will proceed with multi-stage charging. The display will show charging progress. The charger will automatically stop charging when the battery is fully charged to prevent overcharging.
3.4 Repair Function
The charger includes a 'REPAIR' function designed to activate and restore certain types of batteries that have poor starting power, inability to charge, or high internal resistance. To use this function, select the 'REPAIR' mode. This process may take several hours.

Figure 5: Repair Function. This image highlights the 'REPAIR' mode on the charger's display, indicating its capability to address issues such as poor starting power and effects of long idle times on batteries.
4. Maintenance
4.1 Cleaning
- Disconnect the charger from both the AC power and the battery before cleaning.
- Wipe the exterior of the charger with a soft, dry cloth. Do not use abrasive cleaners or solvents.
- Ensure the ventilation openings are clear of dust and debris.
4.2 Storage
- Store the charger in a cool, dry place when not in use.
- Keep the cables neatly coiled to prevent damage.
5. Troubleshooting
If you encounter issues with your EAFCAuto Battery Charger, refer to the table below for common problems and solutions.
| Problem | Possible Cause | Solution |
|---|---|---|
| Charger does not power on | No AC power; Faulty power outlet; Damaged power cord. | Check AC power connection; Try a different outlet; Inspect power cord for damage. |
| Charger displays "Reverse Polarity" or similar error | Positive and negative clips are connected incorrectly. | Disconnect from power, then reconnect RED (+) clip to battery positive (+) and BLACK (-) clip to battery negative (-). |
| Battery not charging | Incorrect battery type selected; Battery is severely discharged or damaged; Poor connection. | Ensure correct battery type is selected; Check connections; Try the 'REPAIR' function if applicable; Battery may need replacement. |
| Charger gets hot | Normal operation during high current charging; Poor ventilation. | Ensure adequate ventilation around the charger. The charger has built-in high-temperature protection. |
6. Specifications
Technical specifications for the EAFCAuto 12V/24V 15A Battery Charger:
| Feature | Specification |
|---|---|
| Model | 12V/24V 15A Battery Charger |
| Supported Battery Voltage | 12V / 24V DC |
| Output Current | 15A |
| Supported Battery Types | Lead-Acid (STD, AGM, GEL, EFB), LiFePO4 |
| Product Dimensions | 8.26 x 2.36 x 4.33 inches (21 x 6 x 11 cm) |
| Item Weight | 1.64 pounds (0.74 kg) |
| Manufacturer | EAFCAuto |
| Color | Red |
7. Warranty and Support
For warranty information and customer support, please refer to the documentation provided with your purchase or contact the seller directly. Keep your purchase receipt as proof of purchase.