Kreiaoer JD9MI8-1
Kreiaoer 2-in-1 Ice Maker and Water Dispenser User Manual
Model: JD9MI8-1
1. Introduction
This manual provides essential information for the safe and efficient operation of your Kreiaoer 2-in-1 Ice Maker and Water Dispenser. Please read these instructions thoroughly before using the appliance and retain them for future reference.
2. Important Safety Information
To reduce the risk of fire, electric shock, or injury, always follow basic safety precautions when using this appliance.
- Ensure the appliance is placed on a stable, level surface away from direct sunlight and heat sources.
- Do not immerse the power cord, plug, or any part of the appliance in water or other liquids.
- Supervise children when the appliance is in use.
- Unplug the appliance before cleaning, maintenance, or when not in use for extended periods.
- Do not operate the appliance with a damaged cord or plug, or if it malfunctions or has been damaged in any way.
- Use only potable water in the appliance.
- Keep ventilation openings clear of obstructions.
3. Product Overview
3.1 Key Features
- 2-in-1 Functionality: Operates as both a countertop ice maker and a water dispenser.
- Fast Ice Production: Produces 10 ice cubes in 8–12 minutes, with a daily capacity of up to 33 lbs (approx. 15 kg).
- Ice Storage: Stores up to 1.32 lbs (approx. 0.6 kg) of ice.
- Ice Sizes: Offers small, medium, or large ice cube options.
- Smart Operation: Features touch controls, clear LED indicators, and auto-shutoff for full ice bin or low water levels.
- Self-Cleaning System: Integrated self-cleaning mode for easy maintenance.
- Durable Construction: Sleek stainless steel and ABS construction.
- Cooling System: Built-in fan and heat dissipation holes prevent overheating.
- Water Filling Options: Supports both manual and automatic water filling.
3.2 Specifications
| Specification | Detail |
|---|---|
| Brand | Kreiaoer |
| Model Name | JD9MI8-1 |
| Product Dimensions | 16.14"D x 12.2"W x 14.57"H |
| Capacity | 1.8 Liters (water reservoir) |
| Wattage | 150 watts |
| Voltage | 110 Volts |
| Refrigerant | R290a |
| Material | Acrylonitrile Butadiene Styrene, Stainless Steel |
| Item Weight | 29.8 pounds |
3.3 Components
Familiarize yourself with the main components of your ice maker and water dispenser.

Figure 1: Front view of the ice maker, showing the control panel, ice/water dispenser, and side water inlet.

Figure 2: Product dimensions: 16.14"D x 12.2"W x 14.57"H.

Figure 3: Side view showing the water reservoir access door.

Figure 4: Rear view displaying the water inlet and drain connections.
4. Setup
- Unpacking: Carefully remove the appliance from its packaging. Retain packaging materials for future transport if needed.
- Placement: Place the ice maker on a firm, level surface. Ensure adequate ventilation around the unit (at least 5 inches on all sides). Avoid direct sunlight or heat sources.
- Initial Cleaning: Before first use, clean the interior of the ice maker and water reservoir with a soft cloth and mild detergent. Rinse thoroughly.
- Power Connection: Plug the power cord into a grounded electrical outlet (110V).
- Water Supply:
- Manual Fill: Open the side water inlet door and pour potable water into the reservoir using the provided water-adding cup. Do not exceed the MAX fill line.
- Auto Fill: Connect the provided hoses to a potable water supply line and the designated water inlet port at the rear of the unit. Ensure all connections are secure to prevent leaks.
5. Operation
5.1 Making Ice
- Ensure the water reservoir is filled.
- Press the "ON" button on the touch control panel to power on the unit.
- Press the "SELECT" button to choose your desired ice cube size: Small (S), Medium (M), or Large (L). The corresponding LED indicator will illuminate.
- The ice maker will begin the ice production cycle. Ice will be ready in approximately 8-12 minutes.
- When the ice bin is full, the "Ice Full" indicator will light up, and the unit will automatically pause ice production.
- To dispense ice, place a glass under the ice dispenser and push the puncher lever.
Video 1: Demonstration of the Kreiaoer 2-in-1 Ice Maker and Water Dispenser in operation, showing ice production and dispensing.
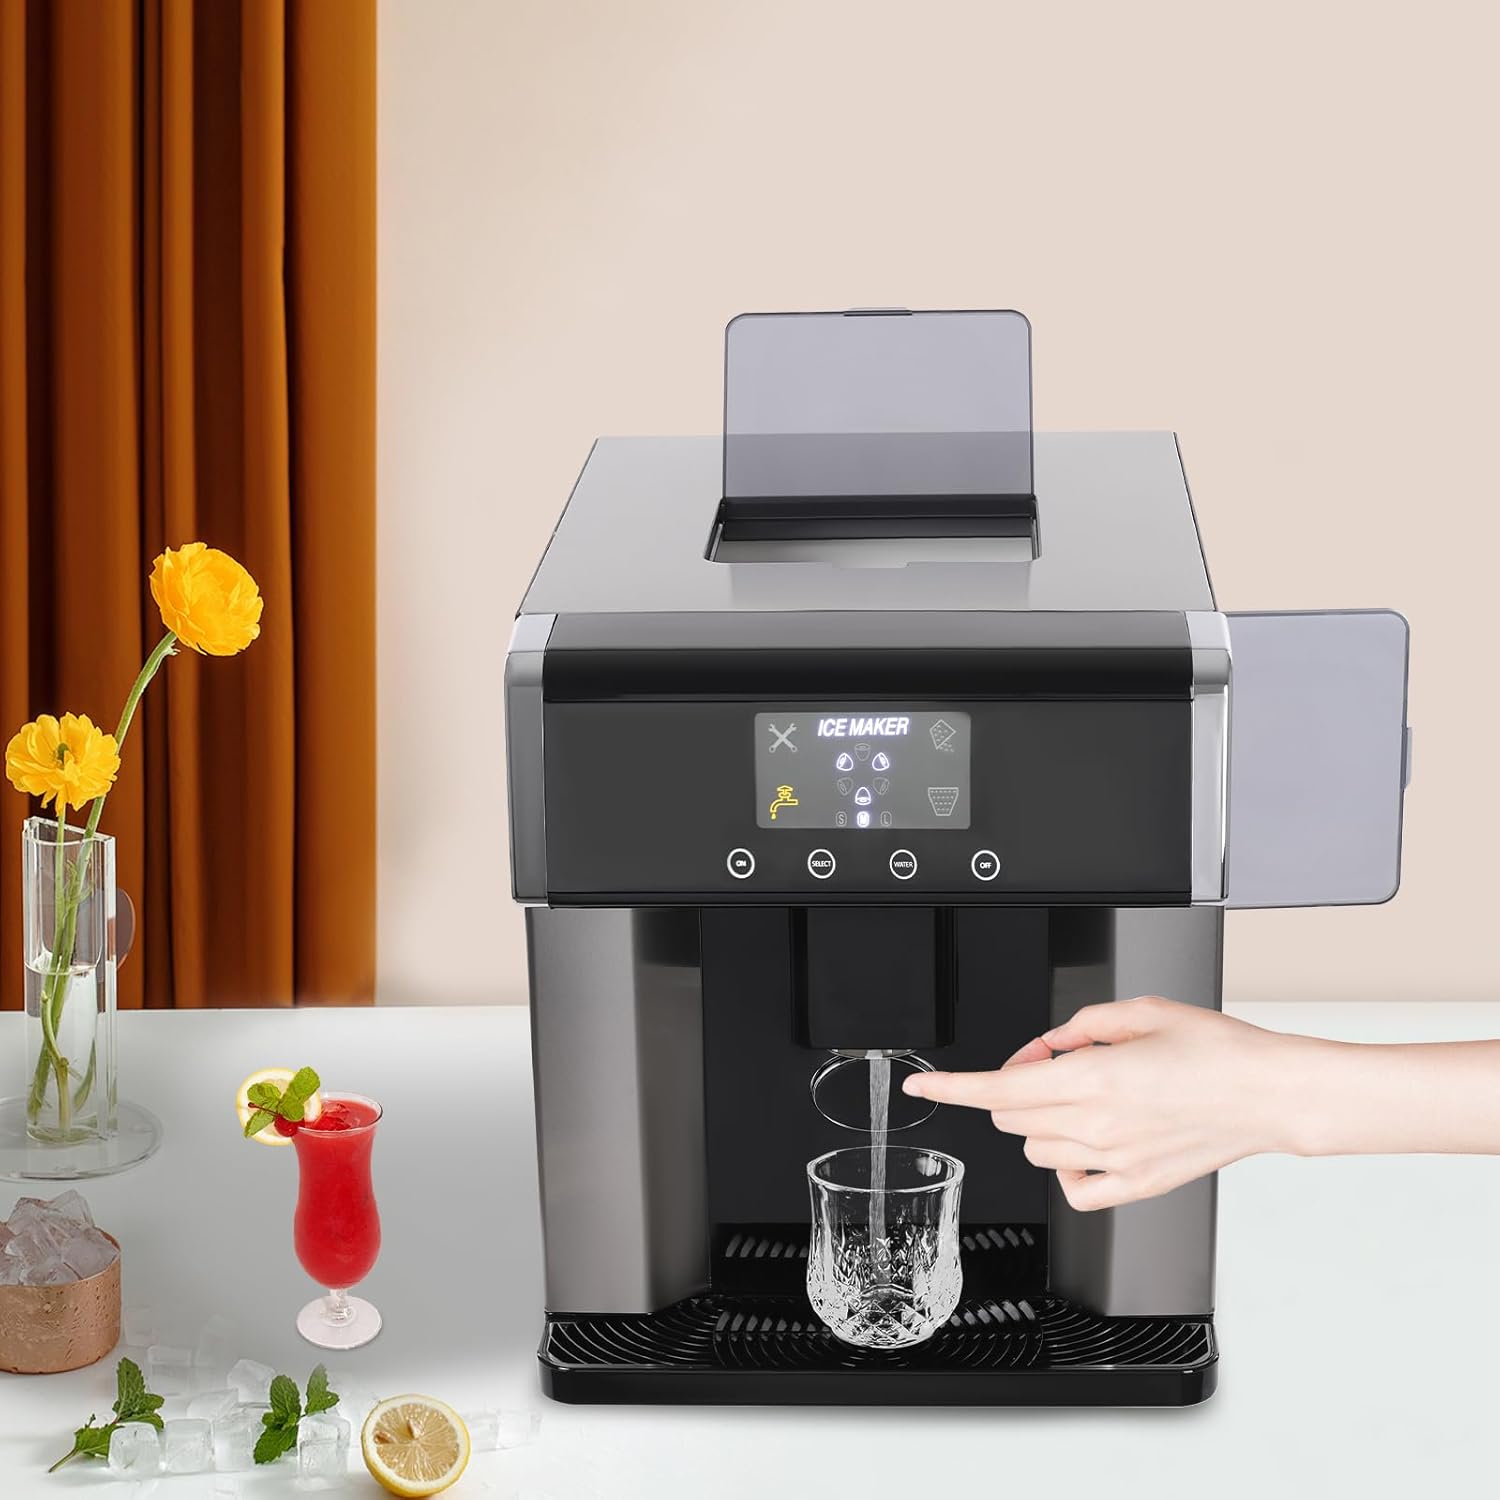
Figure 5: Dispensing ice by pushing the lever.
5.2 Dispensing Cold Water
- Ensure the water reservoir is filled.
- Place a glass under the water dispenser.
- Press the "WATER" button on the touch control panel to dispense cold water.

Figure 6: Dispensing cold water.
5.3 Power Off
To turn off the appliance, press the "OFF" button on the touch control panel.
6. Maintenance and Cleaning
Regular cleaning ensures optimal performance and hygiene of your ice maker.
- Self-Cleaning Mode:
- Ensure the water reservoir is filled.
- Press and hold the "ON" button for 3 seconds or more to activate the self-cleaning mode.
- The unit will perform an internal cleaning cycle. Follow any on-screen prompts.
- After the cycle, drain any remaining water from the unit.
- Exterior Cleaning: Wipe the exterior surfaces with a soft, damp cloth. Do not use abrasive cleaners or solvents.
- Interior Cleaning (Manual): For thorough cleaning, unplug the unit, remove the ice basket, and clean the interior with a mild detergent solution. Rinse thoroughly and drain all water.
- Draining Water: Regularly drain old water from the reservoir, especially if the unit will not be used for an extended period. The drain port is located at the rear of the unit.
7. Troubleshooting
If you encounter issues with your ice maker, refer to the following common problems and solutions:
| Problem | Possible Cause | Solution |
|---|---|---|
| Ice maker not producing ice. | No water in reservoir; power off; ambient temperature too high. | Fill water reservoir; ensure unit is plugged in and powered on; operate in a cooler environment. |
| Water not dispensing. | No water in reservoir; unit not powered on. | Fill water reservoir; ensure unit is powered on. |
| "Ice Full" indicator is on, but bin is not full. | Ice sensor obstructed or dirty. | Clean the ice sensor located inside the unit. |
| Unusual noise during operation. | Unit not level; internal components vibrating. | Ensure the unit is on a level surface. If noise persists, contact customer support. |
For issues not covered here, please contact Kreiaoer customer support.
8. What's in the Box
- 1x Kreiaoer 2-in-1 Ice Maker and Water Dispenser
- 1x Water-adding Cup
- 1x Ice Scoop
- 2x Hoses (for auto-fill connection)
- 1x English Manual
9. Warranty and Support
Your Kreiaoer 2-in-1 Ice Maker and Water Dispenser is covered by a manufacturer's warranty. Please refer to the warranty card included in your packaging for specific terms and conditions.
For technical support, warranty claims, or general inquiries, please contact Kreiaoer customer service through the retailer where the product was purchased or visit the official Kreiaoer website.
Ask a question about this manual
Ask about setup, troubleshooting, compatibility, parts, safety, or missing instructions. Manuals+ will review the question and use this page’s manual context to help answer it.