1. Introduction
This manual provides essential information for the safe and efficient operation of your iScooter iK1 Electric Scooter. Designed for children aged 6-10 with a maximum weight limit of 110 pounds, this scooter features adjustable speed and height settings, magnetic charging, and colorful lighting for an enhanced riding experience. Please read this manual thoroughly before first use and retain it for future reference.

Image 1: The iScooter iK1 Electric Scooter in red, showcasing its design and a child enjoying a ride.
2. Safety Information
Your safety is paramount. Always wear appropriate protective gear, including a helmet, knee pads, and elbow pads, when operating the scooter. The iK1S model incorporates a non-zero-start mechanism for safer coasting, meaning the rider must push off to initiate movement. A smart protection system automatically powers off the scooter after 5 minutes of inactivity and flashes a red warning light with an audible beep when the battery is low.
- Always wear a helmet and protective gear.
- Ensure the scooter is fully charged before each ride.
- Operate in safe, open areas away from traffic.
- Do not exceed the 110-pound weight limit.
- Supervise young riders at all times.
3. Package Contents
Verify that all items are present in the package:
- iScooter iK1 Electric Scooter (x1)
- Charger (x1)
- Instruction Manual (x1)
- Brand Card (x1)
- Tool Kit (x1)
- Tag (x1)
4. Setup
The iScooter iK1 requires minimal assembly. Simply attach the handlebar to the stem. Ensure all connections are secure before the first ride.
4.1. Handlebar and Stem Assembly
- Insert the handlebar into the stem until it clicks into place.
- Secure the handlebar with the provided clamp and tighten using the tool kit.
- Adjust the handlebar height to one of the three available levels (32", 34.5", or 37") by loosening the clamp, extending the stem, and re-tightening.

Image 2: Illustration of the 3-level height adjustment feature on the iScooter iK1.
4.2. Initial Charging
Before embarking on your first ride, fully charge your scooter for optimal performance. The iK1 features magnetic charging technology for safe and hassle-free connection.

Image 3: The innovative magnetic charging port, designed for ease of use and safety.
5. Operating Instructions
5.1. Power On/Off and Speed Modes
To power on the scooter, long-press the power button. Once powered on, press the button once to switch between the dual speed modes of 6 mph and 9 mph (for IK1S models). The non-zero-start feature requires a manual push-off to engage the motor.
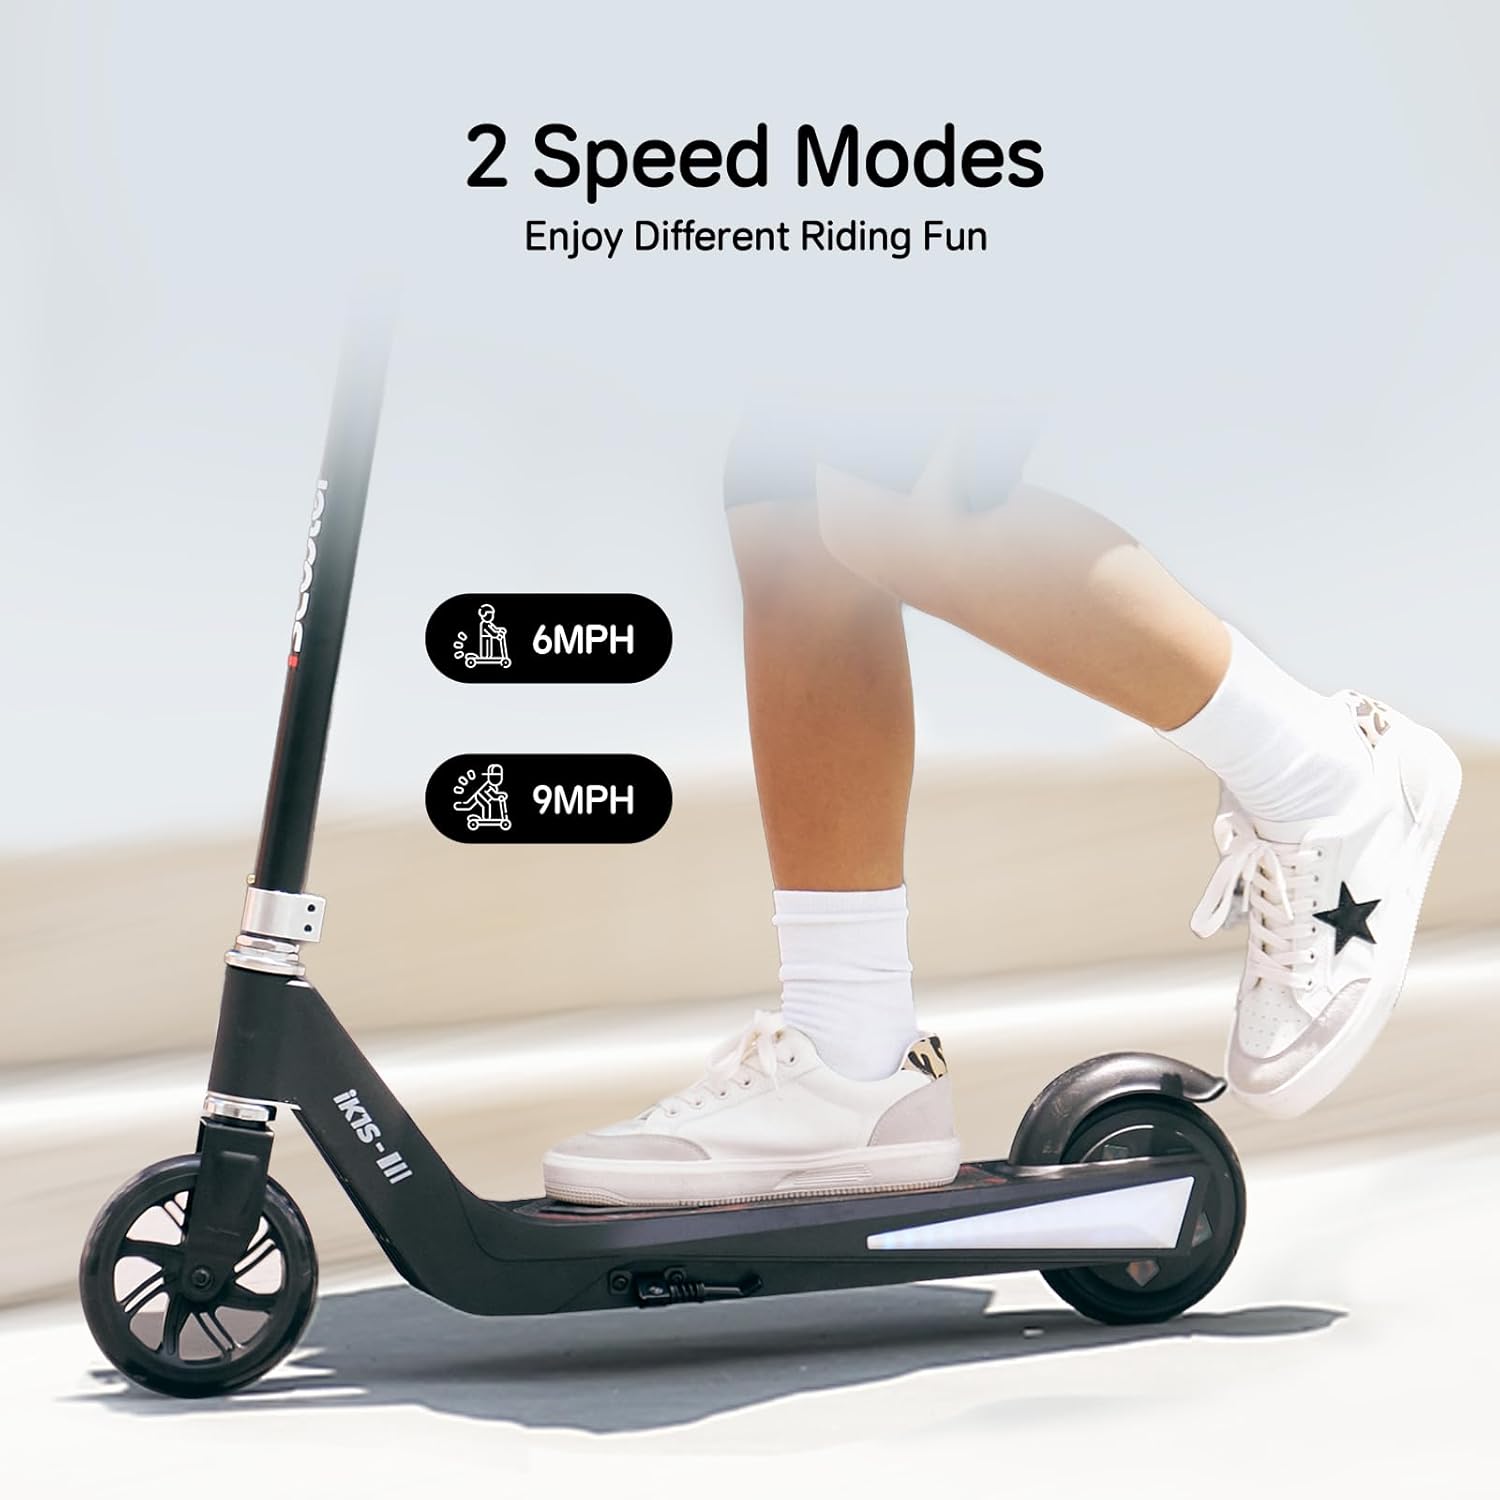
Image 4: Visual representation of the two available speed modes.
5.2. Lighting Features
The iK1 scooter is equipped with 7-color rims and side-board ambient lights, enhancing visibility and adding a fun element to night rides.

Image 5: The scooter's vibrant colored ambient lights in action.
5.3. Braking
The scooter utilizes a rear braking system. Apply pressure to the rear fender with your foot to slow down and stop.
5.4. Magnetic Charging
Connect the magnetic charger to the charging port. The magnetic connection ensures a secure and safe charging process. The TUV certified anti-touch design adds an extra layer of safety.
6. Maintenance
Regular maintenance ensures the longevity and safe operation of your iScooter iK1. Keep the scooter clean and dry. Periodically check all screws and connections for tightness. Ensure the wheels are free from debris.
6.1. Battery Care
Always fully charge the battery before the first use and after each ride. Avoid completely draining the battery to prolong its lifespan. Store the scooter in a cool, dry place when not in use.
6.2. Component Replacement Guides
For detailed instructions on replacing specific components, refer to the following video guides:
- Replacing the Fender:
Video 1: A step-by-step guide on how to disassemble and replace the fender of the iK1 Electric Scooter.
- Replacing the Ambient Light:
Video 2: Instructions for disassembling the scooter to replace the ambient light strips.
- Motor Replacement:
Video 3: A detailed guide on how to replace the motor of the iK1 Electric Scooter.
- Replacing the Battery:
Video 4: Instructions for safely replacing the battery pack in the iK1 Electric Scooter.
- Replacing the Side Lights:
Video 5: A guide to replacing the side lights on the iK1 Electric Scooter.
- Replacing the Charging Port:
Video 6: Instructions for replacing the magnetic charging port of the iK1 Electric Scooter.
7. Troubleshooting
If you encounter issues with your iScooter iK1, refer to the following common problems and solutions:
- Scooter not turning on: Ensure the battery is charged. Check all connections.
- Motor not engaging: Remember the non-zero-start feature; push off to activate the motor.
- Low battery warning: A red warning light will flash and an alarm will beep when the battery is low. Charge the scooter immediately.
- Automatic power-off: The scooter will automatically power off after 5 minutes of inactivity to conserve battery.
8. Specifications
| Feature | Detail |
|---|---|
| Brand | iScooter |
| Model Name | IK1 |
| Age Range (Description) | 6-10 Years |
| Weight Limit | 110 Pounds |
| Product Dimensions (LxWxH) | 23.8" x 11" x 27.3" |
| Item Weight | 12.1 Pounds |
| Frame Material | Aluminum |
| Wheel Material | Rubber |
| Wheel Size | 5.5 Inches |
| Wheel Type | Solid |
| Handlebar Type | Adjustable (32"/34.5"/37") |
| Brake Style | Rear Braking |
| Special Feature | Magnetic Charging, Colorful Flashing Wheels & Deck Lights |
| Charging Time | 4.5 Hours |
| Maximum Distance Range | 4.3 Miles |
9. Warranty & Support
iScooter offers a 360-day or 180-day warranty on different parts of the scooter. For warranty claims, technical assistance, or any issues, please reach out to our dedicated support team via your Amazon order page. Our team is committed to providing fast and professional service to ensure your satisfaction.
For direct support, you may contact iScooter Center.
Video 7: An overview of the iK1 Electric Scooter for Kids, highlighting its features and benefits.


