1. Introduction
The KAYOTOM AT-600 is a state-of-the-art 4G LTE Push-to-Talk Over Cellular (POC) Global Walkie Talkie designed for reliable, long-range communication. Utilizing cellular networks, it offers nationwide coverage, eliminating traditional distance limitations of two-way radios. This manual provides essential information for setting up, operating, and maintaining your device to ensure optimal performance.
2. What's in the Box
Upon opening your KAYOTOM AT-600 package, you should find the following items:
- KAYOTOM AT-600 4G LTE POC Global Walkie Talkies (8 units for the 8-pack variant)
- USB Adapters with USB-C Power Cable (x8)
- Pre-installed Lifetime Free SIM Cards
- Belt Clips (x8)
- Lanyards (x8)

Image: Contents of the 8-pack KAYOTOM AT-600 package, showing multiple walkie talkie units.
3. Product Overview
Familiarize yourself with the physical components and controls of your KAYOTOM AT-600 walkie talkie:
- Display Screen: Shows network status, battery level, time, and menu options.
- PTT (Push-to-Talk) Button: Located on the side, used to transmit voice.
- Volume/Power Knob: Located on top, used to turn the device on/off and adjust volume.
- Menu Buttons: Navigation buttons (Up, Down, OK, Back) for accessing device settings and features.
- USB-C Charging Port: Located at the bottom, for charging the device.
- Earphone/Microphone Jack: Located on the side, for connecting external audio accessories.
- Belt Clip: Removable clip for attaching the radio to clothing or a belt.

Image: Front and side view of the walkie talkie, showing key buttons and the display.
Video: A detailed look at the AI-300 Global 4G Walkie Talkie, showcasing its physical features and buttons.
4. Setup
4.1. SIM Card Installation
The KAYOTOM AT-600 comes with a lifetime free SIM card pre-installed. No additional installation is typically required for immediate use. If you need to access the SIM card slot (e.g., for troubleshooting or replacement), carefully remove the battery cover on the back of the device. The SIM card slot is located beneath the battery.

Image: The back panel of the walkie talkie, revealing the battery compartment and SIM card slot.
Video: Demonstrates the SIM card installation process for a similar 4G walkie talkie model.
4.2. Charging the Device
Before first use, fully charge your walkie talkie. Use the provided USB-C cable and power adapter.
- Connect the USB-C cable to the charging port at the bottom of the walkie talkie.
- Plug the USB adapter into a standard wall outlet.
- The charging indicator on the screen will show charging status. A full charge typically takes several hours.

Image: The walkie talkie connected to a USB-C charger.
4.3. Power On/Off
To power on the device, rotate the Volume/Power knob clockwise until the screen illuminates. To power off, rotate the knob counter-clockwise until the screen turns off.
4.4. Initial Network Connection
Once powered on, the device will automatically attempt to connect to the available 4G LTE cellular network. The 4G LTE icon on the display will indicate successful connection.
5. Operating Instructions
5.1. Push-to-Talk (PTT) Function
The core function of the walkie talkie is Push-to-Talk. To communicate:
- Ensure the device is powered on and connected to the 4G LTE network.
- Select the desired group or individual contact (see Group and Individual Calls below).
- Press and hold the PTT button on the side of the device.
- Speak clearly into the microphone.
- Release the PTT button to listen for a response.
5.2. Group Calls
The AT-600 supports group communication, allowing multiple users to communicate simultaneously within a designated group. Up to 200 groups can be established, with each group accommodating up to 500 people.
- Navigate to the 'Group Select' option in the menu using the Up/Down buttons and confirm with 'OK'.
- Select the desired group from the list.
- Press and hold the PTT button to broadcast your voice to all members in the selected group.

Image: Visual representation of the free grouping feature, enabling communication across various locations.
5.3. Individual Calls
For private conversations, you can initiate an individual call:
- Navigate to the 'Member Select' option in the menu.
- Select the specific user you wish to call.
- Press and hold the PTT button to speak directly to that individual.
5.4. Menu Navigation
Use the Up and Down arrow buttons to scroll through menu options. Press the 'OK' button to select an option and the 'Back' button to return to the previous screen or exit the menu.
5.5. Host Mode
The device supports a 'Host Mode' feature, which allows a designated user to restrict speaking privileges to themselves, with other members only able to listen. This is useful for announcements or controlled communication scenarios.
6. Key Features
- Unlimited Range Communication: Leveraging 4G LTE cellular networks, the AT-600 provides communication across vast distances, exceeding 5000 miles, wherever cellular service is available.
- Lifetime Free SIM: The device includes a pre-installed SIM card with lifetime free service, eliminating recurring subscription fees.
- 3D Noise Reduction: Advanced noise reduction technology ensures high-definition stereo sound, providing clear and strong audio even in noisy environments.
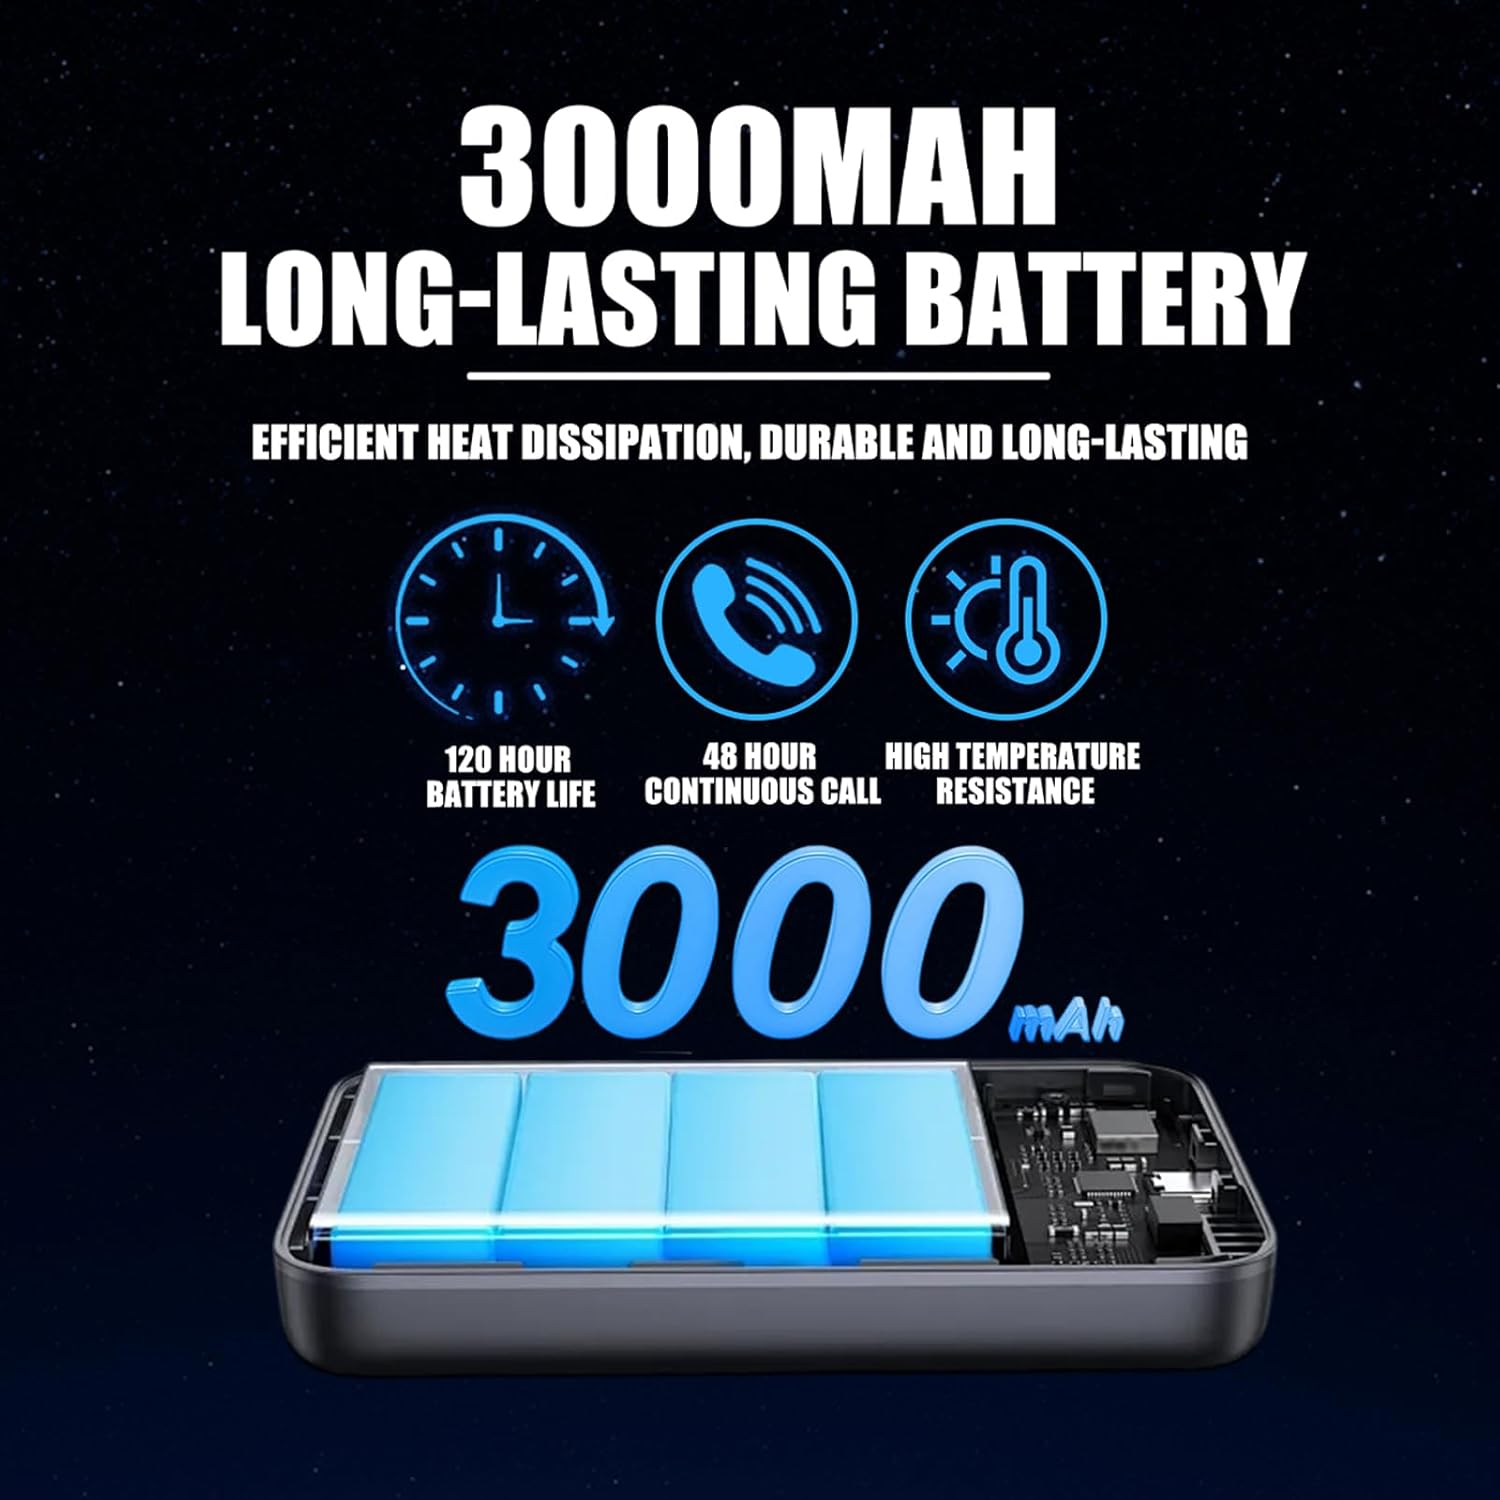
Image: Illustration of the 3D noise reduction feature for enhanced audio clarity.
- Long-lasting 3000mAh Battery: Equipped with a high-capacity battery, offering up to 120 hours of standby time and 48 hours of continuous talk time.
Image: Details of the 3000mAh long-lasting battery and its performance metrics.
- Durable Aluminum Alloy Back Panel: Features an aluminum alloy back panel for efficient heat dissipation, enhanced robustness against drops and compression, and improved electromagnetic shielding for stable communication quality.

Image: The robust aluminum alloy back panel designed for durability and performance.
- Multi-Scenario Application: Ideal for various uses including team management in supermarkets, hotels, security operations, outdoor adventures, and construction sites.
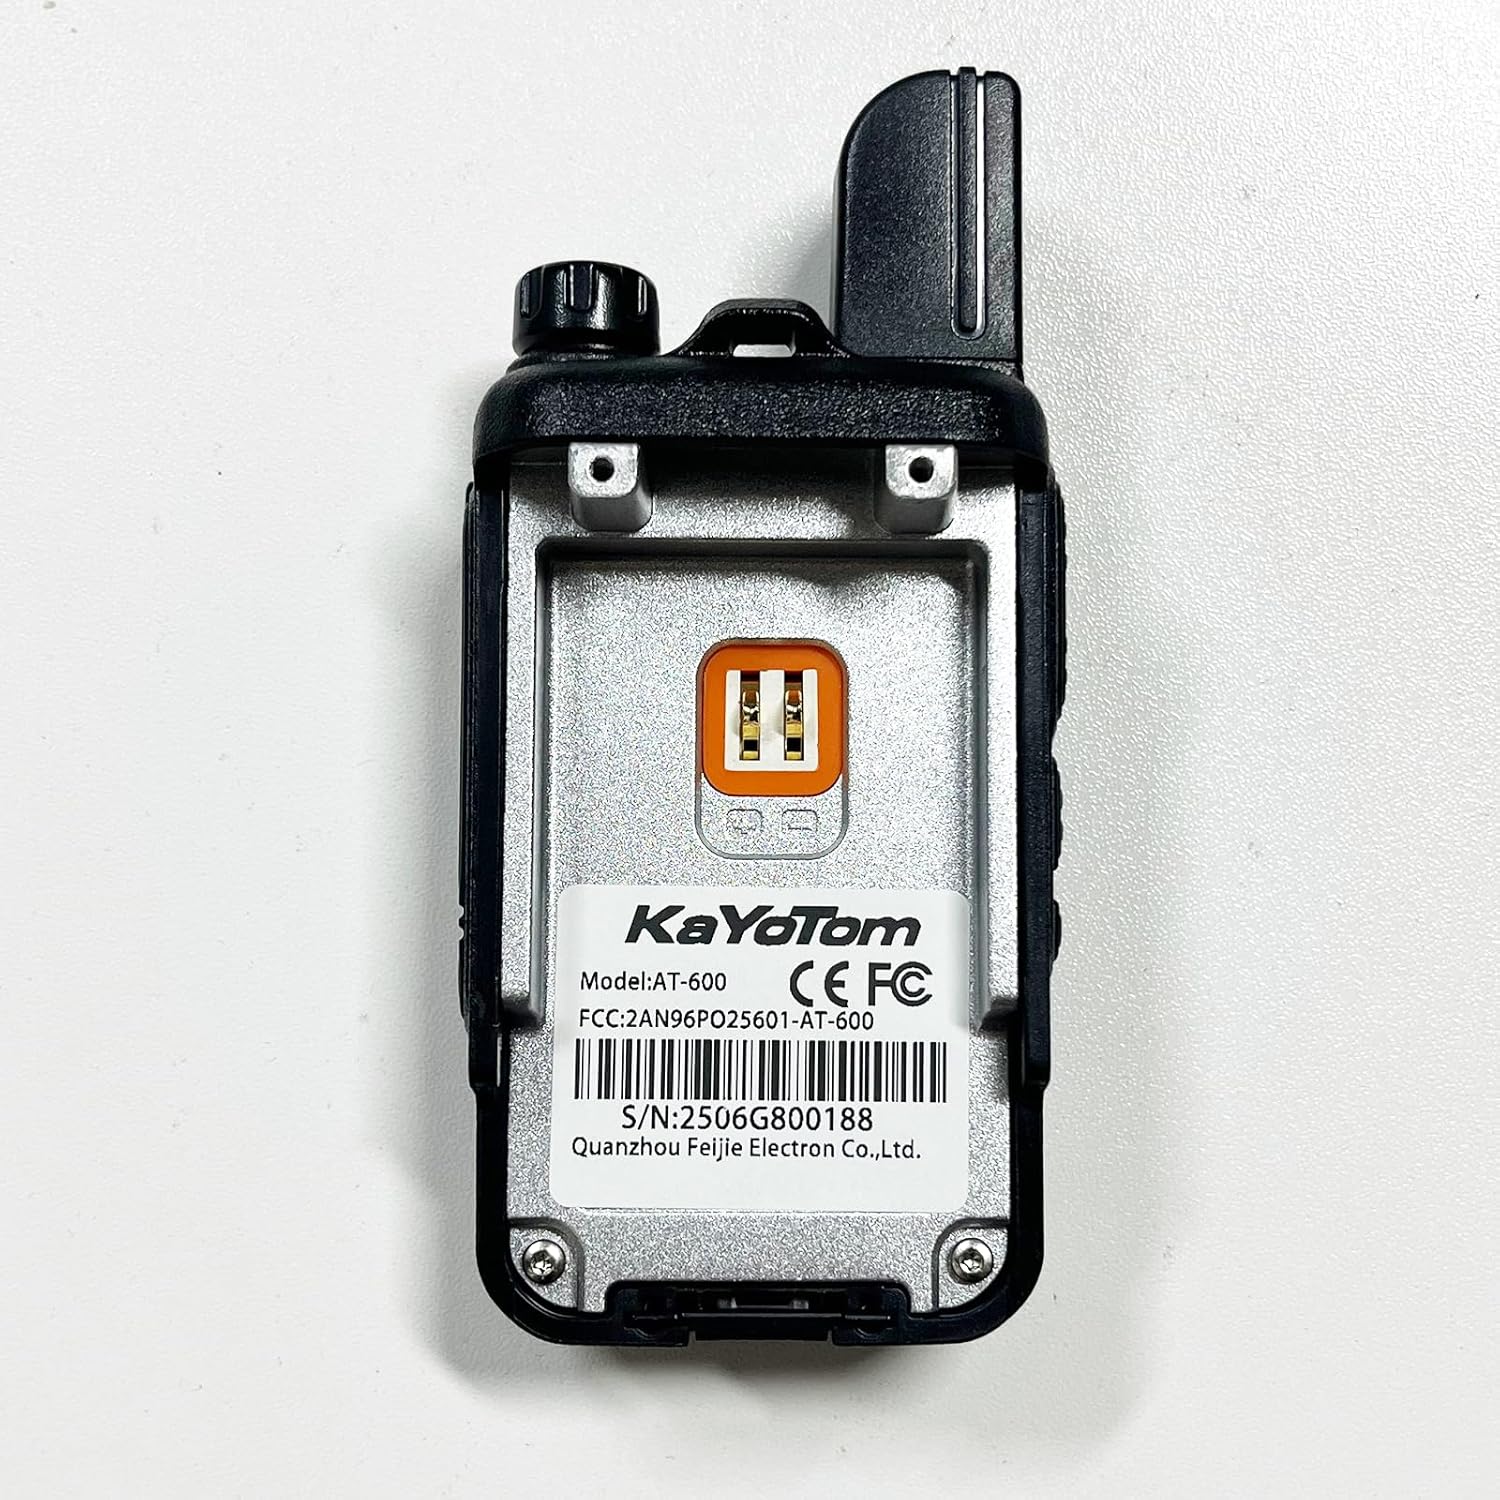
Image: Examples of the walkie talkie's versatility across various professional and recreational settings.
- GPS Management: Supports real-time tracking and management of devices through a computer dispatch system, allowing for efficient team coordination and location monitoring.
Video: Demonstrates GPS tracking and dispatch system capabilities for walkie talkies.
7. Maintenance
- Cleaning: Use a soft, damp cloth to clean the exterior of the device. Avoid using harsh chemicals or abrasive cleaners.
- Battery Care: To prolong battery life, avoid fully discharging the battery frequently. Charge the device regularly, especially if it will be stored for an extended period.
- Storage: Store the walkie talkie in a cool, dry place away from direct sunlight and extreme temperatures.
- Water Resistance: Note that this device is not water resistant. Avoid exposure to water or high humidity.
8. Troubleshooting
- Device not powering on: Ensure the battery is fully charged. Check that the Volume/Power knob is rotated clockwise to the 'On' position.
-
Related Documents - AT-600

Professional FM Transceiver User Manual - KaYoTom M66
User manual for the KaYoTom M66 Professional FM Transceiver, covering installation, charging, basic operation, keys, components, and FCC compliance information.
KaYoTom Global Walkie Talkie Product Catalog
Explore the comprehensive range of KaYoTom global walkie talkies, featuring advanced technology, durable designs, and versatile applications for various industries and personal use. Discover models like M77, M22, M66, M16, M15, M12, M14, M09, M11, M08, M05, G5, D08, D09, and D10, each offering unique features and specifications.
Fujian KaYoTom G5-1 Two-Way Radio User Manual: Setup, Features, and Troubleshooting
Explore the Fujian KaYoTom G5-1 two-way radio with this comprehensive user manual. Learn about setup, key features like group calls and priority talkover, troubleshooting common issues, and essential care and maintenance tips.
SHEEPDOG SRT2-SYNC Instructions: Powering On, Bluetooth Pairing, and Features
Detailed instructions for the SHEEPDOG SRT2-SYNC tactical microphone, covering powering on, Bluetooth connectivity, and key features like NEXUS port, 3.5mm audio, volume control, noise cancellation, and USB-C charging.
SENCOR SMR 600 User Guide
User guide for the SENCOR SMR 600 private mobile radio with twin charger, covering installation, operation, specifications, and safety information.