Introduction
This manual provides essential instructions for the safe and effective installation, operation, and maintenance of your new dryer heating element. This replacement part is compatible with specific Whirlpool dryer models, including WED9151YW0, WED9151YW1, WED9200SQ0, and WED9200SQ1. Please read this guide thoroughly before attempting any installation or repair to ensure proper function and safety.
Safety Information
WARNING: Risk of electric shock, fire, or injury. Appliance repair should only be performed by qualified individuals. Disconnect power to the dryer before servicing. Failure to follow these instructions can result in serious injury or death.
- Always disconnect the dryer from its power source (unplug or turn off circuit breaker) before beginning any repair or maintenance.
- Wear appropriate personal protective equipment, such as gloves and safety glasses.
- Ensure all connections are secure and correctly reassembled before restoring power.
- Keep children and pets away from the work area.
- If you are unsure about any step, consult a qualified appliance technician.
Product Overview
This product is a replacement heating element designed for specific Whirlpool electric dryer models. The heating element is a critical component responsible for generating the heat required to dry clothes. It consists of a coiled resistance wire mounted on a ceramic insulator and a metal frame.
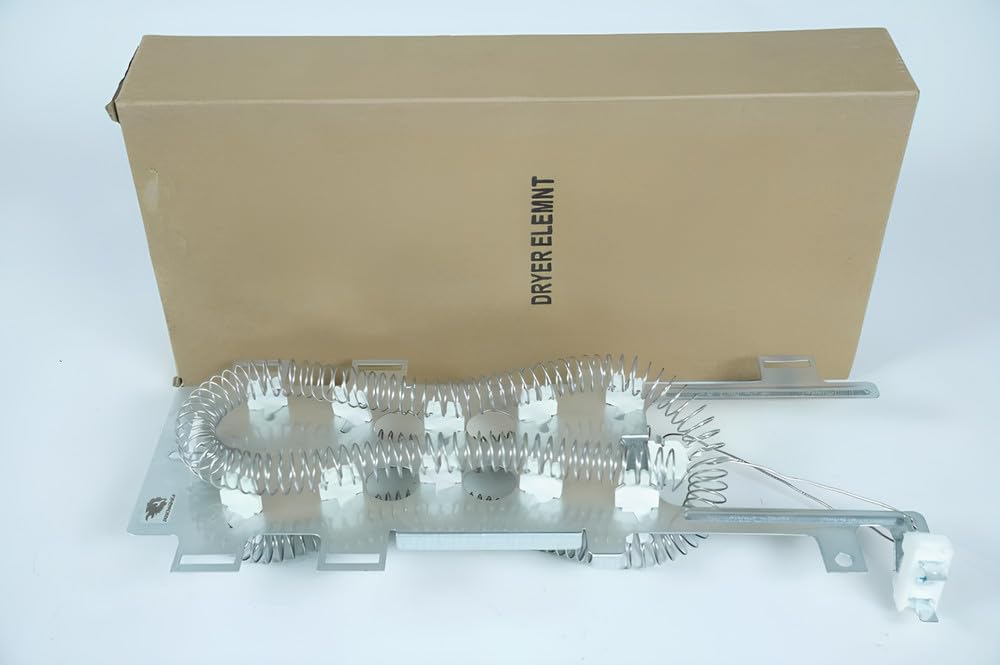
Figure 1: The dryer heating element as packaged in its cardboard box, ready for installation.

Figure 2: The heating element removed from its packaging, displaying the coiled resistance wire and the metal mounting frame.

Figure 3: A diagram illustrating the approximate dimensions of the heating element, measuring 13.8 inches in length and 2.3 inches in width.

Figure 4: A detailed close-up of the electrical connector, showing the terminals for power connection.
Installation (Setup)
Replacing a dryer heating element requires disassembling parts of the dryer. It is recommended that this procedure be performed by a qualified technician. If you proceed, follow these steps carefully:
- Disconnect Power: Unplug the dryer from the wall outlet or turn off the circuit breaker supplying power to the dryer. Verify power is off.
- Access Rear Panel: Move the dryer away from the wall and remove the screws securing the rear access panel. Carefully remove the panel.
- Locate Heating Element Housing: Identify the heating element housing, typically a metal box or chamber located at the bottom rear of the dryer.
- Disconnect Wires: Take a photo of the existing wiring configuration for reference. Carefully disconnect the electrical wires from the old heating element terminals. Note their positions.
- Remove Old Element: Remove the screws or clips holding the old heating element assembly in place. Carefully slide the old element out of its housing.
- Install New Element: Slide the new heating element into the housing, ensuring it seats correctly. Secure it with the screws or clips previously removed.
- Reconnect Wires: Using your reference photo, reconnect the electrical wires to the terminals on the new heating element. Ensure all connections are tight and secure.
- Reassemble Dryer: Replace the rear access panel and secure it with its screws. Push the dryer back into its original position.
- Restore Power and Test: Plug the dryer back into the wall outlet or turn on the circuit breaker. Run a short cycle with no clothes to ensure the dryer heats up properly and there are no unusual noises or smells.
Operation
Once installed, the heating element operates automatically as part of the dryer's normal cycle. When a drying cycle is selected, the control board sends power to the heating element, causing its coils to heat up. Air is then drawn over these hot coils by the blower fan and circulated through the drum to dry the clothes. The dryer's thermostat monitors the temperature and cycles the heating element on and off to maintain the selected heat level.
Maintenance
Proper maintenance of your dryer can extend the life of all its components, including the heating element.
- Clean Lint Filter: Clean the lint filter before or after every load to ensure proper airflow and prevent overheating.
- Inspect Venting: Periodically check the dryer's exhaust vent for blockages. A clogged vent restricts airflow, causing the heating element to work harder and potentially overheat.
- Professional Cleaning: Consider having your dryer's internal components and venting system professionally cleaned every 1-2 years.
- Avoid Overloading: Do not overload the dryer, as this can also restrict airflow and strain the heating element.
Troubleshooting
If your dryer is experiencing issues after replacing the heating element, consider the following:
- No Heat:
- Check if the circuit breaker for the dryer has tripped.
- Verify all electrical connections to the heating element are secure.
- Inspect the thermal fuse or thermostat for continuity (requires a multimeter and technical knowledge). A blown thermal fuse will prevent the element from heating.
- Insufficient Heat:
- Ensure the lint filter is clean and the exhaust vent is not obstructed.
- Check if the dryer is overloaded.
- Burning Smell:
- Immediately disconnect power.
- Inspect for any foreign objects or lint accumulation around the heating element.
- A new element may produce a slight odor during its first few uses; however, a strong burning smell indicates a problem.
For complex issues or if troubleshooting steps do not resolve the problem, contact a certified appliance repair technician.
Specifications
| Part Type | Dryer Heating Element |
| Compatibility | Whirlpool Models: WED9151YW0, WED9151YW1, WED9200SQ0, WED9200SQ1 |
| Manufacturer | KIEUCHINH |
| ASIN | B0F9SZXT7W |
| Condition | New |
Warranty and Support
For specific warranty information regarding this replacement part, please refer to the documentation provided by the seller or contact the seller directly. Keep your purchase receipt as proof of purchase. For technical support or further assistance, it is recommended to consult a qualified appliance repair professional or refer to your dryer's original service manual.
