1. Product Overview
This document provides instructions for the installation, maintenance, and troubleshooting of the Fricparts replacement blower wheel, designed for Kenmore dryer model 110.6908500. The blower wheel is a critical component responsible for circulating air through the dryer drum and out the exhaust vent, ensuring efficient drying performance.
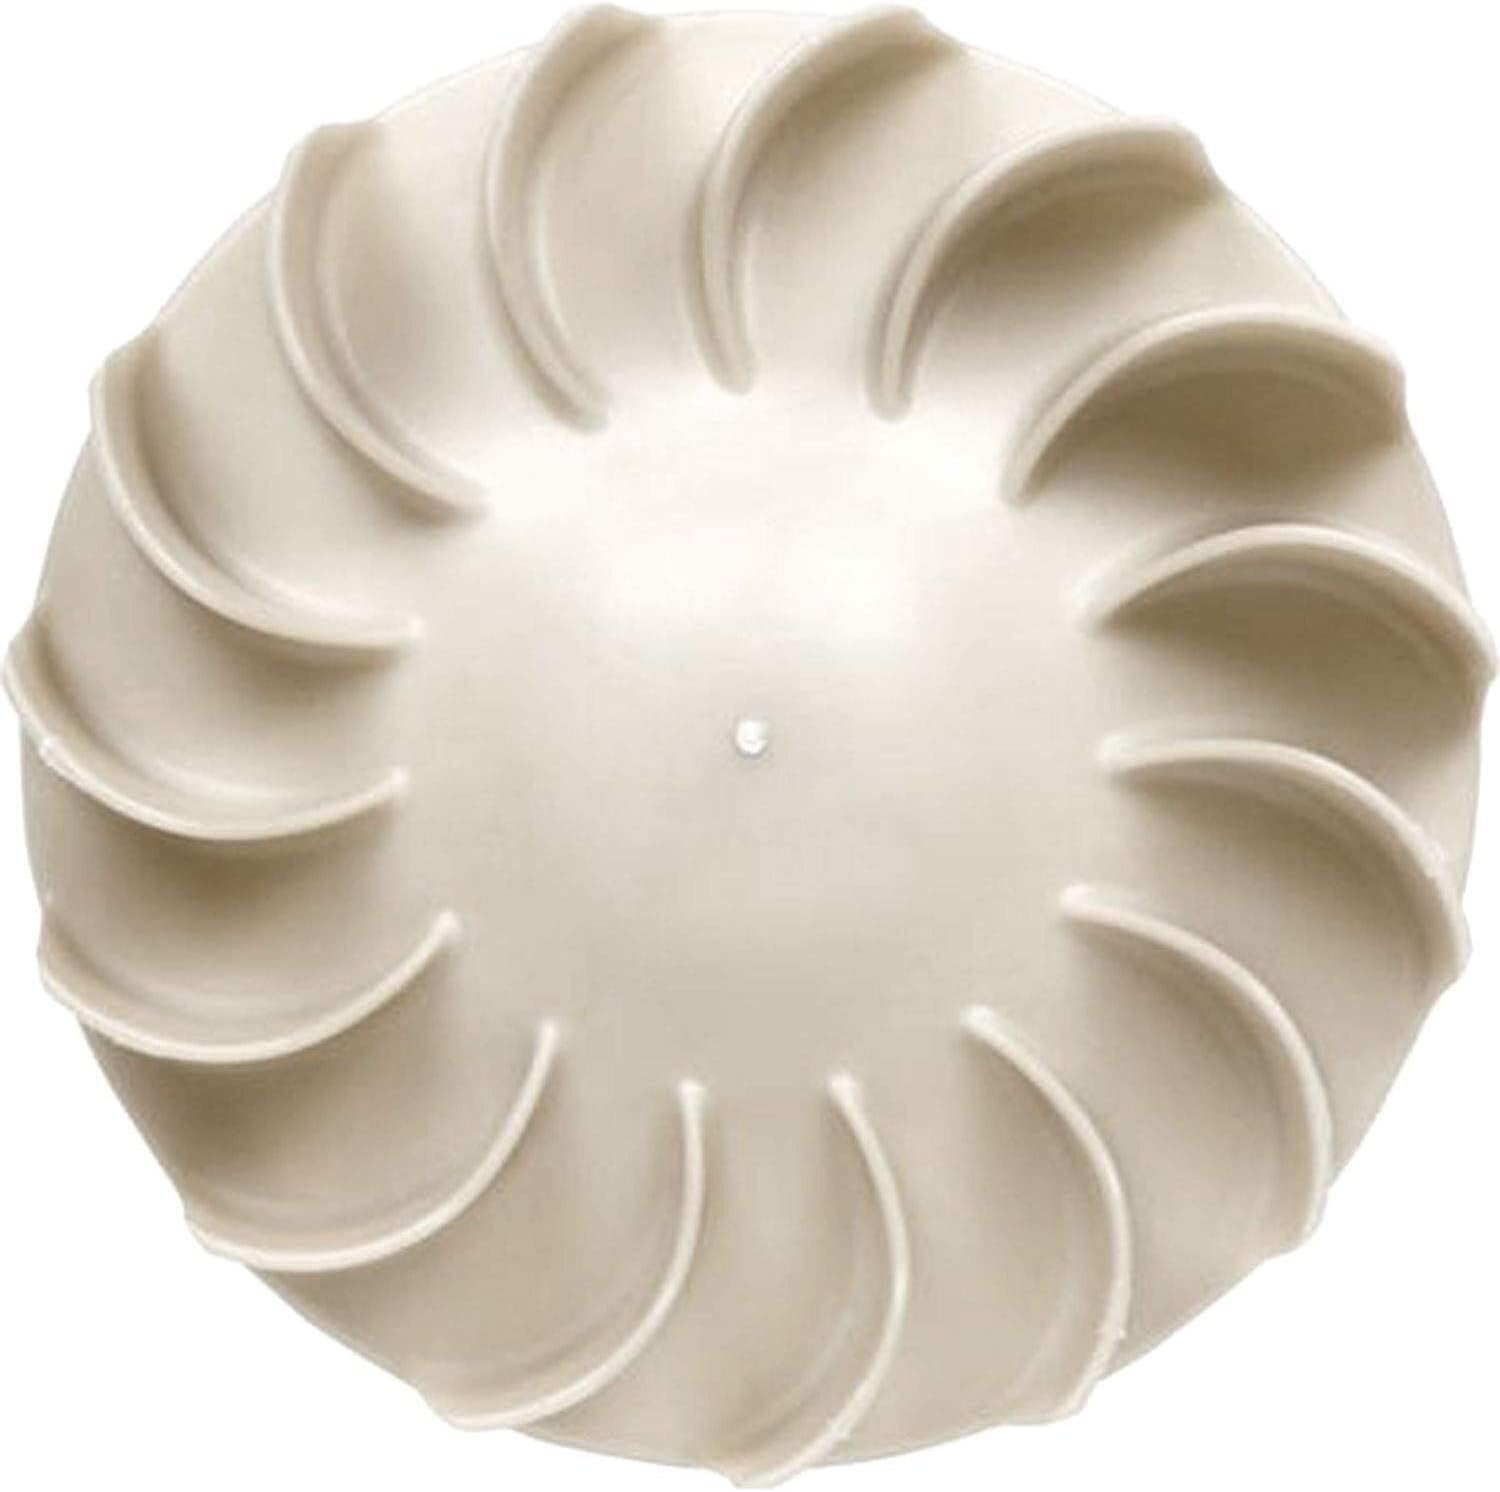
Image shows the replacement blower wheel, a circular component with curved fins designed to move air within the dryer.
2. Safety Information
Before attempting any repair or installation, please read and understand all safety warnings. Failure to follow these instructions may result in personal injury or property damage.
- Disconnect Power: Always unplug the dryer from its power source or turn off the circuit breaker before beginning any service.
- Wear Protective Gear: Use work gloves to protect your hands from sharp edges and safety glasses to protect your eyes.
- Professional Assistance: If you are unsure about any step, consult a qualified appliance repair technician.
- Verify Compatibility: Ensure this replacement part is correct for your specific dryer model before installation.
3. Package Contents
Your package should contain the following item:
- 1 x Dryer Blower Wheel (Part Number: FRIC-PL-APP-TP-22052025-024113)
4. Installation Instructions
This section outlines the general steps for replacing a dryer blower wheel. Specific disassembly procedures may vary slightly depending on your dryer's exact configuration. Refer to your dryer's service manual if available.
- Disconnect Power: Unplug the dryer from the wall outlet or turn off the circuit breaker.
- Access Dryer Interior: Depending on your dryer model, you may need to remove the top panel, front panel, or rear panel to gain access to the blower housing. This often involves removing screws and clips.
- Locate Blower Housing: The blower housing is typically located at the rear or bottom of the dryer, often near the motor.
- Remove Old Blower Wheel: The blower wheel is usually secured to the motor shaft with a nut. This nut is often reverse-threaded, meaning you turn it clockwise to loosen and counter-clockwise to tighten. Use a wrench or socket to remove the nut. Once the nut is off, the old blower wheel can be pulled off the shaft. Note its orientation for correct installation of the new wheel.
- Clean Area: While the blower housing is open, clean out any accumulated lint or debris.
- Install New Blower Wheel: Slide the new blower wheel onto the motor shaft, ensuring it is fully seated and oriented correctly. Secure it with the retaining nut, tightening it counter-clockwise (if reverse-threaded) until snug. Do not overtighten.
- Reassemble Dryer: Reattach all panels and secure them with the original screws and clips.
- Test Operation: Plug the dryer back in or restore power. Run a short cycle to ensure the dryer operates correctly and there are no unusual noises. Check for proper airflow from the exhaust vent.
5. Operating Principle
The blower wheel is an integral part of your dryer's ventilation system. When the dryer operates, the motor spins the blower wheel, which draws air from the heating element, through the drum, and expels it out through the exhaust vent. This continuous airflow is essential for removing moisture from clothes and preventing overheating.
6. Maintenance
To ensure optimal performance and longevity of your dryer and its components, consider the following maintenance tips:
- Regular Lint Screen Cleaning: Clean the lint screen before or after every load to maintain proper airflow.
- Vent Cleaning: Periodically inspect and clean the dryer's exhaust vent system (from the dryer to the outside) to prevent lint buildup, which can restrict airflow and strain the blower wheel.
- Blower Housing Inspection: If you notice reduced airflow or unusual noises, it may be necessary to inspect the blower housing for lint accumulation or obstructions around the blower wheel. Always disconnect power before inspection.
7. Troubleshooting
If your dryer is experiencing issues that might be related to the blower wheel, consider these troubleshooting steps:
- Noisy Operation (Whining, Rattling): This could indicate a loose blower wheel, a damaged wheel, or an obstruction within the blower housing. Disconnect power and inspect the wheel and housing.
- Poor Drying Performance / Long Drying Times: Reduced airflow is a common cause. Check for clogged lint screens, blocked exhaust vents, or a damaged/obstructed blower wheel.
- Dryer Not Starting (Humming Noise): In some cases, a seized blower wheel can prevent the motor from starting. Disconnect power and manually try to spin the blower wheel to check for freedom of movement.
If troubleshooting does not resolve the issue, professional service may be required.
8. Specifications
| Part Name | Dryer Blower Wheel |
| Compatible Dryer Model | Kenmore 110.6908500 |
| Manufacturer | Fricparts |
| Part Number | FRIC-PL-APP-TP-22052025-024113 |
| Item Package Quantity | 1 |
| Color | Black/White (as per specifications, actual product color may vary slightly) |
| Size | One Size |
9. Warranty and Support
For warranty information or technical support regarding this replacement part, please contact the seller or the manufacturer, Fricparts, directly. Keep your purchase receipt as proof of purchase.
Note: This manual provides general guidance. Always prioritize safety and consult a professional if you are uncertain about any repair procedure.


