1. Introduction
This manual provides detailed instructions for the installation, operation, and maintenance of your Lumary Smart Water Timer and Smart WiFi 2 in 1 Soil Meter. This system is designed to automate garden watering based on soil moisture and temperature, promoting efficient water usage and plant health. Please read this manual thoroughly before use to ensure proper functionality and safety.
2. Safety Information
- Water Exposure: The water timer is designed for outdoor use and is water-resistant, but should not be submerged in water. The soil meter is designed for soil insertion.
- Power Source: Ensure the power source for the timer (if applicable, typically batteries) is correctly installed and of the specified type.
- Network Requirements: The smart features require a stable 2.4GHz Wi-Fi network. Ensure your network meets this requirement for optimal performance.
- Children and Pets: Keep the device out of reach of children and pets to prevent accidental damage or injury.
- Temperature Limits: Do not expose the devices to extreme temperatures outside their operating range (typically 0°C to 50°C / 32°F to 122°F).
- Disassembly: Do not attempt to disassemble or repair the device yourself. Contact customer support for assistance.
3. Package Contents
Verify that all items are present in the package:
- Lumary Smart Water Timer
- Lumary Smart WiFi 2 in 1 Soil Meter
- User Manual (this document)
- Required Batteries (if included, check packaging)
- Quick Start Guide
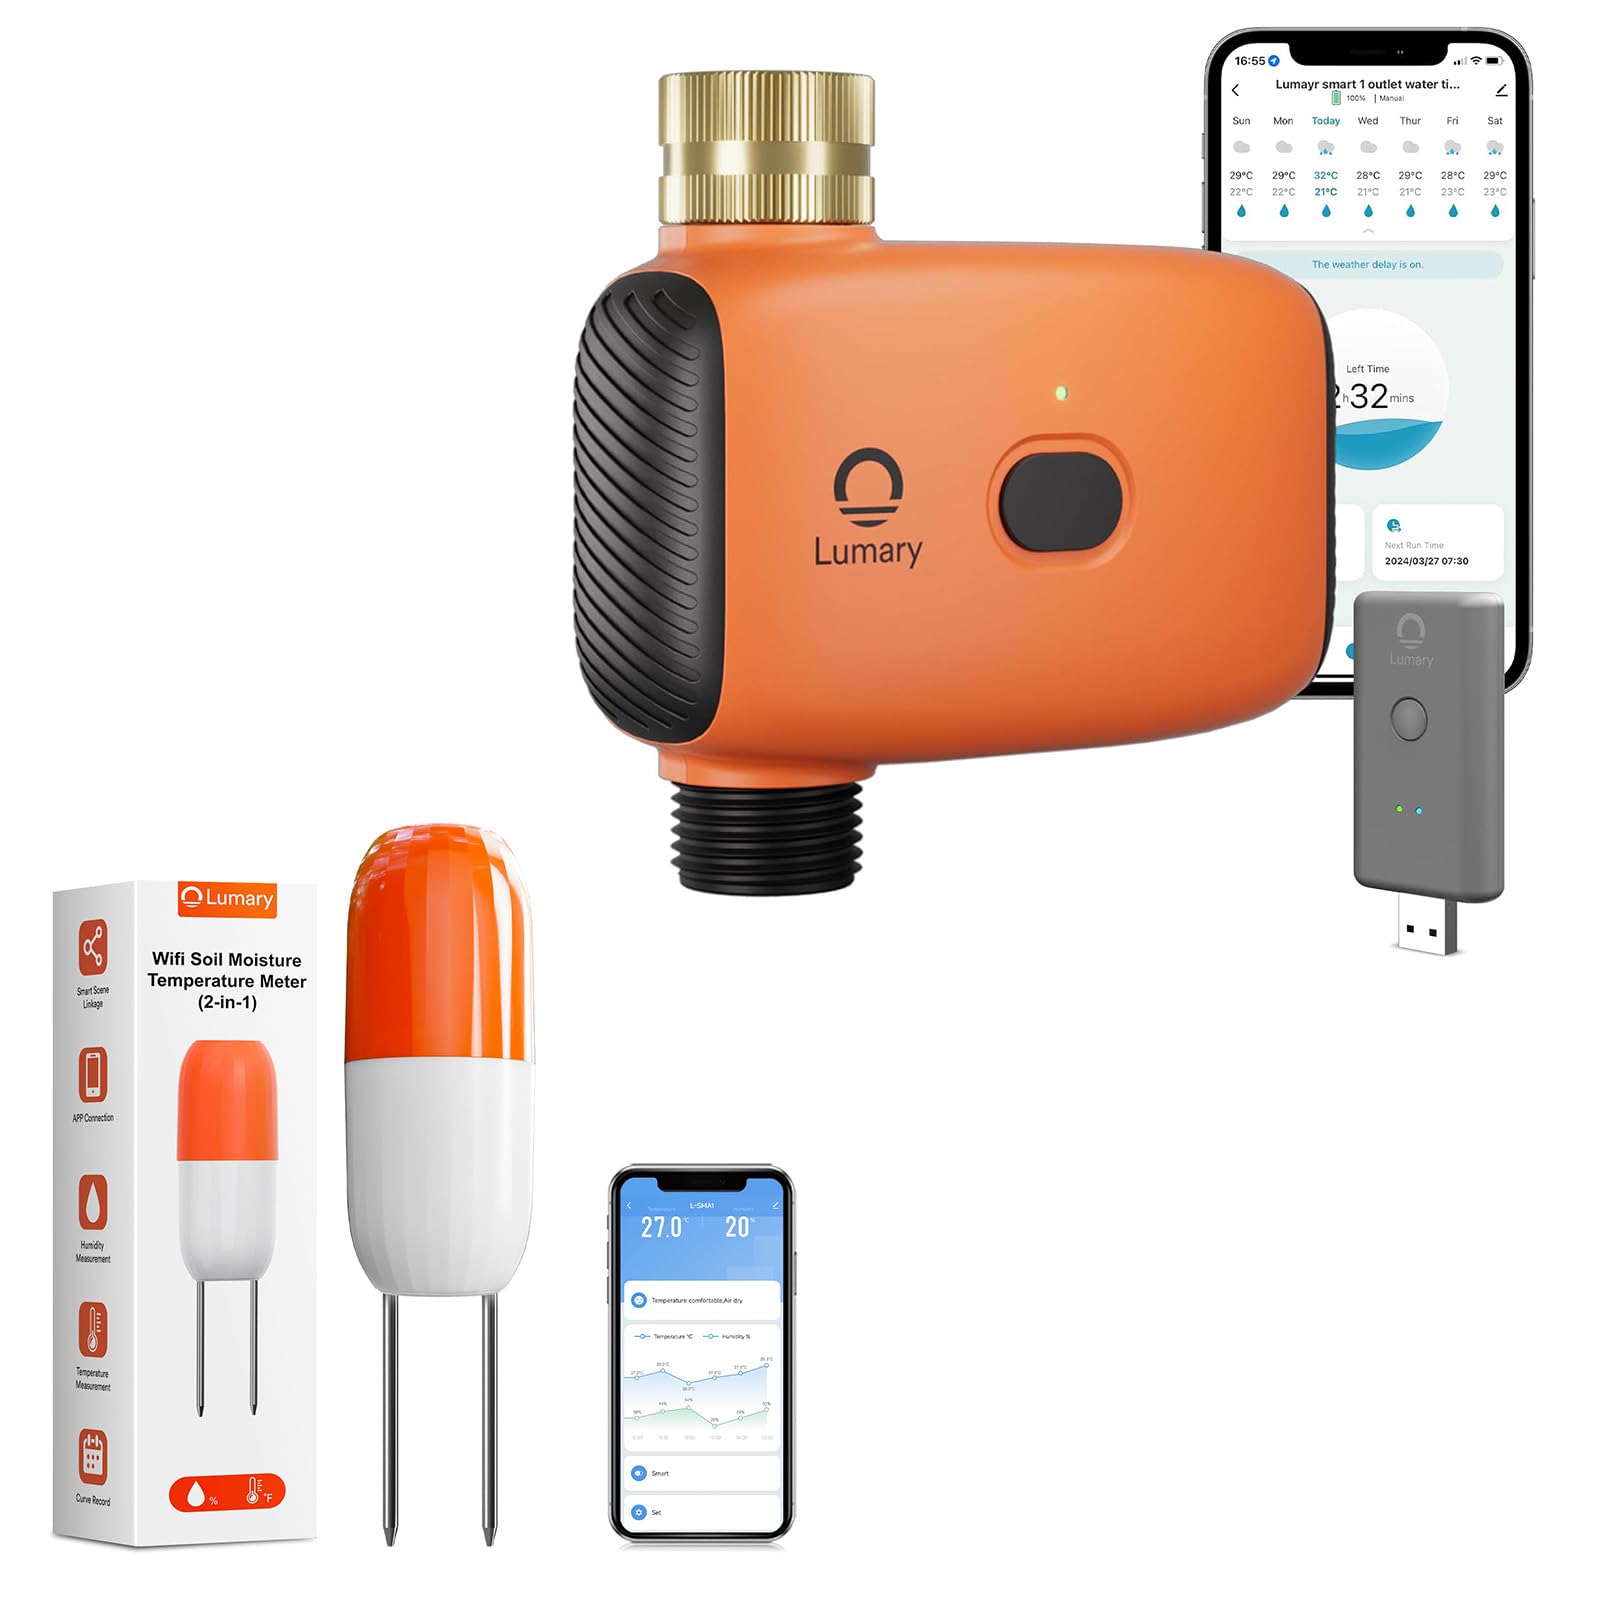
Image 1: Lumary Smart Water Timer and Smart WiFi 2 in 1 Soil Meter. This image displays the main components of the smart watering system, including the water timer unit and the soil meter probe.
4. Setup
4.1. Install Batteries (if applicable)
If your devices require batteries, open the battery compartment on both the Smart Water Timer and the Smart WiFi 2 in 1 Soil Meter. Insert the specified battery type (e.g., AA or AAA) according to the polarity markings. Close the compartment securely.
4.2. Install Smart Water Timer
- Connect to Faucet: Screw the Smart Water Timer onto your outdoor garden faucet (spigot). Ensure a tight, leak-free connection. Hand-tighten only; do not overtighten.
- Connect Hose: Attach your garden hose to the outlet of the Smart Water Timer.
- Water Supply: Turn on the faucet to allow water to flow to the timer. The timer will control the water flow to the hose.
4.3. Install Smart WiFi 2 in 1 Soil Meter
- Placement: Insert the probe of the soil meter into the soil near the plants you wish to monitor. Ensure the probe is fully inserted into the root zone for accurate readings.
- Avoid Obstructions: Do not place the meter directly in standing water or in an area that will be frequently disturbed.
4.4. App Download and Device Pairing
- Download App: Download the Lumary Smart app from your device's app store (iOS App Store or Google Play Store).
- Create Account: Open the app and create a new user account or log in if you already have one.
- Add Device: Follow the in-app instructions to add a new device. Select "Smart Water Timer" and "Smart WiFi Soil Meter" from the device list.
- Wi-Fi Connection: Ensure your smartphone is connected to a 2.4GHz Wi-Fi network. The devices will connect to this network. Follow the app's prompts to connect each device to your home Wi-Fi. This typically involves putting the device into pairing mode (refer to device-specific instructions in the app or quick start guide).
- Device Naming: Assign a descriptive name to each device (e.g., "Front Yard Timer," "Rose Bush Soil Meter").
5. Operating Instructions
5.1. Manual Watering
To initiate watering manually:
- Open the Lumary Smart app.
- Select your Smart Water Timer.
- Tap the "Manual On/Off" or similar button.
- Set the desired watering duration and confirm. The timer will begin watering immediately and stop after the set time.
5.2. Scheduling Automatic Watering
To set up a time-based watering schedule:
- In the Lumary Smart app, select your Smart Water Timer.
- Navigate to the "Schedule" or "Program" section.
- Add a new schedule. Set the start time, duration, and days of the week for watering.
- Save the schedule. The timer will activate automatically according to your settings.
5.3. Smart Soil Sensor Sync (Automated Watering)
This feature allows the water timer to respond to real-time soil conditions reported by the soil meter.
- Ensure both the Smart Water Timer and the Smart WiFi 2 in 1 Soil Meter are paired and online in the Lumary Smart app.
- In the app, navigate to the "Smart Scene," "Automation," or "Linkage" section.
- Create a new automation rule.
- Condition: Select the Smart WiFi 2 in 1 Soil Meter. Set the condition, for example, "When soil moisture drops below 30%."
- Action: Select the Smart Water Timer. Set the action, for example, "Turn on Valve 1 for 5 minutes."
- Save the automation. The system will now automatically water when the soil moisture level falls below your specified threshold.
5.4. Monitoring Soil Data
The Lumary Smart app provides real-time and historical data from your Smart WiFi 2 in 1 Soil Meter.
- Open the app and select your Smart WiFi 2 in 1 Soil Meter.
- View current soil moisture percentage and temperature readings.
- Access historical data and trends to understand your plant's watering needs over time.
6. Maintenance
- Cleaning: Periodically wipe down the exterior of the water timer and the probe of the soil meter with a damp cloth. Do not use abrasive cleaners or submerge the electronic components.
- Battery Replacement: If the devices use batteries, replace them when the app indicates low battery or when the device stops responding. Use only the specified battery type.
- Winterization: Before freezing temperatures, disconnect the water timer from the faucet and drain any remaining water. Store both devices indoors in a dry, protected area to prevent damage from frost.
- Soil Meter Probe: Gently clean the soil meter probe if soil buildup affects readings. Avoid bending or damaging the probe.
7. Troubleshooting
7.1. Device Not Connecting to Wi-Fi
- Ensure your Wi-Fi network is 2.4GHz. 5GHz networks are not supported.
- Check that the Wi-Fi signal strength is adequate at the device's location.
- Verify your Wi-Fi password is entered correctly in the app.
- Restart your Wi-Fi router and try pairing again.
- Ensure the device is in pairing mode as per app instructions.
7.2. Water Timer Not Watering
- Check if the faucet is fully open.
- Verify that the water timer has sufficient battery power (if applicable).
- Ensure there are no blockages in the hose or timer.
- Check the app for any active schedules or manual commands.
- If using smart automation, verify the soil moisture condition is met.
7.3. Inaccurate Soil Meter Readings
- Ensure the probe is fully inserted into the soil and making good contact.
- Clean the probe if there is significant soil buildup.
- Avoid placing the probe in extremely dry, sandy, or rocky soil, which can affect accuracy.
- Verify the soil meter is connected to Wi-Fi and transmitting data.
7.4. App Not Responding / Device Offline
- Check your internet connection.
- Restart the Lumary Smart app.
- Check the device's battery level.
- If the device is offline, try re-pairing it with the app.
8. Specifications
| Product Name | Lumary Smart Water Timer + Smart WiFi 2 in 1 Soil Meter |
| Model Number | B0F9QF3S2C (ASIN) |
| Brand | Lumary |
| Connectivity | Wi-Fi 2.4GHz (IEEE 802.11 b/g/n) |
| Water Timer Inlet/Outlet | Standard Garden Hose Thread (e.g., GHT 3/4") |
| Water Pressure Range | 0.05 MPa - 0.8 MPa (7.25 psi - 116 psi) (Inferred typical range) |
| Soil Meter Functions | Measures Soil Moisture and Temperature |
| Operating Temperature | 0°C to 50°C (32°F to 122°F) (Inferred typical range) |
| Power Supply | Battery Operated (Type and quantity may vary, check product packaging) |
9. Warranty and Support
Lumary products come with a limited warranty. Please refer to the warranty card included in your package or visit the official Lumary website for detailed warranty terms and conditions. For technical support, troubleshooting assistance, or to inquire about replacement parts, please contact Lumary customer service through the following channels:
- Website: Visit the Lumary Store on Amazon (for general information and product range)
- Email: Refer to your product packaging or the Lumary website for the most current support email address.
- Phone: Refer to your product packaging or the Lumary website for the most current support phone number.
When contacting support, please have your product model number (B0F9QF3S2C) and purchase date available.