
MEETFAV B0F9P6G8SF
MEETFAV 12x10 FT Metal Storage Shed User Manual
Model: B0F9P6G8SF
1. Introduction
This manual provides essential instructions for the assembly, operation, and maintenance of your MEETFAV 12x10 FT Metal Storage Shed. Please read this manual thoroughly before beginning assembly or use to ensure safe and correct installation and to maximize the lifespan of your product. Keep this manual for future reference.
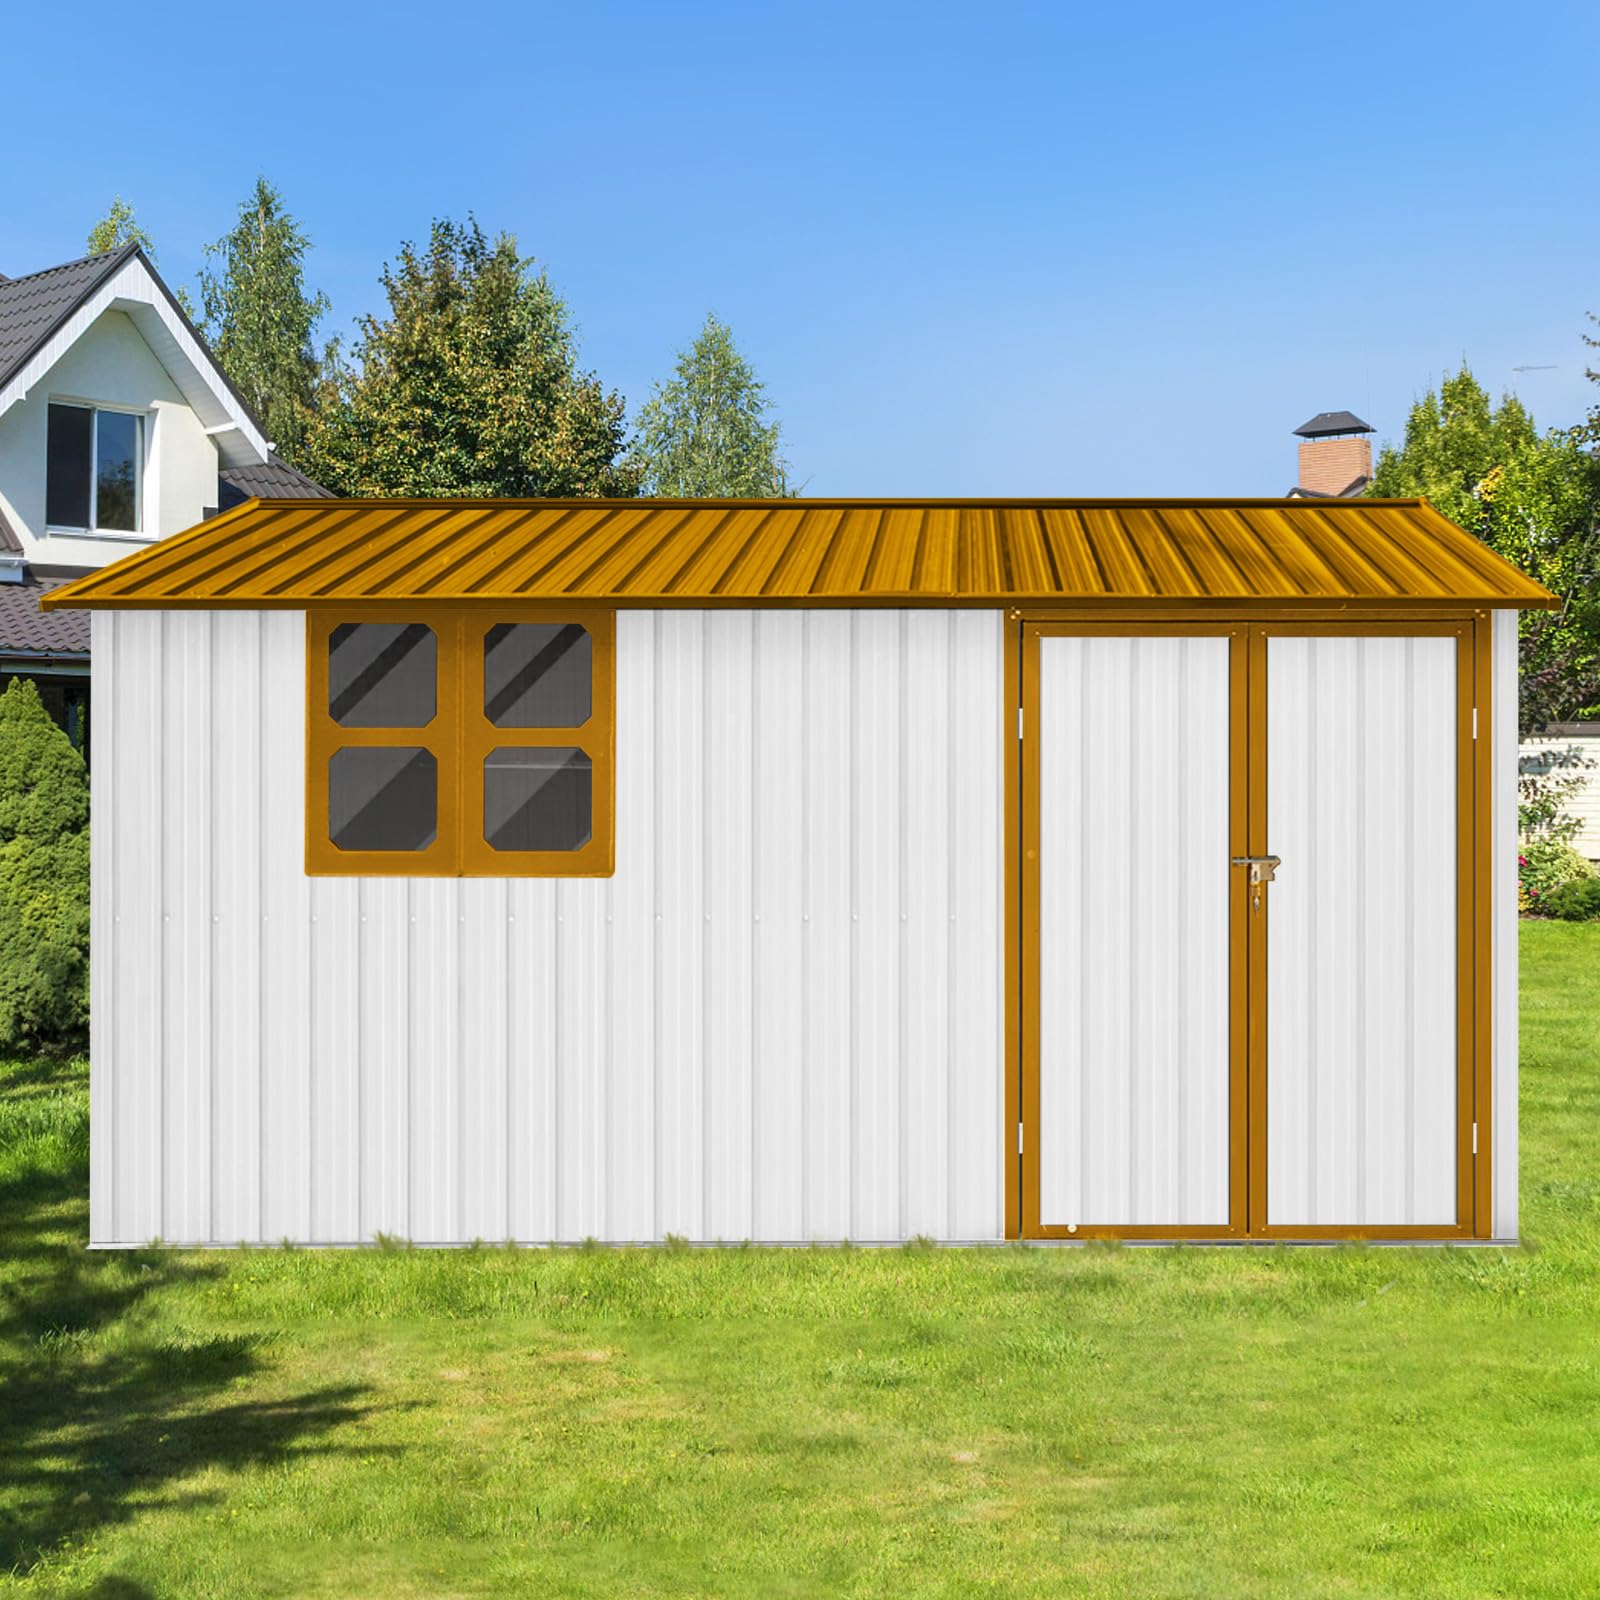
Image 1.1: Exterior view of the MEETFAV 12x10 FT Metal Storage Shed.
2. Safety Information
Always prioritize safety during assembly and use. Failure to follow these instructions may result in injury or damage to the product.
- Site Preparation: Choose a level, stable surface for installation. Ensure adequate clearance around the shed for assembly and future access.
- Tools: Use appropriate tools for assembly. Wear protective gloves and eyewear.
- Assembly Team: Assembly typically requires two or more adults. Do not attempt to assemble alone.
- Sharp Edges: Metal components may have sharp edges. Handle with care to prevent cuts.
- Weather Conditions: Do not assemble in strong winds or adverse weather conditions.
- Anchoring: Securely anchor the shed to the ground to prevent wind damage. Anchoring hardware may not be included and should be purchased separately based on your ground type.
- Ventilation: The integrated punched vents are for air circulation. Do not block them.
- Children and Pets: Keep children and pets away from the assembly area.
3. Package Contents
Before starting assembly, verify that all parts are present and undamaged. Refer to the parts list provided in your packaging. Typical components include:
- Metal wall panels
- Roof panels and support beams
- Hinged door components
- Acrylic window panels
- Hardware kit (screws, nuts, washers, etc.)
- Padlock
- Assembly instructions (this manual)
4. Setup and Assembly
4.1 Site Preparation
- Select a flat, level area for the shed. The base should be firm and well-drained.
- Clear the area of any debris, rocks, or vegetation.
- Consider a foundation (e.g., concrete slab, wooden frame) for added stability and moisture protection.
4.2 Assembly Steps
Follow the detailed step-by-step instructions and diagrams provided in the separate assembly guide included with your product. General steps are outlined below:
- Base Assembly: Assemble the base frame on your prepared site. Ensure it is square and level.
- Wall Panel Installation: Attach the wall panels to the base frame, securing them according to the instructions.
- Window Installation: Insert the acrylic window panels into the designated openings in the wall panels.
- Door Frame Assembly: Assemble and install the door frame.
- Roof Structure: Construct the roof support beams and attach them to the top of the wall panels.
- Roof Panel Installation: Install the apex roof panels, ensuring proper overlap for water runoff.
- Door Attachment: Mount the hinged door to the door frame.
- Final Checks: Verify all screws are tightened, and the shed is stable. Anchor the shed to the ground.

Image 4.1: The shed with its hinged doors open, showing interior access.
5. Operating Instructions
5.1 Door Operation
The shed features a hinged door for easy access. To open, unlock the padlock and pull the door outwards. To close, push the door shut and secure it with the provided padlock. The hinged design offers more flexibility for customization compared to sliding doors.
5.2 Ventilation and Lighting
The integrated punched vents ensure proper air circulation within the shed, reducing condensation and maintaining air quality. Acrylic windows allow natural light to enter, improving visibility inside without the need for artificial lighting during the day.

Image 5.1: Interior view highlighting hooks on the wall for organization.
6. Maintenance
Regular maintenance will help preserve the appearance and functionality of your storage shed.
- Cleaning: Clean the exterior surfaces periodically with mild soap and water. Avoid abrasive cleaners or harsh chemicals that could damage the finish. Rinse thoroughly.
- Roof: Keep the roof clear of heavy snow accumulation, leaves, and debris to ensure proper water runoff and prevent structural stress.
- Vents: Ensure the punched vents remain clear of obstructions to maintain adequate airflow.
- Hardware: Periodically check all screws, bolts, and connections for tightness. Tighten as needed.
- Door Hinges: Lubricate door hinges annually to ensure smooth operation.
- Anchoring: Inspect ground anchors regularly to ensure the shed remains securely fastened, especially after strong winds.

Image 6.1: The shed's design provides both rainproof and sun protection for stored items.
7. Troubleshooting
This section addresses common issues you might encounter.
| Problem | Possible Cause | Solution |
|---|---|---|
| Water leakage inside the shed | Improperly sealed seams; damaged roof panel; blocked roof runoff. | Check all panel connections and apply sealant if necessary. Inspect roof for damage and clear any debris. Ensure proper roof panel overlap. |
| Door does not close or open smoothly | Misaligned hinges; debris in hinge mechanism; shed not level. | Check hinge alignment and adjust if needed. Clean and lubricate hinges. Verify the shed base is level. |
| Condensation inside the shed | Insufficient ventilation; high humidity. | Ensure vents are clear and unobstructed. Consider adding a dehumidifier if humidity is consistently high. |
| Shed feels unstable or wobbly | Inadequate anchoring; loose fasteners; uneven base. | Ensure the shed is properly anchored to the ground. Tighten all screws and bolts. Verify the base is level and stable. |
8. Specifications
Key specifications for the MEETFAV 12x10 FT Metal Storage Shed:
- Brand: MEETFAV
- Model: B0F9P6G8SF
- Type: Metal Storage Shed
- Roof Design: Apex Gable
- Door Type: Hinged Door
- Ventilation: Integrated Punched Vents
- Windows: Acrylic Windows
- Security: Includes Padlock
8.1 Dimensions

Image 8.1: Detailed product dimensions.
| Measurement | Value (Inches / mm) |
|---|---|
| Overall Length (Roof) | 147.6 in / 3749.3 mm |
| Overall Width (Roof) | 80.62 in / 2048 mm |
| Wall Length | 142.5 in / 3620 mm |
| Wall Width | 112.4 in / 2855 mm |
| Eave Height | 60.98 in / 1549 mm |
| Ridge Height | 63.78 in / 1620 mm |
9. Warranty and Support
This product comes with a standard manufacturer's warranty. Please refer to the warranty card included in your packaging for specific terms and conditions. For technical support, missing parts, or warranty claims, please contact MEETFAV customer service through the retailer where the product was purchased.
Ask a question about this manual
Ask about setup, troubleshooting, compatibility, parts, safety, or missing instructions. Manuals+ will review the question and use this page’s manual context to help answer it.