1. Important Safety Information
Read this entire manual before assembly and use. Keep these instructions for future reference. Adult supervision is required at all times when the vehicle is in use.
- This product is intended for children aged 3 years and up.
- Maximum weight capacity: 110 lbs (50 kg).
- Always ensure children wear appropriate safety gear, including a helmet.
- Do not operate the vehicle near roads, motor vehicles, steep inclines, swimming pools, or other bodies of water.
- Only use on flat, dry surfaces. Avoid sand, loose dirt, or gravel.
- Ensure all fasteners are securely tightened before each use.
- The remote control should always be prioritized over manual driving for maximum safety, especially for younger children.
- The emergency brake button on the remote control can stop the vehicle immediately.
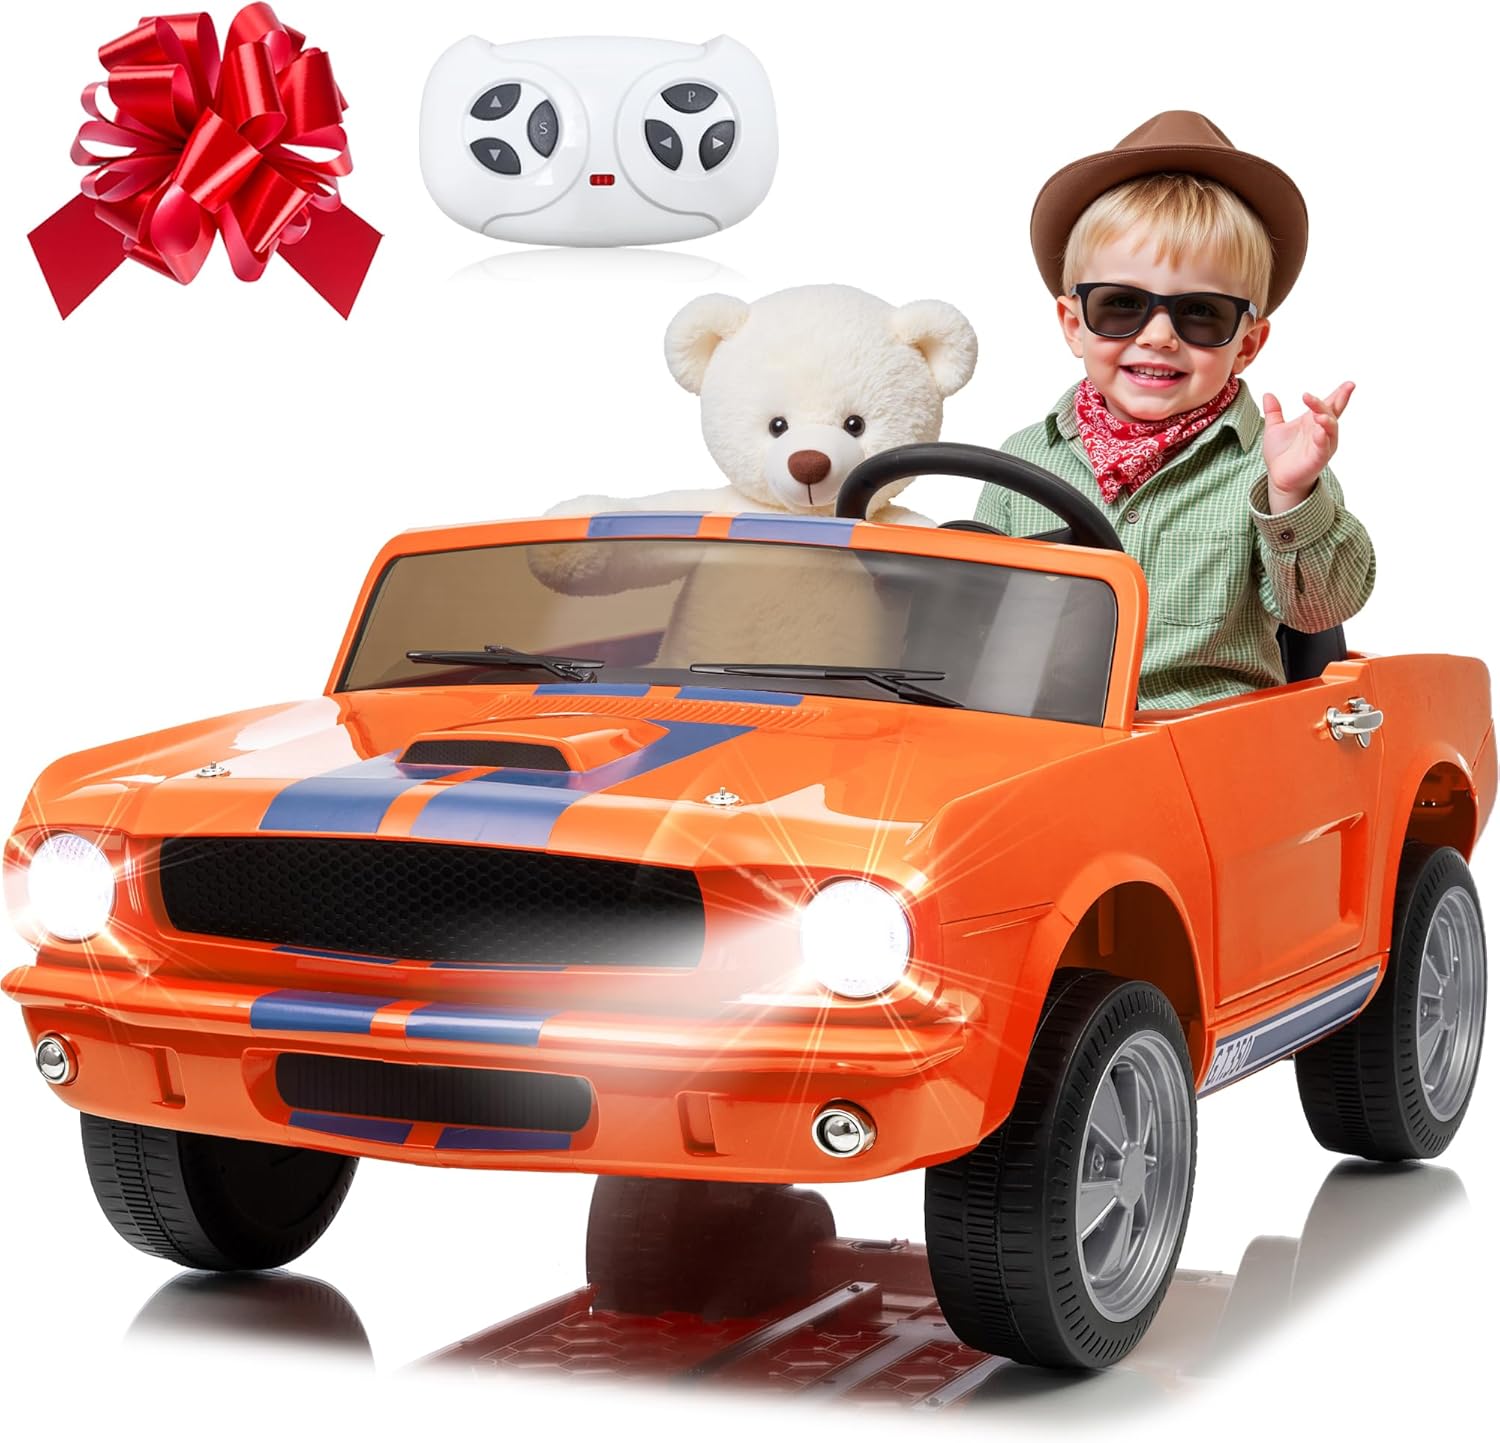
Image 1.1: The anrli 24V Licensed Shelby Cobra 2-Seater Ride-On Car, showcasing its design and included accessories like the remote control.
2. Package Contents
Before beginning assembly, verify that all parts listed below are present in your package:
- 24V 2-Seater Ride-On Car (main body)
- Remote Control
- Charger
- Wheels (4)
- Steering Wheel
- Seat(s)
- Axles and Fasteners
- Instruction Manual
3. Assembly Instructions
Follow these steps carefully to assemble your ride-on car. It is recommended to have two adults for assembly.
3.1. Wheel Installation
- Attach the wheels to the axles, ensuring all washers and locking pins are securely in place.
- Repeat for all four wheels.
3.2. Steering Wheel and Dashboard Connection
- Connect the electrical wires from the steering column to the corresponding ports on the steering wheel.
- Secure the steering wheel onto the steering column.
3.3. Battery Connection
- Locate the battery compartment, usually under the seat.
- Connect the red terminal wire to the positive (+) terminal on the battery and the black terminal wire to the negative (-) terminal. Ensure connections are firm.
- Secure the battery cover.
3.4. Seat Installation
- Place the seat(s) onto the designated area and secure with the provided screws or clips.

Image 3.1: The fully assembled ride-on car, ready for use.
4. Charging the Battery
Proper battery charging and maintenance are crucial for optimal performance and longevity.
- First Use: Charge the battery for a full 8-12 hours before the first use. Do not overcharge for more than 18 hours.
- Regular Charging: After each use, recharge the battery for 8-12 hours.
- Charging Procedure:
- Ensure the vehicle is turned OFF.
- Locate the charging port (refer to your car's specific design, often near the dashboard or under the seat).
- Plug the charger into the charging port, then plug the charger into a standard wall outlet.
- The charger indicator light will typically show red during charging and turn green when fully charged.
- Battery Care: To prolong battery life, avoid completely draining the battery. If the vehicle will not be used for an extended period, charge it once a month.

Image 4.1: Illustration of the 24V 7Ah battery, the power source for the vehicle.
5. Operating the Ride-On Car
Your anrli Shelby Cobra ride-on car offers both manual and remote control operation, along with entertainment features.

Image 5.1: Demonstrating the dual driving modes: remote control and manual control.
5.1. Manual Driving
- Turn the power switch to the 'ON' position.
- Press the foot pedal to accelerate. Release the pedal to brake.
- Use the steering wheel to control direction.
- Use the gear shift lever (if present) to select forward, neutral, or reverse.
5.2. Remote Control Operation
The remote control allows parents to safely guide the vehicle, especially for younger children.
- Pairing: Refer to the remote control's specific instructions for pairing with the vehicle. Typically involves holding a button on the remote while turning on the car.
- Controls: The remote typically has buttons for forward/backward, left/right steering, speed selection, and an emergency stop button.
- Priority: Remote control commands override manual driving commands.

Image 5.2: The remote control unit for the ride-on car.
5.3. 2WD/4WD Switch
Your vehicle features a switch to toggle between 2-wheel drive and 4-wheel drive modes, offering versatility on different terrains.
- Locate the 2WD/4WD switch on the dashboard.
- Select 2WD for general use on flat, smooth surfaces to conserve battery.
- Select 4WD for increased traction and power on slightly uneven or grassy terrains.

Image 5.3: The 2WD/4WD switch on the dashboard.
5.4. Music and Bluetooth Features
The integrated entertainment system allows for music playback and Bluetooth connectivity.
- Pre-loaded Music: Use the control panel buttons to play pre-loaded songs.
- Bluetooth: Turn on the Bluetooth function on the car's control panel. Search for the device name (e.g., "anrli Car") on your mobile device and pair. You can then stream audio through the car's speakers.
- USB Input: Insert a USB drive with MP3 files into the USB port for additional music options.

Image 5.4: The control panel highlighting music and Bluetooth features.
6. Maintenance and Care
Regular maintenance ensures the longevity and safe operation of your ride-on car.
- Cleaning: Wipe the vehicle with a soft, damp cloth. Do not use abrasive cleaners or solvents. Avoid spraying water directly onto electrical components.
- Storage: Store the vehicle in a dry, covered area away from direct sunlight and moisture. If storing for extended periods, disconnect the battery and charge it monthly.
- Battery Maintenance: Always charge the battery after each use. Do not leave the battery completely discharged for long periods.
- Inspections: Periodically check all screws, nuts, and connections to ensure they are tight. Inspect wheels and tires for wear.
7. Troubleshooting Guide
Refer to this table for common issues and their solutions.
| Problem | Possible Cause | Solution |
|---|---|---|
| Vehicle does not move | Battery is low or discharged Loose battery connection Overload protection activated | Charge the battery Check and secure battery terminals Turn off the vehicle for a few minutes, then restart. Reduce load. |
| Vehicle runs slowly | Low battery Overloaded vehicle Operating on rough terrain | Charge the battery Reduce weight on the vehicle Move to a smoother surface, switch to 4WD if applicable. |
| Remote control not working | Remote batteries are dead Remote not paired Interference | Replace remote batteries Re-pair the remote control (refer to remote instructions) Move to an area with less electronic interference. |
| No sound from music/Bluetooth | Volume too low Bluetooth not connected USB not properly inserted | Increase volume on car and/or connected device Ensure Bluetooth is paired Re-insert USB drive, check file format. |
8. Product Specifications
Detailed specifications for the anrli 24V Licensed Shelby Cobra 2-Seater Ride-On Car, Model J322.
| Feature | Detail |
|---|---|
| Model Number | J322 |
| Product Dimensions | 44.2 x 25.6 x 20.1 inches (L x W x H) |
| Battery | 24V 7Ah |
| Motor | 2 x 200W |
| Speed Range | 1.86 - 4.45 MPH (3.0 - 5.0 MPH as per image) |
| Maximum Load Capacity | 110 lbs (50 kg) |
| Recommended Age | 3 years and up |
| Seating Capacity | 2 Seater (19-inch spacious seat) |
| Suspension | 4-Wheel Spring Suspension |
| Drive Modes | Manual, Remote Control, 2WD/4WD Switchable |
| Entertainment | Music, Bluetooth, USB Input, LED Lights |

Image 8.1: Key performance specifications of the ride-on car.

Image 8.2: Illustration of the 4-wheel drive and suspension system.

Image 8.3: The spacious 2-seater design with safety belts.
9. Warranty and Customer Support
For warranty information, specific product support, or to order replacement parts, please contact the manufacturer directly.
- Refer to the product packaging or the manufacturer's official website for contact details.
- Please have your model number (J322) and purchase date available when contacting support.