
LcFun B0F9NFD8TR
LcFun Electric Candle Lighter Instruction Manual
Model: B0F9NFD8TR | Brand: LcFun
Important Safety Information
WARNING: Failure to follow these instructions may result in fire, electric shock, or injury.
- Keep out of reach of children.
- Do not touch the arc electrodes.
- Do not immerse the lighter in water or other liquids.
- Do not expose to temperatures above 50°C (122°F).
- Do not attempt to disassemble or modify the lighter.
- Use only with a compatible USB charging cable.
- Ensure the safety lock is engaged when not in use.
- Do not use if the lighter is damaged.
- Avoid prolonged exposure to direct sunlight.
Package Contents
- 1 x LcFun Electric Candle Lighter
- 1 x USB Charging Cable
Product Overview
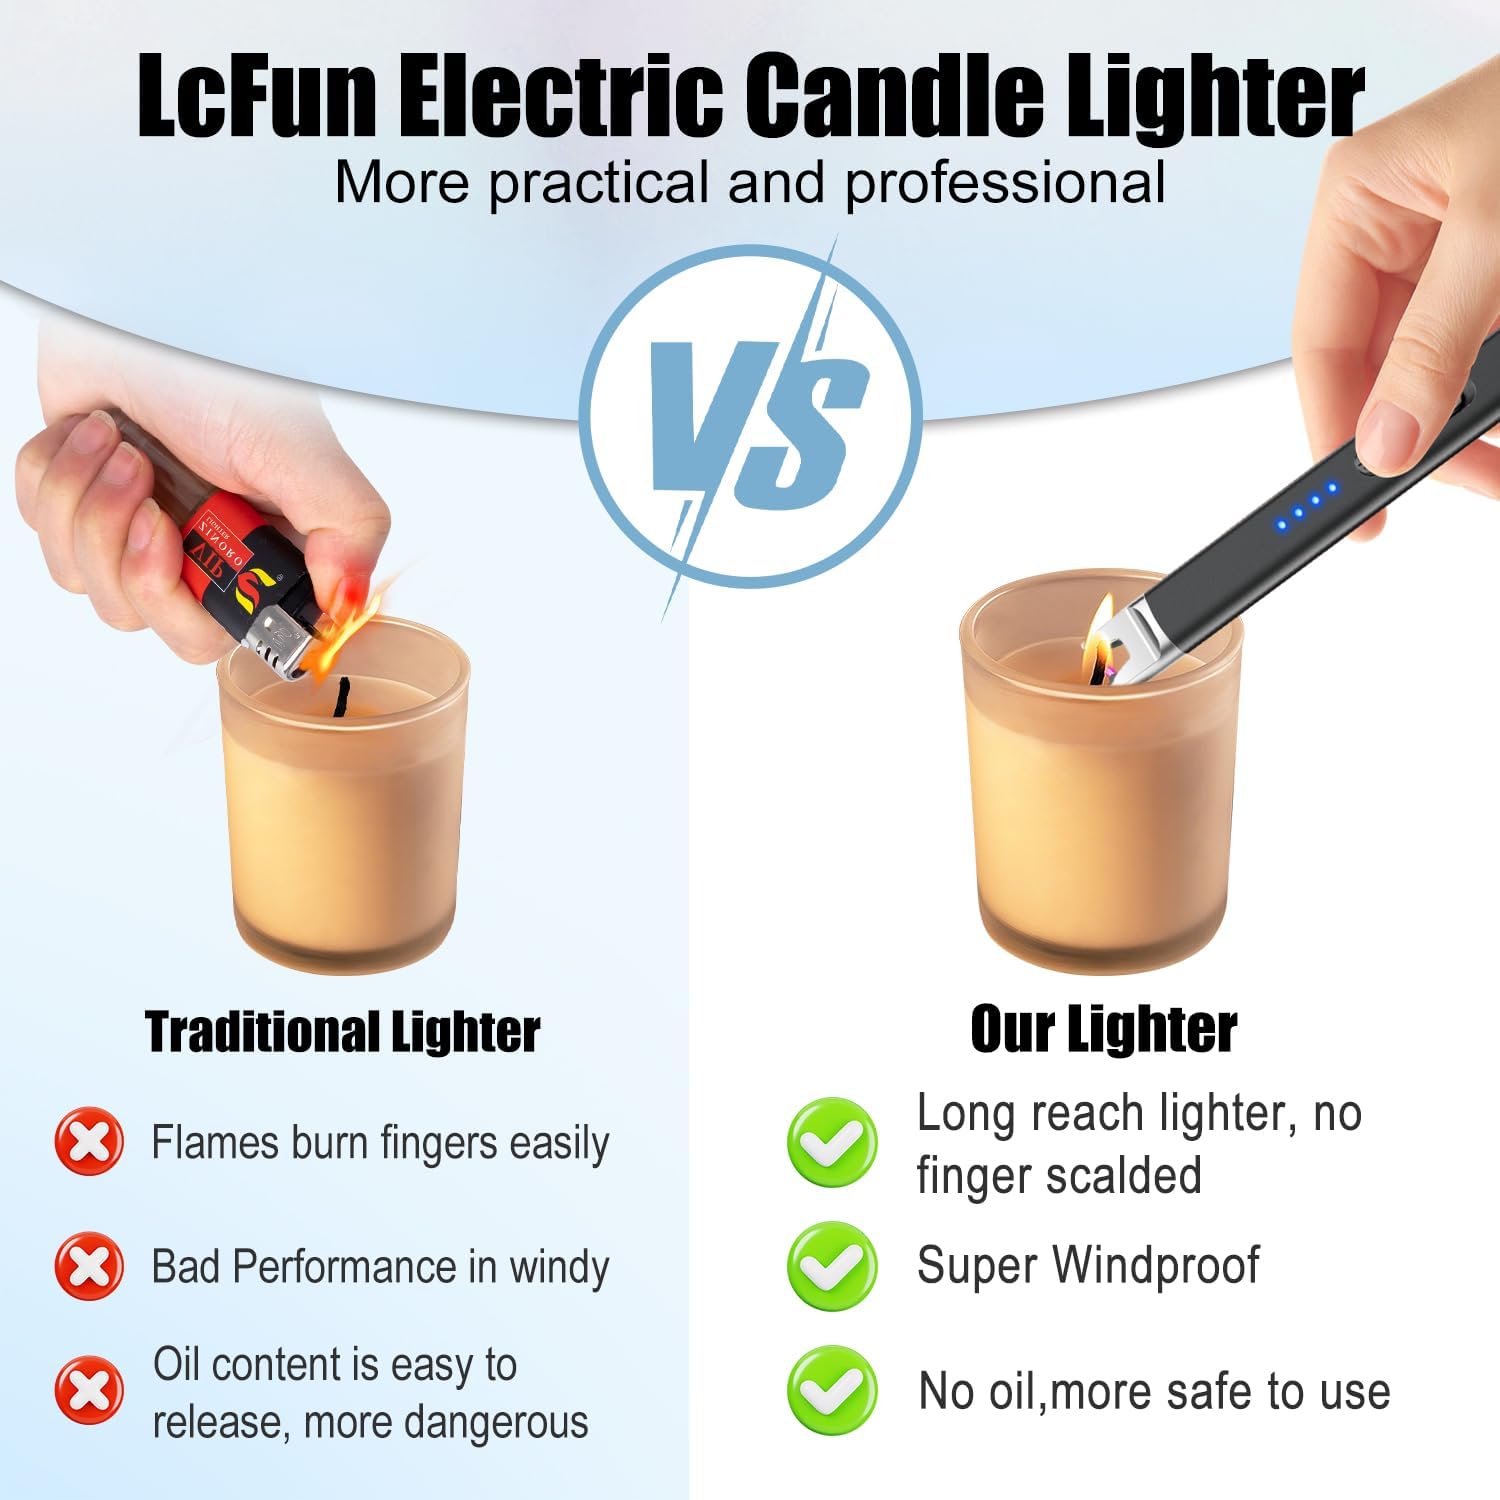
The LcFun Electric Candle Lighter is a USB rechargeable plasma arc lighter designed for safe and efficient ignition of candles, grills, gas stoves, and more. It features a safety lock and an LED battery indicator.

- Electric Arc: Generates a flameless, windproof plasma arc for ignition.
- Ignition Button: Activates the electric arc when pressed.
- Safety Switch: Prevents accidental activation. Must be slid up to enable ignition.
- LED Battery Indicator: Displays the remaining battery power.
- Type-C Charging Port: For recharging the internal battery.
Setup: Charging the Lighter
Before first use, fully charge the lighter. The lighter features a real-time LED battery display to indicate remaining power.
- Locate the Type-C charging port on the lighter.
- Connect the provided USB charging cable to the lighter's charging port.
- Connect the other end of the USB cable to a compatible USB power source (e.g., computer, wall adapter).
- During charging, the LED battery indicators will flash.
- When fully charged (approximately 40 minutes), all four LED lights will remain steadily lit.
- Disconnect the charging cable once charging is complete.

Operating Instructions
The LcFun Electric Candle Lighter is designed for ease of use with enhanced safety features.
- Unlock the Lighter: Slide the safety lock switch upwards to unlock the device. The LED indicators will illuminate.
- Activate the Arc: Press and hold the ignition button. A plasma arc will generate between the electrodes.
- Ignite: Position the plasma arc near the wick of a candle, grill, or gas stove to ignite.
- Automatic Shut-off: The arc will automatically power off after 7 seconds of continuous use for safety.
- Re-ignite: If the arc shuts off automatically, release the ignition button, slide the safety lock down and then up again to reset, and then press the ignition button to reactivate.
- Lock the Lighter: After use, slide the safety lock switch downwards to prevent accidental activation.

Maintenance
- Cleaning: Use a soft, dry cloth to clean the lighter. Do not use abrasive cleaners or solvents.
- Storage: Store the lighter in a cool, dry place, away from direct sunlight and extreme temperatures.
- Charging: Recharge the lighter when the LED battery indicators show low power to ensure optimal performance and battery longevity.
Troubleshooting
| Problem | Possible Cause | Solution |
|---|---|---|
| Lighter does not produce an arc. | Battery is low or depleted. Safety lock is not engaged. | Charge the lighter fully. Ensure the safety lock is slid upwards to the "ON" position. |
| Arc stops after a few seconds. | Automatic 7-second shut-off engaged. | Release the ignition button, slide the safety lock down and then up again to reset, then press the ignition button to reactivate. |
| Lighter not charging. | Charging cable or power source issue. | Ensure the USB cable is securely connected. Try a different USB port or power adapter. |
Specifications
| Brand | LcFun |
| Model | B0F9NFD8TR |
| Color | Black |
| Material | Plastic |
| Fuel Type | Electric |
| Product Dimensions | 7.3"L x 0.63"W x 0.63"Th |
| Item Weight | 2.08 ounces |
| Charging Time | Approx. 40 minutes for full charge |
| Ignitions per Charge | 500+ |
Warranty and Support
For any questions, suggestions, or needs regarding your LcFun Electric Candle Lighter, please do not hesitate to contact us. We aim to respond within 24 hours.
Refer to your purchase documentation for specific warranty details.
Manufacturer: MvM
Ask a question about this manual
Ask about setup, troubleshooting, compatibility, parts, safety, or missing instructions. Manuals+ will review the question and use this page’s manual context to help answer it.