
1. Introduction
This manual provides instructions for the proper installation and maintenance of the Votex Oil Drain Plug, Model NODP016-WEN-14. This product is designed to replace existing oil drain plugs in compatible engines, such as the Wen Generator 5600 Watt Model DF5600X.
The Votex Oil Drain Plug is manufactured in the USA from 304 stainless steel, a material chosen for its strength and durability, which helps prevent common issues like shearing or snapping that can occur with softer metals like aluminum. Each plug includes an aluminum crush washer, also made in the USA, which is essential for creating a proper seal.

Image 1.1: The Votex Oil Drain Plug, a precision-machined component designed for engine oil pans.
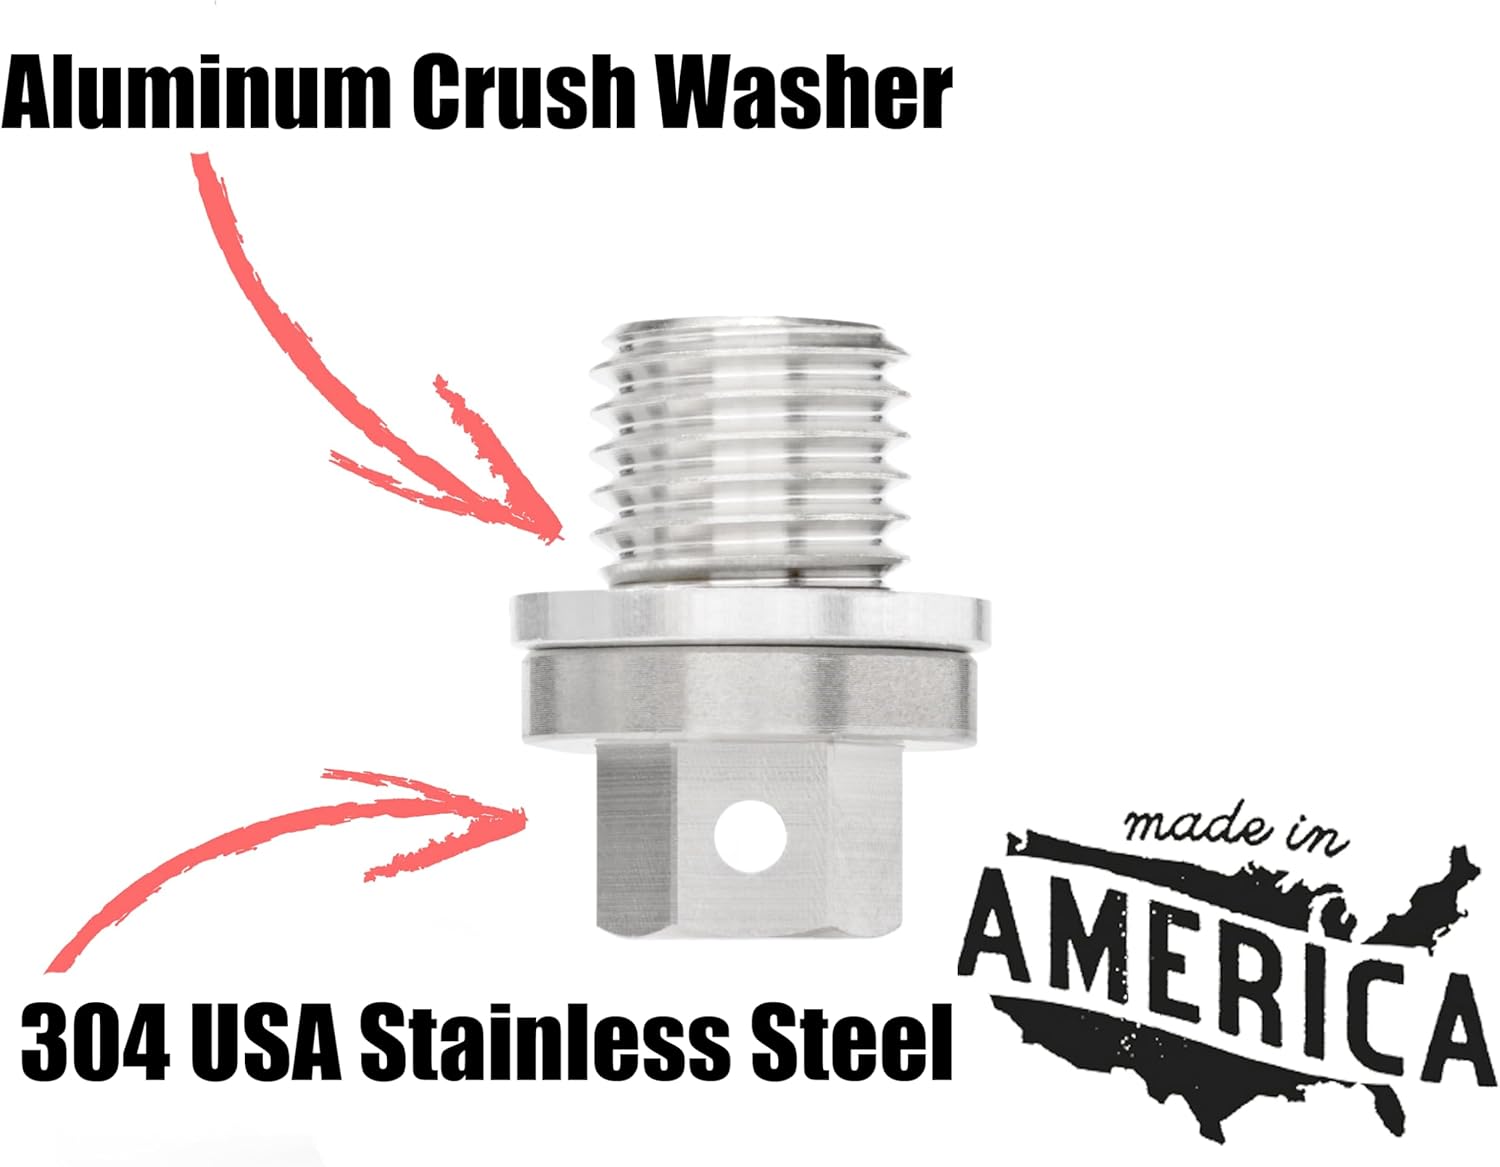
Image 1.2: Illustration of the Votex Oil Drain Plug, highlighting the 304 USA Stainless Steel construction and the included aluminum crush washer.
2. Installation
The Votex Oil Drain Plug is designed for straightforward installation, replacing your existing drain plug. Always ensure the engine is cool before beginning any work involving the oil pan.
2.1 Required Tools
- 10mm wrench or socket
- Oil drain pan
- Gloves and safety glasses
- New engine oil (as per manufacturer's specifications)
2.2 Installation Procedure
- Position the oil drain pan directly beneath the engine's oil drain plug.
- Using the appropriate wrench, carefully loosen and remove the old oil drain plug. Allow all engine oil to drain completely into the pan.
- Once the oil has fully drained, clean the area around the oil pan drain hole to remove any debris or old gasket material.
- Place the new aluminum crush washer onto the Votex Oil Drain Plug. It is recommended to replace the crush washer with every oil change to ensure a proper seal.
- Insert the Votex Oil Drain Plug with the new crush washer into the oil pan drain hole.
- Hand-tighten the plug until it is snug.
- Using a 10mm wrench, tighten the plug. Do not overtighten, as this can damage the oil pan threads. Tighten until the crush washer is compressed and a secure seal is formed.
- Refill the engine with the recommended amount and type of new engine oil.
- Start the engine and check for any leaks around the newly installed drain plug.

Image 2.1: The Votex Oil Drain Plug is designed for easy integration into standard oil change procedures, ensuring a secure fit.
3. Operating Considerations
The Votex Oil Drain Plug functions as a critical sealing component for your engine's oil pan. Once installed, its primary role is to securely contain engine oil and allow for controlled drainage during oil changes.
3.1 During Oil Changes
When performing an oil change, the Votex Oil Drain Plug is removed to allow the old oil to drain. Its robust stainless steel construction is designed to withstand repeated removal and reinstallation cycles without degradation, unlike plugs made from softer materials.
3.2 Post-Installation Check
After installation and refilling the engine oil, it is crucial to visually inspect the area around the drain plug for any signs of leakage. A properly installed plug with a new crush washer should not leak.
4. Maintenance
The Votex Oil Drain Plug itself requires minimal maintenance due to its durable stainless steel construction. The primary maintenance consideration is the crush washer.
4.1 Crush Washer Replacement
It is strongly recommended to replace the aluminum crush washer every time the oil drain plug is removed for an oil change. The crush washer is designed to deform slightly upon tightening, creating a tight, leak-proof seal. Reusing an old crush washer can lead to oil leaks.
- Replacement crush washers can be sourced by searching for part number B09D552V76.
5. Troubleshooting
While the Votex Oil Drain Plug is designed for reliability, certain issues may arise during or after installation. This section addresses common concerns.
5.1 Oil Leakage After Installation
If oil leakage occurs after installing the new drain plug, consider the following:
- Crush Washer: Ensure a new aluminum crush washer was used and properly seated. A damaged or reused washer is a common cause of leaks.
- Tightening Torque: The plug may be undertightened or overtightened. While specific torque specifications vary by engine manufacturer, ensure the plug is snug and the crush washer is compressed. Overtightening can strip threads.
- Thread Damage: Inspect the threads on both the oil pan and the drain plug. If the oil pan threads are stripped, the drain plug will not seal properly. In such cases, professional repair or a thread repair kit may be necessary. The Votex plug's stainless steel construction is highly resistant to stripping itself.
5.2 Difficulty Removing Old Plug
If the old drain plug is difficult to remove, ensure the correct tool is used and apply steady, firm pressure. Avoid excessive force that could strip the plug head or damage the oil pan.
6. Specifications
Key specifications for the Votex Oil Drain Plug, Model NODP016-WEN-14:
| Attribute | Value |
|---|---|
| Model Number | NODP016-WEN-14 |
| Material | 304 Stainless Steel |
| Included Component | Aluminum Crush Washer |
| Wrench Size | 10mm |
| Item Weight | 3 ounces |
| Package Dimensions | 3 x 3 x 1 inches |
| Manufacturer | Votex |
| Country of Origin | USA |
7. Warranty and Support
Votex is a family-run business established in 2019, dedicated to producing high-quality automotive parts. While specific warranty terms are not detailed in this manual, Votex products are manufactured with a commitment to durability and reliability.
For any questions regarding the Votex Oil Drain Plug, installation, or performance, please refer to the product listing on Amazon or contact Votex directly through their official channels. Ensure to provide your product model number (NODP016-WEN-14) when seeking support.