
1. Introduction
Thank you for choosing the Seesii 12000PSI Electric Grease Gun. This cordless, battery-powered tool is designed for efficient and effortless greasing of heavy-duty equipment, vehicles, and machinery. Featuring a powerful brushless motor, 3-speed control, and a high-pressure output of up to 12,000 PSI, it simplifies lubrication tasks. Please read this manual thoroughly before operation to ensure safe and effective use.

Figure 1: Electric Grease Gun vs. Manual Greasing
2. What's in the Box
Carefully unpack all components and ensure everything listed below is present and undamaged. If any items are missing or damaged, please contact customer support.
- 1x Cordless Electric Grease Gun
- 2x 2000 mAh Batteries
- 1x Battery Charger
- 1x Standard Coupler
- 1x Quick Release Coupler
- 1x Sharp Type Nozzle
- 1x 90° Coupler Adapter
- 1x 39.4" Flexible Hose
- 1x Extension Pipe
- 1x Shoulder Strap
- 1x User Manual (this document)
- 1x Storage Case
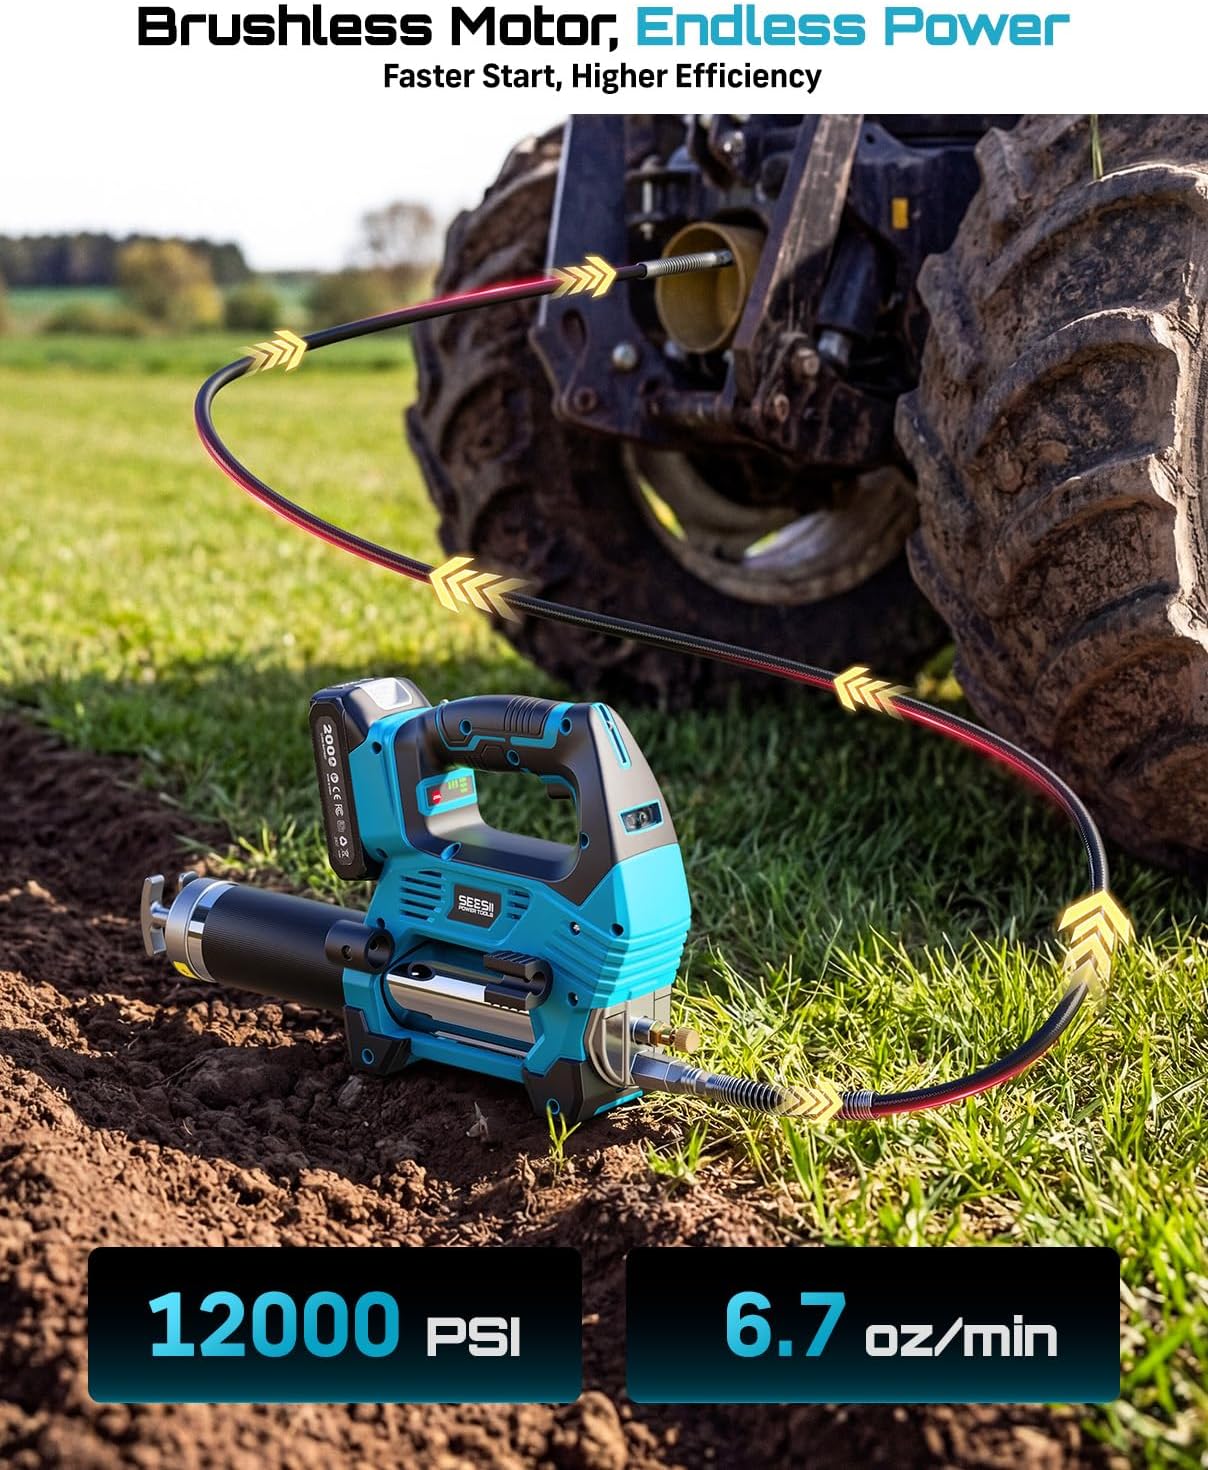
Figure 2: Complete Kit Contents
3. Safety Information
WARNING: Read all safety warnings and instructions before using this product. Failure to follow the warnings and instructions may result in electric shock, fire, and/or serious injury.
- Always wear appropriate personal protective equipment, including safety glasses, gloves, and hearing protection.
- Keep the work area clean and well-lit. Cluttered or dark areas invite accidents.
- Do not operate power tools in explosive atmospheres, such as in the presence of flammable liquids, gases, or dust.
- Keep children and bystanders away while operating a power tool. Distractions can cause you to lose control.
- Avoid accidental starting. Ensure the switch is in the off-position before inserting the battery pack, picking up or carrying the tool.
- Do not force the grease gun. Use the correct tool for your application.
- Disconnect the battery pack from the tool before making any adjustments, changing accessories, or storing power tools.
- Store idle power tools out of the reach of children and do not allow persons unfamiliar with the power tool or these instructions to operate the power tool.
- Maintain power tools. Check for misalignment or binding of moving parts, breakage of parts, and any other condition that may affect the power tool’s operation.
- Use the power tool, accessories, and tool bits in accordance with these instructions, taking into account the working conditions and the work to be performed.
4. Setup
4.1 Battery Installation and Charging
- Ensure the grease gun is switched off.
- Align the battery pack with the battery port on the grease gun handle.
- Slide the battery pack into the port until it clicks securely into place.
- To remove, press the battery release button and slide the battery out.
- To charge, connect the charger to a power outlet and then to the battery. The indicator light on the charger will show charging status.

Figure 3: Battery Installation and Charging
4.2 Loading Grease (Cartridge or Bulk)
The grease gun supports both 14 oz grease cartridges and bulk grease loading.
Cartridge Loading:
- Unscrew the barrel from the grease gun head.
- Pull the plunger rod all the way back and lock it into place.
- Remove both ends of the grease cartridge.
- Insert the cartridge into the barrel.
- Reattach the barrel to the grease gun head.
- Release the plunger rod.
Bulk Loading:
- Unscrew the barrel from the grease gun head.
- Pull the plunger rod all the way back and lock it into place.
- Using a spatula or similar tool, carefully fill the barrel with bulk grease (max capacity: 14 oz).
- Reattach the barrel to the grease gun head.
- Release the plunger rod.

Figure 4: Grease Loading Options
Video 1: How to correctly operate the T-plunger for grease loading and priming.
4.3 Attaching Hose and Couplers
- Screw the flexible hose onto the grease gun outlet. Ensure it is tightened securely to prevent leaks.
- Select the appropriate coupler (Standard, Quick Release, or Sharp Type Nozzle) for your application.
- Attach the chosen coupler to the end of the flexible hose. For hard-to-reach areas, the 90° Coupler Adapter can be used in conjunction with any of the couplers.

Figure 5: Available Grease Couplers

Figure 6: 90-Degree Coupler Adapter for Tight Spaces
5. Operating Instructions
5.1 Powering On and Speed Control
- Ensure a charged battery is installed.
- Press the power button to turn on the grease gun.
- Use the 3-speed control button to select the desired grease flow rate:
- Low Speed (5 oz/min): For precision work or applications requiring less pressure.
- Medium Speed (7 oz/min): For general maintenance on standard equipment.
- High Speed (9 oz/min): For heavy-duty applications, clearing clogged fittings, or faster grease delivery.

Figure 7: 3-Speed Control for Precise Greasing
5.2 Greasing Procedure
- Clean the grease fitting before attaching the coupler to prevent contamination.
- Attach the chosen coupler firmly to the grease fitting.
- Press the trigger to begin greasing. The LED work light will illuminate the area.
- For continuous operation, press and lock the trigger. This allows for hands-free greasing and reduces hand fatigue.
- Monitor the grease flow and stop when the desired amount of grease has been applied or when fresh grease appears.
- Release the trigger (or unlock if in continuous mode) and detach the coupler from the fitting.

Figure 8: Hands-Free Greasing with Shoulder Strap
Video 2: Demonstration of the Seesii 12000PSI Electric Grease Gun in operation.
5.3 LED Work Light
The integrated LED work light automatically activates when the trigger is pressed, providing illumination for dark or tight spaces, improving accuracy and visibility during greasing.
6. Maintenance
Regular maintenance ensures the longevity and optimal performance of your Seesii Electric Grease Gun.
- Cleaning: After each use, wipe down the grease gun with a clean cloth to remove any excess grease or dirt. Do not use harsh chemicals or solvents.
- Hose and Coupler Inspection: Regularly inspect the flexible hose and couplers for signs of wear, cracks, or damage. Replace any damaged components immediately.
- Battery Care: Store batteries in a cool, dry place. Do not expose them to extreme temperatures. Charge batteries fully before long-term storage and recharge every 3-6 months to maintain battery health.
- Storage: Store the grease gun and its accessories in the provided storage case in a dry, secure location, away from direct sunlight and extreme temperatures.
7. Troubleshooting
If you encounter issues with your grease gun, refer to the following table for common problems and solutions.
| Problem | Possible Cause | Solution |
|---|---|---|
| No grease flow | Empty grease cartridge/barrel Air pocket in barrel Clogged fitting Battery low/dead | Replace cartridge or refill bulk grease Bleed air from the system (refer to video 1) Clean or replace fitting Charge or replace battery |
| Low pressure | Air pocket in barrel Loose connections Worn pump components | Bleed air from the system Tighten all hose and coupler connections Contact customer support for service |
| Grease leaks from connections | Loose connections Damaged O-rings/seals | Tighten connections Inspect and replace O-rings/seals |
| Gun does not turn on | Battery not installed correctly Battery is dead Faulty switch | Reinstall battery securely Charge battery Contact customer support |
8. Specifications
| Feature | Detail |
|---|---|
| Brand | Seesii |
| Model | GR02 Utral |
| Max Pressure | 12,000 PSI |
| Flow Rate | Low: 5 oz/min, Medium: 7 oz/min, High: 9 oz/min |
| Motor Type | Brushless |
| Battery Type | 2x 2000 mAh (included), compatible with Makita 18V batteries |
| Hose Length | 39.4 inches (flexible) |
| Grease Capacity | 14 oz cartridge or bulk |
| Compatible Grease | NLGI #0-2 type grease |
| Weight | 6.16 pounds (Item Weight) |
| Features | LED Work Light, Stable Base, Automatic Pumping Mode, Shoulder Strap |
9. Warranty and Support
Seesii products are manufactured to high-quality standards. This product comes with a manufacturer's warranty against defects in materials and workmanship. For specific warranty details, please refer to the warranty card included in your product packaging or visit the official Seesii website.
For technical support, troubleshooting assistance, or to inquire about replacement parts, please contact Seesii customer service. Our team is available to assist you with any questions or concerns you may have.
Customer Support Contact:
- Refer to your product packaging or the official Seesii website for the most current contact information.


