
1. Introduction
Thank you for purchasing the FLYWING EC135 470-Class RC Simulation Helicopter Model. This high-performance model is designed for enthusiasts seeking precision and power, featuring GPS-assisted flight, advanced powertrain, and a durable design. This manual provides essential information for safe setup, operation, and maintenance of your helicopter. Please read it thoroughly before use to ensure optimal performance and safety.
2. Safety Guidelines
Operating an RC helicopter requires caution and responsibility. Failure to operate safely can result in injury or property damage. Always adhere to the following safety guidelines:
- Flight Environment: Fly in open areas, away from people, animals, buildings, and power lines. Avoid flying near airports or restricted airspace.
- Weather Conditions: Do not fly in strong winds, rain, or other adverse weather conditions.
- Pre-Flight Check: Always perform a thorough pre-flight check, including battery levels, rotor blade security, and control surface functionality.
- Battery Safety: Use only approved batteries and chargers. Do not overcharge or discharge batteries. Store batteries in a safe, cool place away from flammable materials.
- Rotor Blades: Keep clear of rotating blades. They can cause serious injury. Always disconnect the battery when not flying or performing maintenance.
- Supervision: Children operating this helicopter must be under direct adult supervision.
- Respect Local Regulations: Be aware of and comply with all local laws and regulations regarding RC aircraft operation.
3. Package Contents (PNP Version)
The PNP (Plug-N-Play) version of the FLYWING EC135 helicopter includes the following components. Please inspect all items upon unboxing.

Image: The FLYWING EC135 RC Helicopter (yellow, with 'ADAC' livery) is shown at the top. Below it, three items are displayed: a user manual, a multi-tool screwdriver, and a USB charging cable. These are the standard contents for the PNP package.
- RC Helicopter (assembled)
- Hand-made Painted Integrated Shell
- Battery
- Display Charger
- User Manual (this document)
- Screwdriver
- USB Line
Note: The PNP version requires a user-supplied remote control (transmitter) for operation.
4. Product Overview
The FLYWING EC135 is a 470-class RC simulation helicopter model, meticulously designed to replicate the EC-135 universal helicopter. It features advanced flight capabilities and realistic details.

Image: A yellow FLYWING EC135 RC helicopter with 'ADAC' markings is positioned on a helipad. The image highlights the detailed fuselage, rotor system, and landing skids, emphasizing its realistic appearance.
Key Features:
- GPS-Assisted Flight: Provides stable upright/inverted hover and intelligent return-to-home functions.
- Advanced Powertrain: Equipped with a 16V 3508-class brushless motor and 60A 32-bit ESC for responsive and stable power.
- Quick-Release Rotor System: All-metal 4-blade head with detachable rotor design for fast setup and high-efficiency nylon blades.
- Precision Build: Features NACA 8-H-12 blades, metal main gear, and a tool-free belt system for easy maintenance.
- Realistic Details: Incorporates engraved lines, a simulated four-blade metal rotor head, transparent cockpit cover, and glossy paint for a highly realistic appearance.
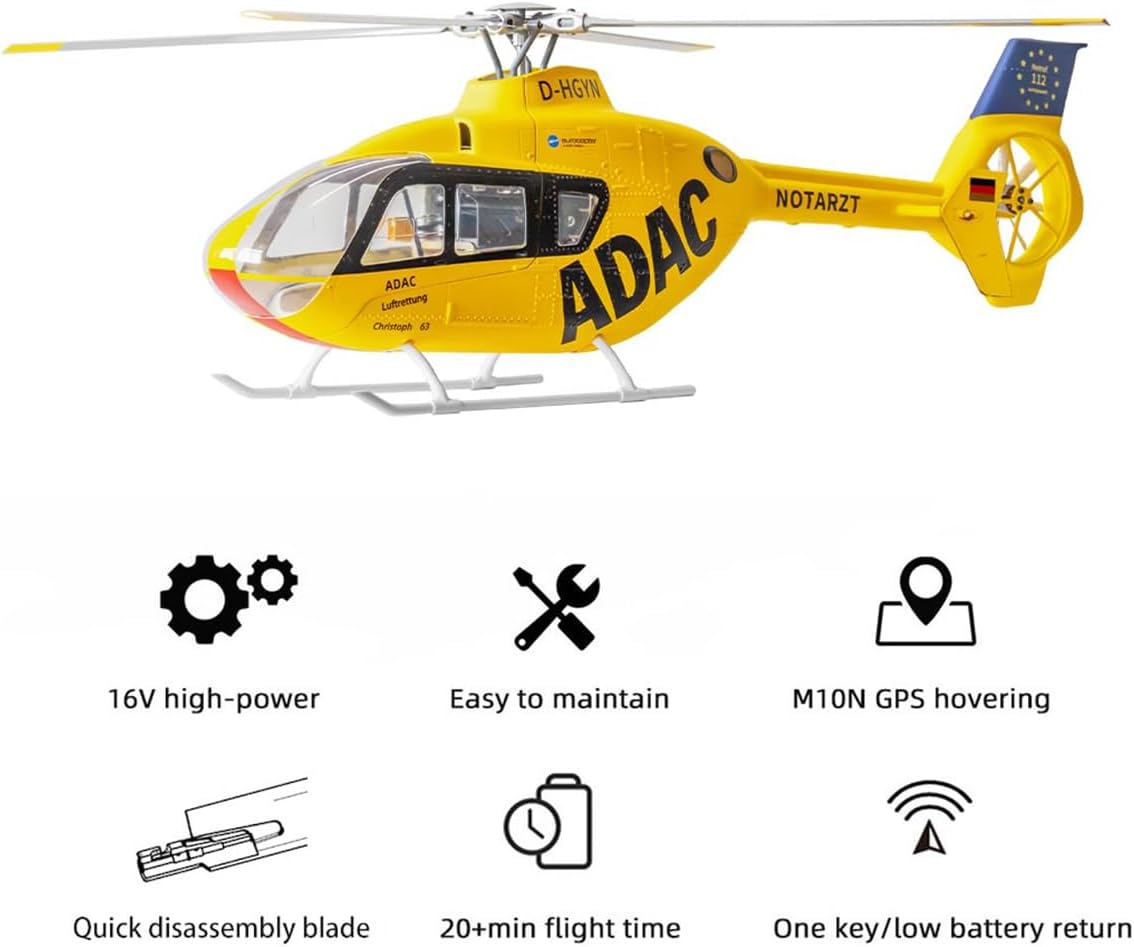
Image: An infographic illustrating six key features of the helicopter: 16V high-power motor, ease of maintenance, M10N GPS hovering capability, quick disassembly blades, over 20 minutes of flight time, and one-key/low battery return functions.
5. Specifications
| Feature | Detail |
|---|---|
| Model | FLYWING EC135 470-Class |
| Material | Metal + Electronic Components |
| Weight (battery not included) | 738g |
| Main Rotor Diameter (wingspan) | 810mm |
| Main Rotor Length (single) | 370mm |
| Tail Rotor Diameter (wingspan) | 125mm |
| Tail Drive Motor | 2008 brushless motor |
| Main Motor | 3508 brushless motor |
| ESC | 60A dual brushless speed regulator |
| Flight Modes | GPS self-stabilization, 3D manual, one-key return, low battery return, out-of-control return, one-key inverted flight, semi-automatic assisted flight (circular brushing, 8-shaped route) |
| Satellite Positioning Module | GPS/GLONASS with omnidirectional positioning |
| Hovering Accuracy (horizontal) | ±1.5m (with GPS positioning) |
| Hovering Accuracy (vertical) | ±0.5m (with GPS positioning) |
| Product Dimensions | 79.5 (propeller not included) x 26.5 x 15cm |
| Color | Yellow |
6. Setup
6.1 Initial Inspection
Before proceeding, carefully inspect the helicopter for any signs of damage during shipping. Ensure all components listed in the package contents are present.
6.2 Battery Charging
Charge the included flight battery using the provided display charger. Follow the charger's instructions carefully. Always charge batteries in a fire-safe area and never leave charging batteries unattended.
6.3 Rotor Blade Installation (if detached)
The EC135 features a quick-release rotor system. If the main rotor blades are detached, carefully align them with the rotor head mounts and secure them according to the quick-release mechanism. Ensure they are firmly locked in place but can still pivot freely. Double-check all screws and fasteners.
6.4 Transmitter (Remote Control) Pairing
As this is a PNP version, you will need to use your own compatible remote control (transmitter). Refer to your transmitter's manual for instructions on how to bind it with the helicopter's receiver. Ensure the transmitter is fully charged and properly configured for a 6-channel helicopter.
6.5 Pre-Flight Checks
- Ensure the flight battery is fully charged and securely installed.
- Verify that the main and tail rotor blades are securely attached and free from damage.
- Check that all control surfaces (swashplate, tail rotor) move freely and correctly in response to transmitter inputs.
- Confirm that the helicopter's flight mode switch on your transmitter is set to the desired mode (e.g., GPS self-stabilization) for initial flights.
- Perform a range check of your radio system before the first flight of the day.
7. Operation
7.1 Flight Modes
The EC135 offers several flight modes to suit different pilot skill levels and flight scenarios:
- GPS Self-Stabilization Mode: Ideal for beginners, this mode uses GPS and barometric altitude assistance to maintain a fixed position and altitude, allowing for stable and controlled flight.
- 3D Manual Mode: For experienced pilots, this mode provides full manual control for acrobatic maneuvers and advanced flight.
- One-Key Return: Initiates an automatic return to the takeoff point and landing.
- Low Battery Return: The helicopter will automatically return and land when the battery voltage reaches a critical level.
- Out-of-Control Return: If the signal is lost, the helicopter will automatically return to its takeoff point.
- One-Key Inverted Flight: Allows for quick transition to inverted flight.
- Semi-Automatic Assisted Flight: Includes functions like circular brushing and 8-shaped route flight.
7.2 GPS Positioning (M10N Chip)
The integrated M10N positioning chip provides stable flight experience. It supports Beidou positioning assistance and barometric altitude assistance. In GPS mode, the helicopter can hover at a fixed location and altitude. On open ground, push the stick to move, and release to stop. This simplifies operation for a leisurely and carefree flight experience.
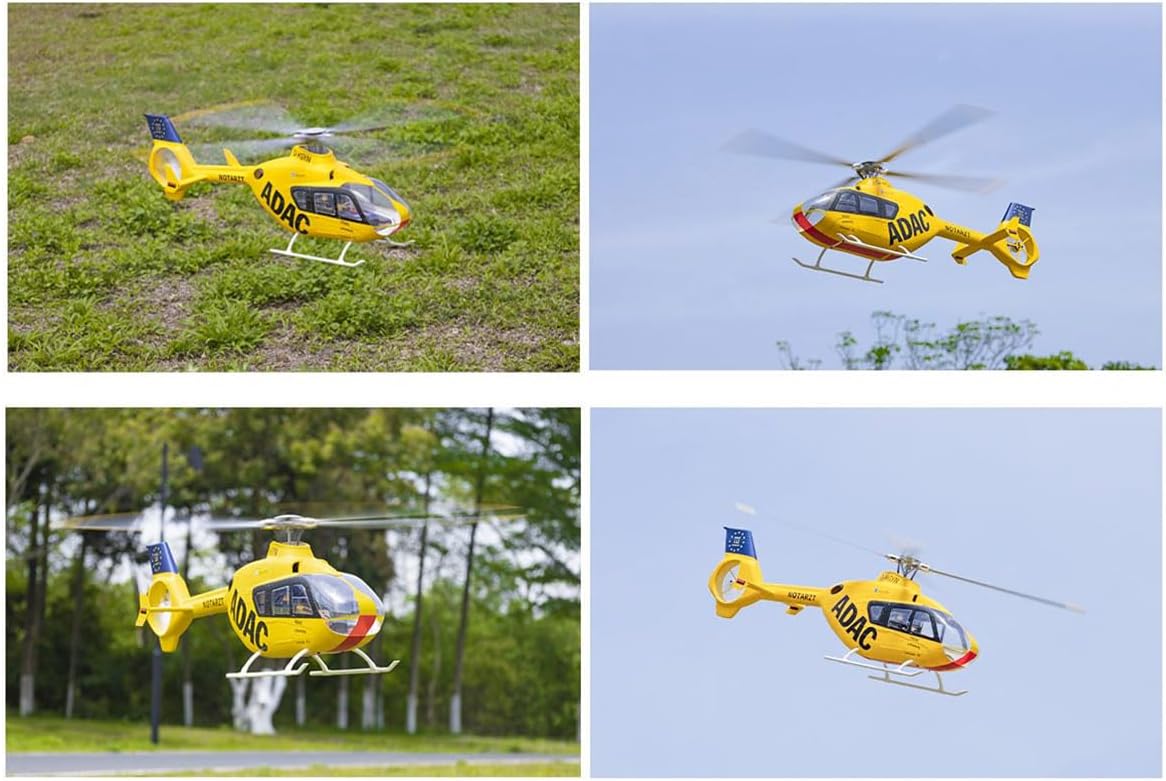
Image: The FLYWING EC135 RC helicopter is shown hovering steadily in an outdoor environment with trees in the background, illustrating its stable flying capabilities thanks to the M10N positioning chip.
7.3 Automatic Route Mode
The helicopter can fly along predefined horizontal flight paths. During automatic flight, the rudder can still be used to control the direction of the nose and achieve spin flight.
- Circular Flight (O Fly): The helicopter flies in a circular pattern.
- Figure-8 Flight (8 Fly): The helicopter flies in an 8-shaped pattern.
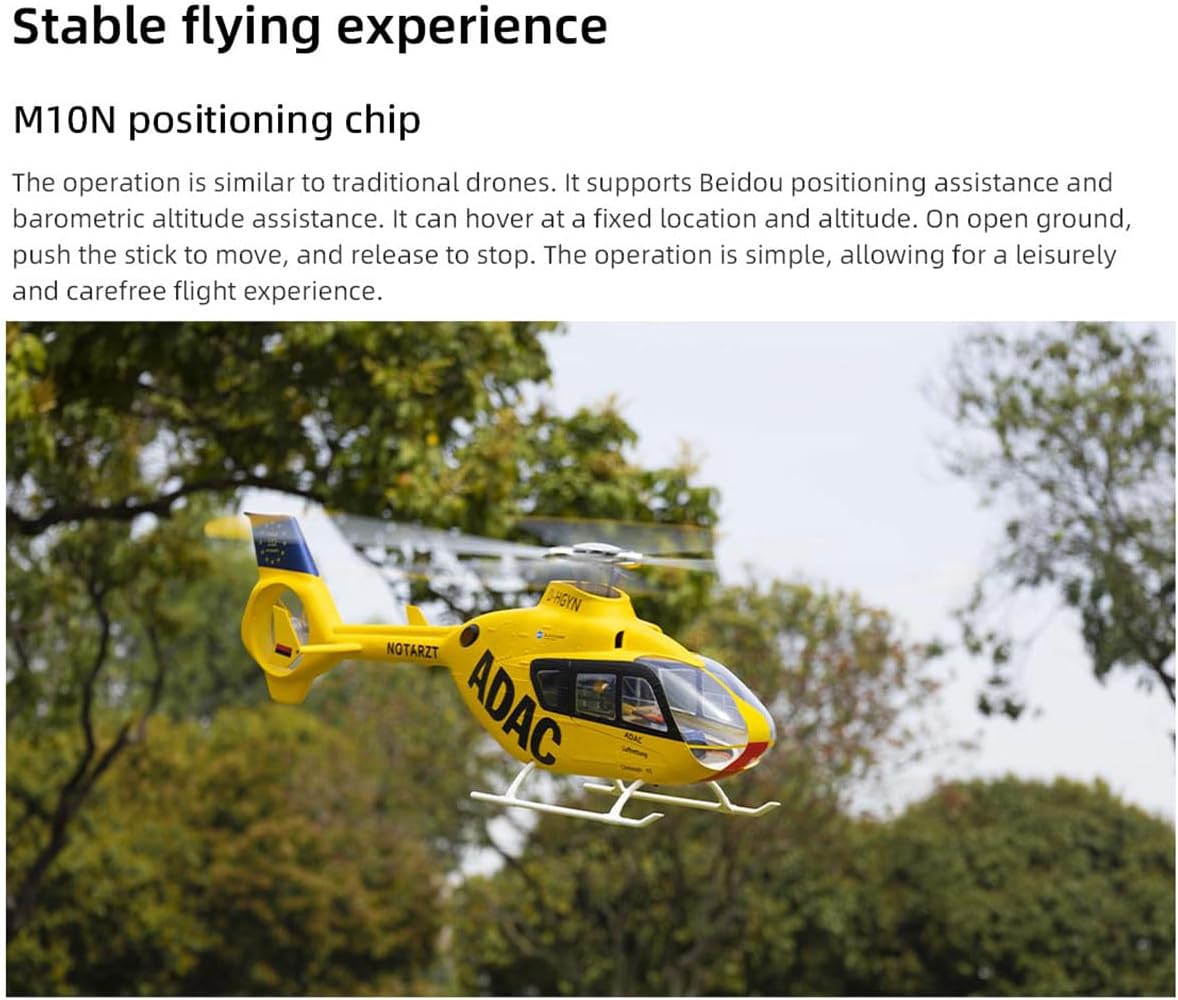
Image: Two diagrams illustrate the automatic route mode. The left image shows the helicopter flying in a circular path ('O Fly'), and the right image shows it flying in a figure-8 path ('8 Fly'), with white dashed lines indicating the flight trajectory.
7.4 Multiple Security Protections
The EC135 incorporates several safety features to protect your investment and ensure a safe flight experience:
- One-Click Return: After taking off from an open-air venue, simply press the return switch on your transmitter, and the helicopter will automatically return to the takeoff point and land.
- Low Battery Return: When the battery reaches the set voltage value, the helicopter will automatically return and land. Ensure the residual voltage is sufficient for the return journey.

Image: The FLYWING EC135 RC helicopter is depicted in flight above a stylized globe, with a red pin marking a return-to-home point, symbolizing the one-click return and low battery return safety features.
8. Maintenance
Regular maintenance ensures the longevity and optimal performance of your helicopter.
8.1 Post-Flight Inspection
- Check all rotor blades for cracks, chips, or damage. Replace damaged blades immediately.
- Inspect the main and tail rotor systems for any loose screws or excessive play.
- Examine the landing gear for any damage.
- Check the fuselage for cracks or structural damage.
8.2 Cleaning
Wipe down the helicopter with a soft, dry cloth after each flight to remove dust, dirt, or debris. Avoid using harsh chemicals or solvents.
8.3 Rotor System Maintenance
The tool-free belt system with a spring-tension pulley simplifies maintenance of the tail rotor drive. Periodically check the belt tension and ensure smooth operation of all moving parts in the rotor head and tail assembly.
8.4 Storage
Store the helicopter in a cool, dry place, away from direct sunlight and extreme temperatures. Remove the flight battery if storing for extended periods. Store batteries at a storage voltage (typically around 3.8V per cell) to prolong their lifespan.
9. Troubleshooting
This section addresses common issues you might encounter. If you experience problems not listed here, please contact customer support.
| Problem | Possible Cause | Solution |
|---|---|---|
| Helicopter does not power on. | Battery not connected or discharged. | Ensure battery is fully charged and properly connected. |
| No response from controls. | Transmitter not paired or out of range. | Re-bind transmitter to receiver. Ensure transmitter battery is charged. Fly within operational range. |
| Unstable flight/drifting. | GPS signal weak or calibration needed. | Fly in an open area with clear sky. Perform compass calibration if necessary (refer to H1 Flight Controller manual). |
| Rotors not spinning correctly. | Damaged blades or motor issue. | Inspect blades for damage and replace if necessary. Check for obstructions in rotor path. |
| Return-to-Home not working. | Insufficient GPS signal or low battery. | Ensure strong GPS signal (multiple satellites locked). Check battery level; return-to-home requires sufficient power. |
10. Warranty & Support
This product comes with a standard manufacturer's warranty against defects in materials and workmanship. The specific terms and duration of the warranty may vary. Please retain your proof of purchase for warranty claims.
Customer Support:
For technical assistance, troubleshooting, or warranty inquiries, please contact MechPuConToy customer support through the retailer where you purchased the product or visit the official MechPuConToy website for contact information.
Online Resources: For additional information, firmware updates, or community forums, please refer to the manufacturer's official website or relevant RC hobbyist communities.