1. Introduction
This manual provides detailed instructions for the safe and effective operation and maintenance of your YenLove Cordless Nail Drill with UV Lamp. Please read this manual thoroughly before first use and retain it for future reference.
2. Product Components
The YenLove Cordless Nail Drill kit includes the following items:
- Cordless Nail Drill with integrated UV Lamp
- 6 durable carbide steel bits (cone, barrel, flame shapes)
- 36 sanding bands (80-400 grit)
- Cleaning brush
- Nail bits storage case
- Type-C charging cable
- User manual (this document)

Image: Overview of the YenLove Cordless Nail Drill kit components, including the drill, various bits, sanding bands, cleaning brush, and charging cable.
3. Setup
3.1 Charging the Device
Before first use, fully charge the nail drill. Connect the provided Type-C charging cable to the charging port on the device and to a compatible 5V adapter (not included). The battery indicator lights will illuminate during charging and show the charge level. A full charge provides approximately 2+ hours of runtime.
Video: Demonstrates connecting the Type-C charging cable to the YenLove Cordless Nail Drill. The device can be used while charging.
3.2 Attaching/Changing Nail Drill Bits
- Ensure the device is turned off before changing bits.
- Gently pull out the current drill bit from the chuck.
- Select the desired carbide steel bit or sanding band. For sanding bands, slide the band onto the appropriate mandrel bit.
- Insert the new bit firmly into the chuck until it clicks into place.

Image: A close-up of hands attaching a sanding band to the tip of the YenLove Cordless Nail Drill.
4. Operating Instructions
4.1 Power On/Off and Speed Adjustment
- To power on the device, long press the ON/OFF button (usually the middle button). The display will show the current speed setting.
- To adjust the speed (5,000–25,000 RPM), short press the 9 Speed Gear Button (adjacent to the ON/OFF button). There are 9 adjustable speed levels.
- To power off, long press the ON/OFF button again.
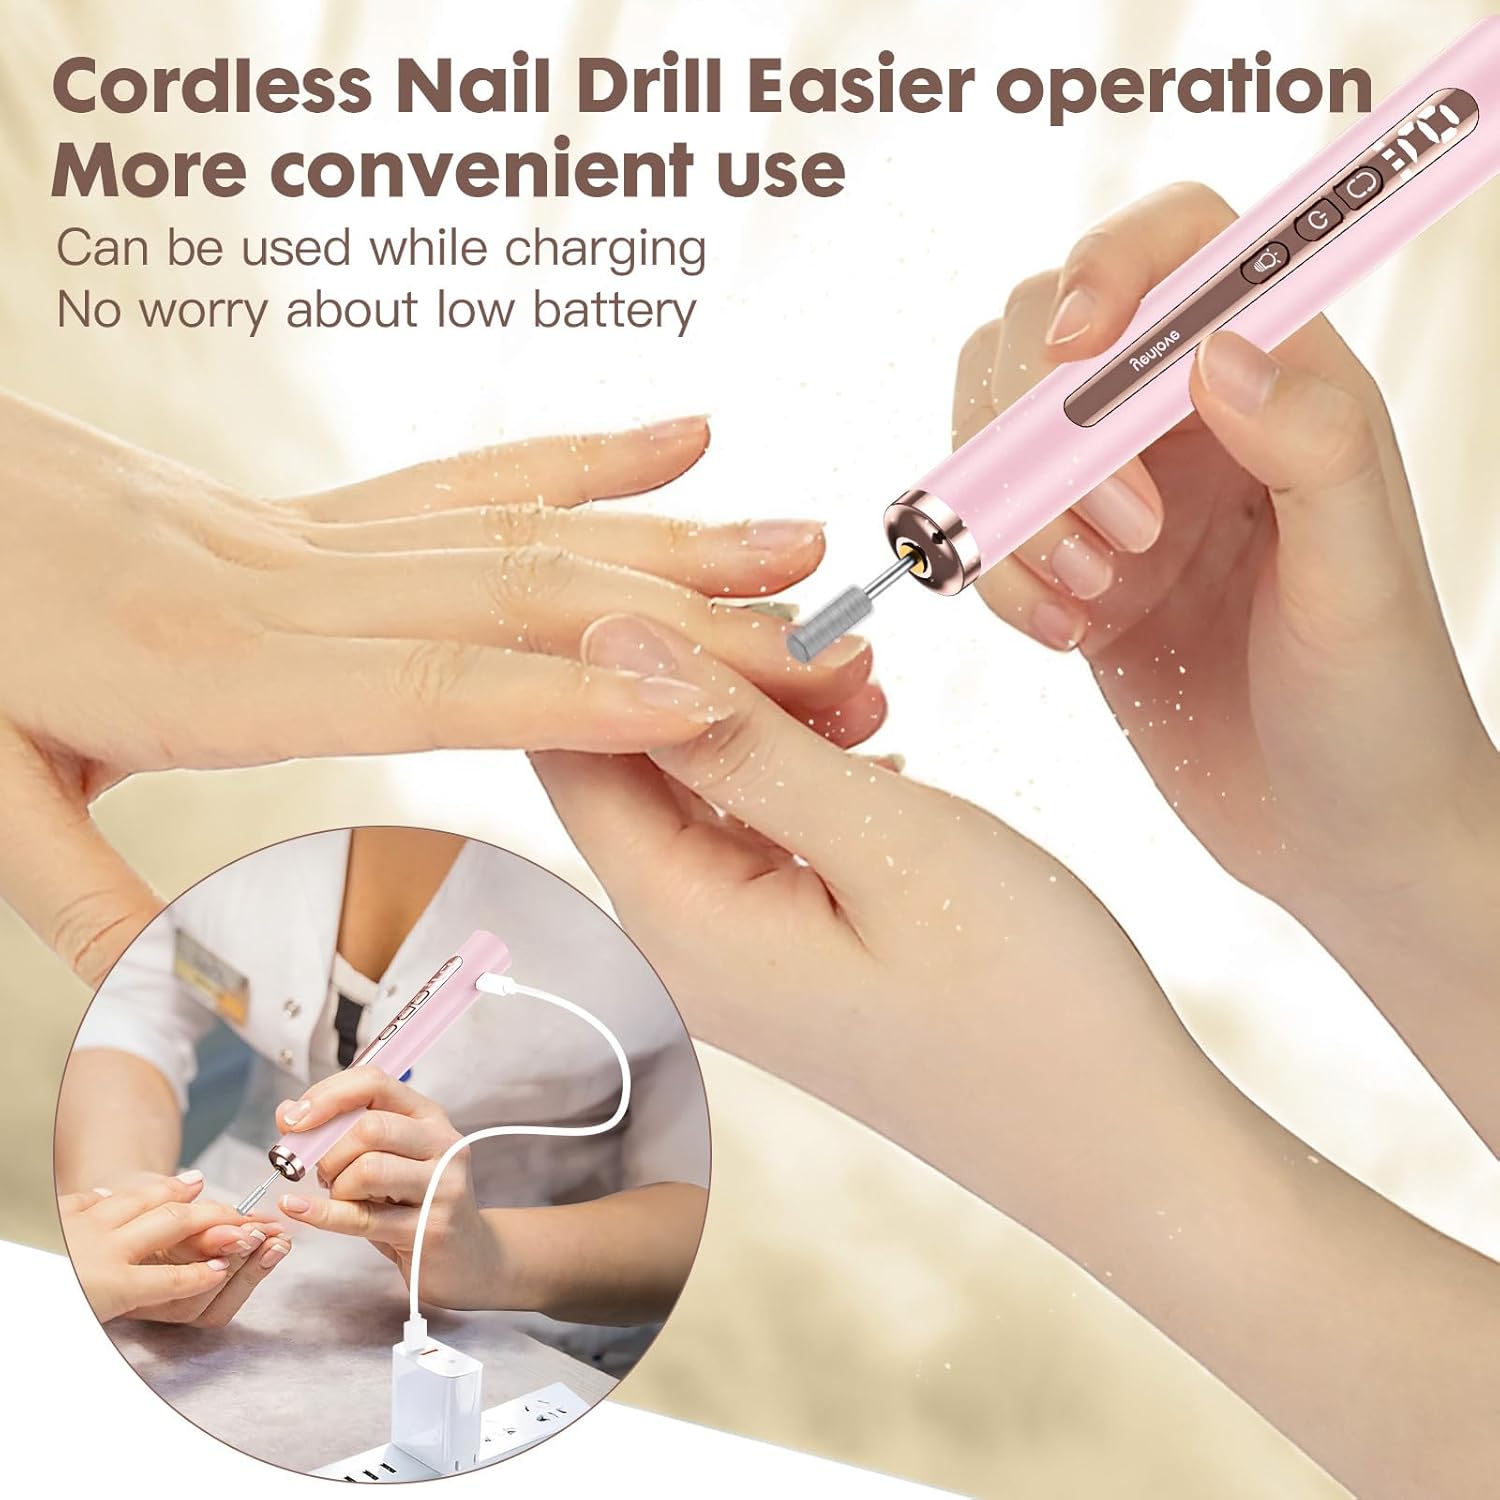
Image: A detailed view of the YenLove Cordless Nail Drill, highlighting the ON/OFF button, 9 Speed Gear Button, battery indicator, and Type-C port.
4.2 Using the UV Nail Lamp
The device features a built-in UV lamp for instant gel polish curing.
- To activate the UV lamp, short press the UV Light Button.
- When the UV lamp is active, other buttons on the device will not function normally to prevent accidental changes during curing.
- Position the UV lamp over the nail to cure gel polish. Curing typically takes 30 seconds.
- To deactivate the UV lamp, short press the UV Light Button again. Normal drill functions will resume.

Image: A hand holding the YenLove Cordless Nail Drill, with the UV lamp activated and shining on a fingernail to cure polish.
4.3 Direction Control (Forward/Reverse)
The drill offers both forward (FWD) and reverse (REV) rotation for versatile use. The direction can be changed by pressing the appropriate button (often indicated by arrows or FWD/REV labels on the device, or by a dedicated button if available). This allows for comfortable use by both left-handed and right-handed individuals and for different nail procedures.

Image: An exploded view of the nail drill's internal motor, illustrating the forward (FWD) and reverse (REV) rotation capabilities.
5. Maintenance
Proper maintenance ensures the longevity and optimal performance of your nail drill.
- Cleaning: After each use, remove the drill bit and use the provided cleaning brush to remove any dust or debris from the device and the bits.
- Storage: Store the nail drill and its accessories in the provided storage case in a dry, cool place, away from direct sunlight and moisture.
- Bit Care: Clean drill bits regularly. Replace worn-out sanding bands and dull bits to maintain efficiency and prevent damage to nails.

Image: The YenLove Cordless Nail Drill and its accessories neatly stored in a drawer, emphasizing its portable and easy-to-store design.
6. Troubleshooting
| Problem | Possible Cause | Solution |
|---|---|---|
| Drill not turning on | Low battery; Device not powered on correctly. | Charge the device fully. Long press the ON/OFF button to power on. |
| Drill bit not rotating or rotating weakly | Bit not properly inserted; Low speed setting; Low battery. | Ensure bit is firmly inserted. Increase speed setting. Charge the device. |
| UV lamp not working | UV lamp not activated; Low battery. | Short press the UV Light Button. Charge the device. |
| Excessive vibration or noise | Loose or damaged drill bit; Device malfunction. | Check and re-insert or replace the drill bit. Contact customer support if problem persists. |
7. Specifications
- Power Source: Battery Powered
- Battery Type: 1 Lithium Ion battery (included)
- Battery Average Life: 2+ Hours runtime
- Maximum Rotational Speed: 25000 RPM
- Adjustable Speeds: 9 levels (5,000–25,000 RPM)
- UV Lamp: Built-in, 30-second curing
- Charging Port: Type-C
- Material: Metal, Plastic
- Package Dimensions: 7.52 x 4.61 x 1.06 inches
- Weight: 5.29 ounces
- Model Number: 9sp-p
8. Safety Information
- Keep out of reach of children.
- Do not immerse the device in water or other liquids.
- Avoid contact with eyes when the UV lamp is active.
- Use only the provided charging cable.
- Do not use if the device or cable is damaged.
- For external use on nails only.
9. Warranty and Support
For warranty information or customer support, please refer to the contact details provided on the product packaging or visit the official YenLove website. Keep your purchase receipt as proof of purchase.