1. Introduction
This manual provides detailed instructions for the proper use and maintenance of your VILTROX DC-L2 7-inch Touchscreen Camera Field Monitor. The DC-L2 is designed to enhance your video production workflow with its high-resolution display, advanced monitoring tools, and versatile connectivity options. Please read this manual thoroughly before operating the device to ensure optimal performance and longevity.
2. Package Contents
Verify that all items listed below are included in your package. If any items are missing or damaged, please contact customer support.
- VILTROX DC-L2 7-inch Touchscreen Camera Field Monitor
- Sunshade Hood
- NP-F Type Battery
- Standard Shoe Adapter
- HDMI A-A Cable
- HDMI A-C Cable
- USB-C Cable
- Cloth Bag
- HD Screen Protector
- Warranty Card
- User Manual (this document)

Image: The VILTROX DC-L2 monitor shown with its complete set of accessories, including the sunshade, battery, cables, and mounting adapter.

Image: An overhead view of the VILTROX DC-L2 monitor and all its accessories neatly arranged outside their packaging.
3. Setup
3.1 Powering the Monitor
The DC-L2 monitor offers multiple power options:
- NP-F Battery: Insert a fully charged NP-F type battery into the battery slot on the rear of the monitor. Ensure it clicks into place securely.
- DC Input: Connect a compatible DC power adapter (not included, typically 12V/3A) to the DC IN port.
- Type-C USB: Connect a Type-C USB power source to the USB-C port. This port also supports charging the NP-F battery when inserted.
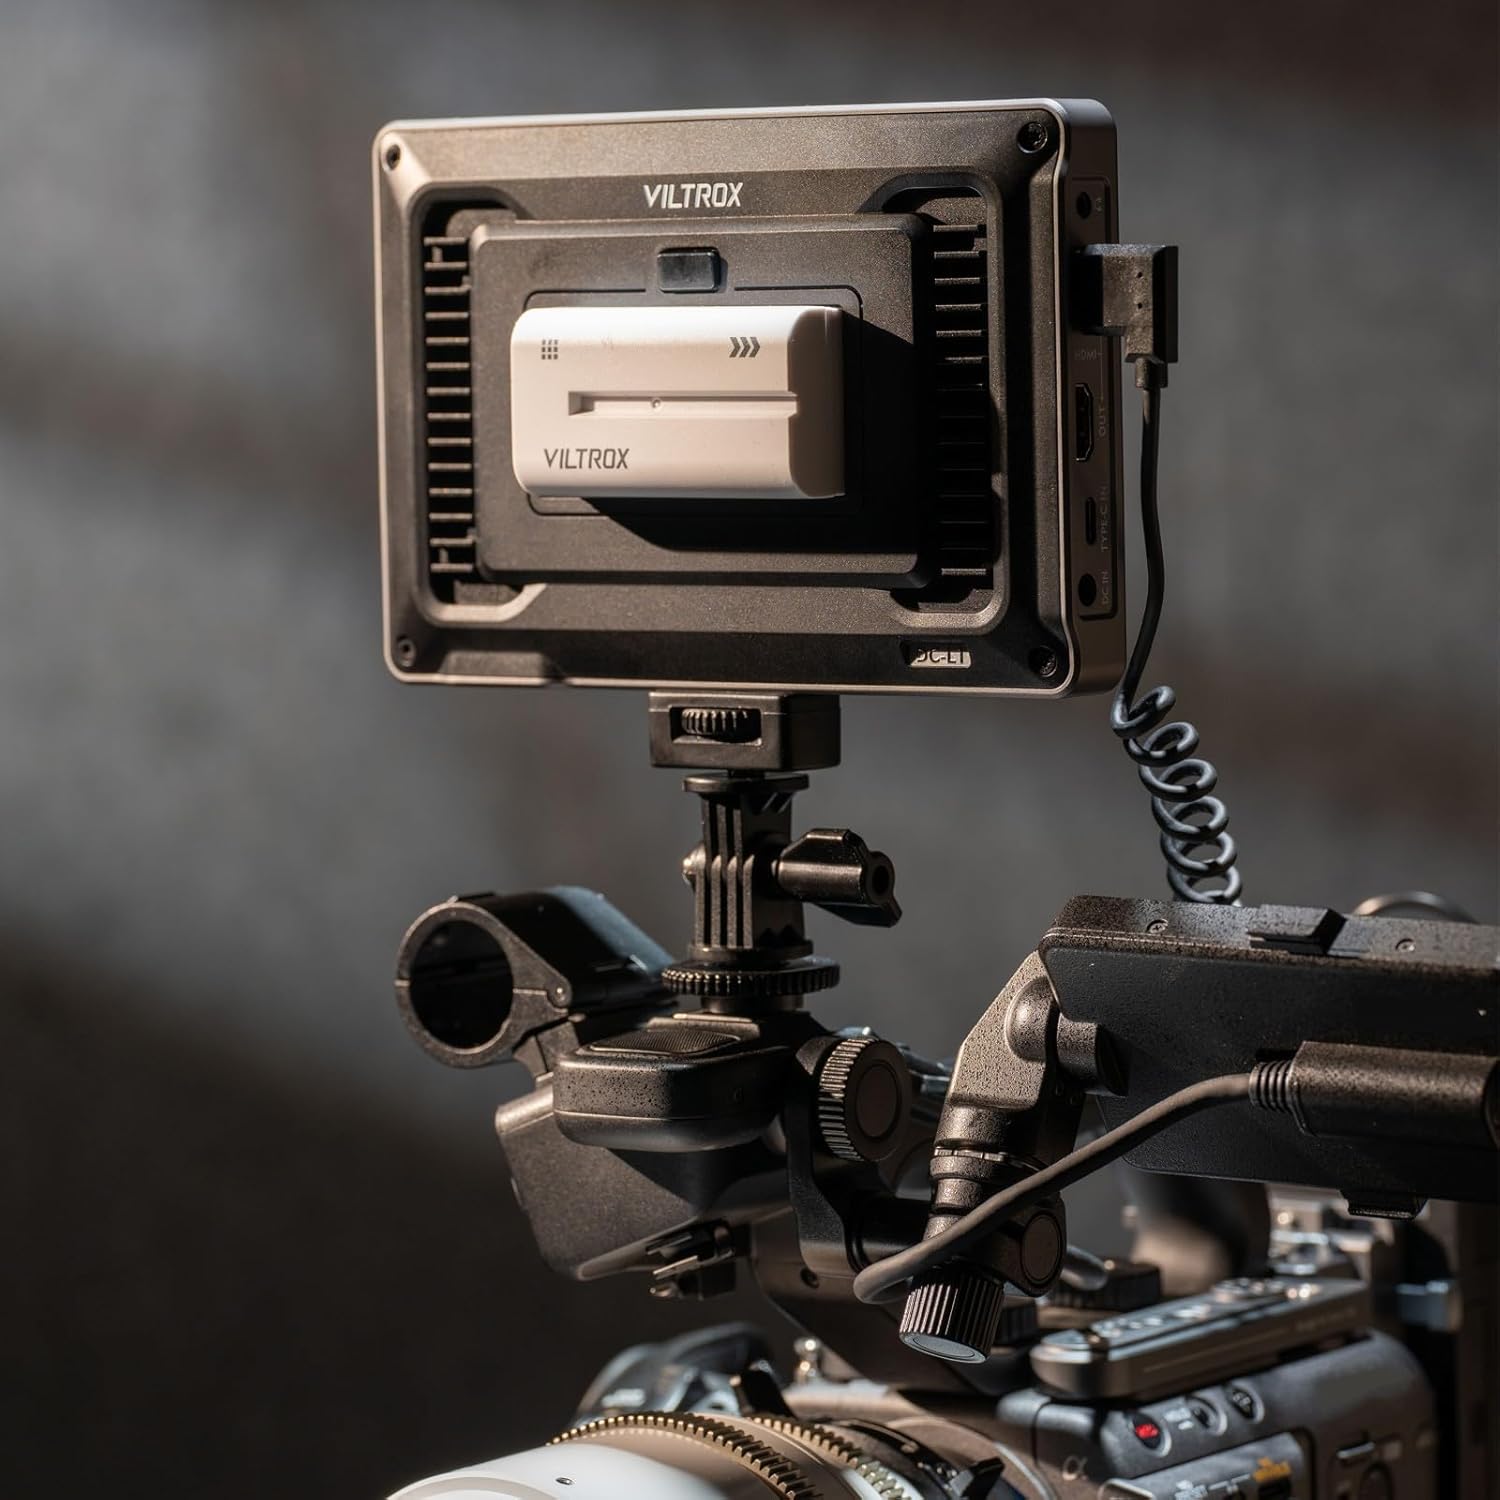
Image: The back of the VILTROX DC-L2 monitor showing the battery plate with an NP-F battery inserted, and various ports including SDI and HDMI.
3.2 Connecting Video Sources
The DC-L2 supports both HDMI and SDI input/output.
- HDMI Connection: Use the provided HDMI A-A or HDMI A-C cable to connect your camera's HDMI output to the monitor's HDMI IN port.
- SDI Connection: For professional cameras, connect an SDI cable from your camera's SDI output to the monitor's SDI IN port.
- Loop Out: The monitor also features HDMI OUT and SDI OUT ports, allowing you to loop the video signal to another monitor or device.

Image: The VILTROX DC-L2 monitor mounted on a camera rig, displaying a live feed, demonstrating its use in a production environment.
3.3 Mounting the Monitor
Attach the monitor to your camera rig or tripod using the standard shoe adapter or the 1/4"-20 threaded holes located on the bottom and side of the monitor.

Image: The VILTROX DC-L2 monitor securely mounted on a camera's hot shoe using the included adapter, showing its compact setup.
3.4 Attaching the Sunshade Hood
The sunshade hood helps reduce glare and improve screen visibility in bright conditions. Clip the sunshade onto the monitor's frame. It can also fold flat for storage.

Image: A hand demonstrating the attachment of the sunshade hood to the VILTROX DC-L2 monitor, highlighting its ease of use.
4. Operating the Monitor
4.1 Basic Operation
- Power On/Off: Press and hold the power button (usually on the side or top) to turn the monitor on or off.
- Touchscreen Control: The 7-inch IPS display is a touchscreen. Tap icons and swipe to navigate menus and adjust settings.
- Shortcut Keys: The monitor features customizable shortcut keys (F1-F4) on the top panel. These can be assigned to frequently used functions for quick access.

Image: The VILTROX DC-L2 monitor displaying its graphical user interface with various monitoring tools and settings accessible via touchscreen.
4.2 Advanced Monitoring Tools
The DC-L2 integrates a suite of professional monitoring features:
- Waveform: Displays the luminance and chrominance levels of your video signal, aiding in exposure and color correction.
- Histogram: Provides a graphical representation of the tonal distribution in your image, helping to prevent clipping of highlights and shadows.
- Focus Peaking: Highlights in-focus areas with a selectable color, assisting with precise manual focusing.
- False Color: Assigns different colors to specific exposure levels, allowing for quick and accurate exposure adjustments.
- 3D LUT: Supports loading custom 3D Look-Up Tables for on-set color grading and previewing final looks.
- De-squeeze: Corrects the aspect ratio for anamorphic lenses.
- Zebra Pattern: Indicates overexposed areas with a striped pattern.
- Monochrome: Displays the image in black and white for evaluating contrast and composition.
- Flip/Mirror: Adjusts the image orientation for various mounting configurations.
- Frame Freeze: Captures and holds a single frame for detailed analysis.

Image: The VILTROX DC-L2 monitor screen showing multiple professional monitoring tools active, such as waveform, vectorscope, and histogram, overlaid on the video feed.
5. Maintenance
- Cleaning the Screen: Use a soft, lint-free cloth to gently wipe the screen. For stubborn smudges, a screen cleaning solution designed for electronics can be used sparingly. Avoid harsh chemicals.
- Cleaning the Body: Wipe the monitor body with a dry, soft cloth. Do not use abrasive cleaners or solvents.
- Storage: When not in use, store the monitor in a dry, dust-free environment, preferably in its protective cloth bag. Remove the battery if storing for extended periods.
- Temperature: Avoid exposing the monitor to extreme temperatures or high humidity.
6. Troubleshooting
| Problem | Possible Cause | Solution |
|---|---|---|
| Monitor does not power on. | Battery is depleted or not inserted correctly. Power cable is loose or faulty. | Ensure battery is charged and properly seated. Check power cable connections. Try a different power source. |
| No video signal displayed. | Incorrect input source selected. Cable is loose or faulty. Camera output settings are incorrect. | Verify the correct input (HDMI/SDI) is selected in the monitor's menu. Check cable connections. Confirm camera is outputting video. |
| Touchscreen is unresponsive. | Temporary software glitch. Screen is dirty. | Restart the monitor. Clean the screen surface. |
| Image is distorted or colors are incorrect. | Incorrect display settings. Faulty cable. | Reset display settings to default. Try a different HDMI/SDI cable. Check camera's video output settings. |
7. Specifications
| Feature | Detail |
|---|---|
| Model | DC-L2 |
| Screen Size | 7 Inches (18 cm diagonal) |
| Resolution | 1280 x 800 |
| Brightness | 600 Nits |
| Contrast Ratio | 1000:1 |
| Viewing Angle | 170° Ultra-wide IPS |
| Color Depth | 8-Bit |
| Color Coverage | sRGB/Rec.709 |
| Refresh Rate | 60Hz |
| Video Input/Output | 4K 60Hz SDI + HDMI Input/Output |
| Power Options | NP-F Battery, DC Input, Type-C USB |
| Item Weight | 13.4 ounces (approximately 380g) |
| Dimensions | 12.2 x 7.09 x 3.54 inches (Package Dimensions) |
8. Warranty and Support
For warranty information, please refer to the warranty card included in your package. For technical support, product inquiries, or to report issues, please contact VILTROX customer service through their official website or the retailer where the product was purchased.
VILTROX Official Website: www.viltrox.com


