1. Introduction
Thank you for choosing the Brilluxa XB150-2 Digital Depth Gauge. This electronic measuring instrument is designed for precise depth measurements in various applications, including woodworking. This manual provides essential information for the safe and efficient operation, setup, and maintenance of your device. Please read this manual thoroughly before use and keep it for future reference.
2. Product Overview
The Brilluxa XB150-2 is a high-precision digital depth gauge featuring a clear LCD display and robust construction.
2.1 Key Features
- Long-lasting Design: Powered by a cell battery (not included), offering extended service life for various applications.
- Versatile Application: Suitable for professionals in diverse fields requiring electronic depth measurement.
- Data Transfer Capability: Equipped with a USB port for seamless data transfer to a computer, simplifying data collection and analysis.
- Robust Construction: Base made from alloy steel and hardened stainless steel, ensuring a flat base for accurate readings and long-term durability.
- Clear Digital Display: LCD screen provides easy and accurate readings, enhancing visibility of measurement results.
2.2 Specifications
- Item Type: Digital Depth Gauge
- Material: Alloy Steel and Stainless Steel
- Battery: 1 x Cell Battery (not included)
- Measurement Range: 0 ~ 150mm / 0 ~ 6 inches
- Accuracy: 0.01mm / 0.0005 inches
- Measurement Speed: 3 meters/second
- Manufacturer: Brilluxa
- Model Number: Brilluxan9gqogbait (XB150-2)
- Country of Origin: China
2.3 Package Contents
- 1 x Digital Depth Gauge
- 1 x User Manual (this document)
- 1 x Storage Box
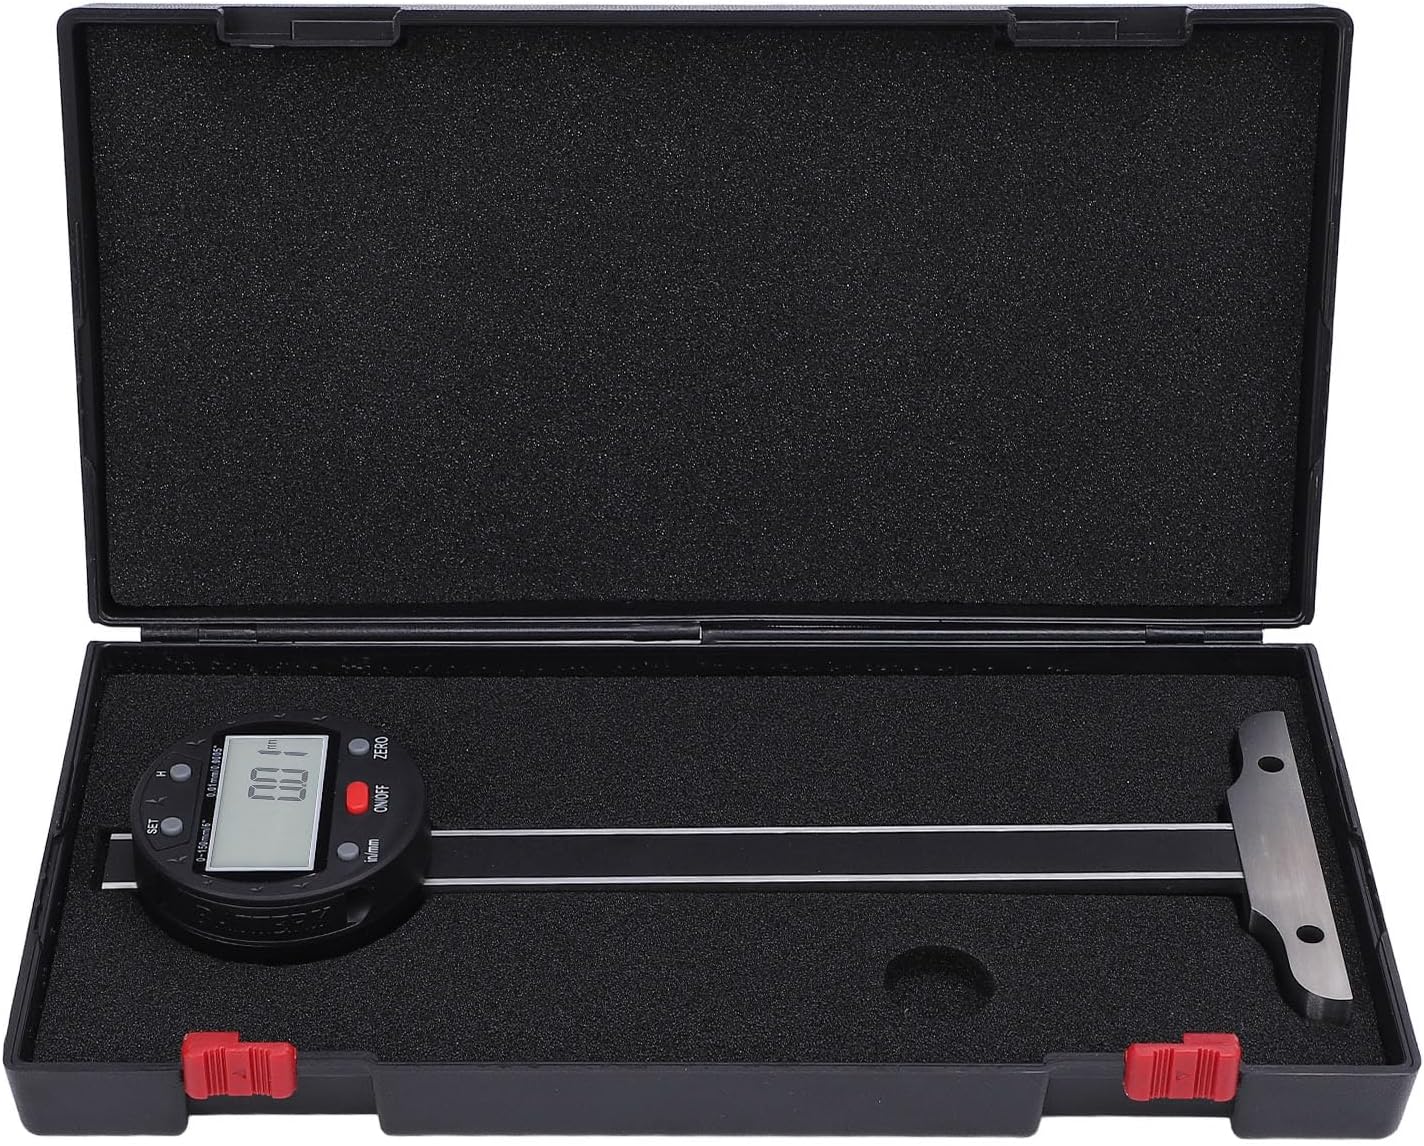
Figure 1: The Brilluxa XB150-2 Digital Depth Gauge stored in its protective case, ready for transport or storage.

Figure 2: An angled view of the digital depth gauge, highlighting its clear LCD display and compact design.
3. Setup
3.1 Battery Installation
- Locate the battery compartment cover on the back of the digital display unit.
- Carefully remove the cover.
- Insert one cell battery (not included) into the compartment, ensuring correct polarity (+/-).
- Replace the battery compartment cover securely.
3.2 Initial Power On
After installing the battery, press the ON/OFF button to power on the device. The LCD display should illuminate and show a reading.

Figure 3: Rear view of the depth gauge, indicating the location of the battery compartment for installation.
4. Operating Instructions
4.1 Power ON/OFF
- Press the ON/OFF button to turn the device on.
- Press and hold the ON/OFF button for a few seconds to turn the device off.
4.2 Zeroing the Gauge
- Place the base of the depth gauge firmly on a flat, stable reference surface.
- Ensure the measuring probe is fully retracted or at the desired zero point.
- Press the ZERO button. The display will show "0.00" or "0.000" (depending on units), indicating that the gauge is now zeroed at this position.
4.3 Unit Conversion (mm/inch)
Press the in/mm button to switch between millimeter (mm) and inch (in) measurement units.
4.4 Taking Measurements
- Zero the gauge on a suitable reference surface (see Section 4.2).
- Place the base of the depth gauge firmly on the surface from which you want to measure the depth.
- Extend the measuring probe into the hole, groove, or step until it reaches the bottom.
- Read the measurement directly from the LCD display.

Figure 4: Front view of the depth gauge, illustrating the LCD display and the ON/OFF, ZERO, and in/mm buttons.
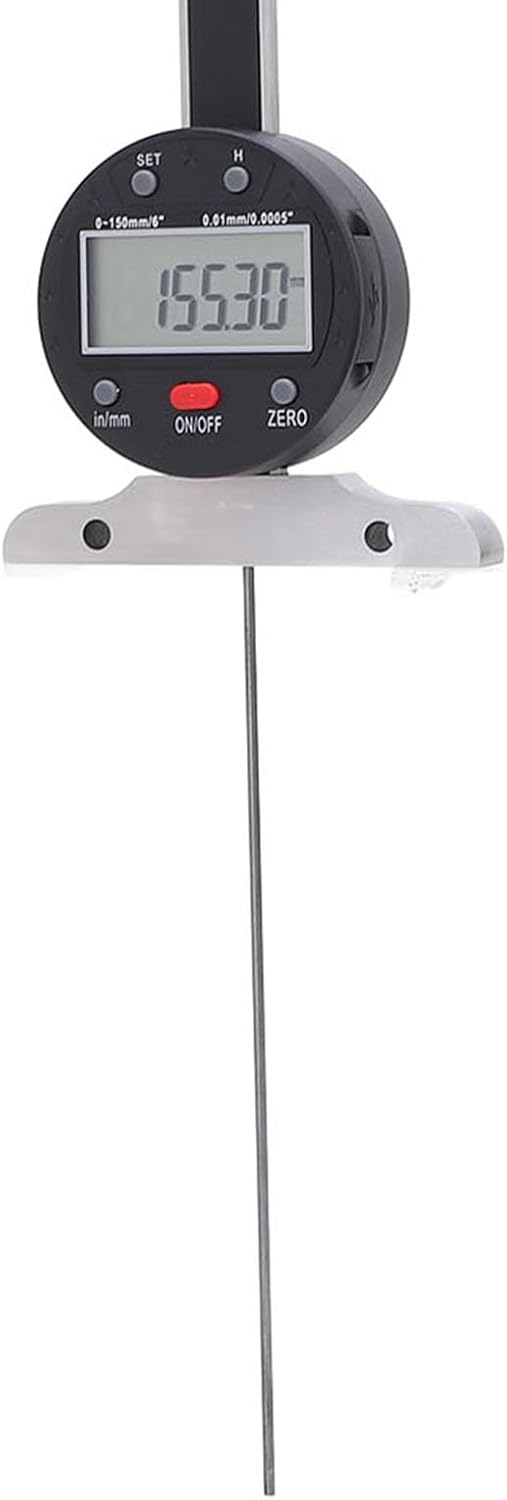
Figure 5: Side view of the depth gauge in operation, with the probe extended to measure depth and a reading visible on the display.

Figure 6: The digital depth gauge in use, demonstrating its application for measuring depth on a wooden workpiece.

Figure 7: A close-up of the gauge's measuring probe and its stable base, designed for accurate contact with surfaces.
4.5 Data Transfer
The digital depth gauge features a USB port for connecting to a computer. This allows for seamless transfer of measurement data, facilitating data collection and analysis. Refer to your computer's operating system instructions for connecting USB devices and accessing data.
5. Maintenance
5.1 Cleaning
- Wipe the gauge with a clean, dry, soft cloth.
- Avoid wetting the protective film with water, oil, or other liquid substances to prevent damage to the circuit.
5.2 Storage
- When not in use for an extended period, turn off the device using the ON/OFF button.
- If storing for more than one month, remove the battery to prevent leakage and damage to the device.
- Store the depth gauge in its protective storage box in a dry, clean environment, away from direct sunlight and extreme temperatures.
5.3 General Handling
This product is a precision measuring instrument. Handle it with care to prevent impact or damage, which could lead to loss of accuracy.
6. Troubleshooting
6.1 Display Not Working
- Check if the battery is correctly installed with the correct polarity.
- Replace the battery with a new one if the current battery is depleted.
- Ensure the ON/OFF button has been pressed.
6.2 Inaccurate Readings
- Ensure the gauge is properly zeroed on a flat, stable surface before taking measurements.
- Clean the measuring surfaces and probe to remove any dust or debris.
- Verify that the base is firmly seated on the measurement surface and the probe is making proper contact.
- Avoid applying excessive force or impact to the gauge, as this can affect accuracy.
7. Safety Information
- Handle the depth gauge with care. It is a precision instrument; impact can affect its accuracy.
- Avoid exposing the protective film to water, oil, or other liquid substances to prevent damage to the internal circuitry.
- Do not apply voltage to the ruler or any part of the device, as this can cause severe damage to the electronics.
- Keep out of reach of children.
8. Warranty and Support
For warranty information and customer support, please refer to the documentation provided at the time of purchase or contact your retailer. Keep your purchase receipt as proof of purchase.