
1. Initial Setup
1.1 Unpacking and Placement
Carefully remove the dehumidifier from its packaging. It is crucial to place the unit upright for at least 24 hours before plugging it in to allow the refrigerant to settle. Position the dehumidifier in an area that allows for adequate air circulation, ensuring at least 8 inches of space from walls or furniture.
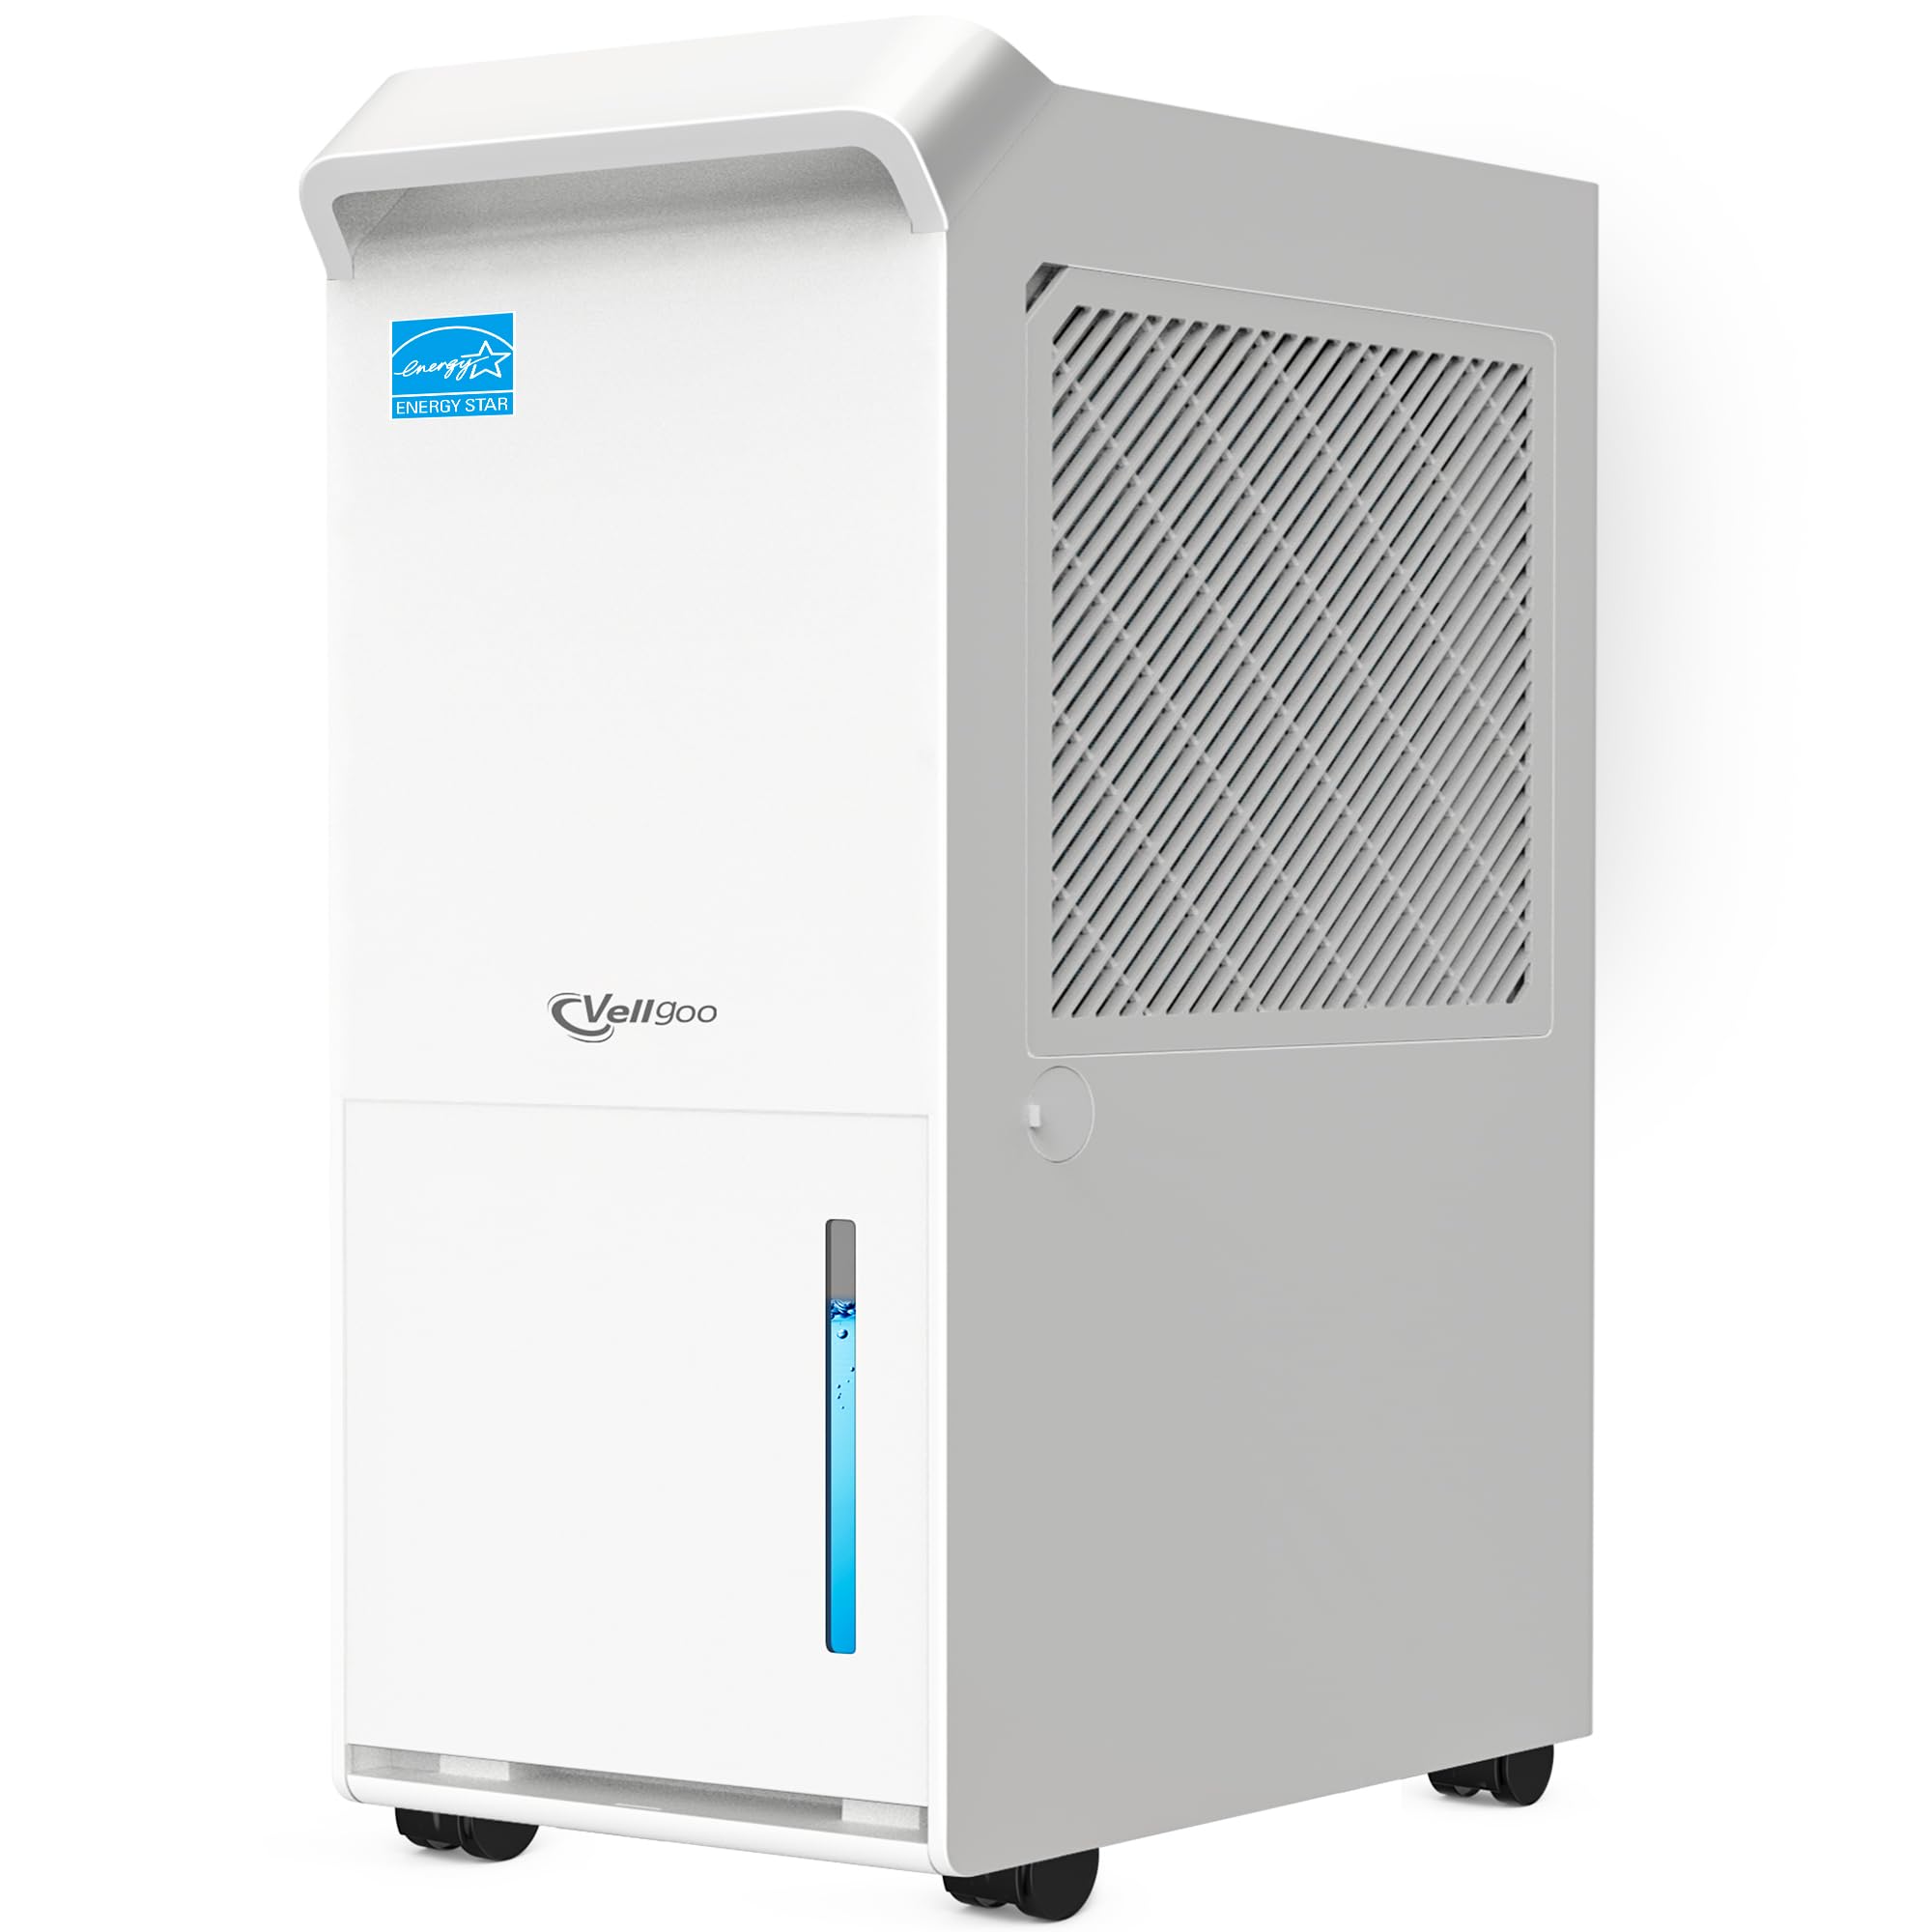
Image: Front view of the Vellgoo Max 60 Pint/D Dehumidifier, showcasing its compact design and Energy Star label.
1.2 Power Connection
Connect the power cord to a grounded electrical outlet. Ensure the voltage matches the unit's requirements (120 Volts).
1.3 Water Tank Installation
The water tank is located at the bottom front of the unit. Ensure it is correctly inserted before operation. The unit will automatically shut off when the tank is full.
1.4 Continuous Drainage Options
The Vellgoo DryTank dehumidifier offers multiple drainage methods:
- Manual Drain: The unit collects water in its 1.45-gallon tank. When full, the unit will alert you and shut off. The tank features a handle and a spout for easy emptying.
- Gravity Drain: Use the included 6.56 ft drain hose for continuous gravity drainage. Connect one end to the drain outlet on the back of the unit and direct the other end to a suitable floor drain or container.
- Garden Hose Adapter: A garden hose adapter is included inside the water tank. This allows connection to a standard 3/4" garden hose (not included) for extended reach and continuous drainage.
- Built-in Pump: For upward drainage, activate the built-in pump. This is ideal for basements or areas without floor drains, supporting a maximum lift of up to 16.4 feet.

Image: Diagram illustrating the continuous gravity drainage setup with the included hose.
Video: Instructions on how to use the built-in pump for water drainage. This video demonstrates removing the water tank, locating and tightening the pump filter, and connecting the pump hose to the pump outlet.
Video: Guide on how to connect and use a garden hose for continuous drainage. This video shows how to separate the garden hose adapter, insert the drain hose, tighten the connection, and attach a garden hose to the adapter.
2. Operating Instructions
2.1 Control Panel Overview
The control panel is located on the top of the unit and features intuitive touch controls and a digital display.

Image: Close-up of the dehumidifier's intelligent control panel, showing icons for Continuous dehumidification, Pump, Child Lock, Custom Humidity, 1-24H Timer, Washable Filter, Full Tank Detection, Auto-defrost, and Humidity Sensor.
- Power Button: Turns the unit on or off.
- Fan Speed Button: Adjusts the fan speed (Low, Medium, High).
- Timer Button: Sets the auto-on or auto-off timer (1-24 hours).
- Setting Button: Allows manual adjustment of the target humidity level.
- Comfort Button: Activates Comfort Mode for balanced humidity and energy efficiency.
2.2 Power On/Off
Press the Power button to turn the dehumidifier on or off. The digital display will show the current humidity level when powered on.
2.3 Setting Humidity Level
In Custom Mode, press the 'Setting' button and use the up/down arrows to select your desired humidity level (e.g., 40% to 80% RH). The unit will operate until this level is reached, then cycle on/off to maintain it.
2.4 Fan Speed Adjustment
Press the 'Fan Speed' button to cycle through Low, Medium, and High fan settings. Higher speeds remove moisture faster but may produce more noise.
2.5 Operating Modes
The dehumidifier features three versatile modes:
- Continuous Mode: Ideal for very damp conditions, such as basements or laundry rooms, where continuous dehumidification is needed regardless of the set humidity level.
- Comfort Mode: Automatically adjusts operation to maintain a comfortable humidity level (typically 45-55% RH) while optimizing energy use.
- Custom Mode: Allows you to manually set your desired humidity level for tailored control.

Image: Visual representation of the three operating modes: Continuous, Comfort, and Custom, suitable for various room types like basements, living rooms, and customized needs.
2.6 Timer Function
Press the 'Timer' button to set an auto-on or auto-off timer from 1 to 24 hours. The unit will automatically start or stop after the set duration.
2.7 Auto Features
The DryTank dehumidifier includes intelligent auto-features for convenience and safety:
- Auto Shut-off: The unit automatically turns off when the water tank is full or removed.
- Auto Defrost: Prevents frost buildup on the evaporator coils, ensuring efficient operation in cooler environments.
- Auto Restart: In case of a power outage, the unit will automatically restart with the previous settings once power is restored.

Image: Visual explanation of the dehumidifier's automatic functions: Auto Restart, 1-24 Hour Timer Auto Shut-Off, and Auto Defrost.
3. Maintenance
Regular maintenance ensures optimal performance and longevity of your dehumidifier.
3.1 Emptying the Water Tank
When the water tank is full, the unit will stop operating and an indicator light will illuminate. Carefully pull out the water tank, lift the handle, and pour out the collected water. Reinsert the tank securely.
3.2 Cleaning the Air Filter
The washable nylon filter should be cleaned regularly (approximately every two weeks or as needed) to maintain air quality and unit efficiency. Remove the filter from the back of the unit, wash it with warm, soapy water, rinse thoroughly, and allow it to air dry completely before reinserting.

Image: A hand removing the washable nylon filter from the dehumidifier, with water splashing in the background, indicating the cleaning process.
3.3 Cleaning the Pump Filter
If using the built-in pump, periodically check and clean the pump filter to prevent clogging. Refer to the pump drainage video for instructions on locating and tightening the pump filter.
4. Troubleshooting
If you encounter issues with your dehumidifier, consult the table below for common problems and solutions.
| Problem | Possible Cause | Solution |
|---|---|---|
| Unit does not turn on | No power; Power cord not plugged in; Water tank full or not properly inserted. | Check power supply; Plug in power cord; Empty and reinsert water tank correctly. |
| No water collected | Humidity level is too low; Room temperature is too low; Air filter clogged; Continuous drainage hose is kinked or blocked. | Adjust target humidity lower; Ensure room temperature is above 41°F (5°C); Clean air filter; Check and clear drainage hose. |
| Unit is noisy | Unit is not on a level surface; Air filter clogged; Fan obstruction. | Place unit on a flat, stable surface; Clean air filter; Check for any obstructions around the fan. |
5. Product Specifications
| Feature | Detail |
|---|---|
| Brand | Vellgoo |
| Model Name | DryTank |
| Floor Area Coverage | 3500 Square Feet |
| Dehumidification Capacity | 60 Pints per Day (86°F, 80% RH) / 35 Pints per Day (65°F, 60% RH) |
| Tank Volume | 1.45 Gallons |
| Product Dimensions | 17"D x 11"W x 24"H |
| Number of Speeds | 3 |
| Wattage | 400 watts |
| Voltage | 120 Volts |
| Item Weight | 37.9 pounds |
| Special Features | Automatic Shutoff, Built-in Pump, Child Lock, 360° Rotatable Wheels, Hidden Handle, Removable Washable Filter, Auto Defrost, Auto Restart, 24H Timer |
| Included Components | Drain Hose, Garden Hose Adapter |
| Certifications | Energy Star, RoHS, ETL |
6. Warranty and Customer Support
Vellgoo stands behind its products with a comprehensive warranty and dedicated customer support.
- Standard Warranty: Enjoy 1 year of 24/7 after-sales service.
- Extended Coverage: Register your product for an additional 1-year extended coverage (no paperwork needed, see user manual for details).
- Technical Support: Our dedicated team is available to help with any questions or issues. We guarantee a response within 24 hours on business days.
For assistance, please refer to the contact information provided in your product packaging or visit the official Vellgoo website.