1. Introduction
This manual provides essential information for the safe and effective installation, operation, and maintenance of your new Generic Replacement Jazz Control Board. This control board is designed to restore proper functionality to compatible Sears Kenmore refrigerators experiencing issues such as temperature fluctuations, defrost failures, or general operational problems. Please read these instructions thoroughly before proceeding with installation to ensure correct procedure and to prevent potential damage or injury.
2. Safety Information
WARNING: Electrical shock hazard. Always disconnect power to the refrigerator before attempting any installation, repair, or maintenance. Failure to do so can result in serious injury or death.
- Ensure the refrigerator is unplugged from the wall outlet before beginning any work.
- Wear appropriate personal protective equipment, such as gloves and safety glasses.
- If you are not comfortable performing electrical repairs, it is recommended to consult a qualified appliance repair technician.
- Handle the control board by its edges to avoid damaging electronic components or circuits.
- Keep all removed screws and parts organized to ensure proper reassembly.
3. Compatibility
This replacement Jazz Control Board is compatible with various Sears Kenmore refrigerator models. Please verify your refrigerator's model number against the list below to ensure proper fit and function. The model number is typically located inside the refrigerator compartment or on the back of the appliance.
Compatible Models Include:
- 596.69979000, 596.69979001, 596.69979010, 596.69979011, 596.69979012, 596.69979013, 596.69979014
- 596.69980000, 596.69980001, 596.69980010, 596.69980011
- 596.69982000, 596.69982001, 596.69982010, 596.69982011, 596.69982012, 596.69982013, 596.69982014
- 596.69983000, 596.69983001, 596.69983010, 596.69983011, 596.69983012, 596.69983013, 596.69983014
- 596.69984000, 596.69984001, 596.69984010, 596.69984011
- 596.69989000, 596.69989001, 596.69989010, 596.69989011, 596.69989012, 596.69989013, 596.69989014
4. Package Contents
Upon opening the package, please verify that all components are present and undamaged.
- 1 x Replacement Jazz Control Board
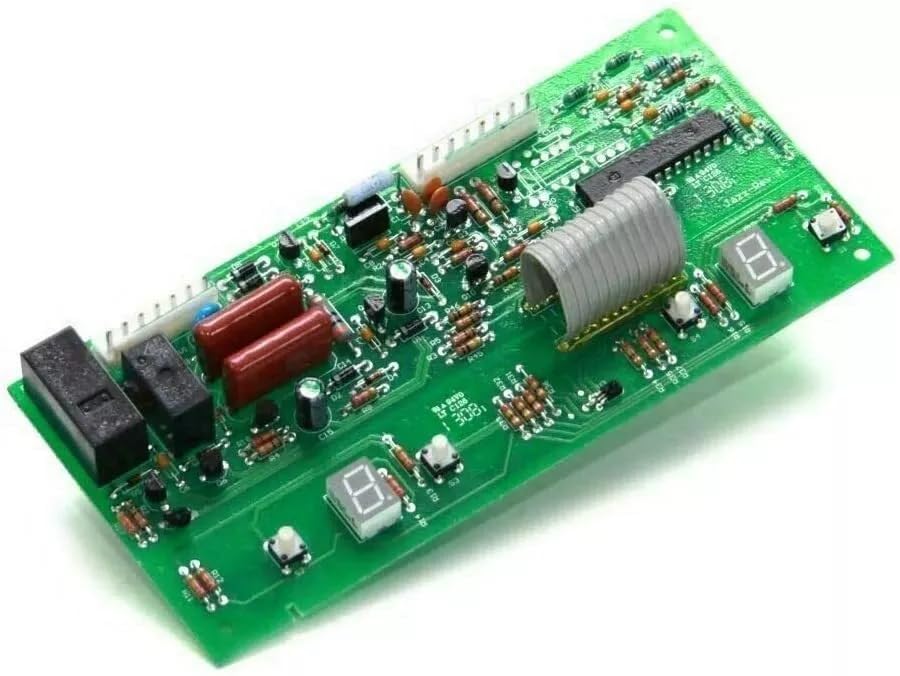
Image 1: The Replacement Jazz Control Board. This image shows the overall layout of the circuit board, including integrated circuits, resistors, capacitors, relays, and multiple white connectors for wiring harnesses.
5. Setup and Installation
This section outlines the general steps for replacing the Jazz Control Board. Specific procedures may vary slightly depending on your refrigerator model. Always refer to your appliance's service manual for detailed instructions if available.
- Disconnect Power: Unplug the refrigerator from the electrical outlet. This is a critical safety step.
- Access the Control Board: Locate the existing Jazz Control Board. This is typically found in the back of the refrigerator, behind an access panel, or sometimes within the control panel housing. You may need a screwdriver to remove screws securing the access panel.
- Document Wiring: Before disconnecting any wires, take clear photographs of the existing wiring connections. This will serve as a reference for reconnecting the new board. Note the color and position of each wire.
- Disconnect Wires: Carefully disconnect all wiring harnesses and individual wires from the old control board. Gently pull on the plastic connectors, not the wires themselves.
- Remove Old Board: Unmount the old control board from its housing. It may be secured by screws, clips, or tabs.
- Install New Board: Position the new Jazz Control Board into the housing, ensuring it aligns correctly with mounting points. Secure it with any screws, clips, or tabs that held the old board.
- Reconnect Wires: Using your photographs as a guide, carefully reconnect all wiring harnesses and individual wires to the corresponding terminals on the new control board. Ensure all connections are secure.
- Secure Access Panel: Replace any access panels or covers that were removed, securing them with their original screws.
- Restore Power: Plug the refrigerator back into the electrical outlet.
- Test Functionality: Monitor the refrigerator's operation to ensure proper cooling, defrost cycles, and display functionality.

Image 2: Close-up view of the control board's connectors. This image emphasizes the white multi-pin connectors where wiring harnesses from the refrigerator will attach, crucial for correct installation.

Image 3: Alternative angle of the control board. This view provides additional perspective on the board's layout and component placement, aiding in visual identification during installation.
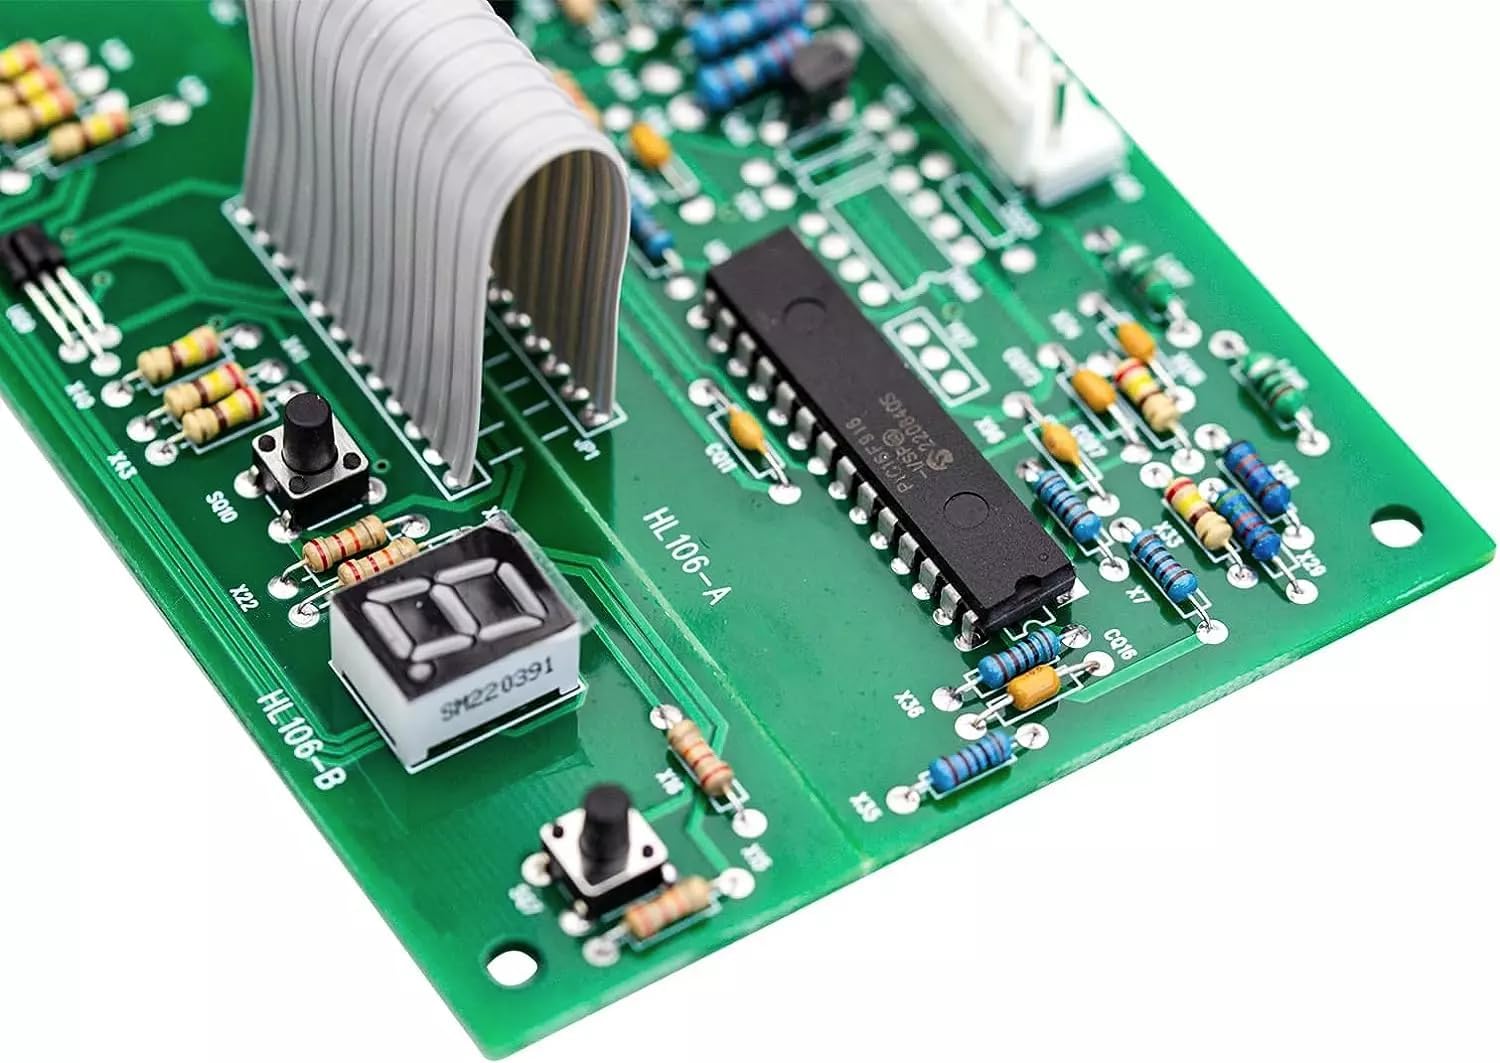
Image 4: Detailed view of a specific section of the control board. This close-up highlights an integrated circuit (chip) and surrounding smaller components, demonstrating the intricate design of the board.
6. Operation Overview
The Jazz Control Board serves as the central processing unit for your refrigerator's cooling and defrost systems. It receives input from various sensors (e.g., temperature sensors) and controls components such as the compressor, fans, and defrost heater to maintain optimal internal temperatures and prevent ice buildup. A properly functioning control board ensures efficient energy use and consistent food preservation.
7. Maintenance
The Jazz Control Board itself requires no routine maintenance. To ensure its longevity and the overall health of your refrigerator:
- Keep the area around the refrigerator clean and free of dust to prevent overheating of components.
- Ensure proper ventilation around the condenser coils.
- Avoid exposing the control board to excessive moisture or extreme temperatures.
- Periodically check wiring connections for looseness or signs of wear. (Ensure power is disconnected before checking).
8. Troubleshooting
If your refrigerator continues to exhibit problems after installing the new control board, consider the following common issues:
| Problem | Possible Cause | Solution |
|---|---|---|
| Refrigerator not cooling | Incorrect wiring, faulty compressor, sealed system issue, or other component failure (e.g., fan motor). | Verify all wiring connections are secure. Check other components like the compressor and fan motors. Consult a technician if the issue persists. |
| Temperature fluctuations | Faulty temperature sensor, door seal issues, or improper ventilation. | Inspect door seals for damage. Ensure refrigerator has adequate clearance for ventilation. Test temperature sensors if possible. |
| Display issues or no power | Loose power connection, tripped circuit breaker, or other electrical fault. | Ensure the refrigerator is securely plugged in. Check your home's circuit breaker. Verify all connections to the control board are firm. |
| Refrigerator not defrosting | Faulty defrost heater, defrost thermostat, or defrost timer (if applicable). | The control board manages defrost cycles. If the board is new, check the defrost heater and thermostat for continuity. |
If troubleshooting steps do not resolve the issue, it is recommended to seek assistance from a qualified appliance repair technician.
9. Specifications
- Manufacturer: guyentruonganh
- Part Number: 596.69979010, 596.69979011
- Product Dimensions: 1 x 1 x 1 inches (Approximate)
- Item Model Number: 596.69979000, 596.69979001
- Voltage: 120 Volts
- Wattage: 60.00 Watts
- Included Components: As Pictured (1 x Replacement Jazz Control Board)
10. Warranty and Support
For any issues encountered during use or for further assistance, please contact the seller directly. Customer satisfaction is a top priority, and support will be provided to address your concerns.