Introduction
Thank you for choosing the AMERLIFE Nightstand Set of 2. This manual provides detailed instructions for the assembly, operation, and maintenance of your new nightstands. Please read all instructions carefully before beginning assembly and retain this manual for future reference.
Safety Information
Important Safety Warnings:
- Always follow the assembly instructions provided.
- Do not exceed the maximum weight recommendation of 110 pounds (50 kg) on the top surface to ensure stability and prevent accidents.
- This product is designed for indoor use only.
- Keep small parts away from children during assembly.
- Ensure all connections are securely tightened before use. Periodically check and re-tighten as necessary.
Package Contents
Your AMERLIFE Nightstand Set of 2 package includes:
- Two (2) AMERLIFE Nightstands (Model CNS165)
- All necessary hardware for assembly
- One (1) Assembly Guide

Image: The product arrives in a single package containing both nightstands and all components.
Assembly Instructions
The AMERLIFE Nightstand Set of 2 requires self-assembly. For optimal results, two people are recommended for assembly. A screwdriver is the only tool recommended for assembly.
- Unpack Components: Carefully unpack all parts and hardware. Verify that all components listed in the assembly guide are present.
- Follow the Assembly Guide: Refer to the included Assembly Guide for step-by-step instructions specific to your nightstands. Each part is labeled for easy identification.
- Secure Connections: Ensure all screws and fasteners are tightened securely. Do not overtighten to avoid damaging the material.
- Install Drawers: Carefully install the drawers onto the under-mounted slides, ensuring smooth operation.
- Attach Handles and Feet: Secure the electroplated strip handles to the drawers and the electroplated metal cabinet feet to the base of the nightstands.

Image: This diagram illustrates that the product is a KD (Knock-Down) flat-pack requiring multi-step self-assembly, with two people recommended and tools required. It also includes a color disclaimer.

Image: Visual guide for assembly, highlighting that it is a multi-step self-assembly process, two people are recommended, and tools are required. It also notes that in-home installation is not included.
Operating Instructions
The AMERLIFE Nightstands are designed for simple and efficient use.
- Drawer Operation: Each nightstand features two spacious drawers with smooth under-mounted slides. To open, gently pull the electroplated strip handle. To close, push the drawer back until it is fully seated.
- Storage Capacity: The drawers provide ample storage for various items such as books, clothes, chargers, medicines, glasses, phones, and tablets.

Image: A pair of white nightstands with their drawers open, demonstrating the spacious storage available for various items.

Image: This diagram highlights the two large drawers and suggests various items for storage, including chargers, medicines, glasses, books, phones, and tablets, emphasizing space optimization.

Image: A close-up view of the under-mounted slides, illustrating their design for stable and smooth drawer movement.
Maintenance and Care
Proper care will ensure the longevity and appearance of your AMERLIFE Nightstands.
- Cleaning: Wipe with a damp cloth. Avoid harsh chemicals or abrasive cleaners, which can damage the high-gloss UV finish.
- Stain Resistance: The high-gloss UV finish is designed to resist stains. Clean spills promptly to maintain the finish.
- Surface Protection: Use coasters or protective pads under items placed on the top surface to prevent scratches.
- Hardware Check: Periodically check all screws and connections to ensure they remain tight. Re-tighten if necessary.

Image: The spacious desktop of the nightstand, featuring a UV high-gloss MDF panel, shown with a lamp and books.

Image: A close-up view of the sleek and glossy UV paint treatment on the surface, designed to resist scratches and fading.
Troubleshooting
If you encounter any issues with your AMERLIFE Nightstands, please refer to the following common solutions:
- Wobbly Nightstand: Check all leg and frame connections. Tighten any loose screws. Ensure the nightstand is placed on a level surface.
- Drawers Not Sliding Smoothly: Verify that the drawer slides are correctly installed and free from obstructions. Ensure the drawers are not overloaded.
- Missing Parts: If any parts are missing upon arrival, please contact customer support with your purchase details.
Specifications
| Feature | Detail |
|---|---|
| Brand | AMERLIFE |
| Model Number | CNS165 |
| Product Dimensions (D x W x H) | 15.7" x 23.6" x 22" (40 cm x 60 cm x 56 cm) |
| Item Weight | 39.7 Pounds (18 kg) |
| Maximum Weight Recommendation (Top) | 110 Pounds (50 kg) |
| Frame Material | Medium-Density Fiberboard (MDF) |
| Top Material Type | Engineered Wood |
| Color | White |
| Furniture Finish | High Gloss UV Finish |
| Handle Material | Aluminum (Electroplated) |
| Leg Style | Electroplated Metal Cabinet Feet |
| Number of Drawers | 2 per nightstand |
| Assembly Required | Yes |
| Recommended People for Assembly | 2 |
| Recommended Tools for Assembly | Screwdriver |
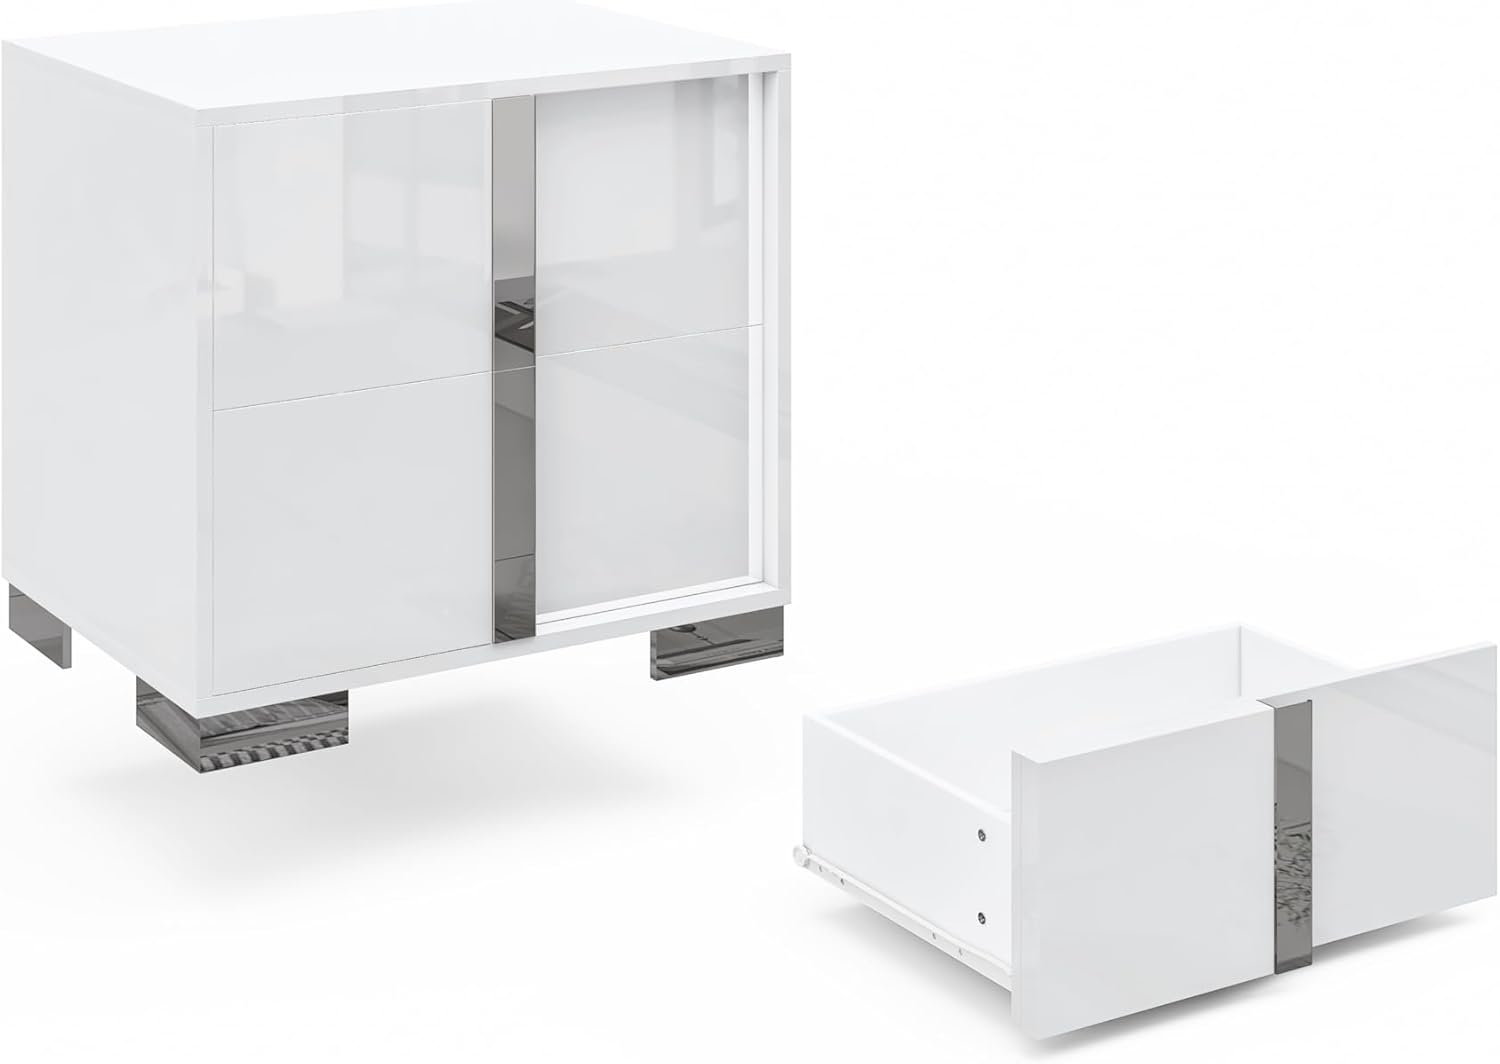
Image: Detailed dimensions of the nightstand, including overall height (22"), width (23.6"), depth (15.7"), and internal drawer dimensions (20"L x 11.4"W x 5.1"H). Also indicates a maximum load of 110 lbs on the top.

Image: A close-up view of the electroplated strip handles, showcasing their sleek design and reflective quality.

Image: A detailed view of the electroplated long strip handle, emphasizing its shiny metallic sheen and contribution to the furniture's modern aesthetic.

Image: A close-up view of the electroplated metal cabinet feet, highlighting their design and finish.

Image: A detailed view of the electroplated metal cabinet feet, indicating a height of 1.96 inches and noting their role in providing stability and a stylish touch.
Warranty and Support
For warranty information or customer support, please refer to the documentation included with your purchase or contact the retailer. Keep your purchase receipt for any warranty claims.