1. Introduction
Welcome to the Kayoote S1 Mini PC user manual. This guide provides essential information for setting up, operating, and maintaining your new mini computer. The Kayoote S1 is a compact and powerful device, featuring an Intel Twin Lake-N150 processor, 16GB DDR4 RAM, and a 512GB SSD, designed for efficient performance in various applications.

Figure 1: Compact Design. The Kayoote S1 Mini PC is designed to be lightweight and portable, easily fitting into various workspaces.
What's in the Box
- 1 x Kayoote S1 Mini PC
- 1 x DC 12V Power Adapter
- 1 x HDMI Cable
- 1 x User Manual
- 1 x VESA Mount Bracket (optional, may vary by package)
2. Product Overview
The Kayoote S1 Mini PC is designed for versatility and performance in a small form factor. Below is an overview of its physical features and connectivity options.

Figure 2: Kayoote S1 Mini PC Six-Sided Diagram. This image illustrates the various ports and overall compact design of the Kayoote S1 Mini PC from multiple angles, including front, back, sides, top, and bottom views.
Front Panel
- Power Button
- USB 3.0 Type-A Ports (x2)
Rear Panel
- HDMI Type A 1.4 Ports (x2)
- RJ45 Gigabit Ethernet Ports (x2)
- USB 2.0 Type-A Ports (x2)
- 3.5mm Phone Jack (Audio-in/out)
- DC 12V Power Input
3. Setup Guide
Follow these steps to set up your Kayoote S1 Mini PC for the first time.
- Connect to Display: Connect your monitor or TV to one of the HDMI ports on the rear panel using an HDMI cable.
- Connect Peripherals: Plug in your USB keyboard and mouse into the available USB ports.
- Connect to Network: For a wired connection, connect an Ethernet cable to one of the RJ45 ports. For wireless, ensure your WiFi network is available after the operating system is installed.
- Connect Power: Plug the DC 12V power adapter into the power input port on the mini PC, then connect the adapter to a power outlet.
- Power On: Press the power button on the front panel to turn on the mini PC.
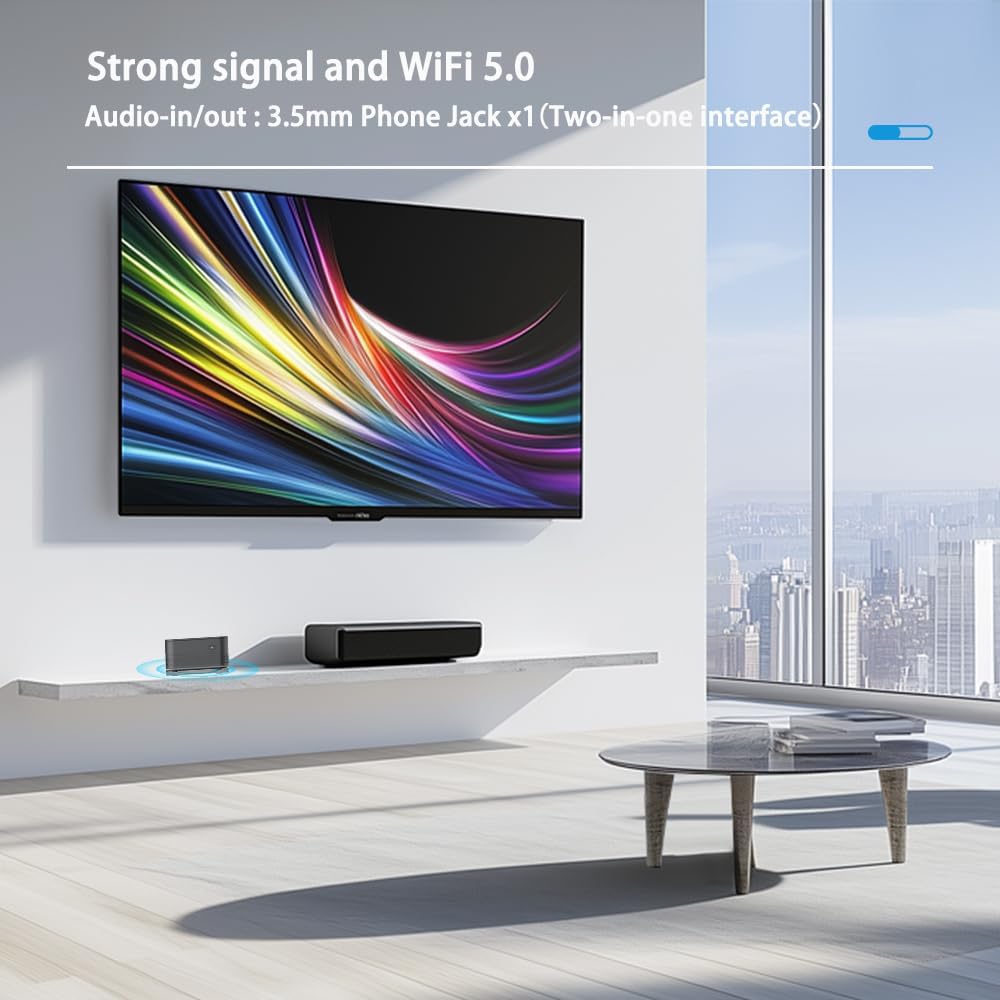
Figure 3: Connectivity Example. The Kayoote S1 Mini PC connected to a display, highlighting its wireless capabilities and audio output options.
4. Hardware Upgrade (SSD & RAM)
The Kayoote S1 Mini PC allows for upgrades to its SSD and DDR4 RAM. Always ensure the device is powered off and disconnected from the power source before performing any internal hardware changes.

Figure 4: Internal Components. An internal view of the Kayoote S1 Mini PC, showing the locations for the M.2 2280 SSD and DDR4 RAM modules.
Upgrading SSD
- Access Internal Compartment: Locate the quick-mount plate on the bottom of the Mini PC. Flip it open and remove the plate carefully to access the internal components.
- Remove Existing SSD (if applicable): Identify the M.2 2280 SSD. Unscrew the retaining screw and gently pull the SSD out of its slot.
- Install New SSD: Align the new M.2 2280 SSD with the slot, ensuring the notch corresponds to the protrusion. Insert it at an angle and gently push down until it clicks into place. Secure it with the retaining screw.
Upgrading RAM
- Access Internal Compartment: Follow step 1 from the SSD upgrade section to open the Mini PC.
- Remove Existing RAM (if applicable): Locate the DDR4 RAM module(s). Gently push the clips at both ends of the module outward. The RAM module will pop up at an angle, allowing you to pull it out.
- Install New RAM: Align the new DDR4 RAM module with the slot, making sure the notch corresponds to the protrusion. Insert it at an angle until it's fully inserted so that the clips at both ends automatically clamp tightly.
Reassembly
- Replace Quick-Mount Plate: Carefully place the removed top quick-mount plate back onto the Mini PC.
- Secure Latch: Lock the latch by doing the opposite of how you opened it, ensuring the plate is securely fastened.
5. Operating System Installation
The Kayoote S1 Mini PC supports Windows 10/11. To install an operating system, you will need a USB flash drive with the OS installation media.
- Prepare USB Installation Media: Download the ISO image file of your desired operating system (e.g., Windows 11) and use a tool like Rufus or the Media Creation Tool to create a bootable USB flash drive.
- Connect USB Drive: Insert the bootable USB flash drive into an available USB port on the Mini PC.
- Access Boot Menu: Power on the Mini PC and repeatedly press the F7 key (or consult your specific BIOS/UEFI key, often F2 or DEL) to enter the boot interface.
- Select USB Device: From the boot menu, select your USB flash drive as the boot device.
- Follow On-Screen Prompts: The operating system installation wizard will begin. Follow the on-screen instructions to complete the installation process.
- Remove USB Drive: Once the installation is complete and the system restarts, remove the USB flash drive. The Mini PC will then boot into the newly installed operating system.
6. Connectivity
The Kayoote S1 Mini PC offers a range of connectivity options for various uses.
Wireless Connectivity
- Wi-Fi 5: Supports fast wireless internet connections.
- Bluetooth 4.2: For connecting wireless peripherals such as keyboards, mice, and headphones.
Wired Connectivity
- Dual LAN (RJ45): Two Gigabit Ethernet ports for stable and high-speed wired network connections.
- USB Ports: Two USB 2.0 Type-A and two USB 3.0 Type-A ports for connecting various USB devices.
- HDMI Ports: Two HDMI Type A 1.4 ports supporting dual 4K@60Hz displays.
- Audio Jack: A 3.5mm phone jack for audio input/output.

Figure 5: Wireless Connectivity in Use. The Kayoote S1 Mini PC facilitating a meeting with its wireless connectivity features.

Figure 6: Triple Display Setup. An example of the Kayoote S1 Mini PC supporting a smooth three-screen linkage for enhanced productivity or creative work.
7. Specifications
Detailed technical specifications for the Kayoote S1 Mini PC.
| Feature | Detail |
|---|---|
| Operating System | Windows 10/11 (Pre-installed or user-installable) |
| CPU | Intel Twin Lake-N150 (Up to 3.6GHz, 4-core, 4-thread) |
| RAM | 16GB DDR4 (Expandable) |
| Storage | 512GB M.2 2280 SSD (Expandable up to 2TB) |
| Graphics | Intel Graphics |
| Display Output | 2x HDMI Type A 1.4 (Supports dual 4K@60Hz) |
| Wireless Connectivity | WiFi 5, Bluetooth 4.2 |
| Wired Connectivity | 2x RJ45 Gigabit LAN |
| USB Ports | 2x USB 2.0 Type-A, 2x USB 3.0 Type-A |
| Audio | 1x 3.5mm Phone Jack (Audio-in/out) |
| Power Adapter | Input: 100~240V 50/60Hz, Output: 12V/4A DC |
| Dimensions | 5.11 x 4.92 x 1.58 inches |
| Weight | 0.79 pounds |
8. Troubleshooting
This section provides solutions to common issues you might encounter with your Kayoote S1 Mini PC.
No Power / System Not Starting
- Ensure the power adapter is securely connected to both the Mini PC and a working power outlet.
- Verify the power outlet is functional by plugging in another device.
- Check the power adapter for any visible damage.
No Display Output
- Confirm the HDMI cable is securely connected to both the Mini PC and the monitor.
- Ensure the monitor is powered on and set to the correct input source (HDMI 1 or HDMI 2).
- Try a different HDMI cable or monitor if available.
Network Connectivity Issues
- Wired: Check if the Ethernet cable is properly connected to both the Mini PC and your router/modem. Verify router/modem status.
- Wireless: Ensure Wi-Fi is enabled in the operating system settings. Check if the correct Wi-Fi network is selected and the password is entered correctly.
Slow Performance
- Close unnecessary applications running in the background.
- Ensure your operating system and drivers are up to date.
- Check for sufficient free storage space on the SSD.
- Consider upgrading RAM or SSD if performance issues persist during demanding tasks.
9. Safety Information
To ensure safe operation and prolong the life of your Kayoote S1 Mini PC, please observe the following safety guidelines:
- Do not expose the device to water, moisture, or extreme temperatures.
- Avoid placing the device in direct sunlight or near heat sources.
- Ensure adequate ventilation around the Mini PC to prevent overheating.
- Use only the provided power adapter or a compatible replacement.
- Do not attempt to open or repair the device yourself, as this may void the warranty and cause damage.
- Keep the device away from strong magnetic fields.
- Handle with care to avoid physical damage.
10. Warranty and Support
Kayoote provides comprehensive support for the S1 Mini PC.
- All Kayoote Mini PCs undergo strict inspection before shipping.
- For any product-related questions or pre-purchase consultations, please contact customer support.
- We offer free and reliable lifetime after-sales technical support.
- 7*24 hours online customer service is available for your convenience.
For further assistance, please refer to the official Kayoote website or contact their customer service directly.