1. Overview
The Upperizon Portable Monitor M215FH is a 21.5-inch Full HD (1920x1080) display designed for enhanced productivity and entertainment on the go. It features a 120Hz refresh rate, 110% sRGB color gamut, 8-bit color depth, 300 nits brightness, and a 1300:1 contrast ratio for vibrant and sharp visuals. With its ultra-slim, frameless, and lightweight design, built-in kickstand, and VESA compatibility, this monitor offers flexibility for various setups.
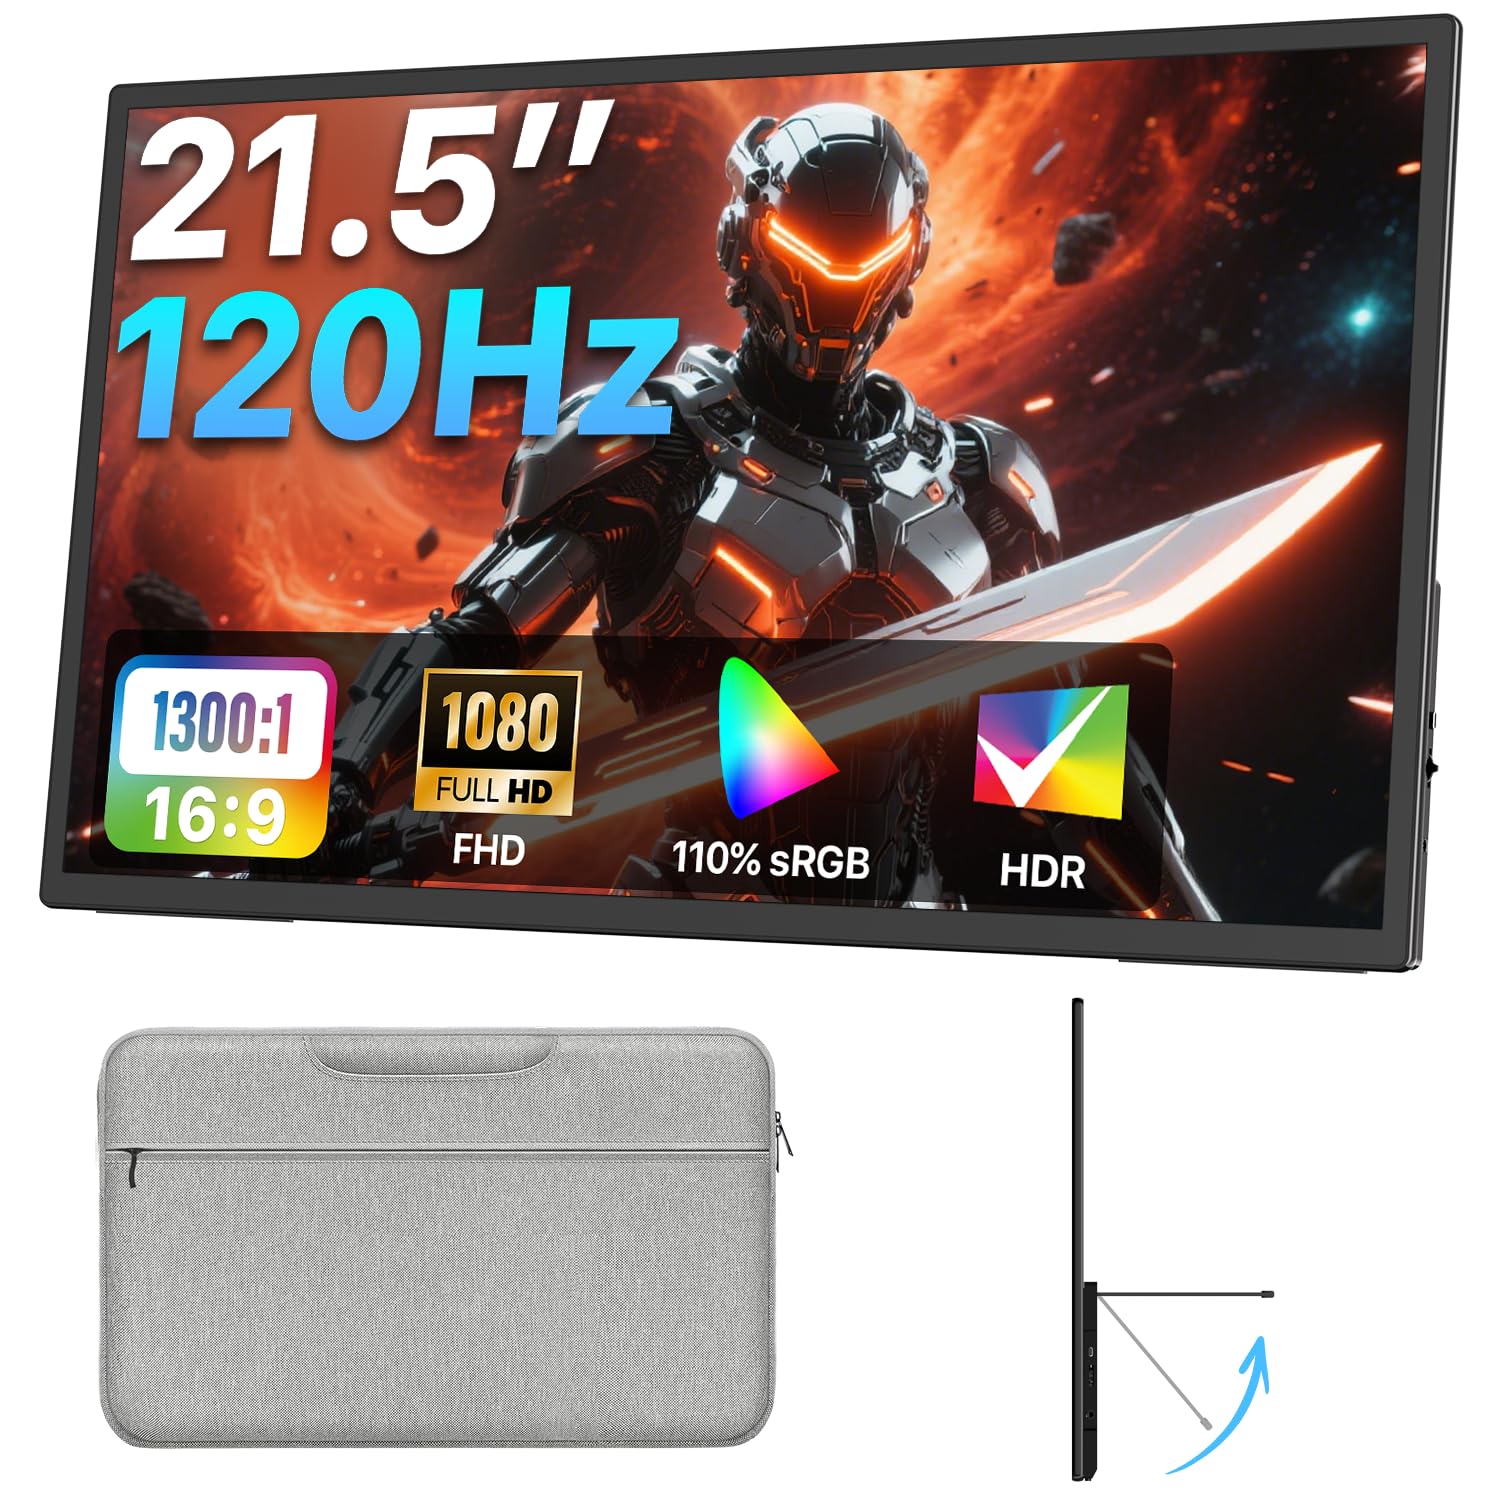
Image 1.1: The Upperizon 21.5-inch Portable Monitor in use, showcasing its display quality.
2. What's in the Box
Please check the package contents to ensure all items are present:
- 1 × Upperizon 21.5-inch Portable Monitor
- 1 × USB-C to USB-C cable (full-featured)
- 1 × HDMI cable
- 1 × Power Adapter (45W PD Charger with 5ft Cable)
- 1 × Sleeve Case

Image 2.1: All items included in the Upperizon Portable Monitor package.
3. Setup Instructions
3.1 Physical Setup
The monitor features an integrated kickstand and VESA mount compatibility for flexible placement.
- Using the Kickstand: The built-in kickstand allows for adjustment up to 90 degrees, providing various viewing angles. Simply extend the kickstand from the back of the monitor to your desired angle.
- VESA Mounting: For a more permanent setup, the monitor supports a 75x75mm VESA mount. This allows attachment to a monitor arm or wall mount (VESA stand not included). Ensure the VESA mount screws are M4*5mm.

Image 3.1: The monitor's adjustable kickstand and VESA mounting points.
3.2 Connecting to Devices
The monitor offers versatile connectivity options for various devices.
3.2.1 USB-C Connection (Plug & Play)
For devices with a full-featured USB-C port (supporting Thunderbolt 3/4/5 or DisplayPort Alt Mode), a single USB-C to USB-C cable can transmit both video signal and power.
- Connect one end of the full-featured USB-C cable to your device's compatible USB-C port.
- Connect the other end to one of the USB-C ports on the monitor.
- If the screen flickers or does not power on, connect the provided power adapter to the monitor's power input.
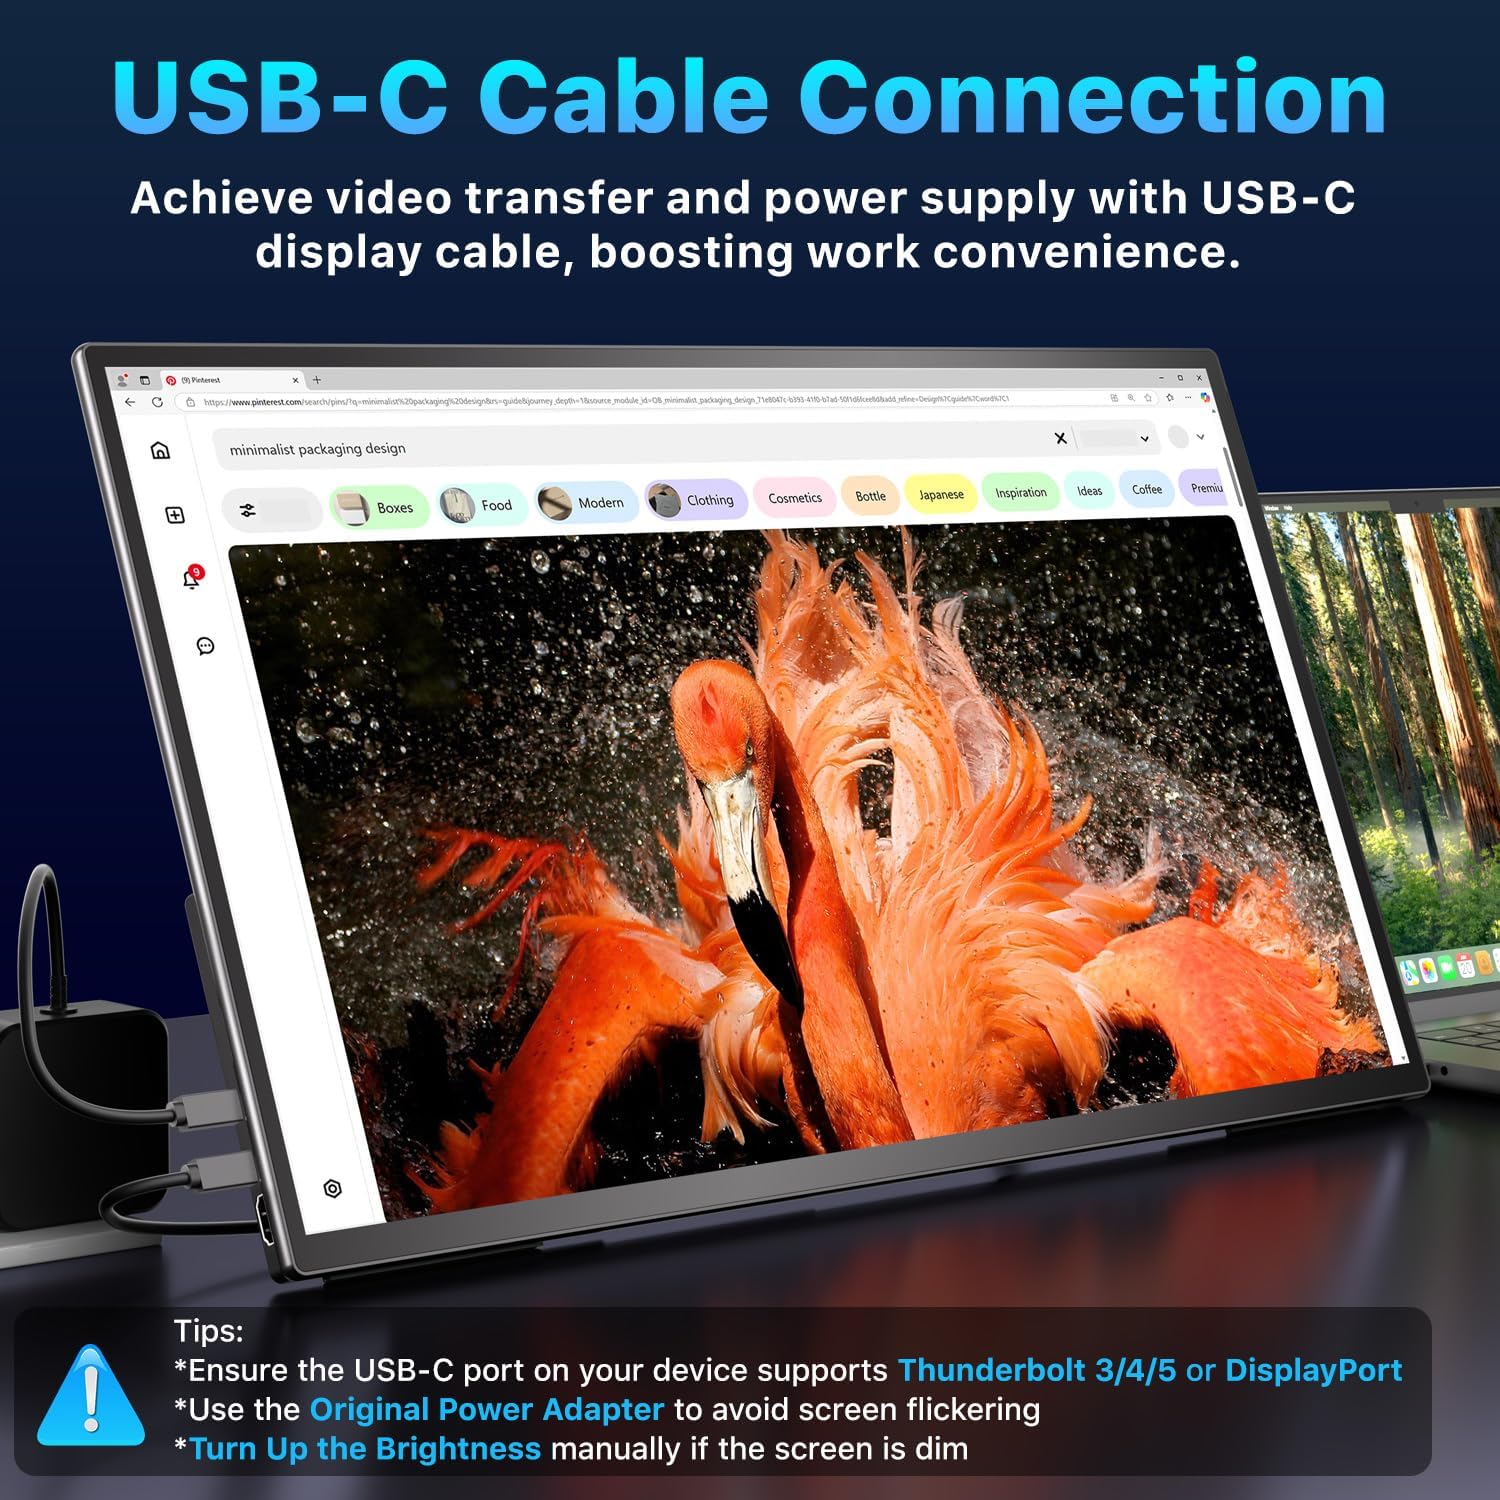
Image 3.2: USB-C cable connection for video and power.
3.2.2 HDMI Connection
When using HDMI, a separate power source is required for the monitor.
- Connect one end of the HDMI cable to your device's HDMI output.
- Connect the other end to the HDMI port on the monitor.
- Connect the provided power adapter to the monitor's power input to supply power.
- Ensure your laptop/device supports HDMI 1.4 or higher for 120Hz refresh rate.

Image 3.3: HDMI cable and power cable connection.
3.2.3 Specific Device Considerations
- MacBook: Compatible with Apple M1/M2/M3/M4 and Intel Processor MacBooks via USB-C. Older MacBooks may require a Mini DP to HDMI adapter.
- Mac Mini: Connect to the rear USB-C ports for display. Do not connect to the front USB-C ports.
- Gaming Consoles (PS5, Xbox, Steam Deck): Use the HDMI connection for optimal performance. USB-C is not compatible with some gaming consoles.

Image 3.4: Connecting the monitor to a Mac Mini.
4. Operating Instructions
4.1 OSD Menu Navigation
The monitor features intuitive buttons for navigating the On-Screen Display (OSD) menu and adjusting settings:
- Power / Exit: Press to turn the monitor on/off. When in the OSD menu, press to exit.
- Up / Brightness: Press to navigate up in the OSD menu or to increase brightness.
- Down / Volume: Press to navigate down in the OSD menu or to adjust volume.
- Menu / Confirm: Press to enter the OSD menu or confirm a selection.

Image 4.1: Monitor control buttons and port layout.
4.2 Display Modes
You can configure the monitor to work in various display modes with your connected device:
- Extend Mode: Expands your desktop across both screens, allowing for increased workspace.
- Mirror Mode: Duplicates your primary screen's content onto the portable monitor.
- Portrait Mode: The monitor can be rotated to a vertical orientation for reading documents or coding (Note: Portrait mode is not supported when connecting to iPad or smartphone).

Image 4.2: Various display modes for enhanced productivity.
4.3 120Hz Refresh Rate
The 120Hz refresh rate provides smoother visuals, especially beneficial for gaming and fast-paced content. Ensure your connected device and cable support this refresh rate (HDMI 1.4 or higher for HDMI connections).

Image 4.3: Visual representation of 120Hz refresh rate benefits.
4.4 HDR Technology
The monitor supports HDR (High Dynamic Range) technology, offering a wider range of colors and contrast for a more immersive visual experience. Enable HDR through the monitor's OSD menu and your device's display settings (e.g., Windows or macOS display settings).

Image 4.4: Enabling HDR for enhanced visual quality.
5. Maintenance
5.1 Cleaning the Monitor
- Always power off the monitor and disconnect all cables before cleaning.
- Use a soft, lint-free cloth lightly dampened with water or a non-abrasive screen cleaner.
- Do not spray cleaner directly onto the screen.
- Avoid using alcohol, ammonia, or abrasive cleaners, as these can damage the screen surface.
5.2 Storage
- When not in use, store the monitor in its provided sleeve case to protect it from scratches and dust.
- Store in a cool, dry place away from direct sunlight and extreme temperatures.
6. Troubleshooting
6.1 No Signal / Black Screen
- Check Cables: Ensure all cables (USB-C or HDMI and power) are securely connected to both the monitor and your device.
- Power Supply: If using HDMI, ensure the monitor is connected to the power adapter. If using USB-C and experiencing issues, connect the power adapter.
- Device Compatibility: Verify your device's USB-C port supports video output (Thunderbolt 3/4/5 or DisplayPort Alt Mode).
- Display Settings: On your computer, press Windows key + P (for Windows) or go to System Settings > Displays (for macOS) and select the appropriate display mode (Extend, Duplicate, or Second screen only).
6.2 Screen Flickering
- Insufficient Power: This is often caused by insufficient power. Connect the provided power adapter to the monitor.
- Cable Quality: Ensure you are using the original cables provided or high-quality, full-featured cables.
6.3 No Audio from Monitor Speakers
- Volume Settings: Check the monitor's volume settings via the OSD menu and your device's audio output settings.
- Audio Output: Ensure the monitor is selected as the audio output device on your computer or connected device.
6.4 Image Quality Issues (Blurry, Distorted)
- Resolution: Ensure the display resolution on your device is set to 1920x1080 (FHD).
- Refresh Rate: Verify the refresh rate is set correctly (e.g., 120Hz) in your device's display settings.
- Cable Connection: Reconnect the video cable to ensure a stable connection.
7. Specifications
| Feature | Specification |
|---|---|
| Model Number | M215FH |
| Screen Size | 21.5 Inches |
| Resolution | 1920 x 1080 Pixels (FHD 1080p) |
| Aspect Ratio | 16:9 |
| Refresh Rate | 120Hz |
| Color Gamut | 110% sRGB |
| Brightness | 300 Candela (nits) |
| Contrast Ratio | 1300:1 |
| Screen Surface | Matte |
| Connectivity | USB-C (Full-featured), HDMI |
| Total USB Ports | 1 (USB-C for display/power) |
| Built-in Speakers | Yes |
| Kickstand | Integrated, adjustable up to 90° |
| VESA Compatibility | 75x75mm |
| Product Dimensions | 0.55 x 19.4 x 11.3 inches |
| Item Weight | 3.72 pounds (1690g) |
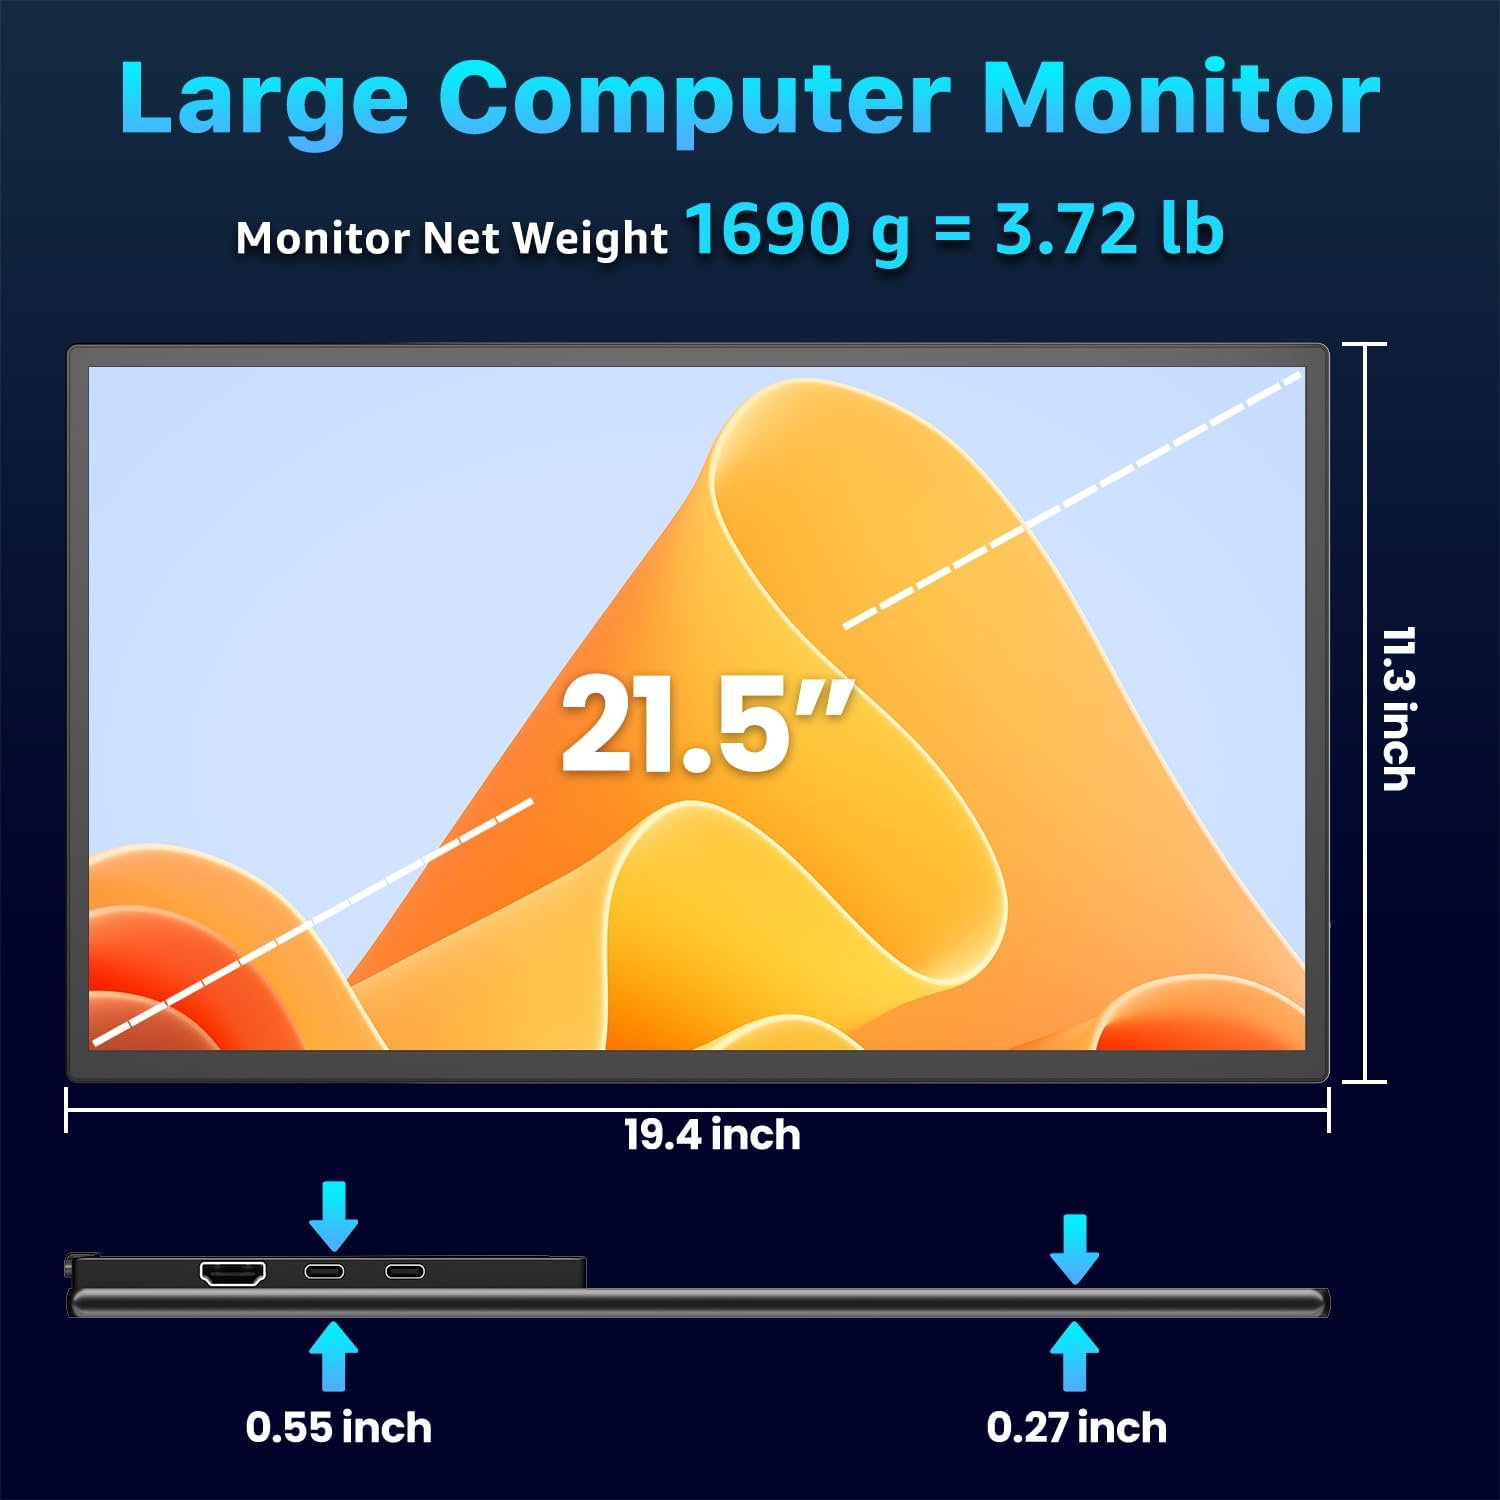
Image 7.1: Physical dimensions and weight of the monitor.
8. Warranty and Support
8.1 Warranty Information
The Upperizon Portable Monitor M215FH typically comes with a 2-year warranty. Please refer to the warranty registration information provided with your product or scan the QR code on the monitor for details on how to register your product and activate your warranty.
8.2 Customer Support
For any issues, questions, or technical assistance, please contact Upperizon customer support. Contact information can usually be found on the product packaging, the official Upperizon website, or by scanning the QR code provided on the monitor for support details.
For returns, the product is eligible for a refund or replacement within 30 days of purchase, subject to the retailer's return policy.