1. Introduction
Thank you for choosing the KEIKI Full Sized Loft Metal Bed. This heavy-duty loft bed is designed to maximize space efficiency, offering a comfortable sleeping area above a functional workspace. It features a built-in desk, integrated charging station, and lighting, making it an ideal solution for bedrooms and dormitories. Please read this manual thoroughly before assembly and use to ensure safe and proper operation.

Image 1.1: Overview of the KEIKI Full Sized Loft Metal Bed in black, showcasing the integrated desk and stairs.
2. Safety Guidelines
Your safety is paramount. Adhere to the following guidelines to prevent injury or damage to the product.
- Weight Capacity: Do not exceed the maximum weight capacity of 400 pounds for the bed frame.
- Mattress Requirements: Ensure the top of the mattress is at least 5 inches from the edge of the guardrail. A mattress thickness of 4-6 inches is recommended.
- Guardrails: Always ensure all guardrails are securely in place before use.
- Anti-Tipping Nails: Utilize the provided anti-tipping nails to securely fasten the bed to the wall for enhanced stability and safety.
- Assembly: Assembly should be performed by at least two adults. Follow all assembly steps precisely.
- Regular Checks: Periodically check all bolts and connections to ensure they remain tight.
- No Jumping: Do not jump on the bed.
- Electrical Safety: Ensure the charging station is connected to a properly grounded outlet. Do not overload the outlets.
3. Package Contents
Before beginning assembly, verify that all components listed below are present and undamaged. If any parts are missing or damaged, contact customer support immediately.
| Component | Quantity | Description |
|---|---|---|
| Metal Bed Frame Sections | Various | Main structural components of the loft bed. |
| Metal Slats | Set | Support for the mattress. |
| Stairs with Shelves | 1 | Access to the loft bed, includes integrated storage shelves. |
| Integrated Desk | 1 | Work surface located beneath the loft bed. |
| Charging Station | 1 | Power outlets and USB ports. |
| LED Lighting Strip | 1 | Under-bed lighting for the desk area. |
| Cloth Storage Bags | 2 | Attachable bags for small items. |
| Hardware Pack | 1 | Bolts, screws, Allen wrench, anti-tipping nails. |
4. Assembly Instructions
Follow these steps carefully for proper assembly. It is recommended to have at least two people for assembly.
- Unpack and Identify: Lay out all components on a clean, soft surface (e.g., a rug or blanket) to prevent scratches. Identify each part using the provided parts list.
- Assemble Base Frame: Begin by connecting the main horizontal and vertical metal frame sections to form the base structure of the loft bed. Secure all connections with the provided bolts and Allen wrench. Do not fully tighten bolts until all sections are aligned.
- Install Desk and Shelves: Attach the integrated desk panel to the designated frame supports. Then, assemble and attach the stairs, ensuring the wooden shelves are securely fastened.
- Attach Bed Platform: Secure the upper bed platform to the main frame. Ensure it is level and all connections are tight.
- Insert Metal Slats: Place the metal slats onto the bed platform supports. Ensure they are evenly spaced and secured according to the instructions.
- Install Guardrails: Attach the full-length guardrails to the top bunk. Verify they are firmly attached and provide adequate safety.
- Mount Charging Station and Lighting: Install the charging station into the pre-drilled slot on the desk. Route the LED lighting strip and secure it under the bed platform for illumination of the desk area.
- Final Tightening: Once all components are in place and aligned, fully tighten all bolts and screws.
- Secure to Wall: Use the provided anti-tipping nails to secure the bed frame to a wall stud. This step is crucial for stability and safety.
- Attach Storage Bags: Hook the two cloth storage bags onto the designated mesh panels or frame sections as desired.

Image 4.1: Detailed dimensional diagram of the loft bed, useful for assembly and space planning.
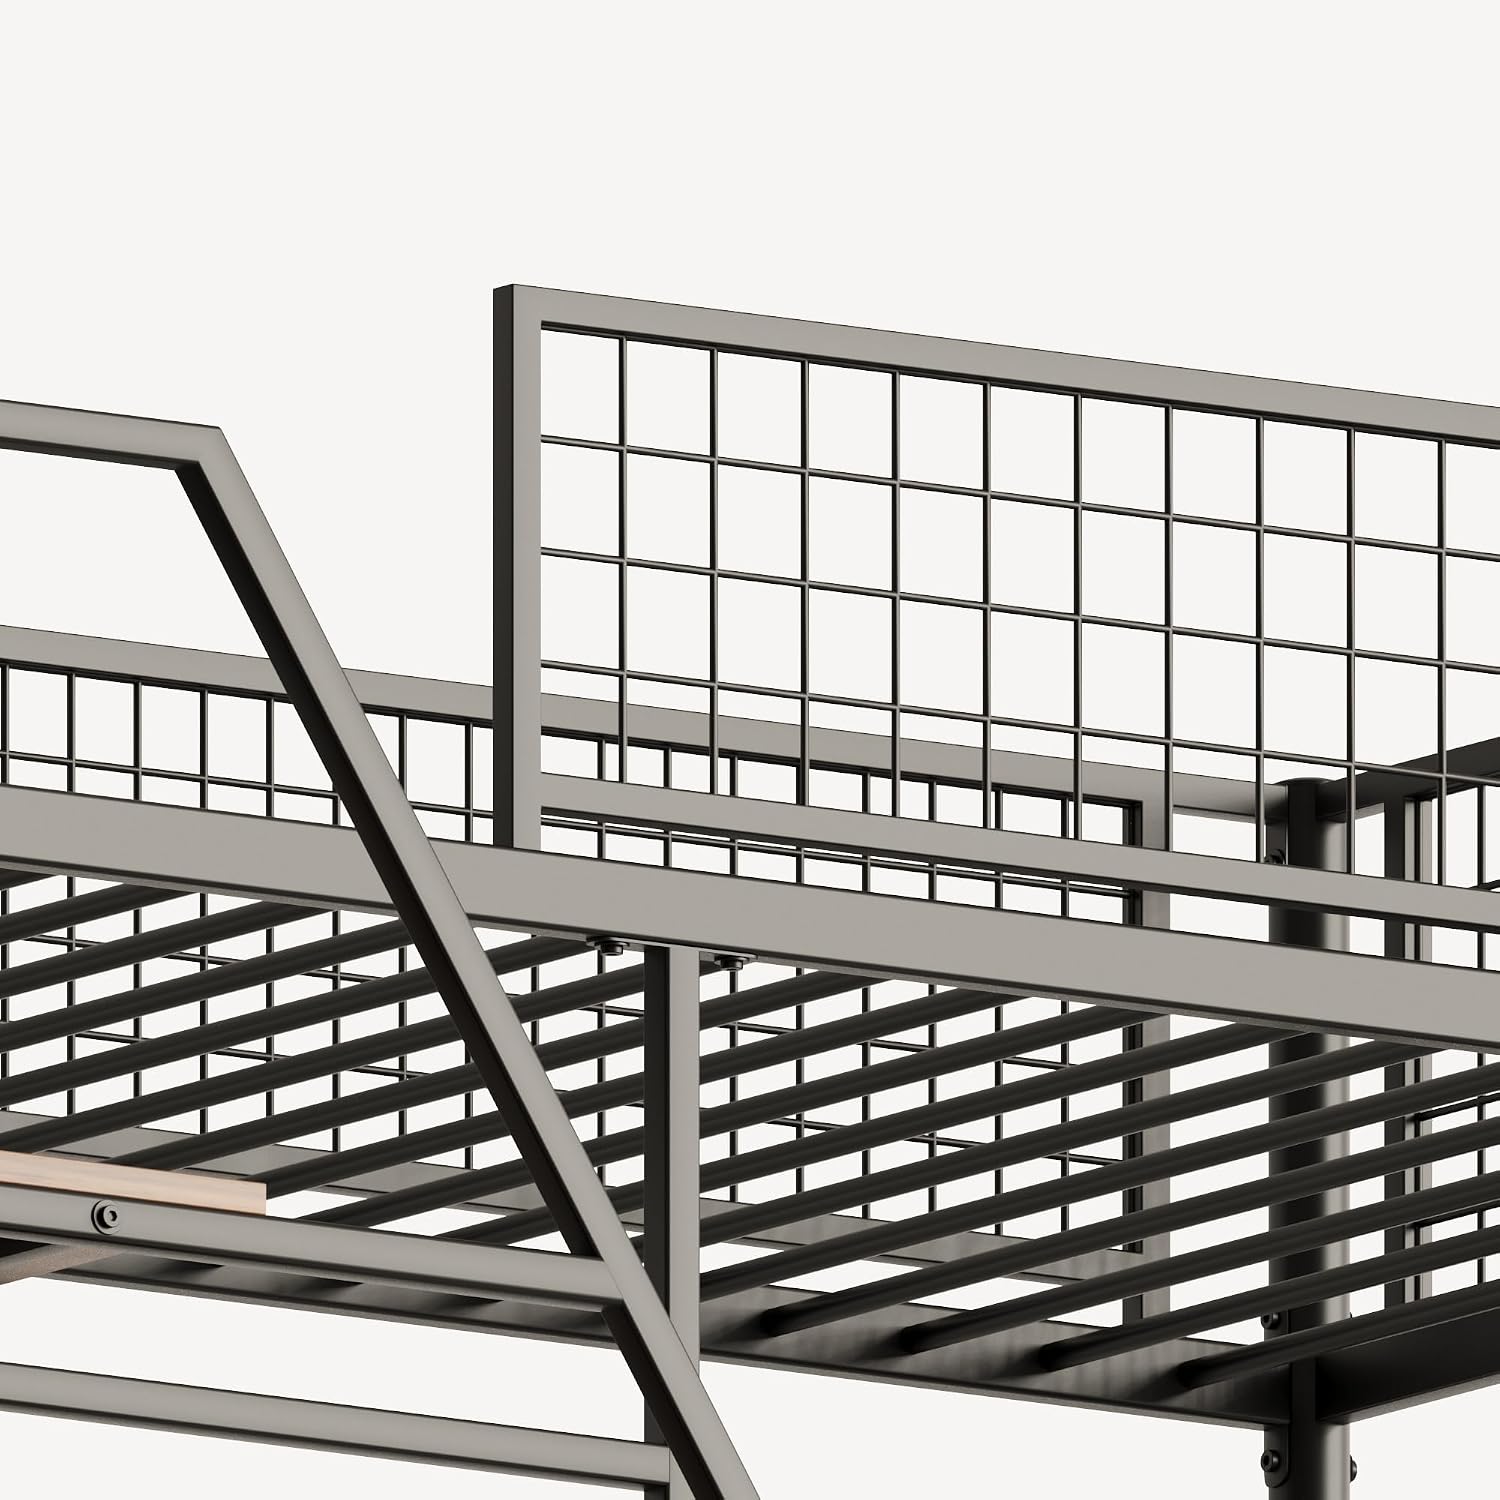
Image 4.2: View of the multi-functional stairs with integrated shelves, providing additional storage.
5. Operating Your Loft Bed
The KEIKI Loft Bed is designed with convenience in mind, integrating several features for daily use.
5.1 Integrated Desk
The spacious desk located beneath the loft bed provides a dedicated area for studying, working, or gaming. Ensure the area is well-lit and free of clutter for optimal use.
5.2 Charging Station
The built-in charging station includes standard power outlets and USB ports. To use, plug the charging station's power cord into a wall outlet. You can then connect your electronic devices for charging.

Image 5.1: Detail of the charging station, showing two power outlets and two USB ports.

Image 5.2: The standard 3-prong power plug for the integrated charging station.
5.3 LED Lighting
The integrated LED lighting strip provides illumination for the desk area. This light is powered via the charging station. Ensure the charging station is plugged in for the light to function.

Image 5.3: Connection point for the LED light belt, which integrates with the charging station.
5.4 Storage Bags
The two storable cloth bags can be attached to the mesh panels or other suitable locations on the bed frame, offering convenient storage for small items like books, remotes, or personal accessories.

Image 5.4: The mesh panel on the side of the bed, designed for attaching the provided cloth storage bags.
6. Care and Maintenance
Proper care will extend the life and appearance of your loft bed.
- Cleaning: Wipe down metal surfaces with a soft, damp cloth. Avoid abrasive cleaners or harsh chemicals that could damage the finish. For wooden surfaces, use a wood-safe cleaner.
- Hardware Check: Periodically (every 3-6 months) inspect all bolts, screws, and connections. Tighten any that have become loose to maintain structural integrity and prevent wobbling.
- Avoid Overloading: Do not place excessive weight on shelves, the desk, or the bed itself beyond the specified limits.
- Foot Pads: The bed legs are equipped with wear-resistant foot pads. Ensure these are intact to prevent unwanted sliding and protect your flooring.
7. Troubleshooting
Refer to this section for solutions to common issues.
| Problem | Possible Cause | Solution |
|---|---|---|
| Bed wobbles or feels unstable. | Loose bolts; not secured to wall. | Tighten all assembly bolts. Ensure the bed is securely fastened to the wall using the anti-tipping nails. |
| Charging station not working. | Not plugged in; power outage; faulty connection. | Check if the charging station's plug is fully inserted into a working wall outlet. Verify the power outlet is active. Ensure all internal connections to the charging station are secure. |
| LED lighting not turning on. | Charging station not powered; loose light connection. | Ensure the charging station is receiving power. Check the connection of the LED light strip to the charging station. |
| Squeaking noises. | Loose connections; metal-on-metal friction. | Tighten all bolts. Apply a small amount of silicone lubricant to contact points if squeaking persists. |
8. Product Specifications
| Feature | Detail |
|---|---|
| Model Number | KY00123 |
| Size | Full |
| Product Dimensions (L x W x H) | 78.11" x 88.27" x 78.11" |
| Color | Black |
| Material | Metal (Heavy-Duty), Wood (Shelves) |
| Finish Type | Lacquered |
| Item Weight | 80 Pounds |
| Maximum Weight Capacity | 400 Pounds |
| Special Features | Charging Station, LED Lighting, No Box Spring Needed, Space Saving, USB Port |
| Assembly Required | Yes |
9. Warranty and Support
KEIKI stands behind the quality of its products. For specific warranty details, please refer to the warranty card included with your purchase or visit the official KEIKI website.
If you encounter any issues during assembly or use, or if you have questions regarding your product, please contact KEIKI customer support. Have your model number (KY00123) and purchase information ready when contacting support.
Customer Support:
- Refer to your purchase documentation for contact details.
- Visit the KEIKI official website for FAQs and support resources.