1. Introduction
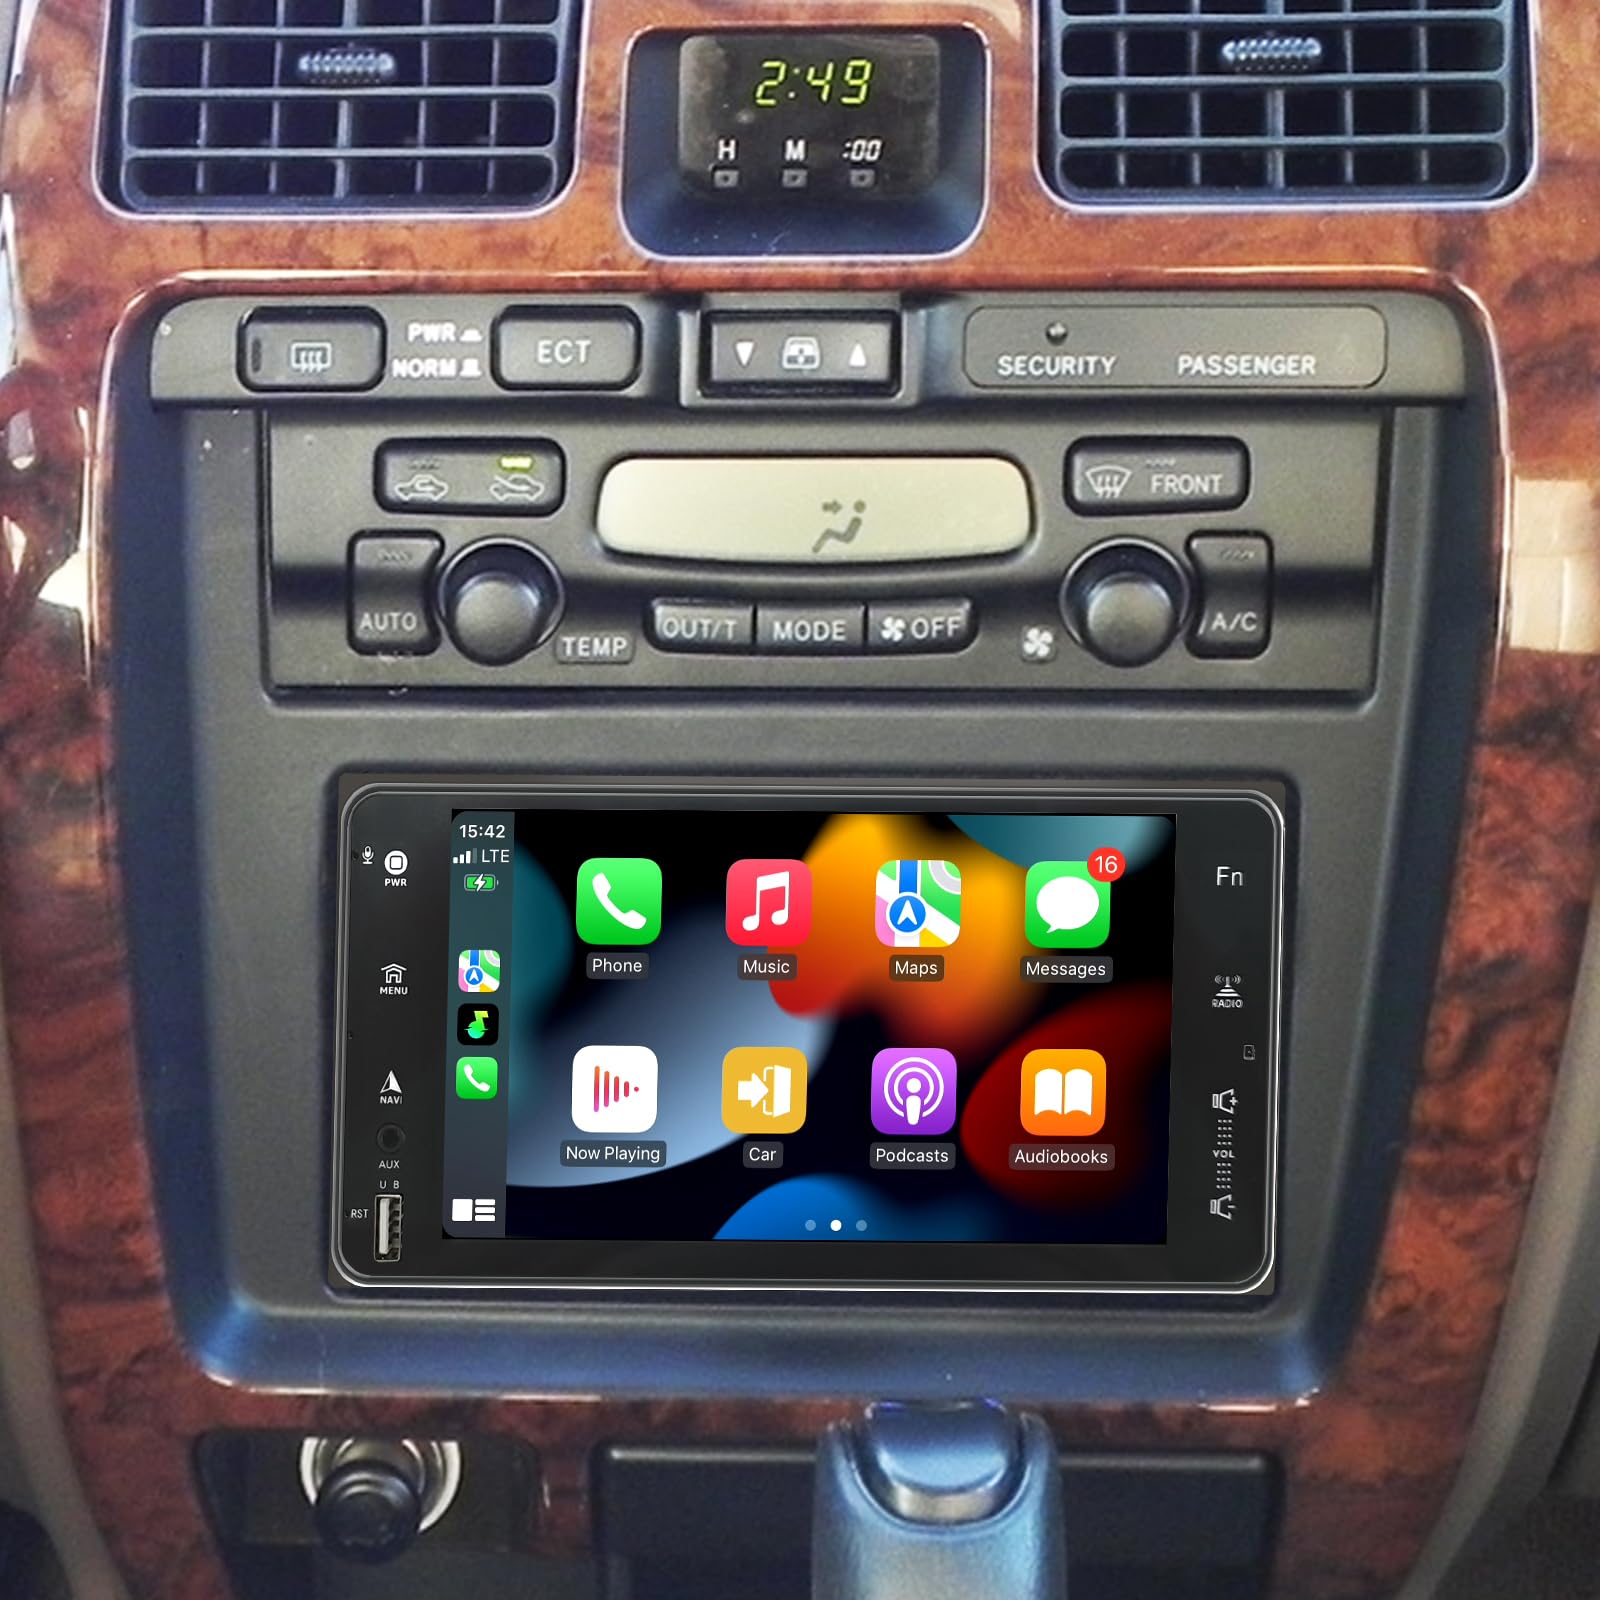
This manual provides detailed instructions for the installation, operation, and maintenance of your new Toeeklsa 7-inch IPS Touch Screen Car Stereo. Designed specifically for Toyota 4Runner models from 1996 to 2002 (excluding JBL versions), this unit enhances your driving experience with modern features such as Wireless CarPlay, Android Auto, GPS Navigation, Bluetooth 5.0, FM/AM/RDS Radio, and AHD Backup Camera support.
Please read this manual thoroughly before installation and use to ensure proper functionality and safety.
2. Key Features
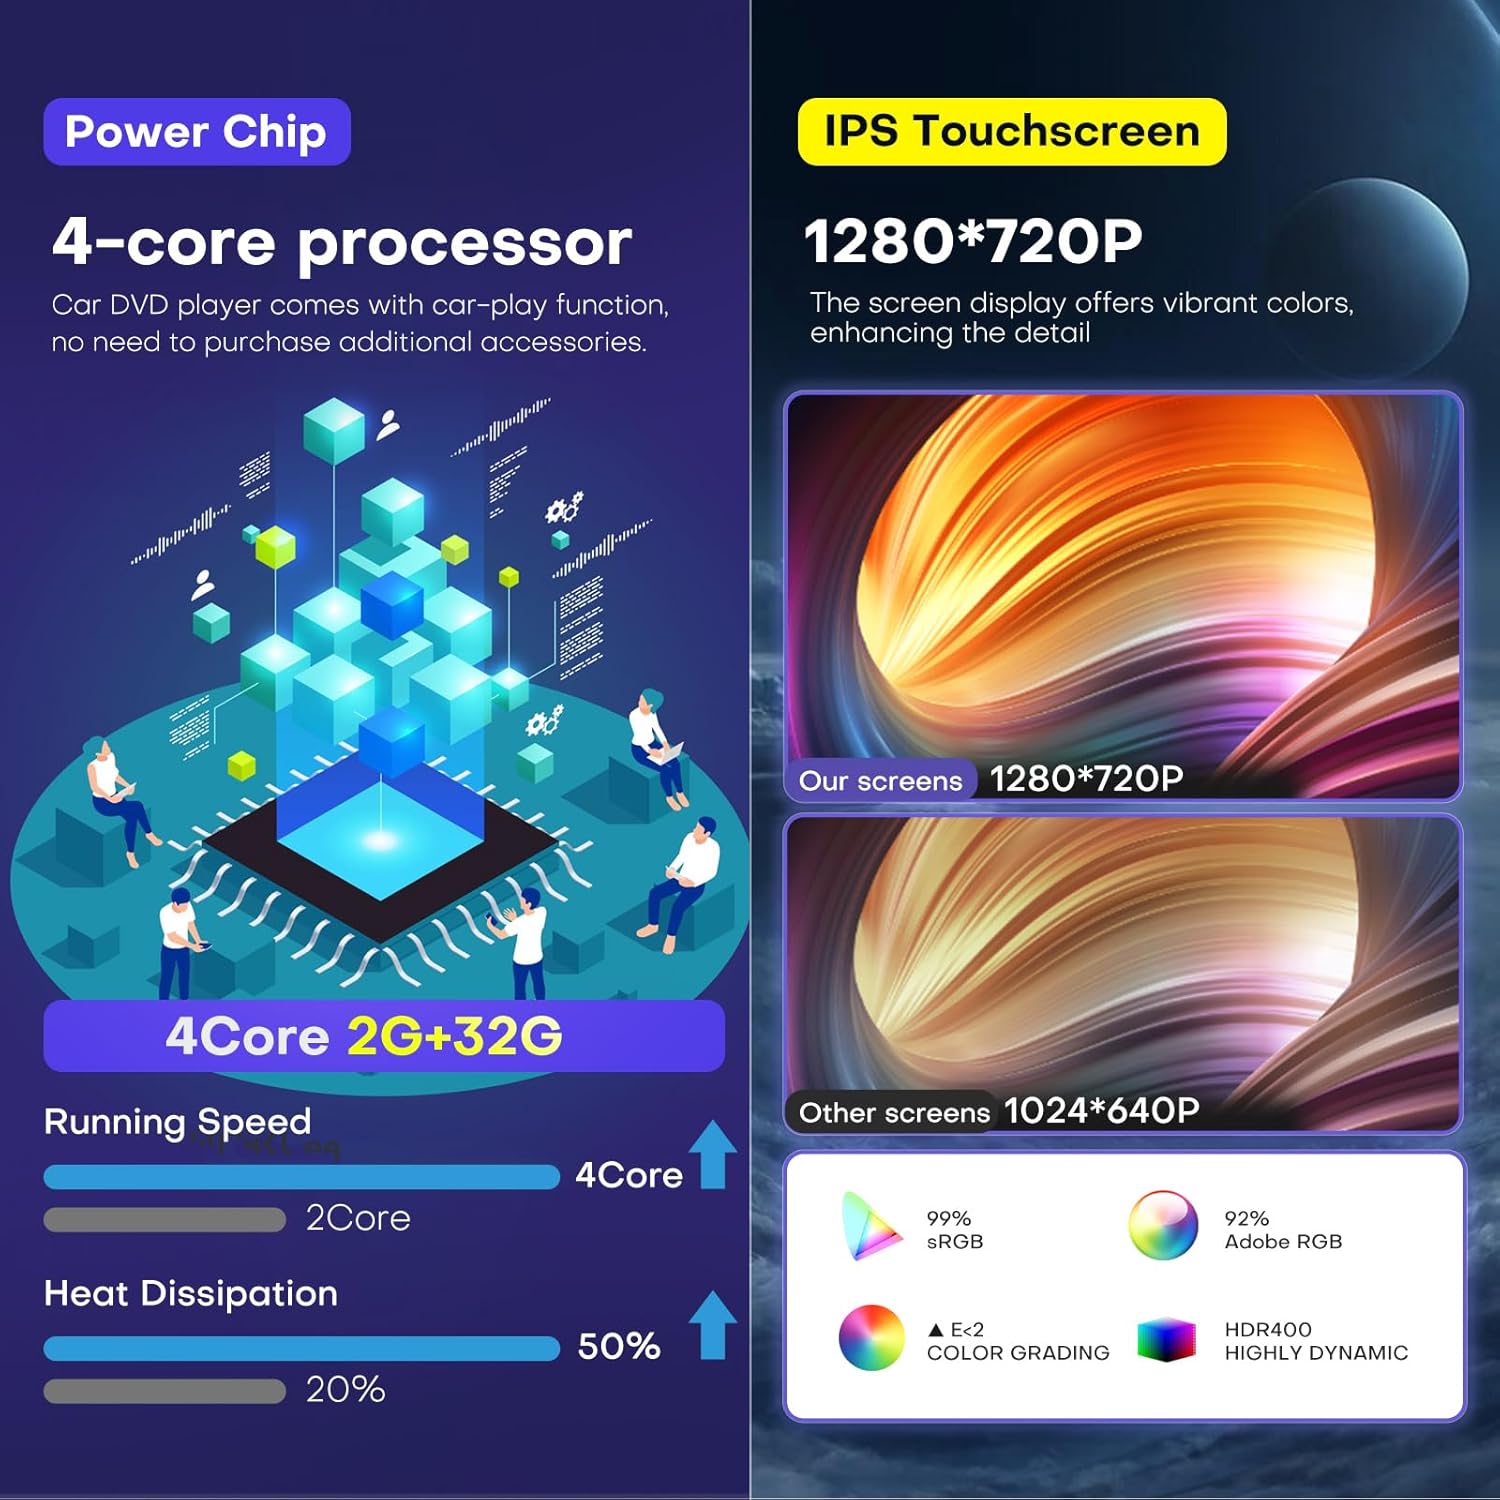
- 7-Inch IPS Touch Screen: High-definition 1280*720 display for clear visuals.
- Wireless CarPlay & Android Auto: Seamless smartphone integration for navigation, calls, music, and messages.
- High Performance: Equipped with a 4-Core CPU, 2GB RAM, and 32GB ROM for smooth operation.
- GPS Navigation & WiFi: Supports online/offline maps, real-time traffic, and access to online apps.
- Bluetooth 5.0: For hands-free calling and wireless audio streaming.
- Premium Audio: 16-band equalizer, subwoofer output, and built-in HiFi for customizable sound.
- AHD Backup Camera: Includes a waterproof night vision camera for safer parking.
- Steering Wheel Control (SWC): Retains OEM steering wheel button functionality.
- Plug and Play Design: Engineered for direct fit and compatibility with specified Toyota 4Runner models.

3. Applicable Car Models
This car stereo is compatible with the following Toyota models:
- Toyota 4Runner: 1996, 1997, 1998, 1999, 2000, 2001, 2002
Note: This unit does NOT support JBL factory sound systems.

4. Setup and Installation
The Toeeklsa car stereo is designed for a true plug-and-play installation, retaining all OEM features including steering wheel control and rear camera functionality. Installation tools and complete instructions are provided to facilitate self-installation without additional accessories.
4.1 Unpacking and Preparation
- Carefully unpack all components and verify against the packing list.
- Ensure the vehicle's ignition is off and the battery is disconnected before starting installation.
- Gather necessary tools, including the provided installation tools and a 10mm extension for screws.
4.2 Removing the Old Radio
- Use a pry tool to carefully remove the trim pieces around the existing radio and climate controls. Start from the bottom and work your way up.
- Once the trim is loose, unscrew the four 10mm bolts securing the radio unit.
- Gently pull out the old radio unit and disconnect all wiring harnesses from the back.

4.3 Transferring Components
- Transfer the air vents, mounting brackets, and any necessary switches (e.g., hazard switch) from your old radio's bezel to the new unit's bezel.
- Ensure all clips and screws are securely fastened.
4.4 Connecting the New Stereo
- Connect the provided wiring harnesses to the corresponding ports on the new car stereo and the vehicle's existing wiring.
- Connect the GPS antenna and backup camera (if applicable).
- Carefully slide the new stereo unit into the dashboard opening, ensuring no wires are pinched.
- Secure the unit with the four 10mm screws.
- Reattach the trim pieces, ensuring they snap securely into place.
5. Operating Instructions
5.1 Power On/Off and Basic Navigation
- Press the PWR button to turn the unit on or off.
- Use the touch screen to navigate through the main menu and select applications.
- The MENU button provides quick access to the main application list.

5.2 Wireless CarPlay & Android Auto
- Ensure your smartphone's Bluetooth is enabled and paired with the car stereo.
- Select the CarPlay or Android Auto icon from the main menu.
- Follow the on-screen prompts to connect your device. This allows access to navigation, music, calls, and messages directly from the stereo display.
- Utilize Siri or Google Voice Assistant for hands-free control.
Video 5.1: Demonstrates how to connect CarPlay to the car stereo unit.
5.3 GPS Navigation & WiFi
- Connect the unit to a WiFi hotspot (e.g., from your smartphone) to access online navigation apps and real-time traffic updates.
- The built-in GPS module supports both online and offline map navigation.

5.4 Bluetooth 5.0
- Access the Bluetooth menu to pair your smartphone for hands-free calls and audio streaming.
- The system supports automatic connection to previously paired devices.

5.5 FM/AM/RDS Radio
- Select the Radio application to access FM/AM/RDS stations.
- Supports both manual and automatic station search and allows saving favorite stations.
5.6 AHD Backup Camera
- When the vehicle is put into reverse gear, the stereo will automatically display the rear view from the included AHD backup camera.
- The camera features waterproof night vision for enhanced safety.

5.7 Steering Wheel Control (SWC)
- The unit supports the vehicle's original steering wheel controls, allowing you to manage audio, calls, and other functions without taking your hands off the wheel.
5.8 Audio Settings (DSP)
- Access the built-in 16-band equalizer to fine-tune audio settings and customize music styles.
- Adjust subwoofer settings and Hi-Fi audio for optimal listening pleasure.

5.9 User Interface Overview
The following video provides a quick overview of the unit's user interface and basic functionalities:
Video 5.2: Quick demonstration of the car stereo's user interface and touch screen responsiveness.
6. Maintenance
- Screen Cleaning: Use a soft, lint-free cloth to gently wipe the touch screen. Avoid abrasive cleaners or solvents.
- Software Updates: Periodically check the manufacturer's website for any available software or firmware updates to ensure optimal performance and access to new features.
- General Care: Keep the unit free from dust and extreme temperatures. Ensure all connections remain secure.
7. Troubleshooting
| Problem | Possible Cause | Solution |
|---|---|---|
| Unit does not power on. | Incorrect wiring; Blown fuse; Vehicle battery issue. | Check all power connections; Inspect vehicle fuses; Verify battery charge. |
| No sound. | Volume too low; Incorrect speaker wiring; Mute activated. | Increase volume; Check speaker connections; Deactivate mute function. |
| CarPlay/Android Auto not connecting. | Bluetooth not paired; USB cable issue; App not launched. | Ensure Bluetooth is paired; Try a different USB cable; Launch CarPlay/Android Auto app on stereo. |
| Backup camera not displaying. | Camera not connected; Incorrect reverse trigger wire. | Check camera wiring; Verify reverse trigger wire connection. |
| Steering wheel controls not working. | SWC wires not connected; SWC not configured. | Ensure SWC wires are correctly connected; Refer to the unit's settings for SWC configuration. |
If you encounter persistent issues, please refer to the "Warranty and Support" section for assistance.
8. Specifications
| Feature | Detail |
|---|---|
| Brand | Toeeklsa |
| Screen Size | 7 Inches |
| Display Type | IPS LED |
| Resolution | 1280*720 |
| Operating System | Android |
| CPU | 4-Core |
| RAM | 2GB |
| ROM | 32GB |
| Connectivity Technology | Bluetooth, Wi-Fi |
| Bluetooth Version | 5.0 |
| Supported Navigation System | GPS |
| Audio Equalizer | 16-band |
| Item Weight | 3 Pounds |
9. Warranty and Support
Your Toeeklsa car stereo comes with comprehensive after-sales support to ensure your satisfaction:
- 30-Day Refund Guarantee: If you are not completely satisfied, you may return the product within 30 days for a full refund.
- 12-Month Warranty Policy: The product is covered by a 12-month warranty against manufacturing defects.
- Lifelong Technical Support: Our professional technical team is available to assist you with any challenges related to assembly, operation, or other issues throughout the product's lifetime.
9.1 Contacting Support
If you require technical assistance or have any questions, please contact our support team through the seller's page on Amazon. Look for the "Ask a question" option to reach our professional technical team.
