1. Product Overview
This manual provides instructions for the installation and maintenance of the Generic 2-Pack Replacement Cutting Discs, designed for Luba and Luba 2 robotic mowers. These discs are essential components for maintaining the cutting performance of your mower.
The replacement discs are constructed from durable ABS material, engineered for wear resistance and reliable operation. Each pack includes two cutting discs and 10 M4x8.1 threaded inserts for blade attachment.
2. Compatibility
These replacement cutting discs are specifically designed for Luba and Luba 2 robotic mowers. They are compatible with models manufactured up to and including 2024. The versatile design supports existing 4, 5, and 6 blade systems.
Note: Blades are not included with these replacement discs. You will need to use your existing mower blades.
3. Installation Instructions
Before beginning installation, ensure your Luba or Luba 2 mower is powered off and disconnected from any power source to prevent accidental activation. Wear appropriate safety gloves.
- Prepare the Mower: Carefully flip your Luba mower over to expose the underside where the cutting discs are located.
- Remove Old Discs: Locate the screws or fasteners securing the existing cutting discs. Use an appropriate tool (e.g., screwdriver) to remove these fasteners and detach the old discs.
- Transfer Blades (if applicable): If your old discs have blades attached, carefully remove them. These blades will be re-used with the new replacement discs.
- Install New Discs: Position a new replacement cutting disc onto the mower's spindle. Ensure it aligns correctly with the mounting points.
- Secure New Discs: Use the original screws or fasteners to secure the new cutting disc firmly in place. Ensure all fasteners are tightened to prevent wobbling during operation.
- Attach Blades: If you transferred blades from the old discs, attach them to the new cutting discs using the provided M4x8.1 threaded inserts and appropriate screws (not included with discs). Ensure blades are securely fastened and can pivot freely.
- Repeat for Second Disc: If replacing both discs, repeat steps 4-6 for the second cutting disc.
- Final Check: Once both discs are installed and blades are attached, manually spin the discs to ensure they rotate smoothly without obstruction.

Figure 1: Underside view of a Luba mower with cutting discs installed. One disc is shown with blades, the other without.

Figure 2: A single replacement cutting disc, highlighting the threaded inserts for blade attachment.
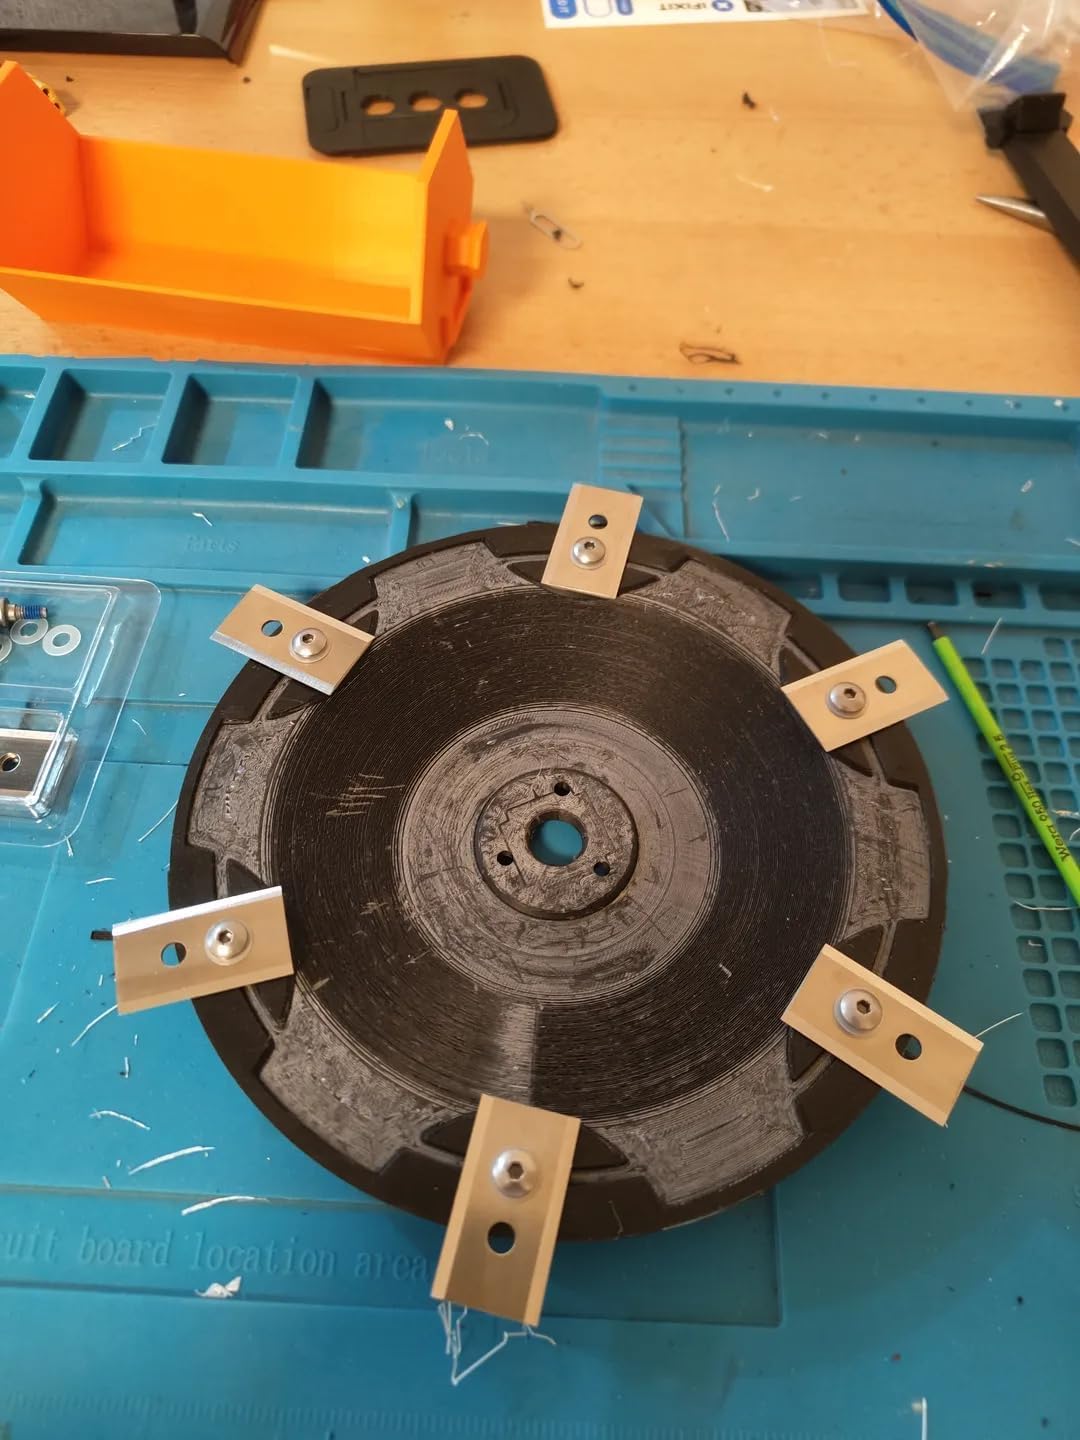
Figure 3: A replacement cutting disc with blades securely attached, ready for installation.
4. Maintenance
Regular maintenance of your cutting discs and blades is crucial for optimal mower performance and longevity.
- Inspect Regularly: Periodically inspect the cutting discs for signs of wear, cracks, or damage. Check the blades for sharpness and damage.
- Clean After Use: After each mowing session, clean any grass clippings or debris from the cutting discs and blades. This prevents buildup that can affect cutting efficiency and balance.
- Blade Replacement: Replace blades as needed. Dull or damaged blades can strain the mower and result in an uneven cut.
- Disc Replacement: If the cutting discs show significant wear or damage, replace them promptly to maintain cutting quality and mower safety.
5. Troubleshooting
If you encounter issues after replacing the cutting discs, consider the following:
- Uneven Cut:
- Ensure blades are sharp and properly installed.
- Check that the cutting discs are securely fastened and not wobbling.
- Excessive Vibration:
- Verify that the cutting discs are correctly seated and all fasteners are tight.
- Inspect blades for damage or imbalance. Replace any damaged blades.
- Mower Not Operating:
- Ensure the mower is powered on and any safety switches are engaged.
- Confirm that the cutting discs are not obstructed by debris.
If problems persist, consult your Luba mower's main instruction manual or contact the mower manufacturer's support.
6. Specifications
| Feature | Detail |
|---|---|
| Product Dimensions | 8.5 x 8.5 x 0.75 inches |
| Item Weight | 8 ounces |
| Material | Durable ABS Construction |
| Compatibility | Luba & Luba 2 Mowers (2024 & Older Models), 4, 5, & 6 Blade Systems |
| Model Number | 2024-disc |
| Package Contents | 2x Replacement Cutting Discs, 10x M4x8.1 Threaded Inserts |
7. Warranty and Support
As this product is listed under a "Generic" brand, specific warranty information is not provided in the product details. For any warranty claims, product support, or technical assistance, please contact the seller directly through your purchase platform.
Always refer to the original Luba mower manufacturer's manual for general mower operation and safety guidelines.