1. Introduction
The REKA Smart Electric Radiator Thermostat ME223EH-NU is designed to enhance your home comfort while significantly reducing energy consumption. This intelligent device offers remote temperature control via the Tuya App, flexible programming, and compatibility with voice assistants like Alexa and Google Home. Its advanced features ensure efficient and convenient heating management for a smart and eco-responsible home.
2. Product Overview
The REKA ME223EH-NU thermostat provides precise temperature control for electric radiators. It integrates seamlessly into your smart home ecosystem, allowing you to manage your heating from anywhere. Key functionalities include:
- Remote Control: Manage your radiator's temperature via the Tuya App.
- Personalized Programming: Create daily or weekly heating schedules.
- Open Window Detection: Automatically pauses heating to prevent energy waste.
- Voice Assistant Compatibility: Control heating with Alexa or Google Assistant.
- Advanced Memory Buffer: Maintains settings even during internet outages.
- Universal Compatibility: Supplied with universal adapters for various existing thermostats.
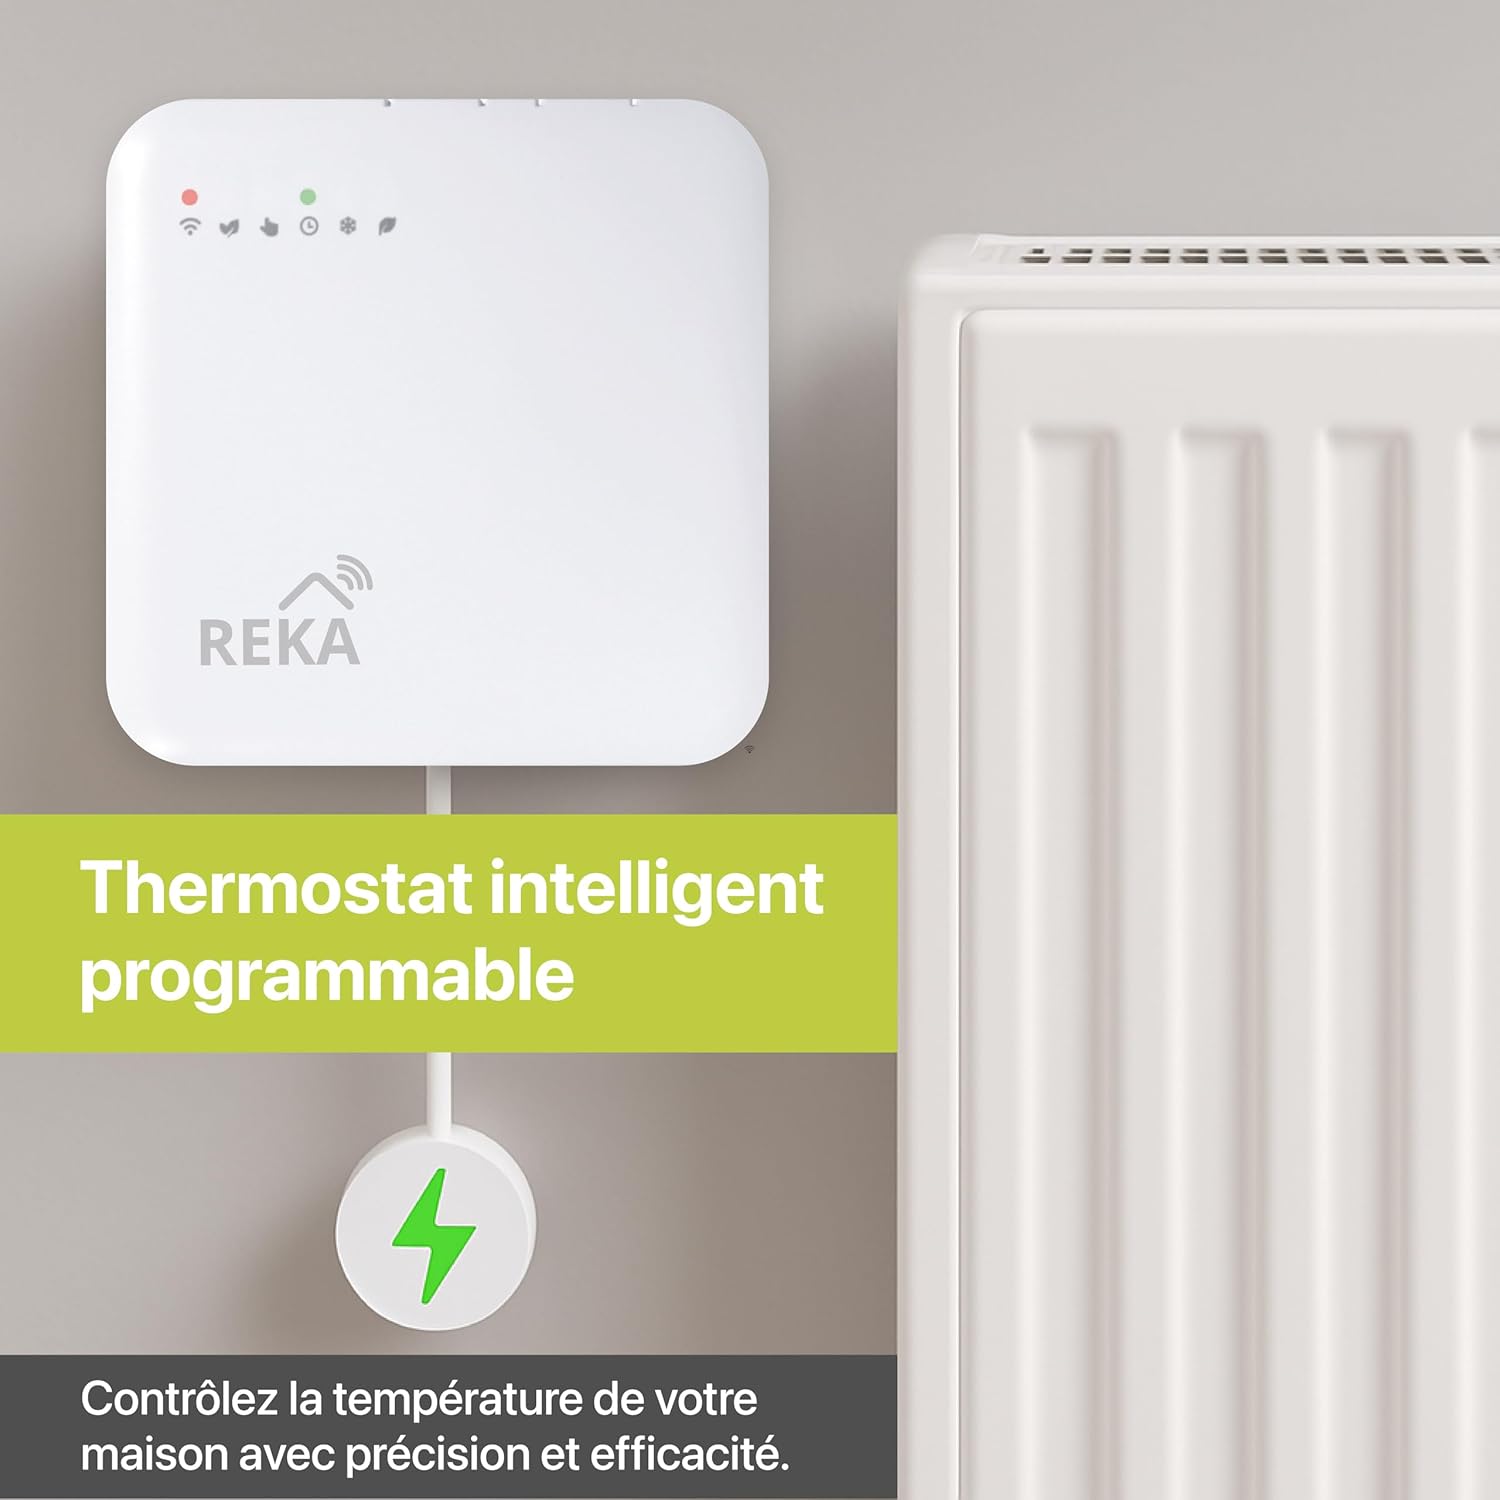
Image: The REKA Smart Thermostat connected to a radiator, with its Zigbee gateway for intelligent control.
3. Package Contents
Upon unboxing your REKA Smart Electric Radiator Thermostat, please ensure all the following items are present:
- REKA Smart Electric Radiator Thermostat Unit
- Zigbee 3.0 Gateway (if purchased with gateway variant)
- User Manual
- Mounting Screws and Wall Plugs
- Wiring Labels
- Universal Adapters
4. Setup and Installation
4.1 Pre-installation Checklist
- Ensure a stable 2.4 GHz Wi-Fi signal in the installation area.
- Download the Tuya Smart or Smart Life app from your app store and register/log in.
- Gather necessary tools: small flat-head screwdriver, standard Philips screwdriver, wire strippers, voltage detector.
4.2 Wiring Instructions
- Turn off Power: Before starting, turn off the power to your heating system at the main circuit breaker to avoid electrical shock.
- Remove Old Thermostat: Carefully remove the cover of your existing thermostat from the wall.
- Label Wires: Using the provided labels, mark each wire connected to your old thermostat. Take a photo of the wiring for future reference.
- Disconnect and Remove: Carefully disconnect the wires and unscrew the mounting plate of your old thermostat from the wall.
- Prepare New Thermostat: Use a small screwdriver to gently pry up the bottom of the REKA thermostat to separate the front display unit from the backplate.
- Connect Wires: Connect the labeled wires to the corresponding terminals on the new thermostat's backplate. Refer to the wiring diagram in the detailed manual for specific connections.
- Mount Backplate: Screw the thermostat backplate securely into the wall box using the provided screws.
- Attach Front Unit: Align the connections and gently press the front display unit onto the backplate until it clicks into place.
- Restore Power: Turn on the power at the circuit breaker. The thermostat screen should power on, and the Wi-Fi LED will begin to blink slowly, indicating it's ready for pairing.

Image: Illustration of the REKA thermostat and Zigbee gateway connection for proper functionality.
4.3 App Pairing
- Open the Tuya Smart or Smart Life app. The app should automatically search for new devices.
- If the app doesn't find the thermostat, press and hold the 'Up' and 'Down' buttons on the thermostat for 5 seconds to reset it. The Wi-Fi LED will blink slowly.
- Follow the in-app instructions to add the device. Select your 2.4 GHz Wi-Fi network and enter the password.
- Once connected, you can link your account to voice assistants like Alexa or Google Assistant through the app's settings.
5. Operating Instructions
5.1 App Control (Tuya App)
The Tuya App provides comprehensive control over your REKA thermostat:
- Remote Temperature Adjustment: Change the temperature from anywhere.
- Multi-Zone Control: Manage different thermostats in various rooms independently.
- Mode Selection: Switch between Comfort, Eco, and Frost Protection modes.
- Scheduling: Set up detailed heating schedules for each day of the week.

Image: Remote control of heating, room by room, via the mobile application.
5.2 Programmable Schedules
Customize your heating to match your lifestyle and save energy:
- Access the programming interface in the Tuya App.
- Set desired temperatures for different times of the day and days of the week.
- The thermostat will automatically adjust heating based on your personalized schedule.

Image: Create personalized heating schedules using the app for optimal comfort and energy savings.
5.3 Open Window Detection
This feature helps prevent energy waste:
- The thermostat automatically detects a sudden drop in temperature, indicating an open window.
- Heating will be temporarily paused to avoid unnecessary energy consumption.
- Heating resumes automatically once the window is closed or after a set period.
5.4 Voice Control
Integrate your thermostat with popular voice assistants:
- Connect your Tuya account to Amazon Alexa or Google Assistant.
- Use simple voice commands to adjust the temperature, change modes, or inquire about the current status.
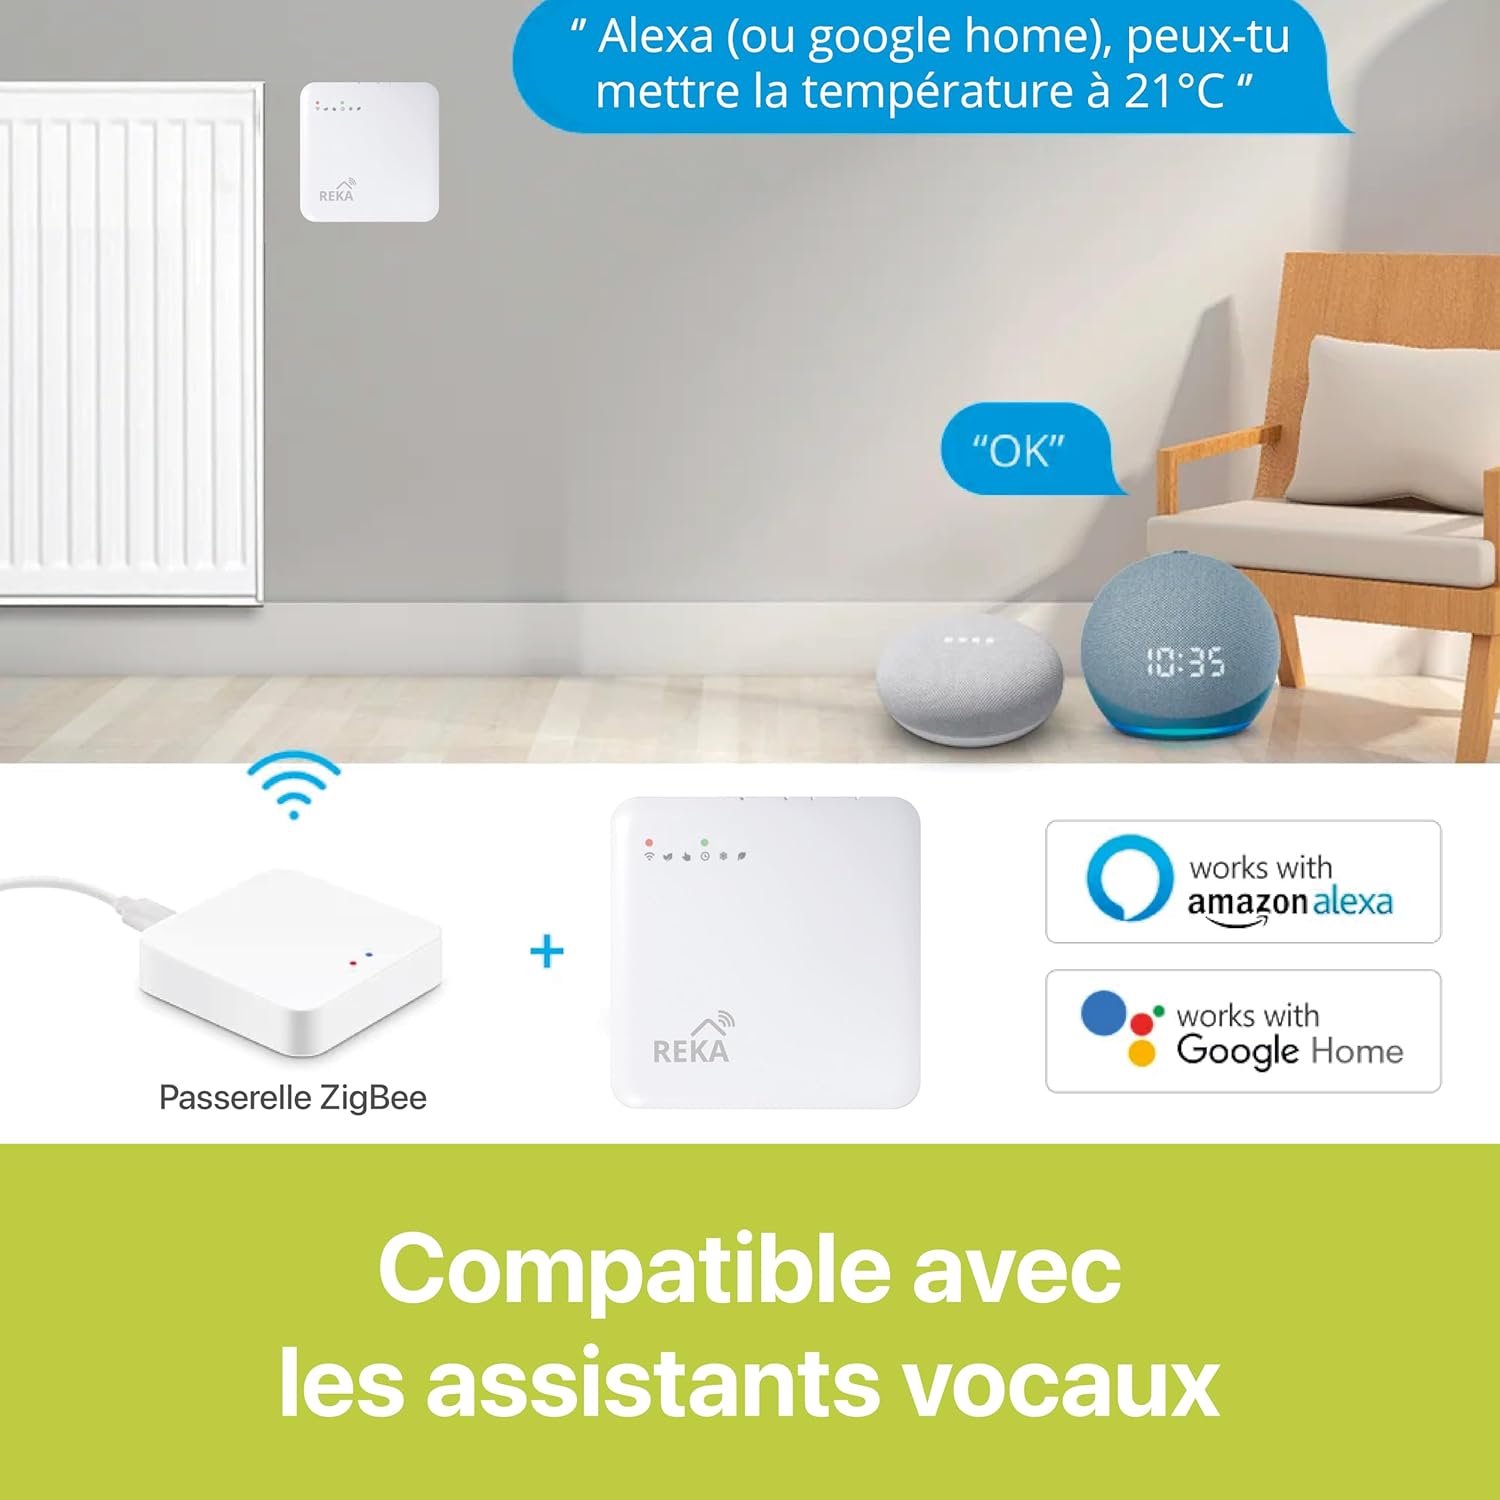
Image: The REKA thermostat is compatible with Amazon Alexa and Google Home for convenient voice control.
5.5 Zigbee Gateway
A Zigbee 3.0 gateway is essential for optimal synchronization and control of your REKA thermostat. It ensures reliable communication and advanced smart home integration.
6. Maintenance
To ensure the longevity and optimal performance of your REKA Smart Electric Radiator Thermostat, follow these simple maintenance guidelines:
- Cleaning: Gently wipe the thermostat's surface with a soft, dry cloth. Avoid using abrasive cleaners or solvents.
- Firmware Updates: Regularly check the Tuya App for any available firmware updates to ensure your device has the latest features and security enhancements.
- Connectivity Check: Periodically verify that your thermostat is connected to your Wi-Fi network and the Zigbee gateway.
7. Troubleshooting
If you encounter issues with your REKA Smart Electric Radiator Thermostat, refer to the following common troubleshooting steps:
- No Power: Check the circuit breaker and ensure all wiring connections are secure.
- Wi-Fi Disconnection: Ensure your 2.4 GHz Wi-Fi network is active and the signal is strong. Try resetting the thermostat (press and hold 'Up' and 'Down' buttons for 5 seconds) and re-pairing with the app.
- Inaccurate Temperature Readings: Ensure the thermostat is not exposed to direct sunlight, drafts, or heat sources that could affect its sensor.
- App Not Responding: Close and reopen the Tuya App. If the issue persists, restart your smartphone and check your internet connection.
- Voice Control Issues: Verify that your Tuya account is correctly linked to Alexa or Google Assistant and that your voice commands are clear.
8. Specifications
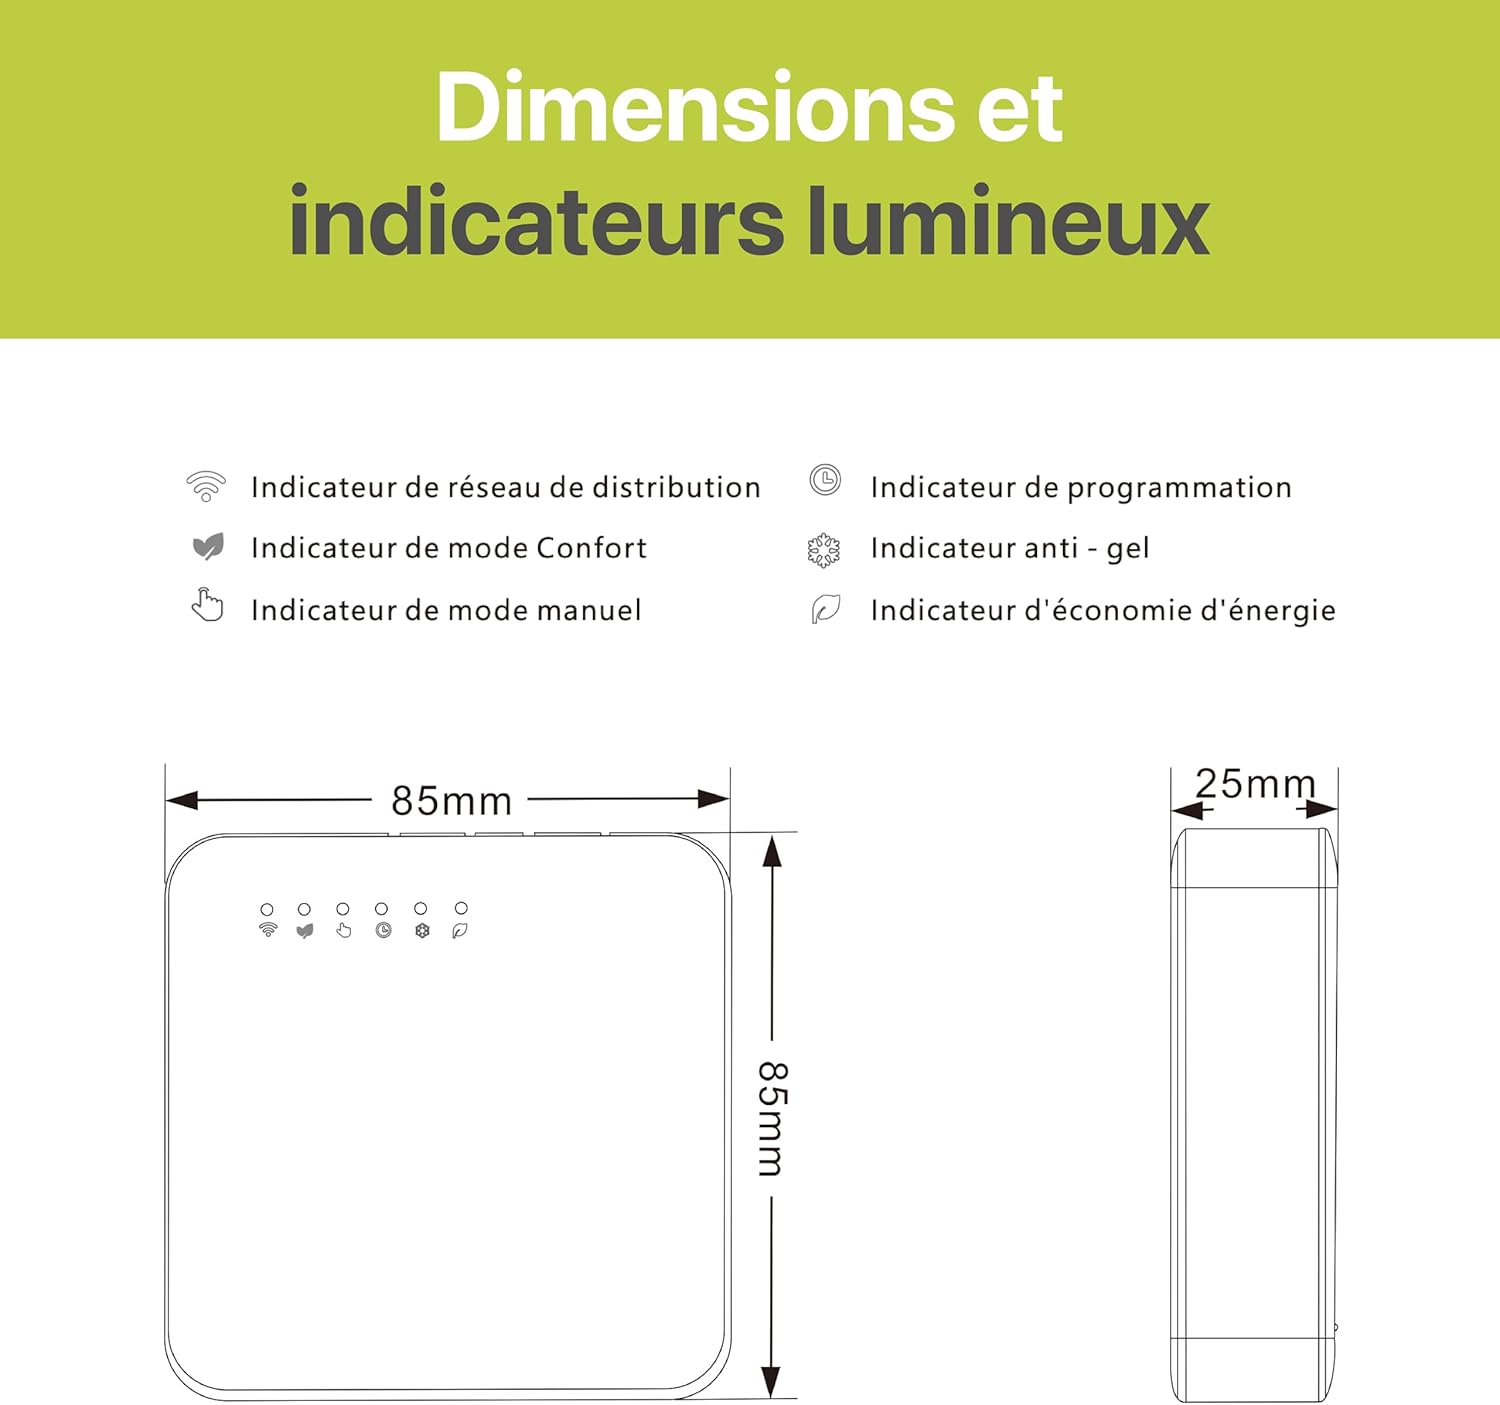
Image: Dimensions and indicator lights of the REKA Smart Electric Radiator Thermostat.
| Feature | Detail |
|---|---|
| Brand | REKA |
| Model Name | REKA ME223EH |
| Product Dimensions | 2.4D x 8.5W x 8.5H centimeters |
| Controller Type | Amazon Alexa, Google Assistant |
| Special Feature | Open Window Detection |
| Color | White |
| Specific Uses for Product | Heating |
| Temperature Control Type | Heating |
| Connectivity Technology | Zigbee standard IBEE B02.1.4 |
| Included Components | Fixing Screws |
| Control Device Type | Amazon Alexa, Google Assistant |
| Power Source | Electric Cable |
| Display Type | Graphical |
| Control Type | Application |
| Control Method | Application |
| Connectivity Protocol | ZigBee |
| Mounting Type | Wall Mount |
| Item Weight | 300 Grams |
| Model Number | ME223EH-NU |
| Manufacturer | REKA |
| Country of Origin | France |
| Item Shape | Square |
| Material Type | Plastic |
9. Warranty and Support
The REKA Smart Electric Radiator Thermostat ME223EH-NU is designed and manufactured to the highest quality standards. For specific warranty details, please refer to the warranty card included in your product packaging or contact REKA customer support.
For technical assistance, troubleshooting, or any questions regarding your product, please visit the official REKA website or contact their customer service department. Keep your purchase receipt for warranty claims.