ANJIELO SMART 68010
ANJIELO SMART 8-inch Multifunctional Intelligent Control Touch Screen User Manual (Model: 68010)
Comprehensive instructions for setup, operation, and maintenance of your smart home control panel.
1. Introduction
The ANJIELO SMART 8-inch Multifunctional Intelligent Control Touch Screen is designed to be a central hub for your Tuya smart home devices. It features an 8-inch HD LCD IPS multi-touch screen with an auto light sensor, and a unique rotary switch with a 1.2-inch LCD touch screen for intuitive control. This panel integrates various smart home functions, including lighting, curtains, air conditioners, and other Tuya-compatible devices, offering a streamlined control experience.
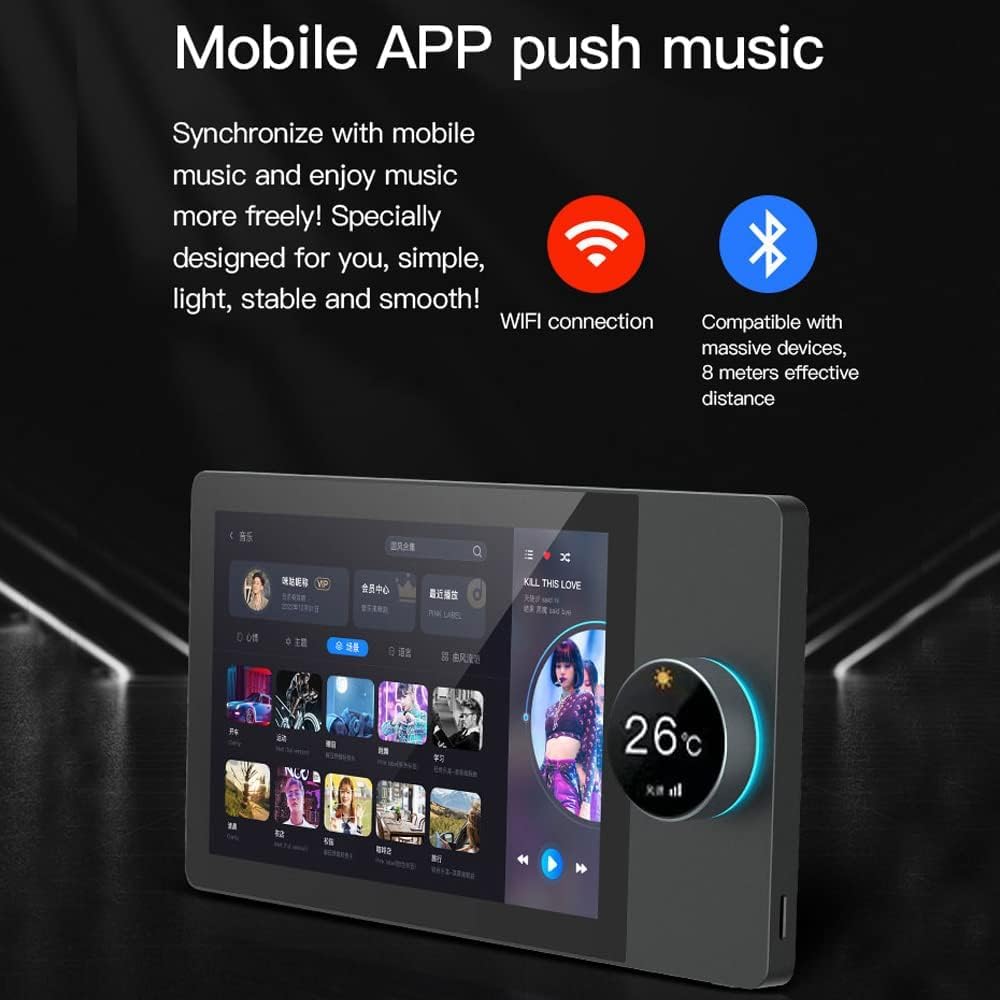
The device also includes a 2W speaker for audio feedback and can connect to external speakers. It supports Wi-Fi, ZigBee, and Bluetooth mesh gateway functionalities, ensuring stable and versatile connectivity within your smart home ecosystem.
2. What's in the Box
- 8-inch panel
- Screw package
3. Safety Information
WARNING: Installation should only be performed by qualified personnel. Ensure the main power supply is turned off at the circuit breaker before attempting any installation or wiring. Failure to do so may result in electric shock, injury, or death.
- Always disconnect power before installation or maintenance.
- Verify wiring connections are secure and correct to prevent short circuits or damage.
- Do not expose the device to moisture or extreme temperatures.
- Use only specified voltage and current ratings.
4. Specifications
| Feature | Detail |
|---|---|
| Product Dimensions | 5.91 x 3.94 x 0.79 inches |
| Item Model Number | 68010 |
| Brand | ANJIELO SMART |
| Special Feature | Smart Home Integration, Touch-Screen Interface |
| Color | Black |
| Compatible Devices | Air Conditioner, Curtains, Lights, Other Tuya Smart Devices |
| Connectivity Technology | Radio Frequency (Wi-Fi, ZigBee, Bluetooth Mesh) |
| Display | 8-inch HD LCD, IPS, Multi-touch screen with auto light sensor; 1.2-inch LCD touch screen on rotary switch |
| Speaker | Built-in 2W speaker, supports external 2-25W speakers |
| Storage | 16GB TF card included for app downloads |
5. Setup and Installation
5.1. Wiring Instructions
The ANJIELO SMART Control Panel is designed for in-wall installation, fitting standard double 86 bottom boxes. It requires Live (L) and Neutral (N) wires for power. It also provides connections for two light circuits (L1, L2).
- Power Disconnection: Before starting, ensure the main power supply to the installation area is turned off at the circuit breaker.
- Remove Faceplate: Carefully pry off the front panel from the backplate to expose the wiring terminals.
- Connect Wires:
- Connect the Live wire from your electrical box to the 'L' terminal on the panel.
- Connect the Neutral wire from your electrical box to the 'N' terminal on the panel.
- Connect the load wire for Light 1 to the 'L1' terminal.
- Connect the load wire for Light 2 to the 'L2' terminal (if applicable).
- Grounding: While the device itself is plastic, if your electrical box is metal and grounded, you can ground the metal backplate of the device to the box for added safety. Consult a qualified electrician if unsure.
- Secure Backplate: Mount the backplate securely into the wall box using the provided screws.
- Attach Front Panel: Carefully align the front panel with the backplate and press firmly until it clicks into place.
- Power Restoration: Restore power at the circuit breaker. The panel should power on.


5.2. Network Connection
The panel supports both wired and wireless network connections.
- Wired Connection (Optional): If a stable wired connection is preferred, connect an Ethernet cable to the 'Network' port on the back of the panel.
- Wireless Connection (Wi-Fi):
- On the panel's touch screen, navigate to 'Settings' > 'Network Settings' > 'Wireless Network'.
- Enable Wi-Fi and select your home network from the list.
- Enter your Wi-Fi password to connect.
5.3. Initial Setup and App Pairing
After successful power-on and network connection, you will need to pair the device with the Tuya Smart Life app.
- Download App: Download and install the "Tuya Smart" or "Smart Life" app on your mobile device.
- Register/Login: Open the app and register a new account or log in with an existing one.
- Add Device: On the panel, follow the on-screen prompts to display a QR code for pairing. In the Tuya app, select 'Add Device' and use the scan function to scan the QR code displayed on the control panel.
- Confirmation: Once scanned, the app will guide you through the final steps to add the device. Confirm the device addition in the app.
- Language Selection: On the panel, select your preferred language (e.g., English) from the initial setup screen.
6. Operating Instructions
6.1. Touch Screen Interface
The 8-inch HD LCD IPS multi-touch screen allows for intuitive control of all connected smart devices and scenes. Swipe left/right or tap icons to navigate through different rooms, devices, and scene settings.

6.2. Rotary Switch Control
The integrated rotary switch with a 1.2-inch LCD touch screen provides quick access to thermostat control, light dimming, and scene selection. Rotate to adjust values and press to confirm or select.

6.3. Scene Management
Configure smart home scenes within the Tuya Smart Life app. Once configured, these scenes can be activated with a single touch on the panel, automating multiple devices simultaneously (e.g., "Homecoming mode" to turn on lights and adjust AC).

6.4. Media and Audio
The panel includes a 2W speaker for system sounds and can be linked to external speakers for music playback. You can install your favorite music player apps via the included 16GB TF card.

7. Maintenance
- Cleaning: Use a soft, dry cloth to clean the screen and exterior. Avoid abrasive cleaners or solvents.
- Software Updates: Regularly check for firmware updates through the Tuya Smart Life app to ensure optimal performance and security.
- Backup: Periodically back up your settings and scenes within the app.
8. Troubleshooting
| Problem | Possible Cause | Solution |
|---|---|---|
| Panel not powering on | No power supply; incorrect wiring | Check circuit breaker; verify Live and Neutral wire connections. Consult an electrician if necessary. |
| Unable to connect to Wi-Fi | Incorrect password; weak signal; router issues | Double-check Wi-Fi password; move router closer or use a Wi-Fi extender; restart router. |
| Devices not responding | Device offline; incorrect pairing; network issues | Check device status in Tuya app; re-pair device if necessary; ensure stable network connection. |
| Rotary switch unresponsive | Software glitch; physical damage | Restart the panel (power cycle); if problem persists, contact customer support. |
9. Warranty and Support
For warranty information and technical support, please refer to the ANJIELO SMART official website or contact their customer service directly. Keep your purchase receipt for warranty claims.
Manufacturer: ANJIELO SMART
Website: www.anjielo.com
Related Documents - 68010
 |
ANJIELO SMART Home Control Panel User Manual Comprehensive user manual for the ANJIELO SMART home control panel, detailing features such as music playback, settings configuration, screen saver options, Bluetooth connectivity, household management, and troubleshooting. |
 |
Anjielosmart 4-Wire Video Door Phone: User Manual and Installation Guide Comprehensive guide for the Anjielosmart 4-Wire Video Door Phone, covering installation, setup, features, packing list, and app integration with Tuya Smart for smart home security. |
 |
How to Connect ANJIELO SMART Doorbell Camera to Tuya App Step-by-step instructions for connecting an ANJIELO SMART doorbell camera to the Tuya Smart App using Wi-Fi AP mode. Learn how to add the device, select connection modes, enter Wi-Fi credentials, and connect to the doorbell's hotspot. |
 |
anjielosmart HD Wireless Video Door Phone User Manual User manual for the anjielosmart HD Wireless Video Door Phone system, detailing product features, safety warnings, installation guide, setup instructions, network configuration with Tuya Smart app, device pairing, packing list, product parameters, and troubleshooting tips. |
 |
ANJIELO SMART Wireless IP Tuya Video Intercom MC-0753 User Guide Comprehensive user guide for the ANJIELO SMART Wireless IP Tuya Video Intercom (Model MC-0753), covering setup, operation, user settings, system configurations, and technical parameters. |
 |
Anjielo Smart Video Intercom System - Outdoor Camera User Manual Comprehensive user manual for Anjielo Smart video intercom systems, detailing operation, installation, and specifications for outdoor camera units. Covers models 94209, 94207, and 94206-IC, including wiring, video mode selection, RFID keyfob usage, and AHD compatibility. |
Ask a question about this manual
Ask about setup, troubleshooting, compatibility, parts, safety, or missing instructions. Manuals+ will review the question and use this page’s manual context to help answer it.