1. Introduction
This manual provides instructions for the installation, operation, and maintenance of your Minifire 24 Inch Gaming Monitor (Model MFG24F4M). This monitor is designed to deliver a high-performance visual experience with its 160Hz refresh rate, 1ms response time, and FHD 1080P resolution. Please read this manual thoroughly before using the product to ensure proper setup and safe operation.
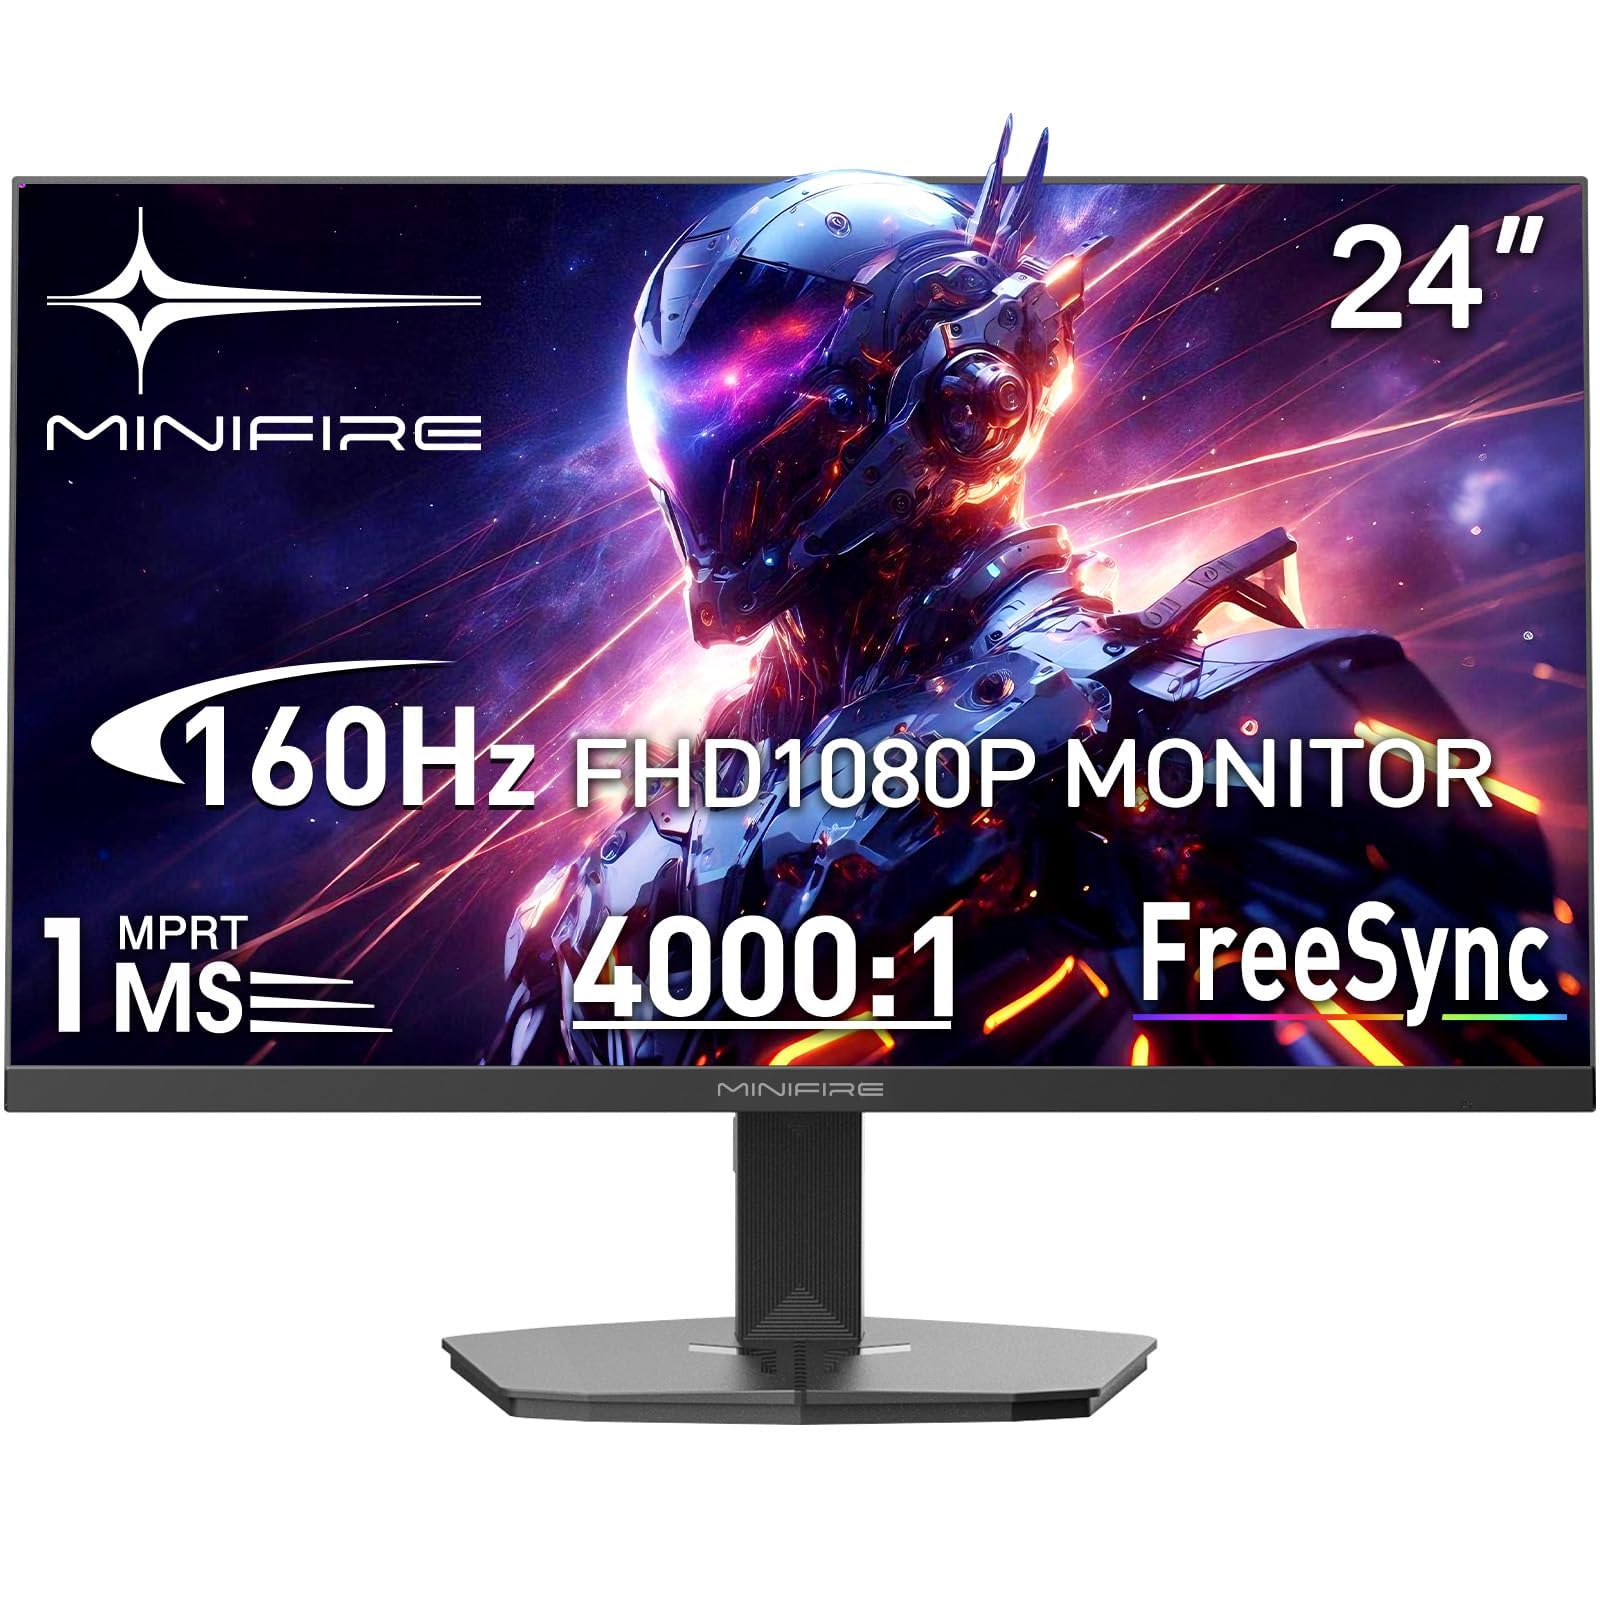
Figure 1: Front view of the Minifire 24 Inch Gaming Monitor.
2. Safety Information
Observe the following safety precautions to prevent damage to the monitor and ensure user safety:
- Do not expose the monitor to rain or moisture to avoid fire or electric shock hazards.
- Do not open the monitor casing. There are no user-serviceable parts inside. Refer all servicing to qualified service personnel.
- Place the monitor on a stable, flat surface to prevent it from falling.
- Ensure proper ventilation. Do not block ventilation openings.
- Use only the power adapter and cables supplied with the monitor.
- Disconnect the power plug from the outlet if the monitor will not be used for an extended period.
- Avoid placing heavy objects on the power cord.
3. Package Contents
Verify that all items are present in the package:
- Minifire 24 Inch Gaming Monitor (MFG24F4M)
- Power Adapter
- HDMI Cable
- User Manual
- Monitor Stand (Base and Neck)
- Screws for Stand Assembly
4. Setup
4.1 Assembling the Stand
- Carefully remove the monitor from its packaging, keeping it protected on a soft surface.
- Attach the stand neck to the monitor's rear panel using the provided screws.
- Connect the stand base to the stand neck and secure it with the remaining screws.
- Ensure all connections are firm and stable.
Note: For VESA wall mounting, remove the stand and attach a compatible VESA mount (100x100mm) to the monitor's rear panel.
4.2 Connecting to a Computer
- Power Connection: Connect the power adapter to the monitor's power input, then plug the adapter into a power outlet.
- Video Connection:
- HDMI: Connect one end of the HDMI cable to the monitor's HDMI port and the other end to the HDMI port on your computer's graphics card.
- DisplayPort (DP): Connect one end of the DisplayPort cable to the monitor's DP port and the other end to the DP port on your computer's graphics card.
- Audio (Optional): If your computer supports audio output via HDMI/DP, the monitor's built-in speakers (if present) or connected headphones will receive audio.
4.3 Initial Power On
- Press the power button on the monitor.
- Turn on your computer.
- The monitor should automatically detect the input signal. If not, use the OSD menu to select the correct input source.
5. Operation
5.1 On-Screen Display (OSD) Menu
The OSD menu allows you to adjust various monitor settings. The control buttons are typically located on the back or bottom of the monitor.
- Power Button: Turns the monitor on/off.
- Menu Button: Opens the OSD menu.
- Navigation Buttons: Used to move through menu options (Up/Down/Left/Right).
- Enter/Select Button: Confirms a selection.
- Exit Button: Closes the OSD menu or goes back to the previous level.
5.2 Key Settings
- Brightness/Contrast: Adjusts the overall luminance and difference between light and dark areas.
- Color Settings: Adjusts color temperature, gamma, and individual RGB levels.
- Input Source: Manually selects between HDMI and DisplayPort inputs.
- Refresh Rate: Ensure your operating system and graphics card settings are configured to 160Hz for optimal performance.
- Resolution: Set to 1920x1080 (FHD 1080P) for native display quality.
- HDR (High Dynamic Range): Enable or disable HDR mode for enhanced contrast and color.
- FreeSync: Activates Adaptive Sync technology to reduce screen tearing and stuttering with compatible AMD graphics cards.
- Crosshair: Activates an on-screen crosshair overlay for gaming.
- Eye Care: Features designed to reduce eye strain, such as Low Blue Light mode.
6. Maintenance
6.1 Cleaning the Monitor
- Always unplug the monitor from the power outlet before cleaning.
- Use a soft, lint-free cloth lightly dampened with water or a specialized screen cleaner.
- Do not use abrasive cleaners, waxes, or solvents.
- Gently wipe the screen and exterior surfaces. Avoid excessive pressure.
6.2 Storage
If storing the monitor for an extended period, disconnect all cables, pack it in its original packaging (if available), and store it in a cool, dry place away from direct sunlight and extreme temperatures.
7. Troubleshooting
| Problem | Possible Cause | Solution |
|---|---|---|
| No image on screen |
|
|
| Image is blurry or distorted |
|
|
| No sound |
|
|
| Screen tearing/stuttering |
|
|
8. Specifications
| Feature | Detail |
|---|---|
| Model | MFG24F4M |
| Screen Size | 24 Inches (61 cm) |
| Display Type | FAST VA, LED |
| Resolution | FHD 1080p (1920 x 1080 Pixels) |
| Refresh Rate | 160 Hz |
| Response Time | 1 Millisecond |
| Brightness | 300 cd/m² |
| Contrast Ratio | 3000:1 |
| Aspect Ratio | 16:9 |
| Viewing Angle | 178 Degrees (Horizontal/Vertical) |
| Color Gamut | sRGB100% |
| HDR Support | Yes |
| Adaptive Sync | FreeSync |
| Connectivity | 1x HDMI, 1x DisplayPort |
| VESA Compatibility | Yes (Wall Mount) |
| Special Features | 160Hz Refresh Rate, Gaming Monitor, Vesa Compatible, Eye Care, Crosshair |
| Product Dimensions (LxWxH) | 20.2 x 41.3 x 53.8 cm |
| Item Weight | 3.5 kg |
| Voltage | 220 Volts |
9. Warranty and Support
For warranty information and technical support, please refer to the warranty card included in your product packaging or visit the official Minifire website. Keep your purchase receipt as proof of purchase for warranty claims.
Customer Service: For further assistance, please contact Minifire customer support through the channels provided on their official website.


